How to Disconnect Kitchen Faucet in 7 Easy Steps
To disconnect your kitchen faucet in seven easy steps, start by gathering essential tools such as wrenches, pliers, and plumber’s tape. These tools will help you safely and efficiently remove the faucet without causing damage.
Turning off the water supply valves located beneath the sink is a crucial first step to prevent water spills.
Next, open the faucet to drain any remaining water from the lines.
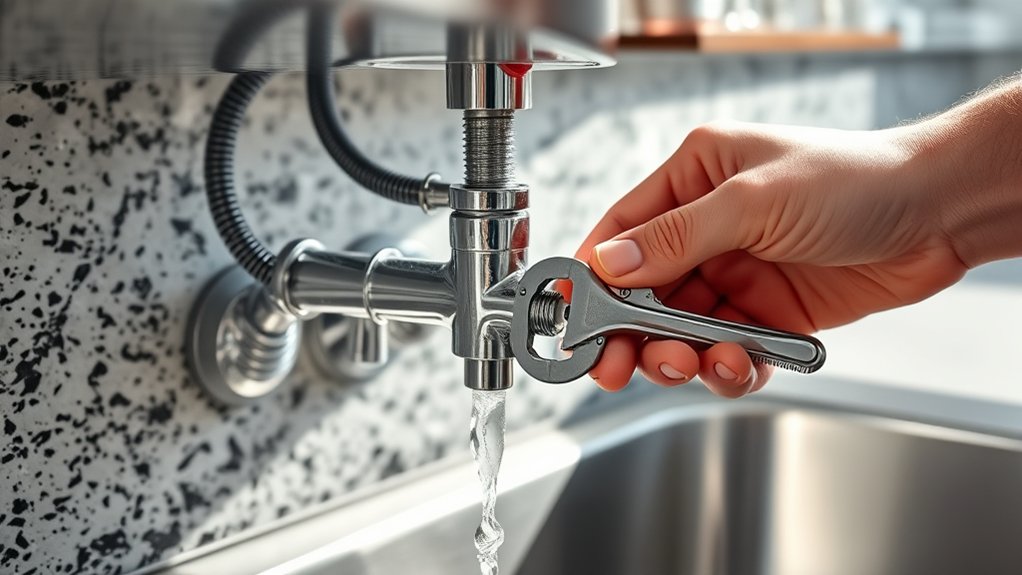
Carefully loosen and disconnect the supply lines to avoid leaks and water damage.
Then, remove the mounting nuts that secure the faucet in place.
Finally, lift out the faucet gently and clean the surrounding area.
Inspect the sink and faucet components for any signs of damage.
Keep going to uncover tips for handling tricky spots and ensuring a smooth disconnection process.
Key Takeaways
- Turn off water shut-off valves under the sink and open faucet handles to drain remaining water.
- Clear the area under the sink and gather necessary tools like wrenches, pliers, and towels.
- Use a wrench to loosen and disconnect the water supply lines carefully, applying penetrating oil if nuts are stuck.
- Loosen the faucet mounting nuts under the sink with a basin wrench, supporting the faucet to avoid damage.
- Lift out the faucet carefully, clean the sink surface, and inspect plumbing for damage before installing a new faucet.
Gather Tools for Disconnecting Your Kitchen Faucet
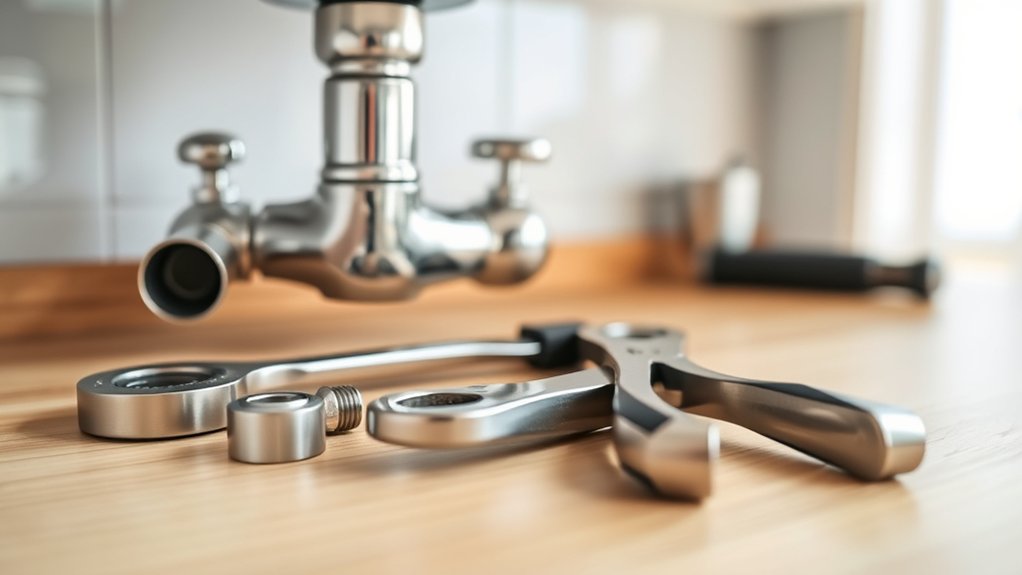
Before you begin disconnecting your kitchen faucet, make sure you have the right tools on hand. You’ll need an adjustable wrench to loosen nuts and bolts, and a basin wrench to reach tight spaces under the sink. Have a bucket or bowl ready to catch any leftover water.
A pair of pliers can help with stubborn fittings, while a screwdriver—usually Phillips or flathead—may be necessary for removing mounting screws. Keep some towels nearby to wipe up drips. It’s helpful to have plumber’s tape on hand in case you need to reseal connections later.
Organizing your tools beforehand saves time and prevents frustration once you start. With these essentials ready, you’ll be set to disconnect your kitchen faucet smoothly and efficiently.
Turn Off Your Kitchen Faucet Water Supply and Drain Remaining Water
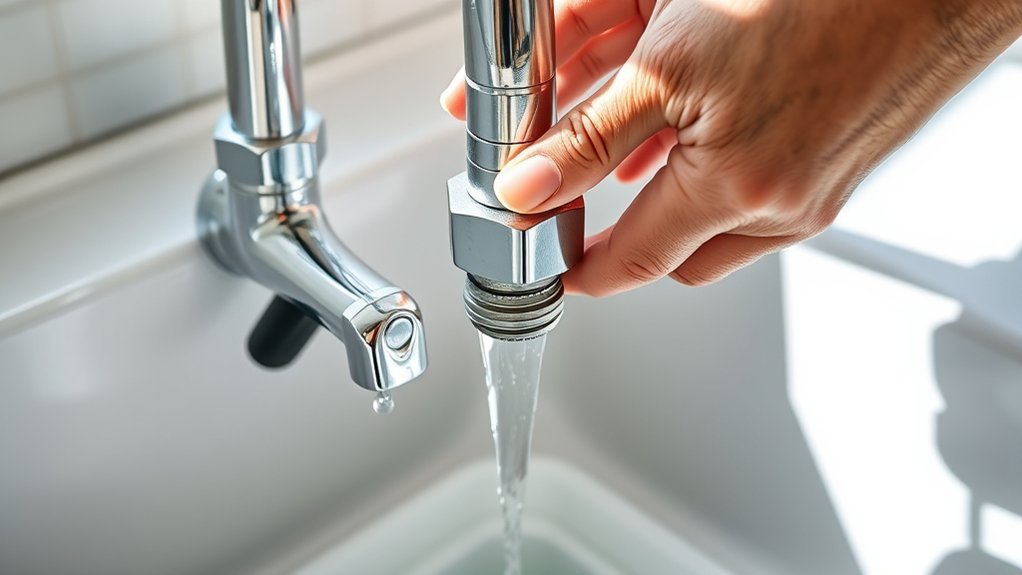
First, find the water supply valves under your sink and turn off both the cold and hot water.
Next, open the faucet to drain any remaining water from the lines.
This step prevents leaks and makes disconnecting the faucet easier.
Locate Water Supply Valves
Where do you find the water supply valves that control your kitchen faucet? Typically, you’ll locate them beneath the sink, attached to the wall or cabinet floor. Look for two small knobs or levers—one for hot water, one for cold.
They might be round or oval, made of metal or plastic. These valves connect to flexible hoses leading up to your faucet. If you don’t see any valves under the sink, check nearby walls or the basement, as some homes have central shut-offs.
Once you identify the valves, you’re ready to proceed. Knowing their exact location helps you shut off your water quickly and avoid leaks or flooding during faucet removal. Take a flashlight if the area is dark for a better view.
Shut Off Cold And Hot
Once you’ve located the water supply valves, turn both the cold and hot knobs clockwise to shut off the water flow completely. This step guarantees no water will leak or spray when you disconnect the faucet.
After turning off the valves, relieve any pressure in the lines by opening the faucet handles briefly.
Keep these tips in mind when shutting off your kitchen faucet water supply:
- Double-check that both valves are fully turned to avoid water flow.
- Use a cloth or small bucket to catch any drips when disconnecting.
- If valves are stuck, apply gentle penetrating oil before forcing them.
Drain Faucet And Lines
How do you guarantee no water remains in your kitchen faucet and supply lines after shutting off the valves? First, open the faucet handles fully to release any trapped water. This step lets the remaining water drain out, preventing spills when you disconnect the lines.
Keep the faucet open until the flow slows to a drip or stops completely. Next, place a bucket or towel underneath the supply lines to catch any leftover water that might leak when you disconnect them. If your faucet has a sprayer or additional attachments, drain those too by activating them while the water is off.
Once you’re sure all water has drained, you can safely proceed with disconnecting the faucet and supply lines without worrying about unwanted leaks or water damage.
Safely Disconnect Water Supply Lines Without Leaks
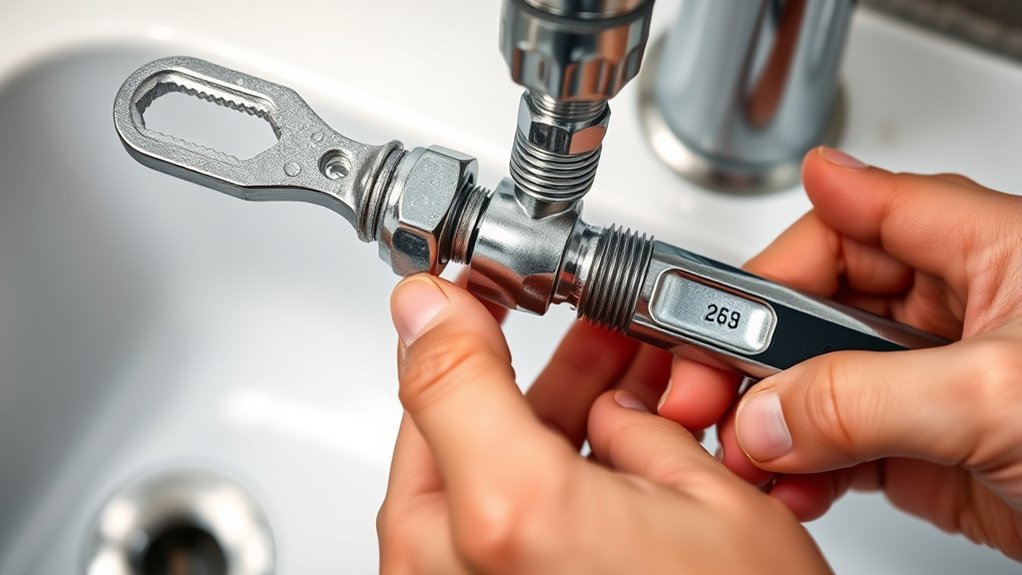
Before disconnecting the water supply lines, make sure you’ve completely turned off the water. Grab the right tools to avoid damaging the fittings as you loosen them.
Once disconnected, check carefully for any drips to prevent leaks.
Turn Off Water Supply
Although turning off the water supply might seem straightforward, taking the right steps guarantees you avoid leaks and water damage. Start by locating the shut-off valves under the sink. If you don’t find individual valves, turn off the main water supply to your home.
Once located, follow these tips to safely shut off the water:
- Turn the valve clockwise slowly to close it completely.
- Open the faucet to release any remaining water pressure.
- Use a towel or bucket to catch any drips when disconnecting lines.
Use Proper Tools
Since disconnecting water supply lines can cause leaks if done improperly, you’ll want to use the right tools to make the job clean and safe. Start with an adjustable wrench or a basin wrench, as these give you the leverage needed to loosen tight fittings without damaging them. Avoid using pliers alone, since they can slip and strip the nuts.
Have a bucket or towel ready to catch any residual water that might drip when you loosen the lines. Use a flashlight if the space under the sink is dim to clearly see the connections. When loosening the nuts, turn them slowly and steadily to prevent sudden water spurts.
Using proper tools helps you avoid leaks and keeps the disconnection process smooth and efficient.
Check For Drips
When you start disconnecting the water supply lines, closely watch for any drips or leaks that might appear. Catching these early prevents water damage and makes the process smoother. To check for drips effectively:
- Use a dry cloth or paper towel to spot moisture quickly.
- Tighten any loose connections gently to stop small leaks.
- Keep a bucket or bowl underneath to catch unexpected drips.
If you notice persistent leaks, double-check that the water supply is fully shut off. Sometimes valves don’t close completely, so turning them off again helps. Taking these precautions guarantees you disconnect the faucet safely without causing water mess or damage.
Stay patient and methodical, and you’ll handle the job without any unwanted surprises.
Remove Mounting Nuts Securing the Faucet Under the Sink
Before you can lift the faucet away from the sink, you’ll need to remove the mounting nuts that hold it securely in place underneath. First, get a basin wrench or an adjustable wrench, as these tools fit well into tight spaces beneath the sink. Locate the mounting nuts—usually large and metal—securing the faucet to the sink or countertop.
Turn the nuts counterclockwise to loosen them; they might be tight from years of installation. If they’re stubborn, apply some penetrating oil and wait a few minutes before trying again. Keep a firm grip to avoid stripping the nuts.
Once loosened, unscrew them completely by hand if possible. Make sure to support the faucet from above as you remove the last nut to prevent any sudden shifts or falls.
Carefully Lift Out Your Kitchen Faucet Without Damaging Surroundings
After loosening and removing the mounting nuts, you’ll be ready to lift the faucet out from the sink. Before you do, make sure to protect the surrounding area to avoid scratches or damage. Gently wiggle the faucet to loosen it, but don’t force it, as stubborn buildup might hold it in place.
Use steady, even pressure when lifting to keep everything intact.
Keep these tips in mind:
- Place a towel or soft cloth around the sink edges for protection
- Check for any remaining water lines still attached
- Use both hands to evenly lift and avoid tilting
Taking these precautions helps you remove the faucet smoothly without harming your countertop or sink edges.
Clean Up and Inspect the Area for Faucet Installation
Since you’ve removed the old faucet, take a moment to thoroughly clean the sink area and check for any damage or buildup that could affect the new installation. Use a mild cleaner and a soft cloth to remove grime, mineral deposits, and old plumber’s putty from the mounting surface. Inspect the sink for cracks or rust, and verify the mounting holes are clean and unobstructed.
Look under the sink to check the condition of the supply lines and shut-off valves, making sure there’s no corrosion or leaks. Clearing away debris and addressing any issues now will help your new faucet fit securely and function properly. A clean, damage-free area sets the stage for a smooth and successful faucet installation.
Troubleshoot Common Issues When Disconnecting Your Kitchen Faucet
When disconnecting your kitchen faucet, you might run into a few common issues that can slow you down or cause frustration. Don’t worry—these problems are usually easy to fix once you know what to look for.
Here are some common issues you might face:
- Stuck or corroded nuts: Use penetrating oil and a wrench to loosen them gently without damaging plumbing.
- Water leaks: Double-check shut-off valves are fully closed before disconnecting to avoid messy leaks.
- Tight or awkward space: Use a basin wrench or flexible tools to reach hard-to-access nuts under the sink.
Frequently Asked Questions
How Do I Choose a New Kitchen Faucet Replacement?
You should consider your sink type, faucet style, and finish that matches your kitchen. Check water pressure compatibility, choose durable materials, and look for easy installation features.
Don’t forget to read reviews before buying your replacement faucet.
What Tools Are Best for Tightening Faucet Connections?
You’ll want an adjustable wrench and a basin wrench for tightening faucet connections easily. These tools give you the grip and reach you need, especially in tight spaces under the sink, so you don’t struggle or damage fittings.
Can I Disconnect a Kitchen Faucet Without Shutting off Water?
You shouldn’t disconnect your kitchen faucet without shutting off the water first. Doing so risks flooding and water damage.
Always turn off the water supply valves under the sink before starting any faucet work to stay safe.
How Often Should I Replace My Kitchen Faucet?
Think of your kitchen faucet as a reliable friend—replace it every 10-15 years or when leaks and corrosion start to show.
Don’t wait; a fresh faucet keeps your kitchen running smoothly and your water pure.
What Causes Faucet Leaks After Installation?
You get faucet leaks after installation mainly because of loose connections, damaged washers, or improperly sealed joints. Make sure you tighten all parts, replace worn components, and apply plumber’s tape to prevent water from escaping.
Conclusion
Disconnecting your kitchen faucet is like gently untangling a knot—each step carefully unwinds the connection without causing a mess. By gathering your tools, shutting off the water, and loosening the mounting nuts, you’re freeing the faucet from its watery grip.
As you lift it away, imagine clearing a path for something new and fresh. With a little patience and care, you’ll have a clean slate ready for your next kitchen upgrade.
Following these simple steps ensures a smooth faucet disconnection process. Properly disconnecting the kitchen faucet prevents leaks and damage. Now you’re ready to install a new fixture or make repairs with confidence.