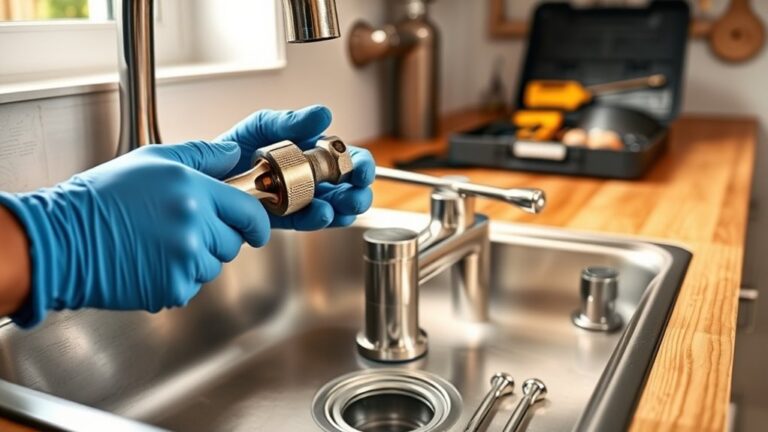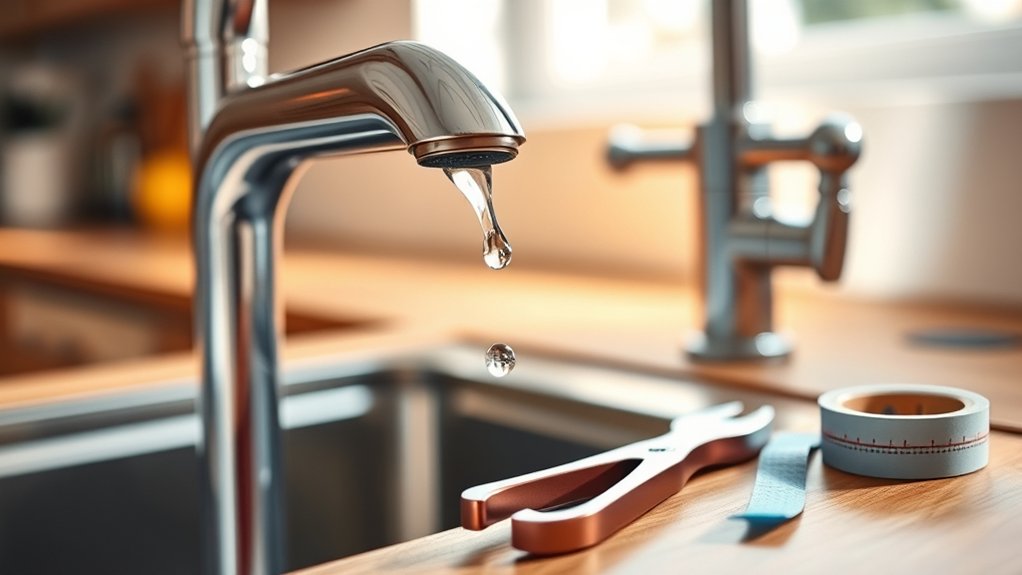
How to Drip Faucets in 7 Easy Steps
To fix a dripping faucet in seven easy steps, start by gathering essential tools like screwdrivers and replacement washers. Addressing a dripping faucet promptly is crucial to conserve water and prevent further damage.
Turning off the water supply before you begin helps avoid spills and makes the repair process smoother.
Next, carefully disassemble the faucet by removing the handle and other parts. Inspect the components thoroughly to identify worn washers or O-rings that may be causing the drip.
Replace these faulty parts to stop the leak effectively.
Reassemble the faucet securely and restore the water supply.
Finally, check for any remaining leaks to ensure the repair is successful.
With proper tightening and regular maintenance, you can stop drips and save water. Keep going to discover helpful tips for lasting faucet care.
Key Takeaways
- Turn off the water supply and open the faucet to drain remaining water before starting any repairs.
- Remove the faucet handle carefully by unscrewing and organizing all small parts for reassembly.
- Inspect and replace worn washers, O-rings, or cartridges with exact, high-quality replacements to stop dripping.
- Reassemble the faucet securely, ensuring all components are tightened properly but not overtightened to avoid damage.
- Gradually restore water supply and check for leaks to confirm the drip has been fixed effectively.
Gather Tools to Fix a Dripping Faucet
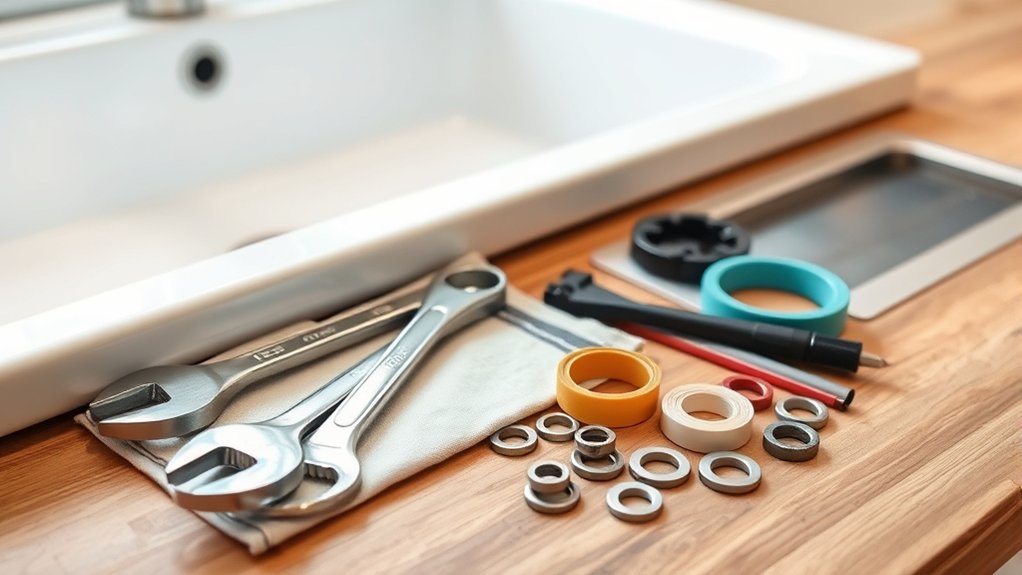
Before you start fixing your dripping faucet, make certain you have all the necessary tools on hand. You’ll need a few basic items: a wrench, a screwdriver (both flathead and Phillips), replacement washers or O-rings, and some plumber’s tape.
It’s also helpful to have a small container to keep screws and parts from getting lost. A flashlight can come in handy if the area under your sink is dimly lit. Don’t forget a cloth or rag to wipe up any water spills.
Having these tools ready will save you time and frustration once you begin the repair. Gathering everything beforehand guarantees you won’t have to stop mid-job to search for what you need.
Turn Off Water Supply Before Fixing Your Faucet
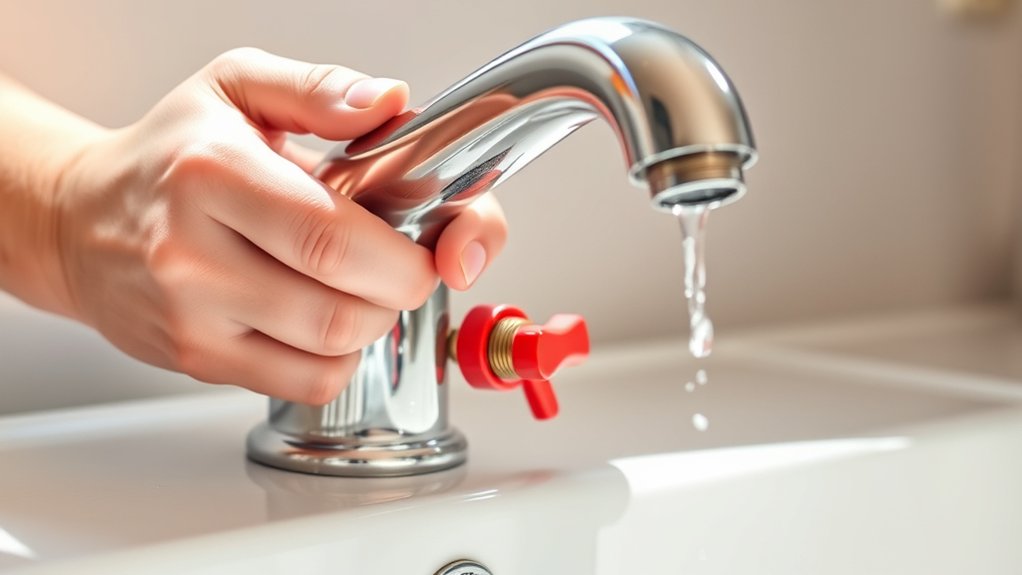
Before you start fixing your dripping faucet, make sure to turn off the water supply by locating the main water valve. Once you’ve shut it off, double-check that the water is completely stopped by opening the faucet.
This step prevents any unwanted leaks or water damage while you work.
Locate Main Water Valve
Where do you shut off the water when your faucet starts dripping? The first step is to locate your main water valve. This valve stops water flow to your entire home, preventing any mess while you work on the faucet.
Here’s how to find it:
- Check near your water meter—usually in a basement, crawl space, or outside near the street.
- Look for a round wheel or lever valve—these are common types.
- Inspect utility areas like your garage or where pipes enter your home.
- Consult your home’s blueprint or ask your landlord if you’re unsure where the valve is located.
Knowing where the main valve is will save time and avoid water damage.
Confirm Water Is Off
Once you’ve located and turned off the main water valve, double-check that the water supply to the faucet is completely shut off. Turn the faucet handle on and watch for any water flow. If no water comes out, you’ve successfully stopped the supply.
If water still drips or flows, recheck the valve to verify it’s fully closed. Sometimes valves need to be turned firmly or adjusted to stop water entirely. Also, if your home has individual shut-off valves under the sink, turn those off and test the faucet again.
Confirming the water is off prevents water damage and makes repairs safer and easier. Never start fixing your faucet while water pressure remains, as that can cause leaks or spraying.
Disassemble Your Dripping Faucet Carefully
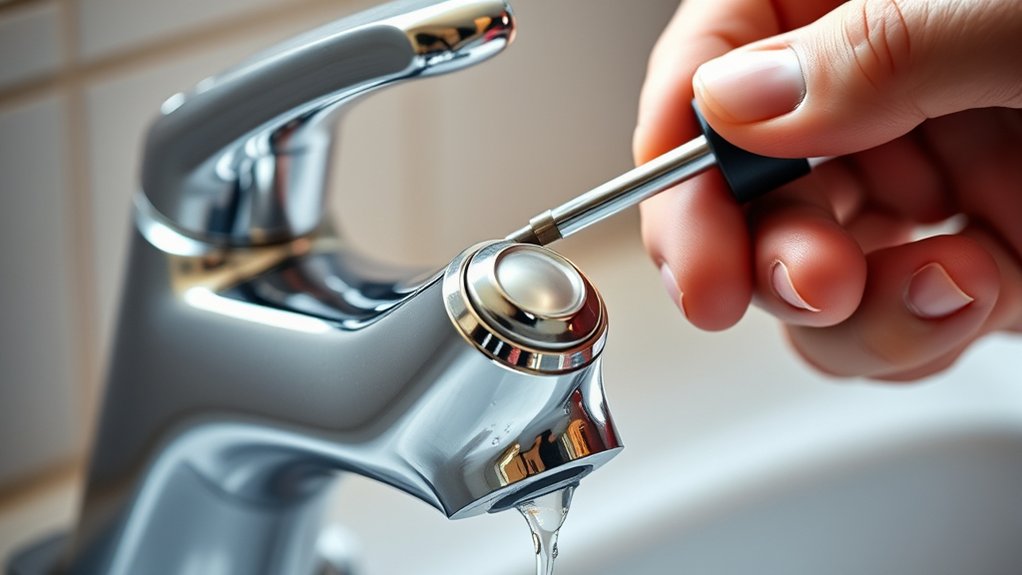
Before you start, make sure you have all the necessary tools ready. Confirm the water supply is turned off to avoid any spills.
Then, carefully remove the faucet handle to access the parts inside.
Gather Necessary Tools
Although disassembling your dripping faucet might seem intimidating, gathering the right tools will make the process much smoother. Having everything ready before you begin saves time and prevents frustration.
Here are the essential tools you’ll need:
- Adjustable wrench – for loosening nuts and bolts without damaging them.
- Screwdrivers (flathead and Phillips) – to remove screws securing faucet parts.
- Pliers – helpful for gripping and turning small components.
- Allen wrench (hex key) – often required for set screws on modern faucets.
Keep these tools nearby as you disassemble your faucet carefully. With the right equipment, you’ll handle the task confidently and avoid unnecessary damage.
Turn Off Water Supply
To prevent water damage while working on your faucet, you need to turn off the water supply first. Locate the shut-off valves under the sink and turn them clockwise until they stop. If you don’t have individual shut-offs, turn off the main water valve for your home.
Once off, open the faucet to drain any remaining water. This step is essential before you disassemble the faucet.
| Step | Action | Tip |
|---|---|---|
| 1 | Find shut-off valves | Usually under the sink |
| 2 | Turn valves clockwise | Stop water flow completely |
| 3 | Open faucet | Drain leftover water |
| 4 | Confirm no water flow | Prevent leaks during repairs |
Now, you’re ready to carefully disassemble your faucet without worrying about water spills.
Remove Faucet Handle
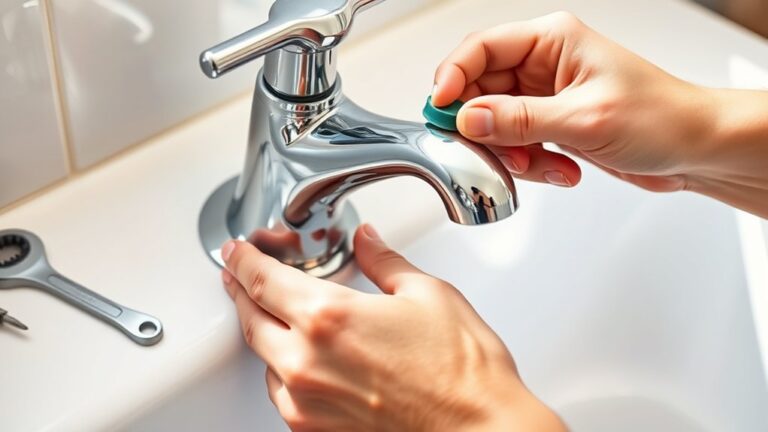
Once the water supply is securely off, you can start removing the faucet handle. This step gives you access to the internal parts causing the drip.
Follow these simple actions to take the handle off safely:
- Look for a decorative cap or cover on the handle and pry it off gently with a flathead screwdriver.
- Locate the screw beneath the cap and use the appropriate screwdriver to loosen and remove it.
- Grip the handle firmly and pull it straight up or out; if it’s stuck, wiggle it carefully to loosen without damaging the faucet.
- Set the handle aside, ensuring you keep screws and small parts in a safe spot for reassembly.
Now, you’re ready to inspect the dripping mechanism inside.
Diagnose What’s Causing Your Faucet to Drip
Before you fix a dripping faucet, you need to figure out what’s causing the leak. Start by inspecting the faucet’s internal components once the handle is off. Look for signs of worn-out washers, damaged O-rings, or corroded valve seats, as these often cause drips.
Check the cartridge or stem for any cracks or mineral buildup that might prevent a proper seal. Also, confirm that the faucet’s parts move smoothly without resistance. If water leaks even when the faucet is completely off, you likely have a faulty valve or seal.
Identifying the exact source of the drip helps you target your repair effectively. Take your time during this diagnosis to make certain you don’t miss subtle damage or buildup triggering the leak.
Replace Worn Parts to Stop Faucet Drips
Although diagnosing the cause of your dripping faucet is essential, replacing the worn parts is what actually stops the leak. Once you identify the faulty component, gather the necessary replacement parts before starting.
Here’s what you’ll likely need to replace:
- Washers – These small rubber pieces wear out and cause drips.
- O-rings – Found in the valve stem, O-rings can become brittle over time.
- Valve seat – Corrosion here can prevent a proper seal.
- Cartridge or ball valve – In some faucets, these internal parts wear out and must be swapped.
Make sure you match new parts exactly to your faucet model to guarantee a tight fit and stop those annoying drips for good.
Reassemble Your Faucet and Check for Drips
After replacing the worn parts like washers and O-rings, you’ll want to carefully reassemble your faucet to make sure everything fits back together properly.
Start by aligning the valve stem and inserting it back into the faucet body. Secure it with the retaining nut, tightening it just enough to hold everything in place without over-tightening.
Align the valve stem carefully, then secure it with the retaining nut—tighten just enough to hold firmly.
Next, reattach the handle and fasten any screws. Once assembled, turn the water supply back on slowly. Check for drips by observing the faucet for a few minutes.
If you still see leaks, tighten connections slightly or revisit the parts you replaced to ensure they’re seated correctly. Confirming a drip-free faucet at this stage means you’ve successfully fixed the problem and can move on with confidence.
Prevent Future Faucet Drips and Leaks Easily
To keep your faucet from dripping again, you need to perform regular maintenance and use quality parts when making repairs. Preventing future leaks is easier than you think if you follow these simple steps:
- Inspect regularly: Check your faucet monthly for signs of wear or leaks. Catching issues early saves time and money.
- Replace worn washers and O-rings: These small parts often cause drips. Use durable replacements to extend your faucet’s life.
- Avoid overtightening: Tighten parts just enough to stop leaks without damaging components.
- Keep faucets clean: Mineral buildup can cause seals to fail. Clean aerators and surfaces to maintain smooth operation.
Frequently Asked Questions
Can a Dripping Faucet Increase My Water Bill Significantly?
Yes, a dripping faucet can increase your water bill considerably over time. Even small leaks waste gallons daily, so fixing them quickly helps you save money and conserve water without much effort.
Addressing drips promptly prevents unnecessary water loss. This simple repair can make a noticeable difference in your monthly expenses.
Taking action now is both cost-effective and environmentally responsible.
Is It Safe to Fix a Faucet Without Turning off the Main Water Supply?
Fixing a faucet without shutting off the main water supply is like sailing a boat without lowering the sails—risky and messy. You shouldn’t do it; water can gush unexpectedly, causing damage and injury.
Always turn it off first.
How Often Should Faucet Washers Be Replaced to Prevent Leaks?
You should replace faucet washers every 1 to 2 years to prevent leaks, but check them sooner if you notice dripping. Regularly inspecting and replacing washers keeps your faucet running smoothly and stops water waste.
Can Hard Water Cause Faucets to Drip More Frequently?
Oh sure, hard water loves making your faucets drip like a leaky faucet enthusiast! Yes, you’ll find mineral buildup clogs seals and wears washers faster, causing more frequent drips.
Should I Use Plumber’s Tape When Reassembling the Faucet?
Yes, you should use plumber’s tape when reassembling the faucet. It helps create a watertight seal on threaded connections, preventing leaks and ensuring your faucet stays drip-free longer.
Don’t skip this important step!
Conclusion
By gathering gadgets, going gentle while disassembling, and getting to the genuine glitch, you gain great grip over your dripping dilemma. Don’t forget to firmly fix faulty fittings and fasten your faucet flawlessly to forestall future flaws.
Taking these simple steps saves stress, spares supplies, and supports sustainable savings. So, stay sharp, stay steady, and stop those stubborn faucet spills swiftly and smartly!
Mastering how to drip faucets not only prevents water wastage but also reduces your utility bills. Follow these 7 easy steps to maintain a leak-free and efficient faucet.