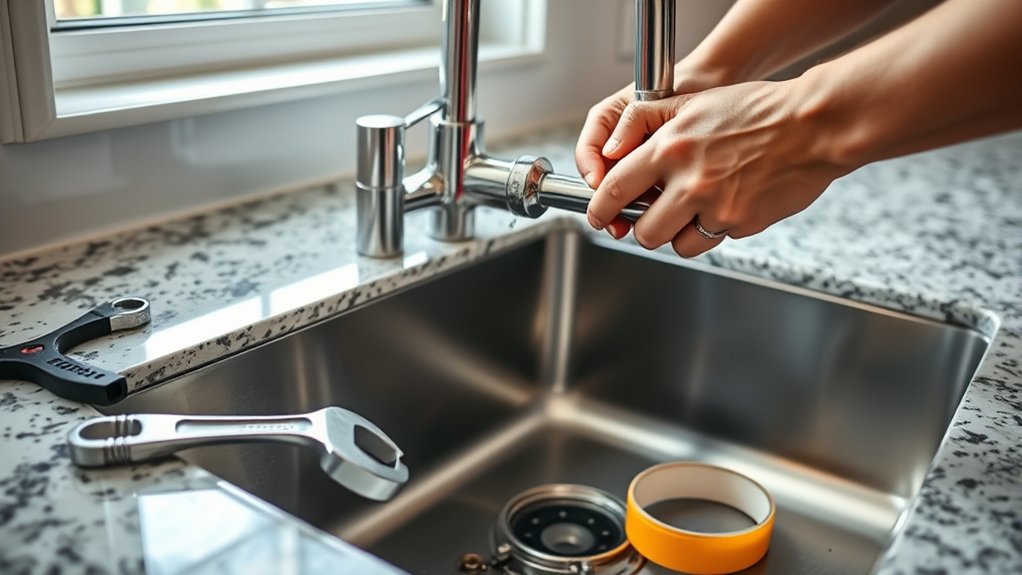
How to Change a Kitchen Faucet in 7 Easy Steps
To change your kitchen faucet in seven easy steps, start by gathering essential tools such as a wrench, screwdriver, and plumber’s tape. These tools will make the process smoother and help ensure a secure installation. Turning off the water supply is crucial before you begin any work to avoid spills and water damage.
Next, drain any remaining water from the lines. Carefully remove the old faucet by disconnecting the supply lines and loosening the mounting hardware. This step may require some patience, especially if parts are corroded or stuck.
Install the new kitchen faucet by positioning it properly and securing it with the mounting hardware. Connect the supply lines tightly to prevent leaks.
Finally, turn the water back on and check thoroughly for leaks.
Keep following for tips on troubleshooting common issues and advice on choosing the perfect faucet for your kitchen.
Key Takeaways
- Turn off water supply valves and drain remaining water by opening the faucet.
- Disconnect supply lines and remove mounting hardware to detach the old faucet carefully.
- Position and secure the new faucet through sink holes, ensuring proper gasket or putty use.
- Connect hot and cold water supply lines snugly and attach any additional components.
- Turn on water valves slowly, check for leaks, and tighten connections as needed for leak-free operation.
Gathering the Right Tools for Changing Your Kitchen Faucet
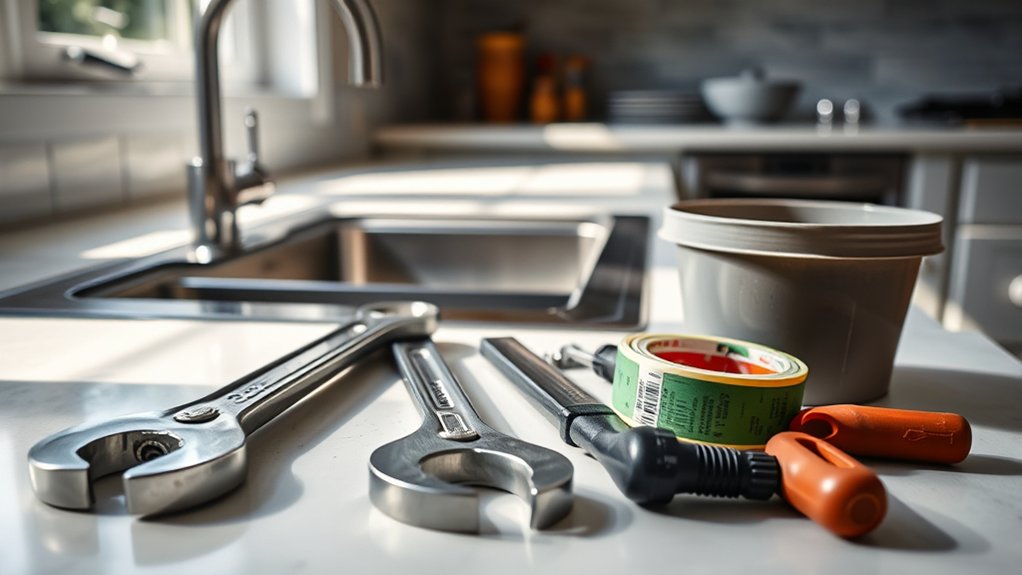
Before you begin replacing your kitchen faucet, you’ll need to gather the right tools to make the job smoother and faster. Start with an adjustable wrench to loosen and tighten nuts of various sizes. A basin wrench is essential for reaching tight spaces under the sink where your hands might not fit.
Have a screwdriver handy—usually Phillips or flathead—to remove mounting screws. You’ll also want plumber’s tape to seal connections and prevent leaks. Keep a bucket or large bowl nearby to catch any residual water when disconnecting pipes.
Finally, bring some clean rags or towels for wiping up spills. Having these tools ready before you start will help you avoid interruptions, making the faucet replacement quick and efficient.
Turning Off Kitchen Faucet Water and Getting Ready
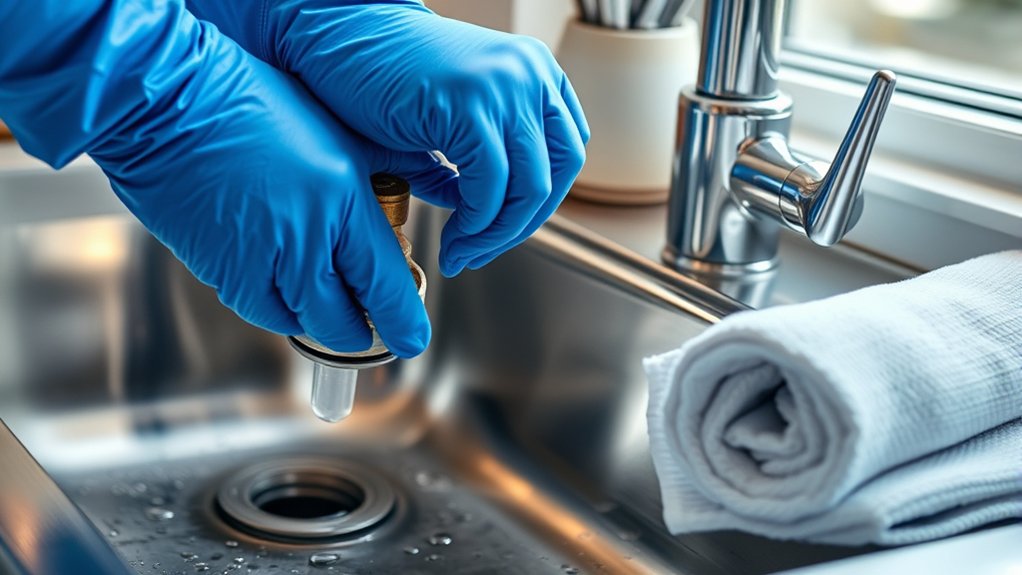
First, find the water shutoff valves under your sink and turn them off to stop the water flow. Next, clear out the space beneath the sink to give yourself room to work. Finally, gather all the tools you’ll need so everything’s within reach before you start.
Locate Water Shutoff Valves
Two main valves control the water supply to your kitchen faucet, and locating them is essential before you start any repairs. Usually, you’ll find these shutoff valves right under the sink, attached to the water supply lines—one for hot water and one for cold.
If you can’t spot them there, check near the basement or crawl space, where the main water line enters your home. Some homes might have a single shutoff valve for the whole house.
Once you find these valves, turn them clockwise to close and stop water flow. Test the faucet afterward to ensure the water’s off. Knowing exactly where these valves are will save you time and prevent unexpected leaks when changing your faucet.
Clear Under-Sink Area
Once you’ve turned off the water supply, clear out everything beneath your sink to create a clean workspace. Remove any cleaning supplies, buckets, or trash bins so you have ample room to move freely. Wipe down the area to eliminate dust or moisture that could interfere with your work.
This clear space will help you easily access the faucet connections and avoid knocking over items while you work. Check for any leaks or water damage that might need attention before you start the replacement. Also, place a small towel or container nearby to catch any residual water that may drip when disconnecting the old faucet.
Preparing this area carefully guarantees a smoother, safer faucet change process.
Gather Necessary Tools
With the area under your sink cleared and ready, you’ll need to gather the tools required to turn off the water supply and prepare for the faucet replacement. Start with an adjustable wrench and a basin wrench to loosen nuts in tight spaces. Have a bucket or large bowl handy to catch any water left in the lines when you disconnect them.
You’ll also need a pair of pliers for gripping and turning, plus a screwdriver—either flathead or Phillips—depending on your faucet’s mounting screws. Keep some plumber’s tape nearby to seal threaded connections when reinstalling. Finally, have a towel or rag ready to wipe up any drips.
Having these tools within reach will make the next steps smoother and help you avoid unnecessary interruptions.
How to Remove the Old Kitchen Faucet Step-by-Step

Now that the water supply is off, you’ll want to disconnect the faucet connections carefully to avoid any leaks.
Next, remove the mounting hardware that holds the faucet in place.
These steps will free your old faucet so you can take it out smoothly.
Turn Off Water Supply
Before you start removing your old kitchen faucet, make sure to turn off the water supply to prevent leaks and water damage. Locate the shutoff valves under the sink; these control the flow of water to the faucet. If your valves are stuck or leaking, you might need to turn off the main water supply to your home.
Follow these steps to turn off the water supply properly:
- Turn the valves clockwise until they stop to close the water flow.
- Open the faucet to release any remaining water in the lines.
- Place a towel or bucket under the pipes to catch any drips once you proceed.
Now you’re ready to safely remove your old kitchen faucet without worrying about water spilling everywhere.
Disconnect Faucet Connections
Once you’ve shut off the water supply and drained the faucet, you can start disconnecting the water lines and mounting hardware. First, locate the water supply lines under the sink—they’re usually flexible hoses connected to the shutoff valves. Using an adjustable wrench, carefully loosen the nuts securing the supply lines to the faucet’s threaded tailpieces.
Be prepared for a small amount of water to drip out when you disconnect the lines. Once the supply lines are detached, check for any remaining connections, such as a pull-out spray hose, and disconnect those as well. Take your time to avoid damaging the supply lines or surrounding pipes.
After disconnecting all water connections, you’re ready to move on to removing the mounting hardware.
Remove Mounting Hardware
Although disconnecting the water lines is essential, you’ll need to focus on loosening and removing the mounting hardware that holds the faucet in place before you can lift it out. This hardware usually consists of nuts or brackets located underneath the sink.
To remove the mounting hardware:
- Use a basin wrench or an adjustable wrench to reach and loosen the mounting nuts.
- Hold the faucet steady from above while you turn the nuts to prevent twisting the supply lines.
- Once all nuts and brackets are removed, carefully lift the faucet straight up and out from the sink.
Removing this hardware can be tricky in tight spaces, so take your time and ascertain all connections are fully detached before pulling the faucet out.
How to Install Your New Kitchen Faucet Correctly
Installing your new kitchen faucet correctly guarantees it functions smoothly and lasts longer. First, position the faucet through the mounting holes on the sink or countertop. Make certain the gasket or plumber’s putty is in place to prevent water leaks.
From underneath, secure the faucet with mounting nuts, tightening them firmly but without over-tightening to avoid damage. Next, connect the water supply lines to the corresponding hot and cold valves, making sure the connections are snug. Use an adjustable wrench for a secure fit but avoid overtightening.
Finally, attach any additional components like sprayer hoses or handles according to the manufacturer’s instructions. Taking these careful steps sets you up for a reliable, leak-free faucet that performs well every day.
Testing Your New Kitchen Faucet for Leaks
Before you fully rely on your new kitchen faucet, you’ll want to test it carefully for leaks to make sure everything is sealed and functioning properly. Start by turning on both the hot and cold water supply valves slowly. Watch closely for any dripping or pooling water around connections.
Next, observe under the sink where the faucet connects to the water lines and drain.
Here’s a quick checklist to guide you:
- Inspect all visible joints and fittings for water droplets.
- Check the base of the faucet on the sink deck for moisture.
- Run water through the faucet for several minutes to spot slow leaks.
If everything stays dry, your installation is solid, and you can confidently use your new faucet.
Troubleshooting Common Kitchen Faucet Installation Problems
Even if your faucet passes the leak test, you might still encounter some common installation issues. If your faucet handle feels stiff or won’t turn smoothly, check for debris inside the cartridge or confirm it’s installed correctly. A dripping faucet often means a worn-out washer or improperly seated cartridge—tighten connections or replace parts as needed.
If water pressure seems low, verify that the supply valves are fully open and the aerator isn’t clogged. Also, if the faucet base rocks or feels loose, tighten the mounting nuts underneath the sink. Finally, if you notice water pooling under the sink, inspect all hose connections and tighten or reseal them to prevent leaks.
Address these problems promptly to ensure your faucet works perfectly.
Choosing the Right Kitchen Faucet for Your Sink
When selecting a kitchen faucet, you’ll want to think about both functionality and style to match your sink and kitchen design. First, consider the faucet’s mounting type—whether it’s deck-mounted or wall-mounted—to ensure compatibility with your sink.
Choose a kitchen faucet by balancing functionality and style to complement your sink and overall kitchen design.
Next, examine the number of holes in your sink to pick a faucet that fits perfectly without extra drilling or adapters. Finally, think about the faucet’s features: do you want a pull-down sprayer, touchless operation, or a high-arc spout for better clearance?
- Deck-mounted faucets fit sinks with pre-drilled holes on the countertop.
- Wall-mounted faucets free up counter space but require plumbing in the wall.
- Features like sprayers or touchless controls add convenience and efficiency.
Frequently Asked Questions
Can I Change a Kitchen Faucet Without Professional Help?
Yes, you can change a kitchen faucet without professional help if you have basic tools and follow instructions carefully.
Just turn off the water, disconnect old parts, and install the new faucet step-by-step to avoid leaks.
How Long Does a Typical Faucet Replacement Take?
A typical faucet replacement takes about 1 to 2 hours, depending on your experience and any unexpected issues.
You’ll want to take your time to avoid mistakes and make sure everything fits and works properly.
What Types of Kitchen Faucets Are Most Water-Efficient?
You’ll find that faucets with WaterSense certification, aerators, and touchless models are most water-efficient. They reduce flow without sacrificing pressure, helping you save water and lower your utility bills effortlessly.
Can I Update My Faucet to a Touchless Model?
Yes, you can update your faucet to a touchless model. Just make sure your sink setup supports the new technology, and you’re comfortable with basic electrical connections.
It’s a great way to boost convenience and hygiene.
How Do I Maintain My Kitchen Faucet to Prevent Future Leaks?
You don’t have to wait for leaks to appear—clean aerators monthly, tighten connections regularly, and replace worn washers.
Conclusion
Changing your kitchen faucet is easier than you might think—over 70% of DIYers successfully install their own faucets without needing a plumber. By following these simple steps, you’ll save money and gain confidence in handling basic home repairs.
Remember to gather the right tools, turn off the water, and test for leaks carefully. With the right faucet choice and a bit of patience, your kitchen will look fresh and function perfectly in no time!
In conclusion, changing a kitchen faucet is a straightforward project that can enhance your kitchen’s appearance and functionality. By following these 7 easy steps, you’ll master faucet installation and enjoy a hassle-free experience. Don’t forget, choosing the right kitchen faucet and proper installation techniques are key to a successful DIY update.