How to Install a Sink Faucet in 7 Easy Steps
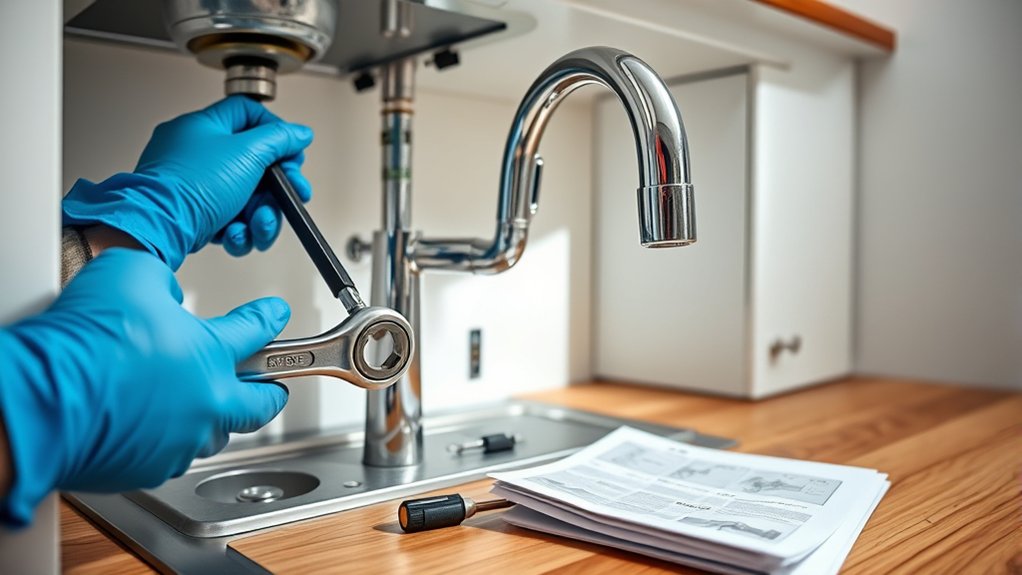
To install a sink faucet in seven easy steps, start by gathering all the necessary tools and materials. Turning off the water supply is essential before removing the old faucet to avoid any spills or damage. Proper preparation ensures a smooth installation process.
Next, inspect and clean the sink area thoroughly to provide a good surface for the new faucet.
Position your new faucet carefully, making sure it aligns correctly with the sink holes. Secure the faucet properly to prevent any wobbling or leaks.
After securing the faucet, connect the water supply lines snugly to the corresponding valves.
Slowly turn the water back on to check for any leaks.
Finally, adjust the faucet as needed to ensure a leak-free and fully functional setup.
Follow these simple steps, and you’ll have a smooth, leak-free faucet installation in no time—you’ll find even more helpful tips ahead.
Key Takeaways
- Turn off water supply, remove the old faucet, and clean the sink area before starting the installation.
- Position the new faucet in the sink holes and secure it with mounting nuts underneath.
- Attach and tighten hot and cold water supply lines to the faucet and shutoff valves.
- Slowly turn on the water supply, check for leaks, and test faucet operation.
- Clean the workspace, verify no leaks remain, and properly dispose of old parts and packaging.
Gather Tools Needed for Faucet Installation
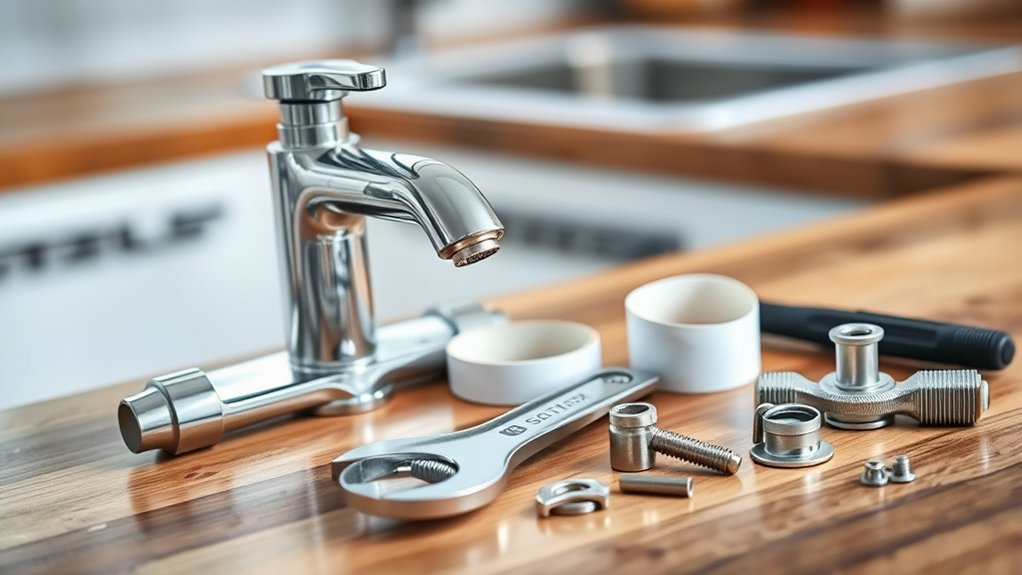
Before you begin installing your sink faucet, make sure you have all the necessary tools on hand. You’ll need a basin wrench to reach tight spaces under the sink, an adjustable wrench for tightening nuts, and a screwdriver, usually Phillips or flathead, depending on your faucet model.
Don’t forget plumber’s tape to seal threaded connections and prevent leaks. A bucket and some towels can help catch any water drips during the process. You might also want a flashlight to see clearly under the sink.
Having these tools ready will make your installation smoother and faster. Double-check your faucet package for any specialized tools or parts unique to your model. Being prepared keeps you from pausing midway to hunt for gear.
Turn Off Water and Disconnect the Old Faucet
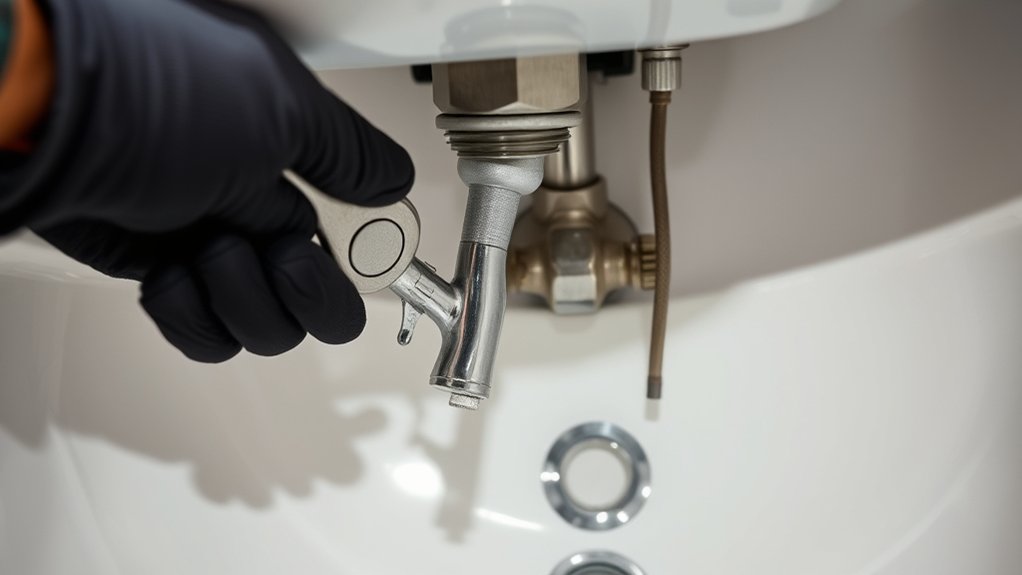
Once you’ve gathered your tools, turn off the water supply valves under the sink to prevent any leaks during removal. If your valves are stuck, use a wrench carefully to avoid damage. Next, open the faucet to drain any remaining water.
Place a bucket or towel underneath to catch drips. Using an adjustable wrench or basin wrench, loosen the nuts connecting the water supply lines to the faucet. Once disconnected, unscrew the mounting nuts holding the faucet to the sink from underneath.
Position a bucket below, then loosen and disconnect supply line and mounting nuts using a wrench.
You might need a basin wrench for tight spaces. Carefully lift the old faucet out from above the sink. Clean the sink surface to remove old putty or debris before installing the new faucet.
This guarantees a proper seal and prevents leaks later on.
Inspect Water Supply Lines for Damage
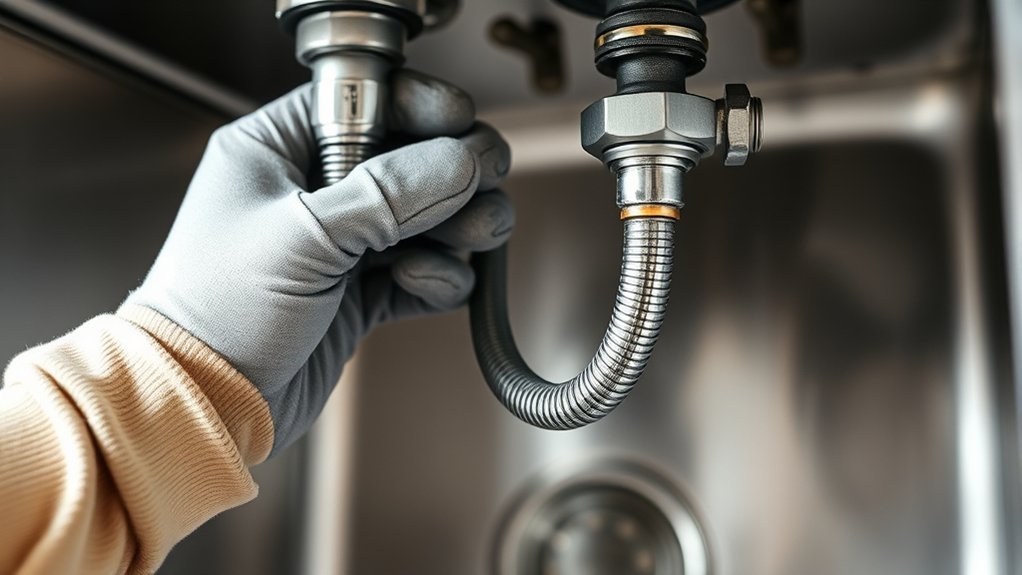
How can you be sure your water supply lines are in good condition? Before installing your new faucet, carefully inspect the lines to prevent leaks or bursts.
- Look for visible cracks, bulges, or corrosion on the hoses.
- Check the connections for any signs of rust or mineral buildup.
- Gently squeeze flexible lines to detect weak spots or brittleness.
- Ensure the fittings are tight but not over-tightened, which can cause damage.
If you spot any damage or wear, replace the supply lines before proceeding. Using old or compromised lines can lead to water damage and costly repairs.
Taking these steps now ensures a secure and lasting faucet installation.
Clean the Sink Area Before Installing New Faucet
Before installing your new faucet, make certain you remove any old debris from the sink area. Use the right cleaning tools to scrub the surface thoroughly.
Once clean, dry the area completely to ensure a secure installation.
Remove Old Debris
Why does removing old debris matter when installing a new faucet? It guarantees a clean, smooth surface for a secure fit and prevents leaks. If you leave debris behind, it can cause alignment issues or damage seals.
To remove debris effectively:
- Scrape off old plumber’s putty or caulk stuck around the sink hole.
- Clear away mineral deposits or rust buildup with a plastic scraper.
- Wipe the area with a damp cloth to remove dirt and dust.
- Check for any leftover adhesive or grime that could interfere with installation.
Use Appropriate Cleaning Tools
Although you’ve removed old debris, using the right cleaning tools guarantees the sink area is spotless and ready for your new faucet. Grab a soft sponge or microfiber cloth to gently wipe away any remaining dirt or grime without scratching the surface. For tougher buildup, use a non-abrasive cleaner that’s safe for your sink material.
Avoid harsh chemicals that might damage finishes or leave residue. A toothbrush or small brush helps reach tight spots around the faucet holes and edges. Make certain you clean both inside and around the mounting area thoroughly to prevent any issues during installation.
Taking these steps ensures a clean, smooth surface that helps your new faucet fit perfectly and last longer.
Dry Surface Thoroughly
Once you’ve thoroughly cleaned the sink area, make sure to dry the surface completely to prevent any moisture from interfering with the faucet installation. Moisture can cause slipping or prevent adhesives and sealants from bonding properly, so thorough drying is essential.
Here’s how to dry the sink surface effectively:
- Use a clean, absorbent towel to soak up excess water.
- Wipe down all areas where the faucet will contact the sink.
- Allow the surface to air dry for a few minutes to ensure no hidden dampness.
- Double-check corners and crevices where water can hide.
Set Up and Secure Your New Faucet Base
Now, position your new faucet base carefully over the sink holes, making sure it’s aligned properly. Once it’s in place, tighten the mounting nuts underneath to secure it firmly.
This will keep your faucet stable and ready for the next steps.
Position Faucet Correctly
Where should you place your new faucet to guarantee it functions perfectly and looks great? Start by aligning the faucet base with the sink holes. You want it centered and straight for a professional look and smooth operation.
Follow these steps:
- Insert the faucet through the designated holes on the sink.
- Make sure the handle(s) have enough clearance to move freely without hitting the backsplash or wall.
- Check the spout’s reach—ensure it extends over the drain without dripping outside the sink.
- Adjust the faucet’s angle so it sits flush against the sink surface, avoiding any gaps.
Taking time here prevents leaks and awkward positioning later on, setting you up for a seamless installation process.
Tighten Mounting Nuts
Although positioning the faucet correctly is essential, you need to tighten the mounting nuts securely to hold the faucet base firmly in place. Start by reaching under the sink and locating the nuts attaching the faucet to the countertop or sink hole. Use a basin wrench or adjustable wrench to turn each nut clockwise, ensuring even pressure.
Don’t overtighten, as this can damage the sink or faucet components, but make sure they’re snug enough to prevent any movement. If your faucet has a mounting bracket, secure it first before tightening the nuts. Finally, check from above to confirm the faucet hasn’t shifted during tightening.
Securing the mounting nuts correctly guarantees your faucet stays stable and prevents leaks or wobbling during use.
Connect Water Supply Lines to the New Sink Faucet
How do you guarantee a secure and leak-free connection when attaching the water supply lines to your new sink faucet? Start by ensuring the water supply is turned off. Then, follow these steps:
- Align the supply lines with the faucet’s threaded inlets.
- Screw the connectors onto the faucet’s tailpieces by hand to avoid cross-threading.
- Use an adjustable wrench to tighten the connections firmly but don’t overtighten, which can damage threads.
- Securely attach the other ends of the supply lines to the shutoff valves under the sink.
Make sure the washers inside the connectors are properly seated for a tight seal. By carefully following these steps, you’ll have your water supply lines connected efficiently and ready for use.
Test for Leaks, Adjust Water Flow, and Finish Up
Once you’ve connected the water supply lines, turn the water back on slowly and check every joint for leaks. Watch closely around the faucet base, supply line connections, and under the sink. If you spot any drips, tighten the fittings gently with a wrench—don’t overtighten.
Next, test the faucet by turning it on and off, checking both hot and cold water flow. Adjust the water pressure if needed by partially closing the shutoff valves under the sink.
Finally, wipe down the faucet and surrounding area to remove any debris or fingerprints. Dispose of old parts properly and clean your workspace. You’ve now successfully installed your sink faucet and confirmed it operates leak-free and smoothly.
Frequently Asked Questions
What Type of Faucet Is Best for Hard Water Areas?
You’ll want a faucet made from durable materials like stainless steel or brass, as they resist corrosion from hard water. Look for models with ceramic disc valves to prevent mineral buildup and guarantee smooth operation over time.
How Do I Choose the Right Faucet Style for My Kitchen?
Choosing your kitchen faucet style is like picking shoes for a marathon—you want comfort and durability. Consider your kitchen’s design, functionality, and water flow needs.
Don’t forget to match finishes for a polished, cohesive look!
Can I Install a Faucet Without Professional Plumbing Experience?
Yes, you can install a faucet without professional experience if you follow detailed instructions and have basic tools. Take your time, watch tutorials, and double-check connections to avoid leaks or damage during installation.
What Materials Are Faucets Typically Made From?
Like Arthur’s legendary Excalibur, faucets are typically made from brass, stainless steel, or chrome-plated materials. You’ll find these metals durable, corrosion-resistant, and reliable, ensuring your faucet withstands daily use and time’s challenges.
How Long Does a Typical Faucet Installation Take?
A typical faucet installation takes about one to two hours. You’ll need extra time if plumbing adjustments or repairs are required.
With some experience, you can finish faster, but don’t rush to avoid mistakes.
Conclusion
Installing a sink faucet is simpler than you might think—just follow these seven steps, and you’ll have a fresh, functional fixture in no time. Did you know that nearly 60% of homeowners attempt DIY plumbing projects to save money?
By taking your time and double-checking connections, you’ll avoid costly leaks and enjoy a smooth-running faucet. With a little patience, you’ll feel proud of your handiwork and the savings it brings!
Remember, proper installation is key to a durable and efficient sink faucet. Following these steps ensures your new fixture works perfectly, making your DIY plumbing project a success.