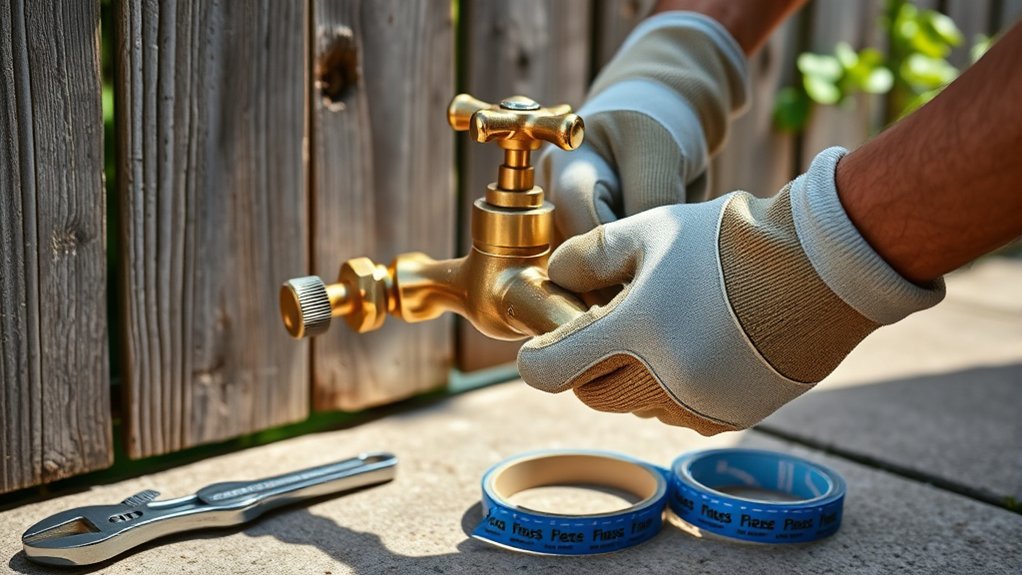
How to Replace a Garden Faucet in 7 Simple Steps
To replace a garden faucet effectively, start by gathering essential tools such as wrenches, plumber’s tape, and replacement washers. Having the right equipment on hand ensures the process goes smoothly and helps avoid common pitfalls during a garden faucet replacement.
This guide will walk you through the steps to replace a garden faucet safely and efficiently.
First, turn off your water supply, then open the faucet to drain any remaining water. Carefully loosen and remove the old faucet without damaging the pipe.
Next, clean and prepare the pipe threads using plumber’s tape before installing the new faucet securely.
Once the new faucet is in place, turn the water back on and check for leaks.
Following these steps closely will help guarantee a smooth and lasting repair for your garden faucet.
Key Takeaways
- Turn off the main water supply and fully drain the garden faucet before starting removal.
- Use an adjustable wrench and penetrating oil to carefully loosen and remove the old faucet.
- Inspect and clean the pipe threads, then wrap them with plumber’s tape for a secure seal.
- Screw the new faucet onto the pipe by hand, then tighten with a wrench without overtightening.
- Reopen the water supply slowly, test the faucet, and check for leaks to ensure proper installation.
Gather the Tools and Materials You’ll Need
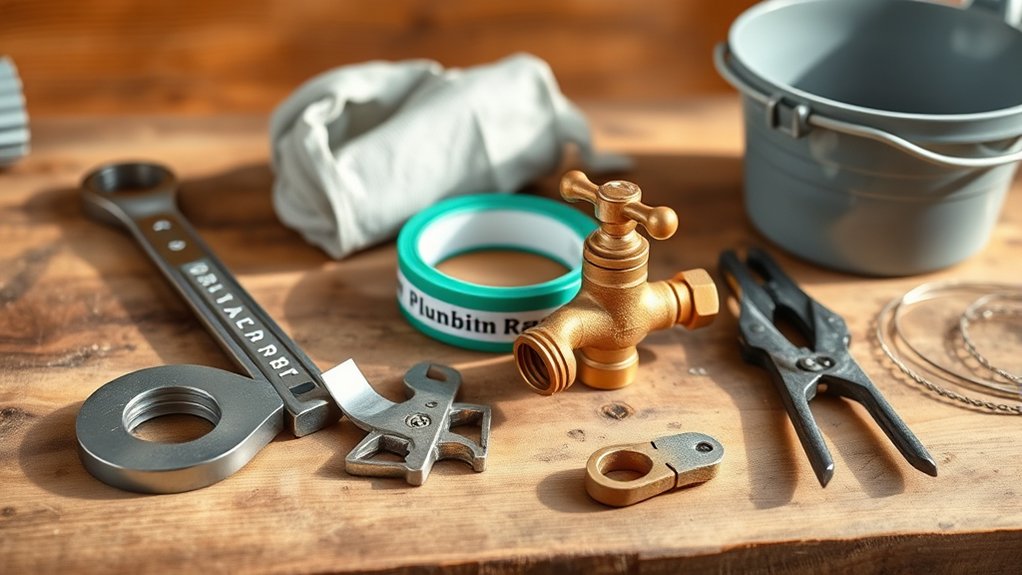
Before you start replacing your garden faucet, gather all the necessary tools and materials to make the job smoother. You’ll need an adjustable wrench, a pipe wrench, plumber’s tape, and replacement washers or a new faucet, depending on the damage. Keep a bucket or towel handy to catch any water that might drip during the process.
It’s also helpful to have a screwdriver and penetrating oil if the old faucet is stuck or rusty. Don’t forget safety gloves to protect your hands, and a pair of pliers for extra grip. Having everything ready before you begin saves time and prevents frustration.
Once your tools and materials are set, you’ll be ready to move on confidently to the next step.
Turn Off Your Garden Faucet Water Supply Safely
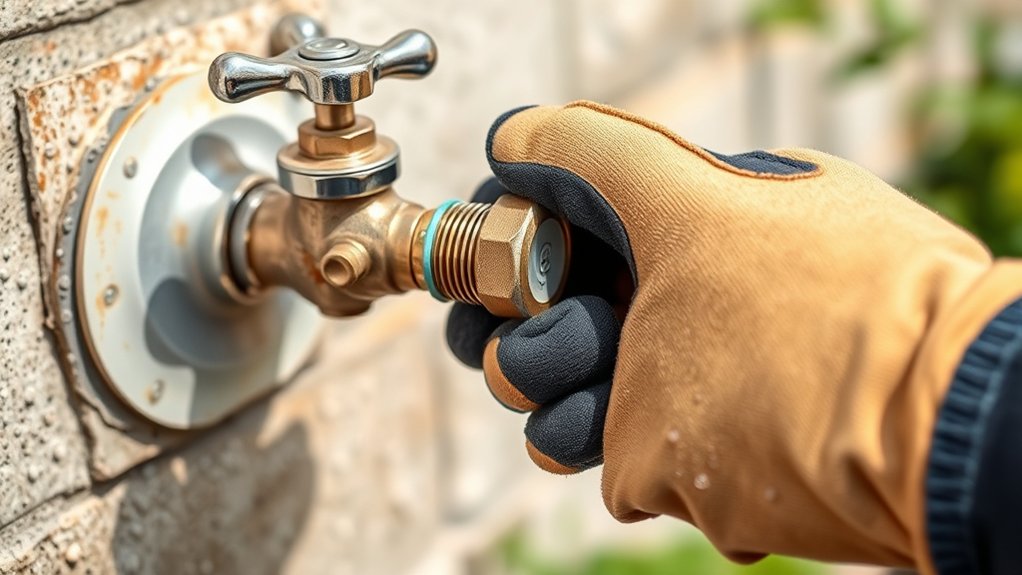
Before you start, find your home’s main water valve and turn it off to stop the water supply. This prevents any pressure build-up that could cause leaks or water damage while you work.
Make sure the faucet is fully drained before proceeding with the replacement.
Locate Main Water Valve
How do you guarantee water stops flowing while replacing your garden faucet? The key is to locate your main water valve and shut it off before starting any work. This valve controls the entire water supply to your home, so turning it off ensures no water will flow through your garden faucet while you work.
Typically, the main valve is found near your water meter, in areas like your basement, crawl space, or outside near the street. Once you find it, turn the valve clockwise until it stops to shut off the water. If you’re unsure where it is, check your home’s blueprint or call your water utility company for guidance.
Always confirm the water is off by opening the garden faucet before proceeding.
Prevent Water Pressure Build-up
Although you’ve shut off the main water valve, you still need to release any remaining pressure in the garden faucet to avoid sudden water bursts. Here’s how to safely turn off your garden faucet water supply:
- Open the garden faucet fully to let trapped water escape.
- Wait until the water flow stops completely.
- Close the garden faucet tightly to prevent leaks.
- Check nearby hoses and connections for any residual water and drain them.
Remove the Old Garden Faucet Without Damage
Start by gathering the right tools and clearing your workspace to make the removal process smooth.
You’ll want to carefully loosen the faucet connections without applying too much force.
Taking these steps helps prevent damage to your plumbing and surrounding areas.
Preparing Tools And Workspace
Before you remove the old garden faucet, gather the necessary tools and clear the workspace to prevent any damage. This preparation will make the process smoother and protect your plumbing and surrounding areas.
Here’s what you need to do:
- Collect tools: Get an adjustable wrench, pliers, a screwdriver, and plumber’s tape ready.
- Clear the area: Remove any plants, pots, or debris near the faucet to avoid accidental damage.
- Lay down a cloth or bucket: This will catch any water drips and protect your ground surface.
- Turn off the water supply: Double-check to ensure no water flows when you start working.
With these steps, you’ll have a safe, organized workspace that helps you remove the faucet without causing harm.
Loosening Faucet Connections
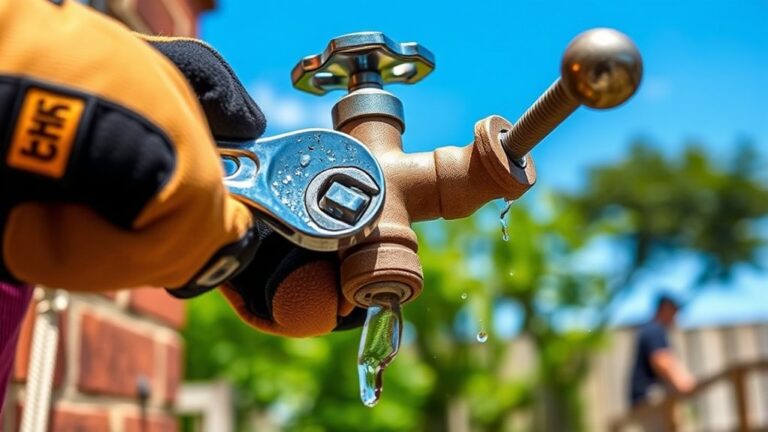
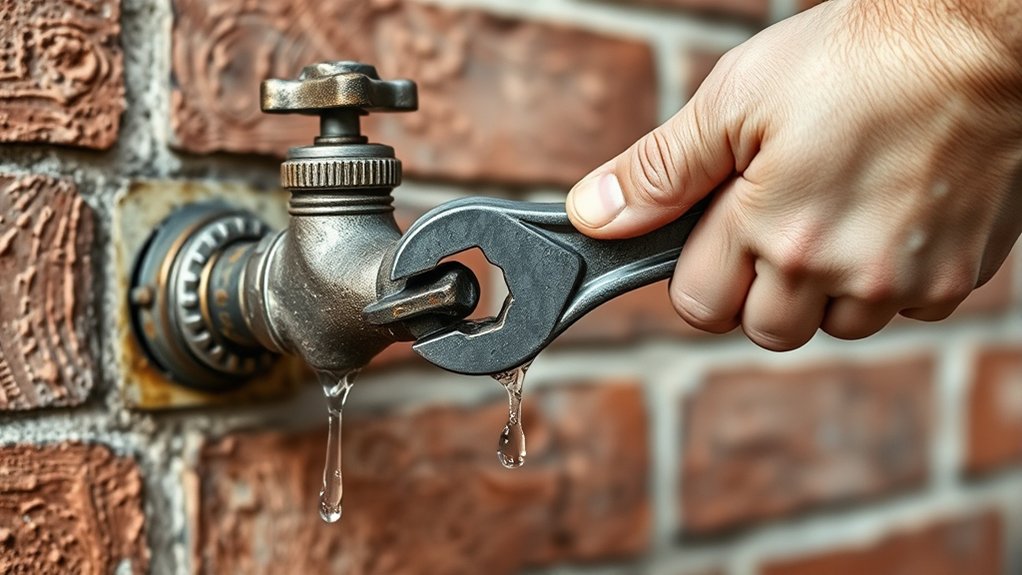
Once your tools are ready and the water supply is off, you can focus on loosening the faucet connections. Start by wrapping a cloth around the faucet’s base to protect the finish from your wrench. Use an adjustable wrench or channel-lock pliers to grip the connection firmly.
Turn counterclockwise, applying steady pressure to avoid stripping the threads or damaging the pipe. If the connection is stuck, apply a penetrating oil and wait a few minutes before trying again. Avoid using excessive force, which could cause leaks or break the pipe.
Once loosened, gently unscrew the faucet by hand to remove it completely. Taking these careful steps helps prevent damage, making installing your new garden faucet smoother and hassle-free.
Get the Pipe Ready for the New Faucet
Although removing the old faucet is an essential step, getting the pipe ready for the new faucet guarantees a secure and leak-free installation. You want to confirm the pipe end is clean, smooth, and ready to connect with your new faucet.
Follow these steps:
- Inspect the pipe for damage or corrosion; replace if necessary.
- Use a wire brush or sandpaper to clean off any rust, dirt, or old thread sealant.
- Wrap new plumber’s tape (Teflon tape) tightly around the threaded pipe end, winding clockwise.
- Check that the pipe threads are not stripped or damaged to ensure a tight fit.
Taking these actions now prepares the pipe perfectly and prevents leaks once you install the new garden faucet.
Install the New Garden Faucet Securely
With your pipe clean and wrapped in fresh plumber’s tape, you’re ready to install the new garden faucet. Begin by aligning the faucet’s threaded end with the pipe. Turn it clockwise by hand to start threading it on carefully.
Avoid cross-threading by making sure it’s straight and snug. Once hand-tight, use an adjustable wrench to secure the faucet firmly, but don’t overtighten—it could damage the threads or the pipe. Hold the faucet steady with one hand while turning the wrench with the other to maintain control.
Check that the faucet is properly positioned, usually pointing downward or slightly outward for easy hose attachment. Finally, confirm the connection feels solid and stable before moving on to testing for leaks.
Test the New Garden Faucet for Leaks and Proper Operation
Before you turn on the water supply, double-check that the faucet is tightly secured and properly aligned. Now, it’s time to test your new garden faucet for leaks and proper operation.
- Slowly open the water supply valve to avoid sudden pressure.
- Turn the faucet handle on and off several times, checking for smooth operation.
- Inspect all connections and joints closely for any signs of dripping or moisture.
- Look under the faucet and around the mounting area to spot hidden leaks.
If you see any leaks, tighten fittings carefully or reseal with plumber’s tape. Once everything runs smoothly and stays dry, your new garden faucet is ready for use!
Maintain Your New Garden Faucet to Prevent Future Issues
Once you’ve confirmed your new garden faucet works perfectly and remains leak-free, keeping it in good condition will save you time and money down the line. Regularly inspect your faucet for drips or corrosion, especially before winter. Turn off the water supply to the faucet during freezing months to prevent pipe bursts.
Drain any remaining water by opening the valve fully. Lubricate the handle and moving parts occasionally with plumber’s grease to ensure smooth operation. Replace worn washers or seals at the first sign of leaks.
Keep the area around the faucet clear of dirt and debris to avoid damage. By performing these simple maintenance steps, you’ll extend your faucet’s life and avoid costly repairs or replacements in the future.
Frequently Asked Questions
What Type of Garden Faucet Is Best for Different Climates?
You’ll want a frost-free faucet for cold climates to prevent freezing, while a standard brass faucet suits mild, temperate areas.
In hot, dry regions, choose durable, corrosion-resistant materials like brass or stainless steel to withstand heat and sun exposure.
Can I Replace a Garden Faucet Myself Without Plumbing Experience?
You can replace a garden faucet yourself, even without plumbing experience! Around 70% of DIYers successfully handle basic plumbing tasks by following clear instructions and using simple tools, so don’t hesitate to give it a try yourself.
How Do I Winterize My Garden Faucet After Replacement?
You’ll want to shut off the water supply, drain the faucet by opening it, then disconnect any hoses.
Finally, install a faucet cover to protect it from freezing temperatures and prevent damage during winter.
What Are the Common Signs That a Garden Faucet Needs Replacement?
You’ll notice leaks, corrosion, or reduced water flow when your garden faucet needs replacement. If it feels loose, cracks appear, or the handle’s hard to turn, it’s time to swap it out to avoid bigger problems.
Are There Eco-Friendly Garden Faucet Options Available?
Yes, you’ll find eco-friendly garden faucets made from recycled materials or designed to reduce water waste with features like flow restrictors or timers. They help conserve water and lower your environmental impact while keeping your garden healthy.
Conclusion
Now that you’ve gathered your tools, turned off the water, removed the old faucet, prepped the pipe, installed the new faucet, and tested for leaks, you’re ready to enjoy a reliable garden water source.
Keep your faucet maintained, check for drips, and clean any buildup regularly. Proper garden faucet maintenance is key to preventing future issues.
By following these simple steps, you’ll save time, avoid costly repairs, and keep your garden thriving with ease and confidence every season. Replacing a garden faucet doesn’t have to be complicated when you use the right tools and techniques.