How to Install a New Bathroom Faucet in 7 Easy Steps
To install a new bathroom faucet, start by gathering all the necessary tools and materials to ensure a smooth process. Turning off the water supply is crucial to prevent any leaks or water damage during installation. Clear the sink area to provide ample workspace and avoid any obstructions.
Next, carefully remove the old faucet and clean the surface thoroughly to prepare for the new fixture. Insert and secure the new faucet base firmly in place. Connect the water supply lines carefully to avoid cross-threading or leaks.
Once everything is connected, turn the water back on and check for leaks and proper flow. Finally, seal around the faucet to prevent water seepage and polish the finish to give your bathroom a fresh, clean look.
Keep going to uncover tips that guarantee a smooth, leak-free installation.
Key Takeaways
- Turn off the main water supply and open faucet handles to drain any remaining water before removing the old faucet.
- Use a basin wrench to disconnect water supply lines and unscrew mounting nuts to remove the old faucet.
- Insert the new faucet into mounting holes, secure it with mounting nuts, and ensure it is level and stable.
- Attach supply lines to the new faucet, tighten connections carefully, and apply sealant around the base to prevent leaks.
- Turn on water slowly, check for leaks, test faucet operation, and clean excess sealant for a polished finish.
Gather Tools and Materials for Bathroom Faucet Installation
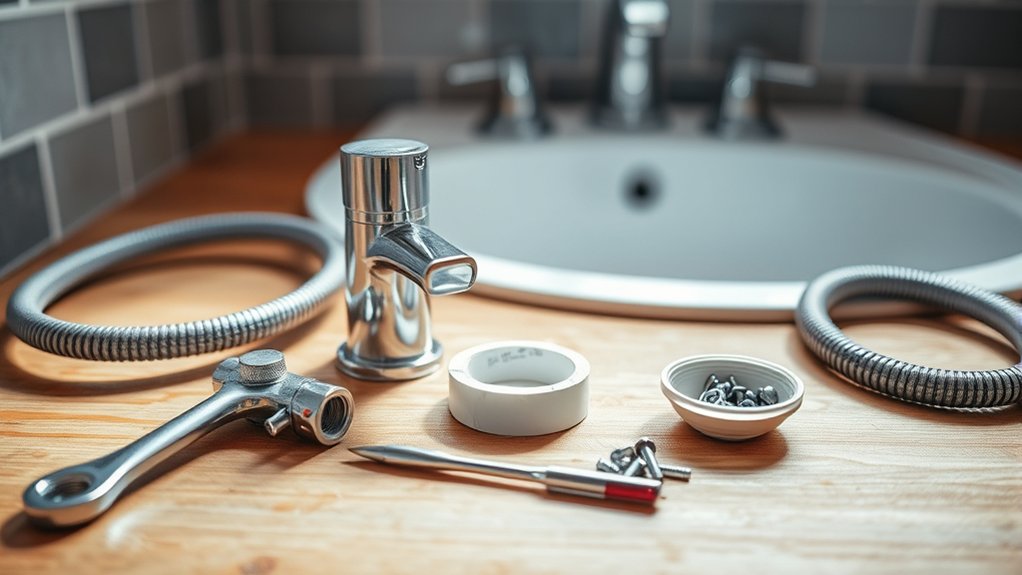
Before you begin installing your new bathroom faucet, you’ll need to gather all the necessary tools and materials. Start with a basin wrench, which helps you reach and tighten hard-to-access nuts under the sink. You’ll also need an adjustable wrench and a pair of pliers for loosening and tightening fittings.
Don’t forget plumber’s tape to seal threaded connections and prevent leaks. Have a bucket or small container handy to catch any residual water from the pipes. A cloth or towel will come in handy to clean up spills.
Finally, keep your new faucet, supply lines, and any included mounting hardware within reach. Having everything prepared upfront will make the installation smoother and prevent interruptions once you start working.
Turn Off Water and Prepare Your Sink for Faucet Removal
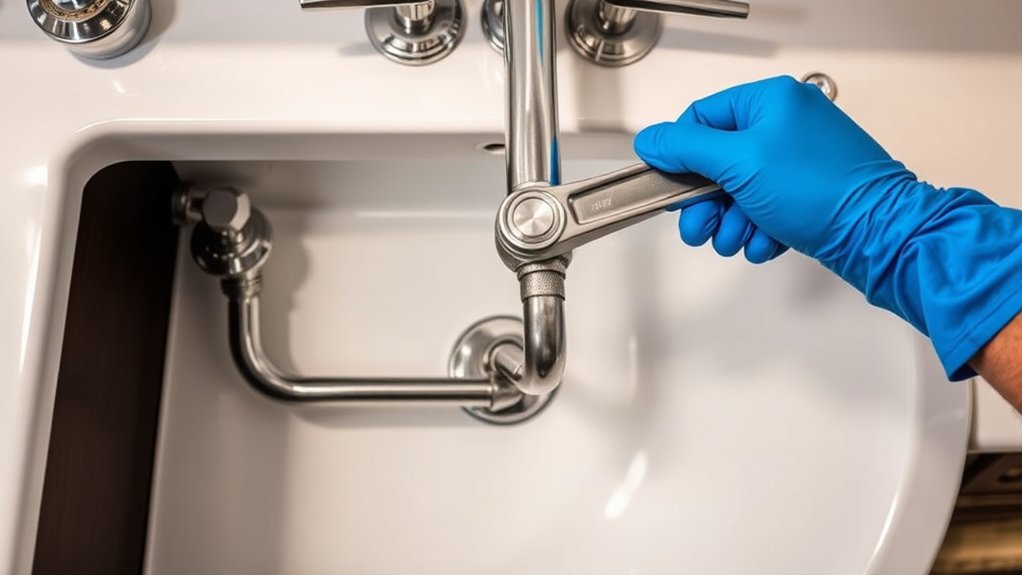
First, locate your main water valve and turn it off to stop the water flow.
Next, open the faucet to drain any remaining water in the pipes.
Finally, clear the sink area to give yourself enough space to work comfortably.
Locate Main Water Valve
Where can you find the main water valve to shut off the water supply quickly? Typically, it’s located where the water line enters your home—often in the basement, crawl space, or near your water heater. Sometimes, you’ll find it outside, close to the foundation or in a utility box.
Once you locate the valve, turn it clockwise to close it and stop the water flow. If you have individual shut-off valves under the sink, you can use those instead, but the main valve guarantees no water pressure remains.
Before proceeding, double-check that the water is fully off by turning on the faucet. This step prevents leaks and water damage while you remove the old faucet and install the new one.
Drain Remaining Water
How do you get rid of the water still trapped in your faucet and pipes? After turning off the main water valve, you need to drain the remaining water to prevent spills during removal.
- Open both the hot and cold faucet handles fully to let water flow out.
- Place a shallow container or bowl under the drain to catch any residual water from the pipes.
- Allow the water to completely drain out until it stops flowing, indicating the pipes and faucet are empty.
Doing this step carefully ensures you won’t have unexpected leaks or water damage while working on your faucet.
Once drained, you’re ready to move forward safely with your faucet removal.
Clear Sink Area
After you’ve fully drained the water from your faucet and pipes, it’s time to clear the sink area to make removal easier. First, turn off the shutoff valves under the sink to stop water flow. Then, unplug or move any electrical devices nearby to avoid hazards.
Remove all items from around and inside the sink basin to give yourself ample workspace. Lay down a towel or bucket under the sink to catch any residual drips during removal.
| Step | Action |
|---|---|
| 1 | Turn off shutoff valves |
| 2 | Unplug nearby electrical items |
| 3 | Clear sink basin and countertop |
| 4 | Place towel or bucket below |
| 5 | Gather tools for faucet removal |
Remove the Old Faucet and Clean the Sink
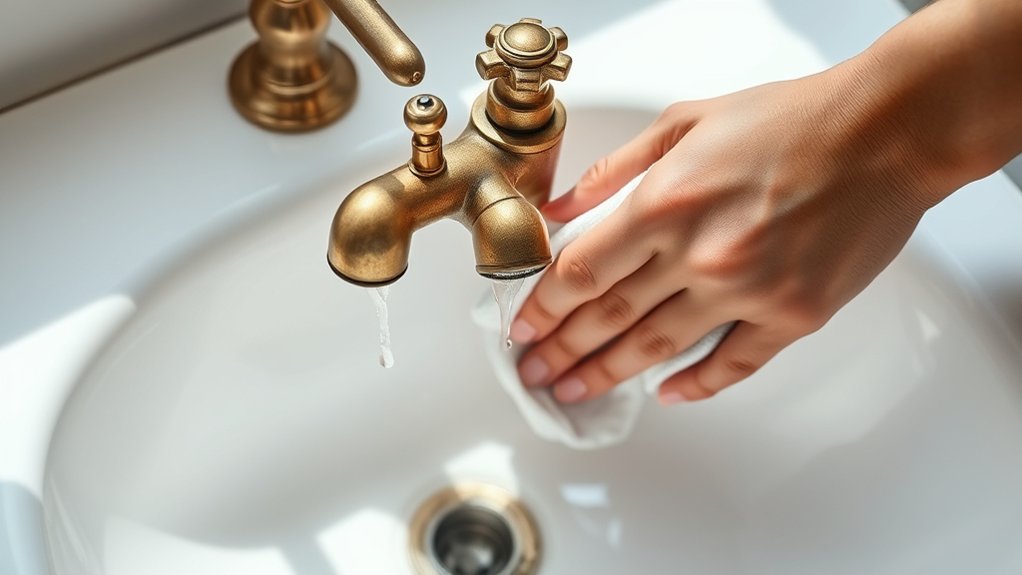
Why start by removing the old faucet? It clears the way for your new fixture and guarantees a proper fit. Begin by shutting off the water supply under the sink to avoid leaks.
Next, disconnect the water lines using an adjustable wrench. Then, unscrew the mounting nuts that hold the faucet in place. Once free, lift the old faucet out carefully.
After removal, clean the sink area thoroughly to remove grime and old sealant. This prevents leaks and helps your new faucet adhere properly. Follow these steps:
- Scrape away old putty or sealant with a putty knife.
- Wipe the surface with a damp cloth and mild cleaner.
- Dry the area completely before proceeding.
This guarantees a clean, smooth base for your new faucet.
Install the New Faucet Base and Secure It
Start by positioning the new faucet base over the sink holes, making sure it sits evenly. Once aligned, secure it from underneath by tightening the mounting nuts by hand.
Use a wrench to snug the nuts firmly, but avoid overtightening to prevent damage.
Positioning the Faucet Base
Where exactly should you place the faucet base to guarantee a secure fit? First, align the faucet base over the sink holes, making sure the holes in the base match perfectly with the sink’s openings.
Next, center the base so it sits evenly, avoiding any tilting or gaps that might cause leaks or instability. Finally, confirm the base gasket or rubber seal is properly positioned between the base and sink surface to create a watertight barrier.
Follow these steps:
- Line up the faucet holes with the sink openings precisely.
- Center the base so it’s level and stable.
- Place the gasket or seal flat under the base for a tight fit.
Positioning correctly now sets you up for a smooth tightening process later.
Tightening Mounting Nuts
Once the faucet base is aligned and the gasket is properly set, you can move on to tightening the mounting nuts underneath the sink. Reach under the sink and locate the mounting nuts securing the faucet base. Use a basin wrench or an adjustable wrench to tighten each nut evenly.
Tighten them firmly but avoid over-tightening, which can damage the sink or faucet. If your faucet has multiple mounting nuts, alternate between them to confirm the base stays level. Check the faucet above to confirm it hasn’t shifted during tightening.
Once all nuts are secure, give the faucet a gentle wiggle to confirm it’s firmly attached. This step is vital for a stable, leak-free faucet installation.
Connect Water Supply Lines to Your New Faucet
How do you guarantee a secure connection between your new faucet and the water supply? Start by ensuring both the faucet’s threaded tailpieces and the shut-off valves are clean and free of debris. Then, follow these steps:
Begin by cleaning faucet tailpieces and shut-off valves to ensure a secure water supply connection.
- Attach the water supply lines to the faucet’s tailpieces by hand, turning clockwise until snug.
- Use an adjustable wrench to tighten each connection, but don’t overtighten—it can damage the fittings.
- Connect the other end of the supply lines to the shut-off valves, again tightening by hand first, then with a wrench for a firm seal.
Make sure the lines aren’t kinked or twisted to maintain good water flow. With these steps, you’ll have a solid, leak-resistant connection ready for testing.
Test for Leaks and Check Water Flow
Why wait to make sure your new faucet is working perfectly? Turn on both the hot and cold water supplies slowly. Watch closely under the sink for any signs of leaks around connections or hoses.
If you spot drips, tighten the fittings carefully, but don’t overtighten. Next, test the water flow by turning the faucet handles fully on and off. The water should run smoothly without sputtering or low pressure.
Check the aerator by removing and inspecting it for debris or buildup, which can affect flow. If everything flows steadily and no leaks appear, you’re good to go. Catching issues now saves you from water damage or future repairs.
This step guarantees your new faucet functions reliably before you finish up.
Seal and Clean Your New Faucet
After confirming your faucet works without leaks and flows smoothly, it’s time to focus on sealing and cleaning it. Proper sealing prevents water damage, while cleaning ensures your fixture shines.
- Apply Plumber’s Putty or Silicone: Use a bead of plumber’s putty or silicone around the base where the faucet meets the sink. This locks gaps and stops water from seeping underneath.
- Secure Mounting Nuts Tightly: Double-check that all mounting nuts underneath are firmly tightened to keep the faucet stable and properly sealed.
- Clean Excess Sealant and Debris: Wipe away any extra putty, silicone, or debris with a damp cloth. Then, polish the faucet surface to remove fingerprints or smudges.
Following these steps guarantees a watertight, clean, and professional-looking installation.
Frequently Asked Questions
What Types of Bathroom Faucets Are Best for Low Water Pressure?
You’ll want to choose faucets designed for low water pressure, like single-handle or aerated faucets. These models boost flow efficiency, ensuring steady water delivery without wasting water or reducing performance in your bathroom.
How Can I Choose a Faucet That Matches My Bathroom Decor?
You should pick a faucet style, finish, and color that complements your bathroom’s overall design. Consider matching metals, contemporary or traditional shapes, and coordinating with your countertop and fixtures to create a cohesive look you’ll love.
Are There Eco-Friendly Faucet Options to Save Water?
Yes, you can choose eco-friendly faucets with water-saving features like aerators or flow restrictors. They reduce water use without sacrificing pressure, helping you save both water and money while supporting environmental sustainability.
Can I Install a Faucet Myself Without Plumbing Experience?
Yes, you can install a faucet yourself even without plumbing experience. Just follow clear instructions, use basic tools, and take your time.
Watching tutorial videos can boost your confidence and help you avoid common mistakes.
What Should I Do if My Faucet Handle Is Loose After Installation?
When the faucet handle’s loose, nip it in the bud by tightening the set screw beneath or behind the handle with an Allen wrench.
If that doesn’t work, check for stripped threads or damaged parts and replace them promptly.
Conclusion
Now that you’ve installed your new bathroom faucet, you’ve turned a challenging task into a fresh, sparkling success. Remember, “measure twice, cut once” applies here—taking your time and following each step carefully makes all the difference.
With your tools packed away and the water flowing perfectly, you’re ready to enjoy your upgraded sink. Just keep an eye out for any leaks, and you’ll have a faucet that works flawlessly for years to come!
By following these step-by-step instructions, your bathroom faucet installation is not only efficient but also ensures long-lasting performance. Enjoy the benefits of your new bathroom faucet and the satisfaction of a job well done!