How to Fix an Outside Faucet in 7 Simple Steps
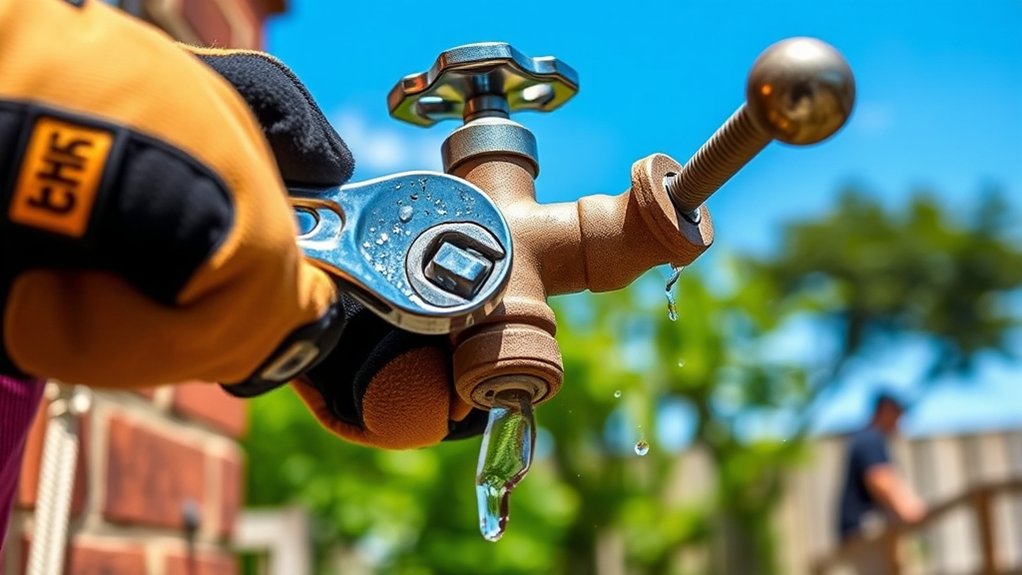
To fix your outside faucet effectively, start by identifying leaks or drips and gather necessary tools like a wrench and replacement washers. Addressing common faucet problems early can save water and prevent costly repairs.
Turn off the water supply and open the faucet to drain leftover water before beginning any work.
Remove the handle and inspect for worn or corroded parts, then replace washers or cartridges as needed.
Reassemble the faucet carefully, turn the water back on, and check for leaks to ensure a proper fix.
Perform regular maintenance to keep it working smoothly and extend the life of your outside faucet.
Keep going to discover helpful tips for preventing future problems and maintaining an efficient outdoor water system.
Key Takeaways
- Turn off the main water supply and drain the outdoor faucet by opening it fully.
- Remove the faucet handle and inspect the washer, stem, and valve seat for damage or mineral buildup.
- Replace worn washers or cartridges with matching new parts, ensuring proper fit and sealing with Teflon tape if needed.
- Reassemble the faucet carefully, securing the stem and handle without overtightening.
- Turn the water supply back on slowly, check for leaks, and test faucet operation for smooth, leak-free function.
Identify the Problem With Your Outdoor Faucet
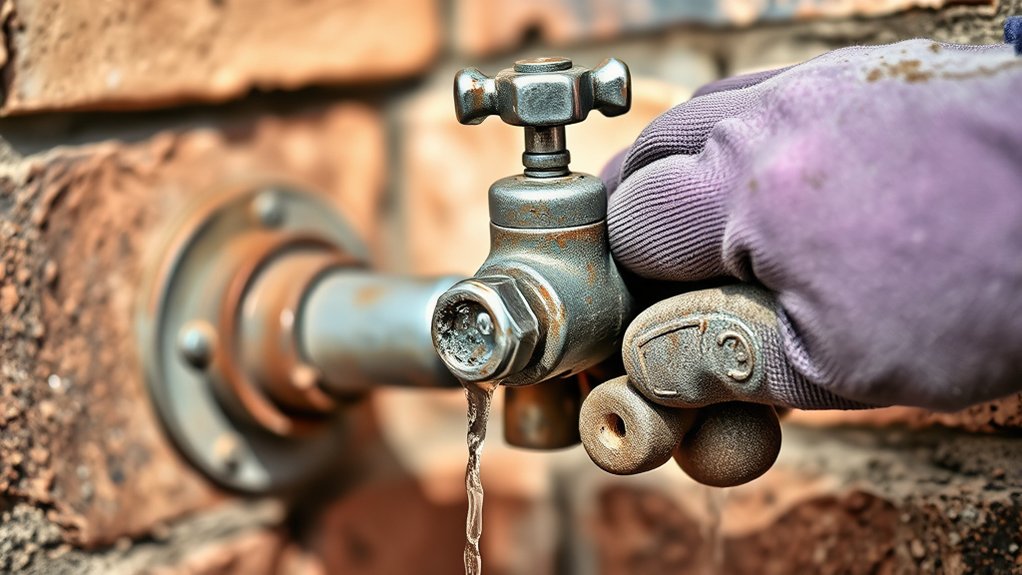
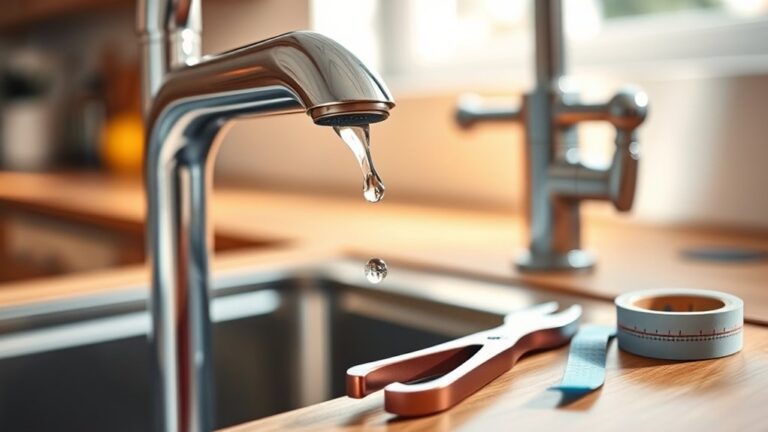
How do you know what’s wrong with your outdoor faucet? Start by observing the faucet closely. Check for leaks around the handle or spout when it’s off.
If water drips consistently, the washer or valve seat might be worn out. Turn the faucet on and off to see if it’s fully shutting off or if water trickles out. Next, feel for any unusual stiffness or looseness in the handle, which can indicate internal damage.
Also, inspect the faucet for cracks or corrosion, especially after winter. If water pressure seems low, the problem could be a clogged aerator or pipe. By carefully examining these signs, you can pinpoint the exact issue before moving on to the repair process.
Gather Your Tools and Materials
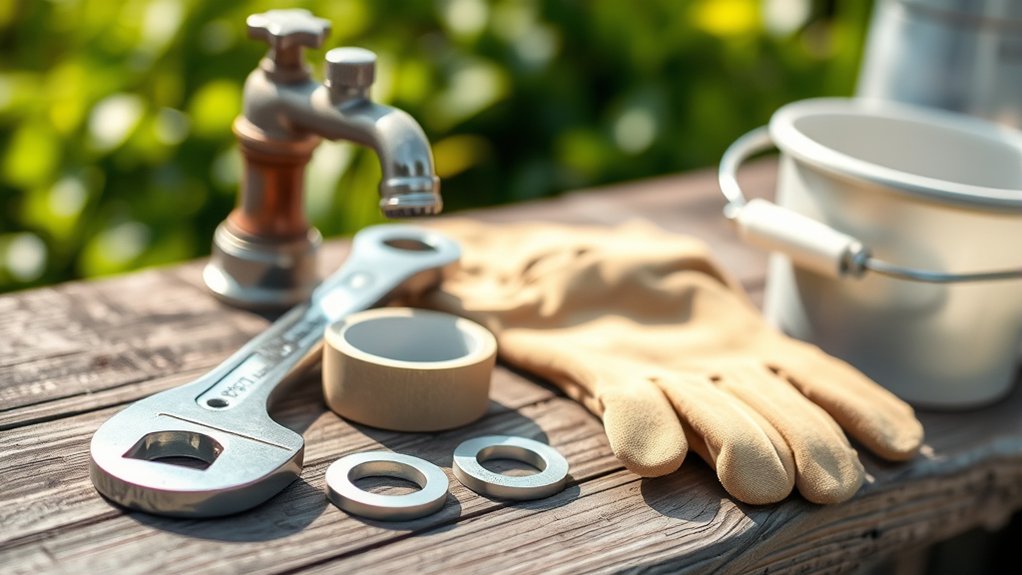
Before you start fixing your outdoor faucet, gather all the necessary tools and materials to guarantee a smooth repair process. Having everything ready prevents interruptions and saves time.
You’ll need basic plumbing tools and replacement parts depending on the issue you identified earlier.
Here’s a handy checklist for you:
| Tools | Materials |
|---|---|
| Adjustable wrench | Replacement washers |
| Screwdriver | Teflon tape |
| Pliers | Faucet stem or valve |
| Pipe wrench | Pipe sealant |
| Utility knife | Hose bib repair kit |
Keep this table in mind as you collect your supplies. Organizing your tools and materials beforehand helps you work efficiently and ensures you don’t miss any critical items during the repair.
Shut Off the Outdoor Faucet Water Supply
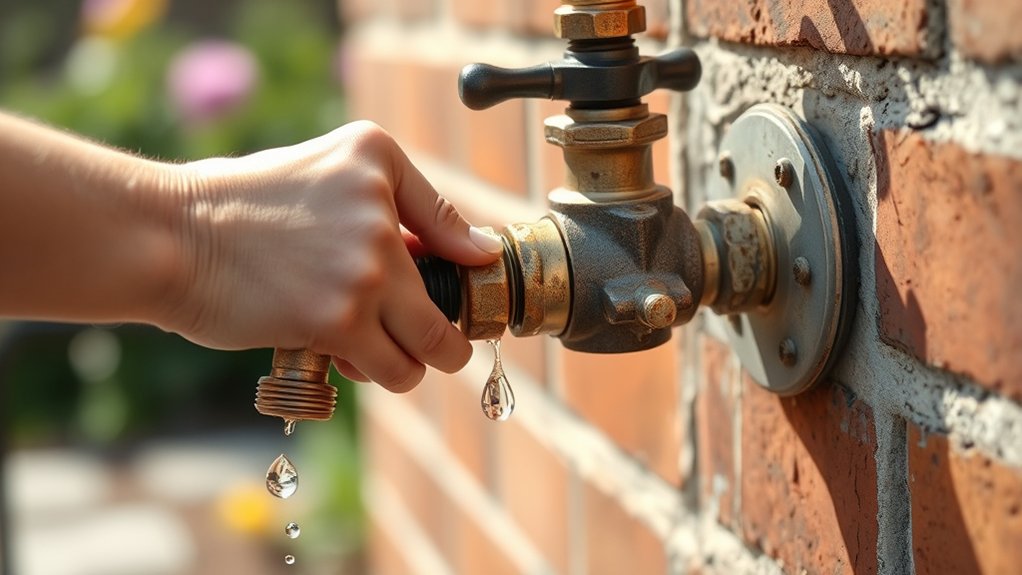
First, find the main water valve that controls your outdoor faucet. Turn the valve off slowly to prevent any pressure damage.
Then, double-check that the water is completely shut off before you start your repair.
Locate Main Water Valve
Although it might seem straightforward, locating the main water valve is essential to shutting off the outdoor faucet’s water supply effectively. First, head to your home’s basement, utility room, or near the water heater—these are common places for the valve. Look for a round wheel or lever attached to a pipe coming from the ground or wall.
If you live in an apartment or a complex, the valve might be outside near the water meter. Knowing exactly where the valve is will save you time and prevent water damage when fixing the faucet. If you’re unsure, check your home’s blueprint or ask your landlord.
Once you’ve found it, make sure it’s easily accessible for future use. Keep a flashlight handy in dim areas.
Turn Off Valve Slowly
Once you’ve located the main water valve, turn it off slowly to prevent pressure surges that could damage your pipes or faucet. Don’t shut it abruptly; instead, rotate the valve handle gradually, giving the water pressure time to equalize. This careful approach helps avoid sudden shocks to your plumbing system.
If your valve has a lever, move it steadily to the closed position rather than forcing it. Taking your time also reduces the risk of breaking older or corroded valves. By turning the valve off gently, you protect your outdoor faucet and the connected pipes from unnecessary strain.
This sets the stage for a safer and smoother repair process. Remember, patience here prevents costly damage later on.
Verify Water Is Off
Before you begin any repairs, make sure the water is completely off by opening the outdoor faucet and checking for flow. If water still comes out, you need to shut off the supply properly to avoid leaks or water damage.
Here’s how to verify the water is off:
- Locate the shutoff valve inside your home, usually near the main water line or where the outdoor faucet pipe exits.
- Turn the valve clockwise to close it fully, then return outside and open the faucet again.
- Confirm no water flows from the faucet; if it does, double-check the valve or look for a secondary shutoff.
Only after you’re sure the water is off should you proceed with fixing the faucet safely.
Remove the Faucet Handle and Inspect the Parts
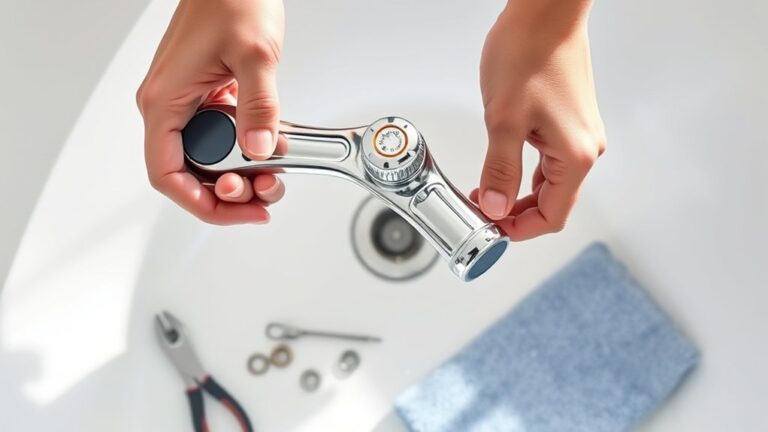
Start by removing the faucet handle carefully, usually by loosening a screw or pulling it off. Once the handle is off, check the internal parts for any signs of wear or damage.
This inspection helps you identify what needs to be fixed or replaced.
Handle Removal Techniques
Although the faucet handle may seem simple, removing it carefully is essential to avoid damaging internal parts.
Here’s how you can do it safely:
- Locate the screw: Look for a small screw on the handle, often hidden under a decorative cap. Pry off the cap gently with a flathead screwdriver to access the screw.
- Unscrew the handle: Use the appropriate screwdriver to loosen and remove the screw. Keep the screw in a safe place so you don’t lose it.
- Remove the handle: Once the screw is out, pull the handle straight off the valve stem. If it’s stuck, wiggle it slightly or use a handle puller tool to avoid forcing it.
Following these steps guarantees you remove the handle without causing damage, preparing you for the next repair phase.
Inspecting Internal Components
Once you’ve removed the handle, you can closely examine the internal components for wear or damage. Start by checking the stem, which controls water flow; look for corrosion, cracks, or mineral buildup. Inspect the packing nut and washer, as worn washers often cause leaks.
If the washer appears flattened or brittle, it needs replacing. Also, examine the valve seat inside the faucet body—rough or damaged seats can prevent a proper seal. Use a flashlight to spot any debris or sediment that might block water flow.
If you notice significant corrosion or broken parts, consider replacing those components to restore proper function. Carefully note each part’s condition before reassembling. This inspection helps you pinpoint issues and decide on necessary repairs.
Replace the Washer or Cartridge to Stop Leaks
If your outside faucet keeps leaking despite tightening the handle, you’ll likely need to replace the washer or cartridge inside the valve. These parts wear out over time, causing drips and wasting water.
To replace them, follow these steps:
- Turn off the water supply to the faucet and open the handle to drain any remaining water.
- Remove the handle and unscrew the packing nut to access the valve stem. Carefully take out the washer or cartridge.
- Replace the old washer or cartridge with a new one that matches your faucet model. Make sure it fits snugly to prevent leaks.
Replacing these components should stop the leak and restore proper function to your outdoor faucet.
Reassemble Your Outdoor Faucet and Check for Leaks
After replacing the washer or cartridge, carefully reassemble your outdoor faucet by reversing the disassembly steps. Start by inserting the stem back into the faucet body, ensuring it fits snugly. Secure it with the packing nut or retaining clip you removed earlier.
Next, screw the handle back onto the stem and tighten it firmly but avoid overtightening. Once everything’s back in place, turn the water supply on slowly. Watch the faucet closely for any drips or leaks around the handle or spout.
If you spot leaks, tighten connections gently or check if the washer or cartridge is seated correctly. Finally, open and close the faucet a few times to confirm smooth operation and that no water escapes. Your faucet should now be leak-free and fully functional.
Prevent Future Faucet Leaks With Simple Maintenance
Ensuring your outdoor faucet remains leak-free depends on more than just repairs—you’ll want to keep up with simple maintenance to prevent future issues. Regular care helps you avoid costly fixes and keeps your faucet working smoothly year-round. Here are three key steps you can take:
- Inspect regularly: Check your faucet for drips or corrosion every few months to catch problems early.
- Replace washers and seals: Worn-out washers or seals are common leak causes, so swap them out as soon as you notice wear.
- Shut off the water in winter: Before freezing weather hits, turn off the outdoor water supply and drain the faucet to prevent pipe damage.
Frequently Asked Questions
Can I Install a Frost-Free Outdoor Faucet Myself?
Yes, you can install a frost-free outdoor faucet yourself if you’re comfortable with basic plumbing. Just make sure to turn off the water, follow instructions carefully, and use the right tools for a secure, leak-free fit.
What Type of Pipe Thread Sealant Is Best for Outdoor Faucets?
You’ll want to use a high-quality, waterproof pipe thread sealant or Teflon tape rated for outdoor use. These sealants resist moisture and temperature changes, ensuring a tight, leak-free connection on your outdoor faucet.
This helps prevent leaks and damage caused by harsh weather conditions. Choosing the right sealant extends the life of your faucet. Always check the product specifications for outdoor suitability.
How Do I Winterize My Outdoor Faucet to Prevent Freezing?
You’ll want to shut off the water supply to the outdoor faucet, drain any remaining water, and then install a faucet cover for insulation.
This prevents freezing and protects your pipes during cold winter months.
Are There Eco-Friendly Outdoor Faucet Options Available?
You don’t need a time machine to find eco-friendly outdoor faucets! You can choose models with water-saving features, made from sustainable materials, or smart sensors that prevent leaks, helping you conserve water and protect the environment effortlessly.
When Should I Call a Professional Plumber for Faucet Repairs?
You should call a professional plumber if the faucet leaks persist after basic fixes, if pipes freeze or burst, or if you’re uncomfortable handling plumbing repairs yourself.
Don’t wait—early help prevents costly damage.
Conclusion
Fixing your outdoor faucet yourself can save you up to 10,000 gallons of water a year, preventing costly leaks and conserving this precious resource.
By following these simple steps, you’re not only protecting your home but also making a positive impact on the environment.
With just a little effort and basic tools, you can keep your faucet running smoothly and avoid future headaches.
Don’t wait—start your repair today and enjoy a leak-free, efficient outdoor faucet! Taking the time to fix your outside faucet is a smart way to save water, reduce utility bills, and maintain your home’s plumbing system.