How to Clean Your Bissell Vacuum in 10 Easy Steps
To clean your Bissell vacuum in 10 easy steps, start by unplugging the vacuum and gathering all necessary supplies. Proper vacuum maintenance is essential to keep your Bissell working efficiently and prolong its lifespan.
Begin by emptying the dust canister or replacing the bag to ensure optimal suction.
Next, detach removable parts such as the brush roll and hose for thorough cleaning. Carefully remove hair, dust, and debris from the brushes and filters. Rinse washable filters under running water and allow them to dry completely before reinstalling.
Inspect the belt for signs of wear and tear, replacing it if necessary. Clear any blockages in the hose or air pathways to maintain smooth airflow.
Wipe down the vacuum’s exterior with a damp cloth, then securely reassemble all parts.
Finally, test the vacuum’s suction to ensure it is operating correctly.
Following these steps regularly will keep your Bissell vacuum in top condition and ready for every cleaning task.
Key Takeaways
- Unplug the vacuum and gather cleaning supplies for safety and efficiency before starting the cleaning process.
- Empty and rinse the dust canister or replace the vacuum bag when full, ensuring all parts are dry before reassembly.
- Remove and clean or replace washable and non-washable filters, allowing washable ones to air dry for 24 hours.
- Clear blockages by detaching and inspecting the hose and air pathways, using a flashlight and flexible tools to remove debris.
- Reassemble all parts securely, then test suction power and listen for unusual noises to confirm proper cleaning and maintenance.
When and Why to Clean Your Bissell Vacuum
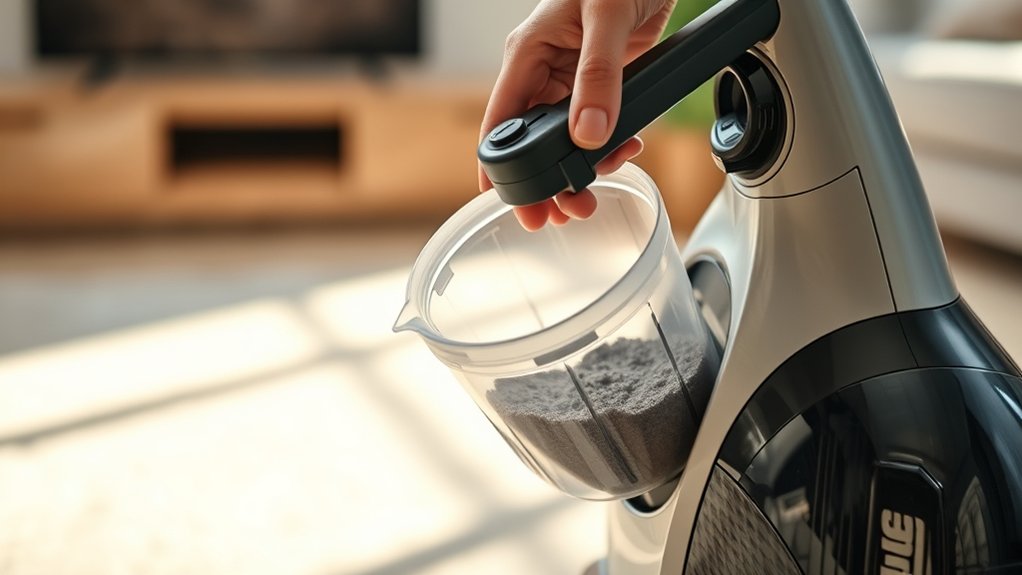
Although your Bissell vacuum works hard to keep your home clean, you should clean it regularly to maintain its performance and extend its lifespan. Dirt, dust, and hair can clog filters, brushes, and hoses, reducing suction power and making your vacuum less effective. If you notice a drop in suction or strange noises, it’s a clear sign your vacuum needs attention.
Regular cleaning prevents buildup that can cause wear and tear, saving you from costly repairs or replacements. Aim to clean your vacuum every few weeks if you use it frequently or have pets. Staying on top of maintenance guarantees your Bissell runs smoothly, picks up debris efficiently, and lasts for years, keeping your home spotless without hassle.
Unplug Your Bissell Vacuum and Get Ready
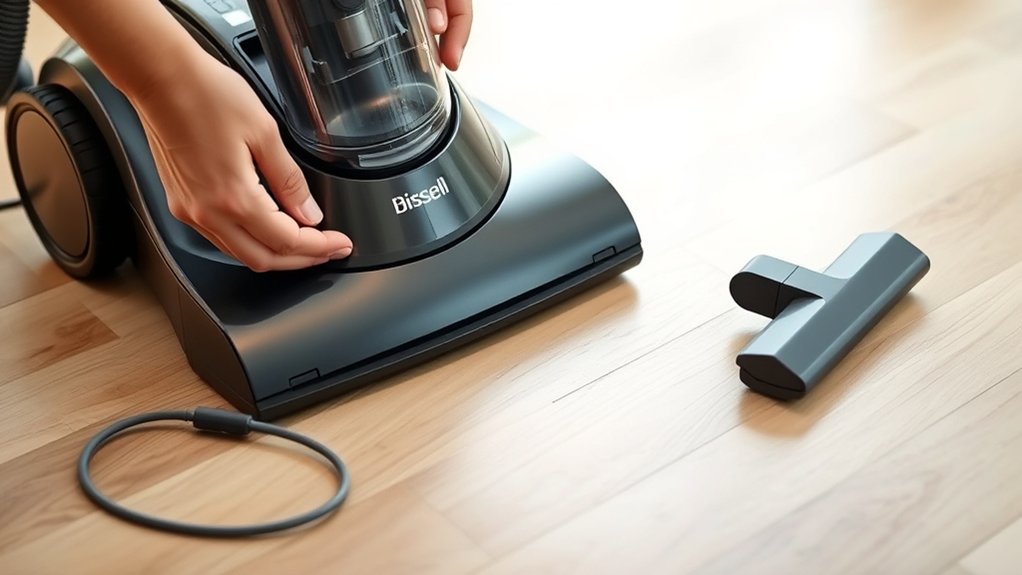
Before you start cleaning, make sure your Bissell vacuum is unplugged to avoid any accidents. Gather all the necessary cleaning supplies, like a soft cloth, brush, and mild detergent. Having everything ready will make the process smoother and safer.
Ensure Vacuum Is Unplugged
Since safety comes first, always unplug your Bissell vacuum before you start cleaning it. This simple step prevents any accidental starts that could cause injury or damage. Make certain the cord is fully disconnected from the power outlet.
Double-check by gently pressing the power button—if the vacuum doesn’t turn on, you’re good to go. Avoid unplugging it by pulling the cord; instead, grip the plug firmly to protect the cord and outlet. Keeping your vacuum unplugged also safeguards its electrical components while you work on cleaning.
Taking this precaution ensures a safe and smooth cleaning process, so you can focus on maintaining your vacuum without worry. Never skip this step—it’s key to protecting yourself and your machine during cleaning.
Gather Cleaning Supplies
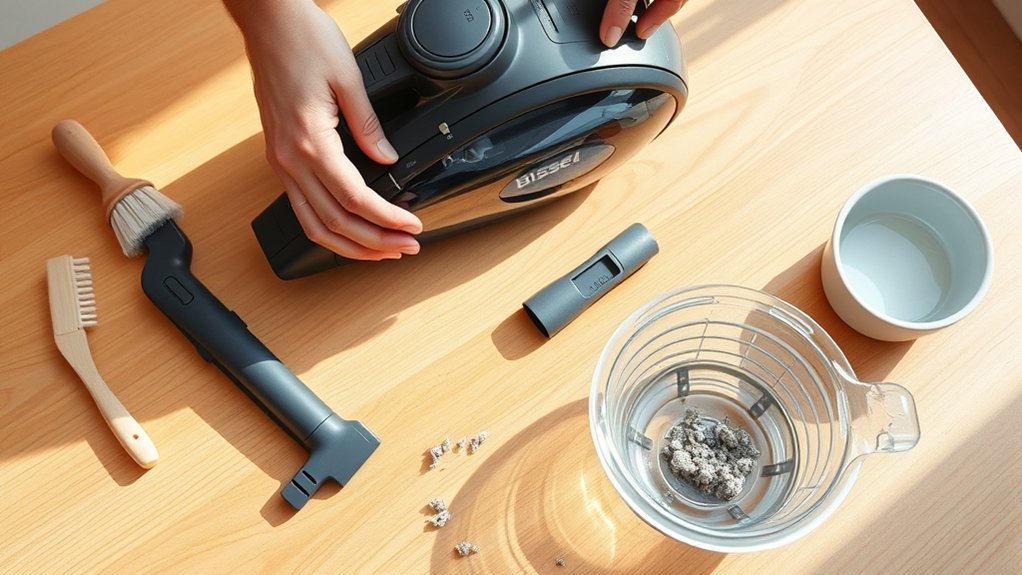
Once you’ve unplugged your Bissell vacuum, gather all the cleaning supplies you’ll need to make the process efficient and thorough. Grab a soft cloth or microfiber towel to wipe down surfaces without scratching. Have a small brush or an old toothbrush handy to clean tight spots and brushes.
You’ll also want a pair of scissors or seam ripper to cut away tangled hair or fibers from the brush roll. Keep a can of compressed air or a handheld vacuum nearby to clear dust from crevices. Finally, prepare a bowl of warm, soapy water for washable parts like filters and dust bins.
Having these supplies ready before you start will guarantee time and ensure your vacuum gets a proper, deep clean.
Empty and Clean the Dust Canister or Vacuum Bag
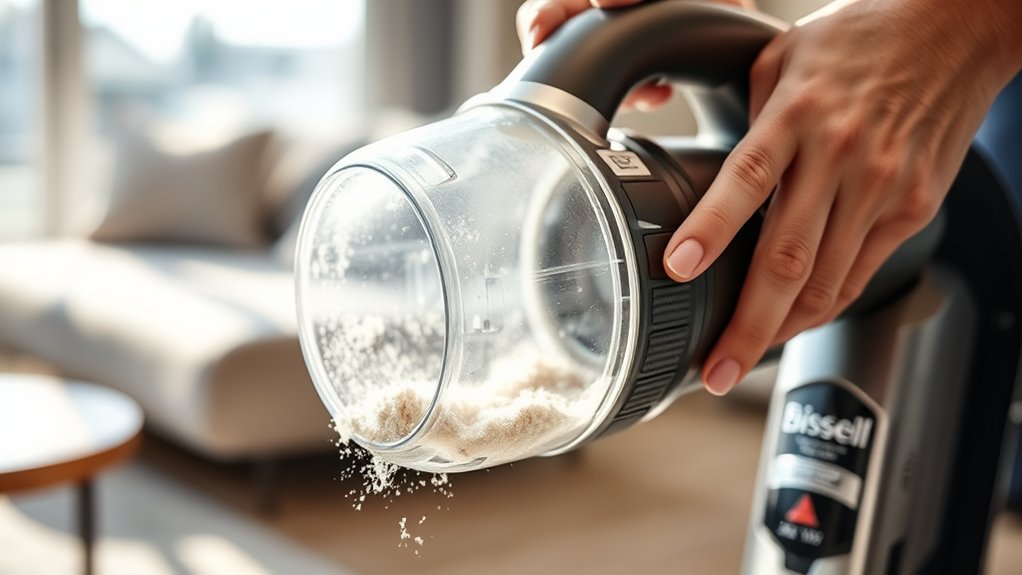
To keep your Bissell vacuum working efficiently, you’ll want to regularly empty and clean the dust canister or replace the vacuum bag. Start by detaching the canister or opening the bag compartment. Empty the contents into the trash, then rinse the canister with warm water if it’s washable.
Let it dry completely before reattaching. For vacuum bags, replace them once full to maintain suction.
| Step | Action | Tips |
|---|---|---|
| 1 | Detach canister or open bag | Unplug vacuum first |
| 2 | Empty contents | Do it outside if possible |
| 3 | Rinse canister (if washable) | Use mild soap, avoid harsh chemicals |
| 4 | Dry canister thoroughly | Prevent mold and odors |
| 5 | Reassemble or replace bag | Check for cracks or damage |
Take Apart Your Vacuum for Deeper Cleaning
Although regular emptying keeps your Bissell vacuum running smoothly, taking it apart for deeper cleaning guarantees all hidden dirt and debris get removed. Start by unplugging your vacuum for safety. Detach the dust canister or bag compartment, and remove any accessible parts like the brush roll, nozzle, and hose.
Use a screwdriver if necessary but keep track of screws and small components. Check each part carefully, removing hair, fibers, and dust clogs by hand or with a soft brush. Wipe down hard surfaces with a damp cloth, avoiding excess moisture.
Inspect the brush roll for tangles and clear them thoroughly. Taking these steps regularly prevents buildup that can reduce suction and cause damage, keeping your vacuum efficient and extending its lifespan.
Clean or Replace Your Bissell Vacuum Filters
After you’ve taken apart your vacuum and cleared out debris, turning your attention to the filters will help maintain strong suction and clean air output. Start by locating the filters—Bissell vacuums typically have a foam or felt filter and a HEPA filter. Remove them carefully.
For washable filters, rinse under cold water until the water runs clear. Avoid using soap unless the manufacturer recommends it. Let the filters air dry completely for at least 24 hours before reinstalling to prevent mold or damage.
If your filters are non-washable or show signs of wear, replace them with genuine Bissell replacements. Regularly cleaning or replacing your filters guarantees your vacuum runs efficiently and prolongs its lifespan. Check your user manual for filter specifics and recommended maintenance intervals.
Remove Hair and Debris From the Brush Roll
To remove hair and debris from your Bissell vacuum’s brush roll, first identify the type of brush you have. Grab tools like scissors or a seam ripper to carefully cut and pull away tangled hair.
To keep buildup minimal, try regular cleanings and consider using a brush guard if available.
Identify Brush Roll Type
Before you start removing hair and debris, you need to identify the type of brush roll your Bissell vacuum has. Brush rolls come in various designs, such as bristle, rubber, or combination types. Knowing your brush roll type helps you handle it properly and prevent damage.
Check your vacuum’s user manual or look for labels near the brush roll area. Some models have a clear cover, so you can see the brush roll without disassembling. Bristle brush rolls have rows of stiff bristles, while rubber ones feature flexible, rubber fins.
Combination types mix both elements. Identifying your brush roll ensures you use the right cleaning approach, making maintenance more effective and extending your vacuum’s lifespan. Take a moment to recognize your brush roll before moving forward.
Tools for Removing Hair
Knowing your brush roll type makes choosing the right tools to remove hair and debris much easier. For most Bissell vacuums, a pair of scissors or a seam ripper works well to cut through tangled hair wrapped around the brush roll. You’ll want a small brush or an old toothbrush to sweep away loosened debris from the bristles and crevices.
Tweezers come in handy for pulling out stubborn hairs that scissors can’t reach. If your model has a detachable brush roll, remove it first to get better access. Avoid using sharp or metal tools that might damage the brush.
Having these simple tools ready helps you clean your vacuum more efficiently and keeps the brush roll spinning properly, ensuring strong suction during your next cleaning session.
Prevent Future Hair Buildup
How often do you check your brush roll for hair and debris? Regularly inspecting it helps prevent buildup that can reduce your Bissell vacuum’s efficiency. After each use, take a moment to remove any visible hair wrapped around the brush roll.
Using scissors or a seam ripper, carefully cut through tangled hair without damaging the bristles. This quick step keeps the brush roll spinning smoothly and maintains strong suction. Also, consider vacuuming high-traffic areas more frequently to minimize hair accumulation.
If you have pets, cleaning the brush roll weekly is ideal. By staying proactive, you’ll extend your vacuum’s lifespan and keep your floors cleaner. Remember, preventing buildup is easier than dealing with a clogged brush roll later.
Check and Clean the Bissell Vacuum Belt
Since the vacuum belt powers the brush roll, you’ll want to inspect it regularly to guarantee it’s in good condition. A worn or damaged belt can reduce suction and cleaning effectiveness. Here’s how to check and clean it:
Regularly inspect your vacuum belt to maintain strong suction and optimal cleaning performance.
- Unplug your vacuum and remove the brush roll cover to access the belt.
- Examine the belt for cracks, fraying, or stretching. If it looks worn, replace it with a compatible Bissell belt.
- If the belt seems fine, wipe it gently with a dry cloth to remove dust and debris.
Regularly maintaining the belt ensures your vacuum performs effectively. Avoid oil or water on the belt, as this can cause slipping. After cleaning or replacing, reassemble the vacuum securely before use.
Clear Blockages From the Hose and Air Pathways
You’ll want to start by checking the hose for common blockages like hair, debris, or clumps of dust. Next, clear out any obstructions in the air pathways to keep your vacuum running smoothly.
Taking these steps will improve suction and overall performance.
Identifying Common Hose Blockages
Although vacuum blockages can be frustrating, identifying common hose obstructions is straightforward if you know where to look. Start by detaching the hose from your Bissell vacuum to get a clear view inside. Then, check for:
- Debris clusters: Hair, string, and carpet fibers often wrap inside the hose, causing clogs.
- Large objects: Small toys, bits of paper, or other debris can get stuck, blocking airflow.
- Crushed or bent sections: Pinched hose parts restrict suction even without visible debris.
Use a flashlight to spot hidden blockages and gently shake or push out any clumps you find. Once you identify these common issues, you’ll know exactly where to focus your cleaning efforts for better vacuum performance.
Clearing Air Pathways Effectively
Before you start clearing blockages, make sure the vacuum is unplugged for safety. Begin by detaching the hose and checking it visually for any visible debris. Use a long, flexible brush or a broomstick to gently push out clogs stuck deep inside.
Next, inspect the air pathways inside the vacuum, including the inlet and outlet ports. Remove any lint, hair, or dirt buildup that might restrict airflow. If your vacuum has removable filters, take them out and clean or replace them as needed.
Reassemble the hose and parts securely, ensuring no gaps remain. Finally, plug the vacuum back in and test it to confirm the airflow is strong and unobstructed. Regularly clearing air pathways keeps your Bissell working efficiently.
Wipe Down Your Bissell Vacuum and Attachments
Since dust and dirt can build up on your Bissell vacuum and its attachments, wiping them down regularly keeps them working efficiently and looking clean.
Regularly wiping your Bissell vacuum and attachments keeps them efficient and looking their best.
Here’s how you can do it quickly and effectively:
- Use a damp cloth: Lightly moisten a soft cloth with water or a mild detergent solution. Avoid soaking it to prevent moisture damage.
- Wipe the vacuum body: Gently clean the exterior surfaces, paying attention to buttons, vents, and handles where grime accumulates.
- Clean the attachments: Wipe down hoses, brushes, and nozzles, removing stuck-on dirt and debris to maintain suction and performance.
Perform this simple routine after each cleaning session to prolong your vacuum’s life and guarantee it runs smoothly every time you use it.
Reassemble and Test Your Bissell Vacuum
After cleaning all the parts, you’ll want to carefully reassemble your Bissell vacuum to make certain everything fits securely and functions properly. Start by snapping or screwing each component back into place exactly as it was. Double-check that the filter, brush roll, and dust bin are all firmly seated.
Once reassembled, plug in your vacuum and turn it on. Listen for any unusual noises and observe if the suction feels strong and consistent. If something seems off, turn it off immediately and inspect the parts again.
Testing your vacuum helps guarantee it’s ready for your next cleaning session and can prevent damage from misaligned or loose components. Taking these final steps guarantees your Bissell runs smoothly and efficiently.
Frequently Asked Questions
How Often Should I Replace My Bissell Vacuum Filters?
You should replace your Bissell vacuum filters every 3 to 6 months, depending on usage. If you vacuum frequently or have pets, consider changing them more often to maintain ideal performance and air quality.
Can I Use Water to Clean All Bissell Vacuum Parts?
You shouldn’t use water on all Bissell vacuum parts. Only washable filters and certain components can be rinsed. Avoid soaking motors or electrical parts to prevent damage.
Always check your model’s manual before cleaning.
What Cleaning Products Are Safe for My Bissell Vacuum?
You should use mild dish soap and warm water to clean your Bissell vacuum parts. Avoid harsh chemicals, bleach, or abrasive cleaners, as they can damage components.
Always check your model’s manual for specific product recommendations.
How Do I Troubleshoot if My Bissell Vacuum Won’T Start?
If your Bissell vacuum won’t start, think of it as a sleepy engine. Check if it’s plugged in, the power switch is on, and the cord isn’t damaged.
Also, inspect filters and empty the dirt bin.
Are Bissell Vacuum Parts Covered Under Warranty?
Yes, Bissell vacuum parts are usually covered under warranty if they’re defective. You’ll need to check your specific warranty terms and provide proof of purchase.
Contact Bissell customer service for help with claims or replacements.
Conclusion
Just like a car needs regular oil changes to run smoothly, your Bissell vacuum thrives with routine cleaning. Imagine a marathon runner—without proper care, performance dips. By following these 10 simple steps, you’re giving your vacuum the tune-up it deserves, ensuring it sucks up dirt efficiently and lasts longer.
Remember, a clean vacuum isn’t just about dirt—it’s about keeping your home fresh and your machine happy. Regular Bissell vacuum cleaning helps maintain suction power and extends the life of your device. Keep at it, and you’ll see the difference in your vacuum’s performance and your home’s cleanliness!