
How to Remove Kitchen Faucet in 10 Easy Steps
To remove your kitchen faucet in 10 easy steps, start by gathering essential tools such as an adjustable wrench and a basin wrench. Turning off the water supply is crucial before you begin to avoid any leaks or water damage.
Clearing the area under your sink will give you enough space to work comfortably and safely.
Next, disconnect the water lines carefully to prevent any spills. Remove the mounting nuts that secure the faucet to the sink. Once the faucet is free, lift out the old unit gently to avoid damaging the countertop.
Clean the sink surface thoroughly and inspect all connections for any signs of damage or wear. If you encounter stuck parts, apply penetrating oil and use patience to loosen them without causing harm.
Following these steps closely will help make the faucet removal process smoother and more efficient.
Key Takeaways
- Turn off the water supply valves under the sink and confirm water flow has stopped by running the faucet.
- Clear the area beneath the sink, gather necessary tools, and prepare adequate lighting for easy access.
- Disconnect water supply lines with an adjustable wrench, placing a bucket or towel to catch residual water.
- Remove mounting nuts securing the faucet using a basin wrench, applying penetrating oil if nuts are stuck.
- Lift out the old faucet carefully, then clean the sink surface and inspect washers and O-rings for replacement.
Tools Needed to Remove a Kitchen Faucet
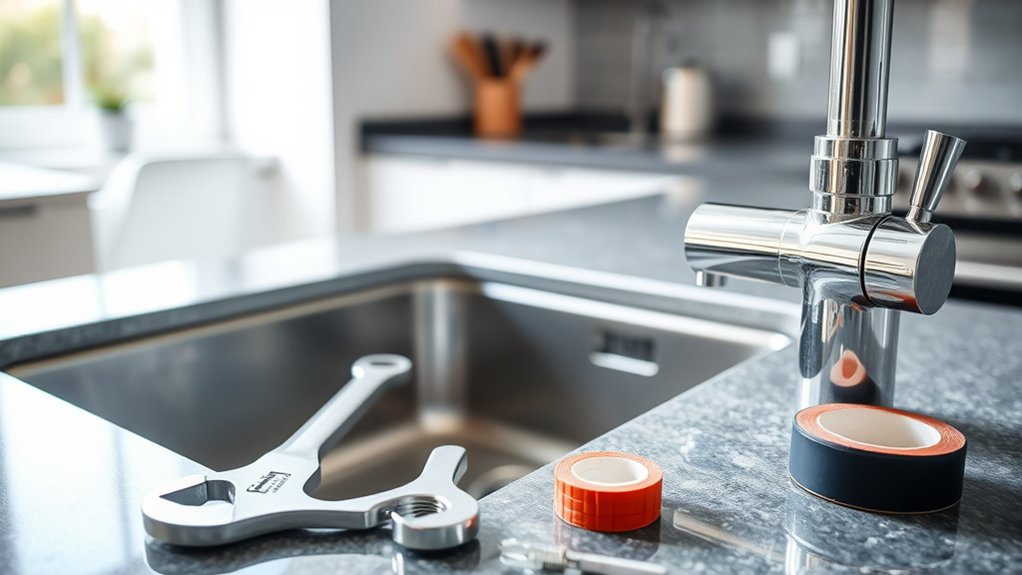
Before you begin removing your kitchen faucet, gather the essential tools to make the process smooth and efficient. You’ll need an adjustable wrench to loosen nuts holding the faucet in place. A basin wrench is also vital—it helps you reach tight spaces beneath the sink where regular wrenches can’t fit.
Keep a pair of pliers handy for gripping and turning smaller components. A screwdriver, either flathead or Phillips, is necessary if screws secure parts of your faucet. Have a bucket or bowl ready to catch any residual water when you disconnect hoses.
Finally, bring along a flashlight to illuminate dark areas under the sink. With these tools at hand, you’ll be well-prepared to remove your kitchen faucet quickly and without hassle.
Turn Off the Water Supply to Your Kitchen Sink
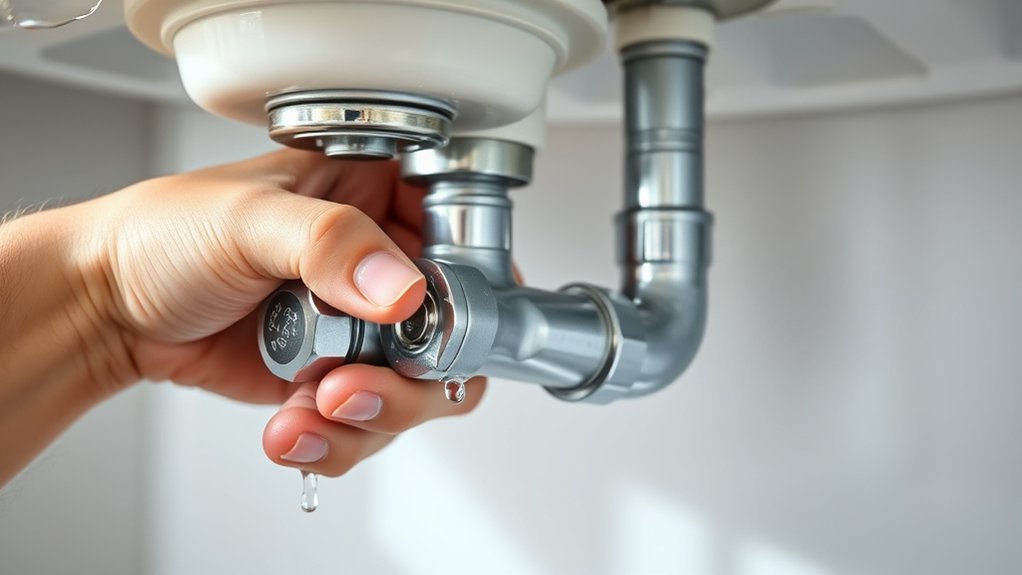
Since water flow can cause a mess and complicate your work, you’ll want to shut off the water supply to your kitchen sink before you start removing the faucet. Locate the shutoff valves under the sink—usually, there are two: one for hot water and one for cold. Turn both valves clockwise until they stop to cut off the water flow.
If you don’t see these valves, you may need to turn off the main water supply for your home.
| Step | Action |
|---|---|
| Locate valves | Check under the sink for shutoff valves |
| Turn valves off | Rotate clockwise to close water flow |
| Test faucet | Turn faucet on to ensure water is off |
| Main supply option | Shut off main water if no local valves |
Clear the Area Under Your Kitchen Sink
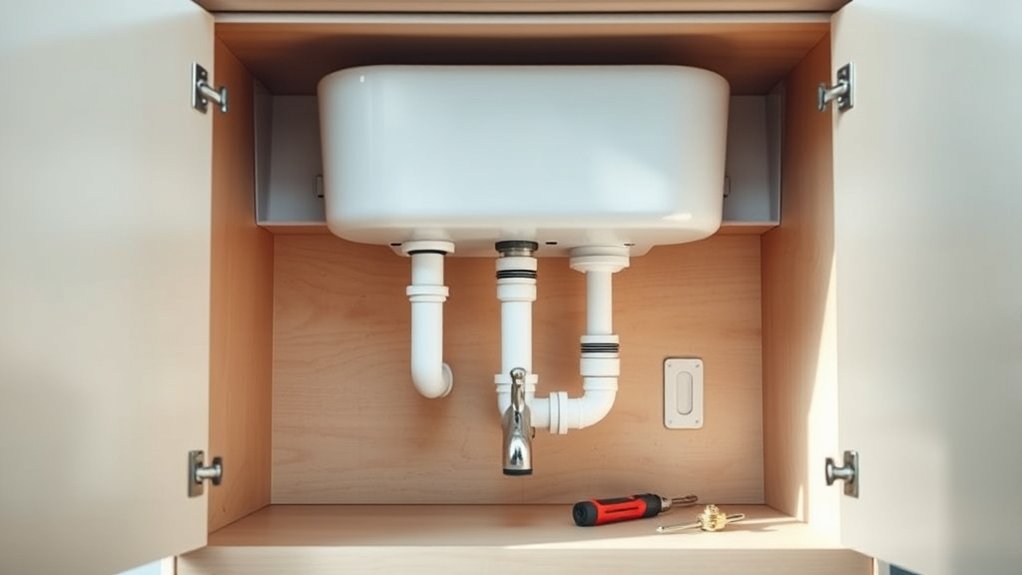
Why clear the space under your sink before removing the faucet? Clearing the area gives you room to work comfortably and prevents accidents. You’ll want easy access to the pipes, nuts, and bolts that secure your faucet.
Start by removing any cleaning supplies, trash bins, or stored items. This keeps them safe and out of your way. If you leave clutter, it can cause spills or get damaged during the process.
Plus, a clear space lets light in and makes it easier to spot what you’re doing. Take a moment to wipe down the cabinet floor if it’s dusty or wet. Preparing this space now makes the next steps smoother and faster, so you won’t struggle or risk injury later on.
Disconnect Kitchen Faucet Water Supply Lines
Once you’ve cleared the space and gathered your tools, you can disconnect the water supply lines connected to your kitchen faucet. Start by turning off the water valves under the sink—usually located on the hot and cold water pipes. Turn them clockwise until they’re fully closed.
Next, place a bucket or towel underneath to catch any residual water. Using an adjustable wrench, carefully loosen the nuts connecting the supply lines to both the faucet and the shutoff valves. Turn the nuts counterclockwise until they detach.
Be gentle to avoid damaging the fittings. Once disconnected, pull the supply lines away from the faucet and set them aside. Now, your kitchen faucet is ready for removal, with no water supply connected.
Inspect Kitchen Faucet Connections for Damage
Before removing your kitchen faucet completely, take a close look at all the connections for any signs of damage or wear. Check the water supply lines for cracks, corrosion, or leaks. Inspect the rubber washers and O-rings; if they’re brittle or cracked, they’ll need replacing.
Look closely at the faucet base and the area where it meets the sink for any rust or mineral buildup that could weaken the connection. Pay attention to the mounting hardware and the condition of the hoses attached to the faucet. Identifying these issues now helps you avoid surprises during reinstallation and guarantees you have the right replacement parts on hand.
Taking this step will make the entire faucet removal and replacement process smoother and more efficient.
Remove the Mounting Nuts Holding the Faucet
First, locate the mounting nuts securing the faucet under the sink. Grab the proper tools, like a basin wrench or adjustable wrench, to reach and loosen them. Take your time and loosen the nuts carefully to avoid damaging any components.
Locate Mounting Nuts
Two mounting nuts typically secure your kitchen faucet to the sink or countertop. To locate them, crouch under the sink and look directly above the faucet base. You’ll usually find the nuts attached to threaded rods extending from the faucet.
These nuts hold the faucet firmly in place, preventing movement. Depending on your faucet model, there might be one or two nuts, sometimes hidden behind a metal or plastic bracket. Use a flashlight if necessary to get a clear view.
Make sure you identify all the mounting nuts before attempting removal. Knowing their exact position is vital for a smooth removal process and avoiding damage to your sink or faucet. Once located, you’re ready for the next step of loosening them.
Use Proper Tools
Although removing the mounting nuts can be challenging due to limited space, using the right tools makes the job much easier. First, grab a basin wrench—it’s specifically designed for tight spots under sinks. Its long handle and pivoting jaw help you reach and grip the nuts securely.
You might also need an adjustable wrench or a socket wrench depending on your faucet’s mounting hardware. Make sure your tools fit snugly to avoid stripping the nuts. Before you start, clear out any clutter under the sink for better access.
Wearing gloves can improve your grip and protect your hands. Having the proper tools ready not only speeds up the process but also prevents damage to your faucet and plumbing components.
Loosen Nuts Carefully
How exactly do you loosen the mounting nuts without causing damage? First, ensure you have the right-sized wrench or basin wrench to fit the nuts snugly. Turn the nuts counterclockwise slowly and steadily.
Don’t rush or use excessive force—this can strip the threads or crack surrounding surfaces. If the nuts feel stuck, apply a penetrating lubricant and wait a few minutes to let it work. Then, try loosening again.
Support the faucet with one hand while loosening to prevent it from shifting or falling. Once the nuts start turning, continue carefully until they’re fully removed. Taking your time here protects both your faucet and sink, making the removal process smooth and damage-free.
Remove the Old Kitchen Faucet From the Sink
Before you lift the old faucet out, make sure you turn off the water supply to avoid any leaks. Next, disconnect the water lines carefully to free the faucet from the plumbing.
Finally, remove any remaining mounting hardware so the faucet can be fully detached from the sink.
Turn Off Water Supply
Where do you start when removing an old kitchen faucet? First, you need to turn off the water supply to avoid leaks and water damage. Locate the shutoff valves under the sink—usually, there are two valves: one for hot water and one for cold.
Turn both valves clockwise until they’re fully closed. If your sink lacks individual shutoff valves, turn off the main water supply for your home. After shutting off the water, open the faucet to release any remaining pressure.
| Step | Action |
|---|---|
| 1 | Locate shutoff valves |
| 2 | Turn valves clockwise |
| 3 | Confirm water is off |
| 4 | Open faucet to drain water |
| 5 | Prepare for faucet removal |
Disconnect Water Lines
Once you’ve shut off the water supply, the next step is to disconnect the water lines from the faucet. Here’s how to do it safely and efficiently:
- Place a bucket or towel under the connections to catch any residual water.
- Use an adjustable wrench to loosen the nuts connecting the water lines to the faucet. Turn counterclockwise until they’re free.
- Gently pull the water lines away from the faucet, making sure not to damage the hoses or fittings.
Be careful not to twist or kink the water lines as you disconnect them.
Once detached, you’re ready for the next phase of faucet removal. Taking these steps ensures you avoid leaks and water damage during the process.
Remove Mounting Hardware
After disconnecting the water lines, you can move on to removing the mounting hardware that holds the faucet in place. Locate the mounting nuts underneath the sink; these secure the faucet to the sink or countertop. Use a basin wrench or an adjustable wrench to loosen and remove these nuts.
Be careful, as the space can be tight and awkward to reach. If the nuts are stuck due to corrosion or mineral buildup, apply a penetrating oil and let it sit for a few minutes before trying again. Once the mounting nuts are removed, the faucet should lift free easily.
If it doesn’t budge, gently wiggle it back and forth to break any seal or adhesive. Now, you’re ready to lift the old faucet out completely.
Clean the Sink Before Installing a New Faucet
Before installing your new faucet, you’ll want to thoroughly clean the sink area to guarantee a secure and leak-free fit. Leftover grime, old plumber’s putty, or debris can prevent the new faucet from sealing properly. Follow these steps to prepare your sink:
- Remove Debris: Use a sponge or cloth to wipe away any dirt, old putty, or residue around the faucet holes.
- Scrub the Surface: Apply a mild cleaner and scrub the area with a soft brush to remove mineral deposits or stains.
- Dry Completely: Wipe the sink dry with a clean towel to assure no moisture remains that could interfere with the sealing.
Taking these simple steps helps your new faucet sit flush and prevents leaks right from the start.
Troubleshoot Common Problems Removing a Kitchen Faucet
If your faucet feels stuck, don’t force it—try using penetrating oil to loosen corroded connections first. Be careful when handling rusty parts to avoid damaging pipes or fittings.
Also, take steps to prevent water leaks during removal by shutting off the supply and checking seals.
Stuck Faucet Removal Tips
When a kitchen faucet won’t budge, you’ll need to apply some extra techniques to loosen it safely. First, try using a penetrating oil to break down any buildup around the base and connections. Spray it generously, wait 10-15 minutes, then attempt loosening again.
Second, use a strap wrench or adjustable pliers to get better grip without damaging the faucet’s finish. Apply steady pressure and avoid sudden jerks. Third, gently tap the faucet’s base with a rubber mallet to help break any stuck parts free.
This vibration can loosen debris or mineral deposits holding the faucet tight. Remember, patience is key; forcing it too hard risks damaging your sink or plumbing. These tips will help you remove a stuck faucet effectively.
Handling Corroded Connections
Loosening a stuck faucet often leads to discovering corroded connections underneath. When you spot corrosion, don’t force the parts; this can cause damage. First, apply a penetrating oil like WD-40 to loosen rust and buildup.
Let it soak for 10-15 minutes to break down the corrosion. Next, use a wrench with a firm but gentle grip to twist the connections free. If they still won’t budge, try tapping lightly with a rubber mallet to help break the rust seal.
Avoid using excessive force, which can crack pipes or fittings. Once you remove the corroded parts, clean the threads with a wire brush before reassembling or replacing. Handling corrosion carefully guarantees you don’t worsen the damage while removing your kitchen faucet.
Preventing Water Leaks
Although removing a kitchen faucet might seem straightforward, preventing water leaks during the process requires careful attention to seals and connections. To avoid leaks, you should:
- Turn off the water supply completely before starting. This prevents any accidental water flow that could cause leaks.
- Inspect and replace old washers or O-rings. These small parts often wear out and cause leaks if reused.
- Tighten connections properly but avoid over-tightening, which can damage seals or threads.
Dispose of Your Old Kitchen Faucet Safely
Since old faucets often contain materials that shouldn’t go in regular trash, you’ll need to dispose of yours properly to protect the environment. Start by checking local regulations for metal recycling or hazardous waste disposal. Many municipalities offer special collection days or drop-off centers for such items.
Before dropping it off, remove any non-metal parts like rubber washers or plastic components to help with recycling.
Here’s a quick guide to help you dispose of your old faucet safely:
| Step | Action |
|---|---|
| 1. Identify materials | Separate metal from plastic/rubber |
| 2. Check local rules | Find recycling or disposal centers |
| 3. Prepare faucet | Clean and dismantle parts |
| 4. Drop off properly | Use designated facilities only |
Following this keeps your home safe and helps the planet!
Frequently Asked Questions
How Do I Choose the Right Replacement Faucet for My Sink?
You should measure your sink’s hole size and count before picking a faucet. Consider style, finish, and functionality that match your needs. Don’t forget water pressure compatibility and installation type to guarantee a perfect fit.
Can I Upgrade to a Touchless Kitchen Faucet?
Yes, you can upgrade to a touchless kitchen faucet. Just make certain your sink has the right mounting holes and power source nearby.
It’s a great way to improve hygiene and convenience in your kitchen.
What Is the Average Cost of a New Kitchen Faucet?
You can expect to pay between $100 and $500 for a new kitchen faucet, depending on the style and features.
Touchless models usually cost more, but they’re worth it if you want convenience and hygiene.
How Long Does It Take to Install a New Kitchen Faucet?
Installing a new kitchen faucet usually takes about one to two hours—you’ll glide through the process like a painter with a fresh canvas.
With patience and the right tools, you’ll transform your sink in no time.
Are There Any Warranties on Kitchen Faucets?
Yes, most kitchen faucets come with warranties, often ranging from one year to lifetime coverage.
You’ll want to check the manufacturer’s details to understand what’s covered, like leaks or defects, so you’re protected.
Conclusion
Now that you’ve removed your old kitchen faucet, imagine the fresh, gleaming sink ready for its new centerpiece. With the water off and connections freed, you’ve cleared the way for a smooth upgrade.
Picture the clean surface beneath your hands, the promise of sparkling water flowing from your new faucet. Removing your old fixture may seem tough, but with these simple steps, you’ve made space for a kitchen that feels brand new.
By following this guide on how to remove a kitchen faucet, you’re one step closer to a refreshed kitchen. Enjoy the ease of installation and the improved look that a new faucet brings. This simple task can truly transform your kitchen space.