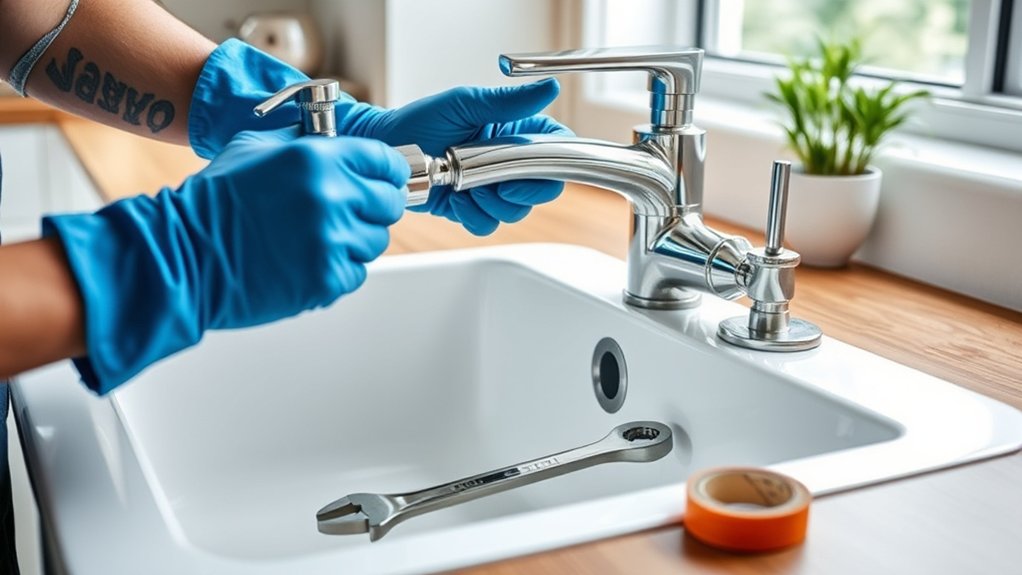
How to Replace a Faucet in 7 Easy Steps
To replace a faucet in 7 easy steps, start by gathering all necessary tools and turning off the water supply. Clearing the area under your sink is essential to provide easy access and prevent any water damage during the process.
Having the right tools and preparation will make your faucet replacement smooth and efficient.
Next, carefully remove the old faucet and clean the sink surface thoroughly. This step ensures a clean base for the new faucet installation.
Align and install your new faucet properly, making sure it fits securely.
Secure the faucet tightly and connect the water supply lines to avoid leaks.
Finally, test the faucet for leaks and smooth operation.
Following these basics will guarantee a successful faucet replacement, and there’s more to mastering this handy skill ahead.
Key Takeaways
- Turn off the water supply and open the faucet to drain remaining water before starting the replacement.
- Disconnect water lines and remove the old faucet carefully using an adjustable wrench.
- Align and secure the new faucet through sink holes with proper gaskets and tighten mounting nuts.
- Attach hot and cold supply lines, ensuring washers are in place, then tighten connections without overtightening.
- Restore water supply gradually, check for leaks, and test faucet operation for smooth flow and no drips.
Gather Tools and Materials Needed for Faucet Replacement
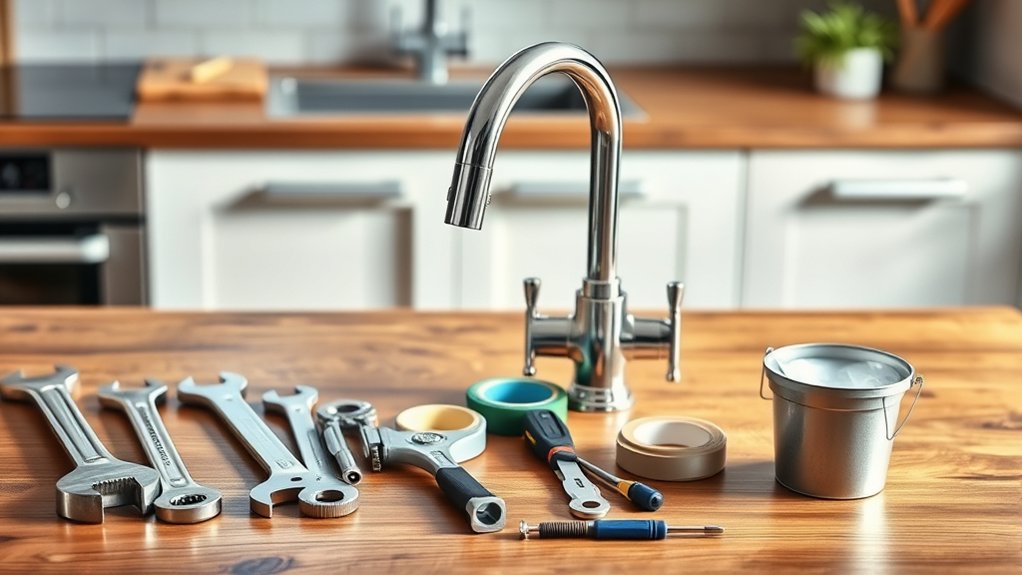
Before you begin replacing your faucet, make sure you have all the necessary tools and materials on hand. You’ll need an adjustable wrench, basin wrench, plumber’s tape, and a screwdriver. Having a bucket and towels nearby helps catch any residual water.
Don’t forget new supply lines if your old ones look worn or damaged. You’ll also want a putty knife or scraper to remove old caulk or sealant around the faucet base. Make sure your replacement faucet matches your sink’s configuration—count the number of holes and check the spacing.
Double-check the package for installation instructions specific to your model. Gathering everything beforehand prevents last-minute trips and keeps the process smooth and efficient. Once you have all tools and parts ready, you’re set to start the faucet replacement confidently.
Turn Off Faucet Water Supply and Prepare the Area
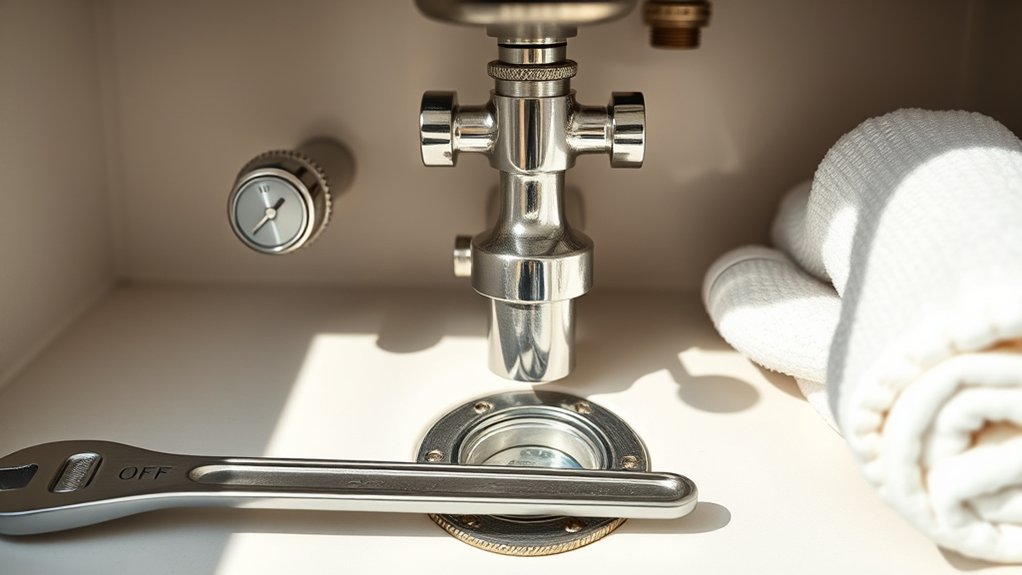
Once you locate the shut-off valves under the sink, turn them clockwise to stop the water flow to your faucet. This vital step prevents leaks and makes your job easier.
Locate and turn the shut-off valves clockwise to stop water flow and prevent leaks before starting.
Next, prepare the area to avoid any mess or damage during replacement. Here’s how:
- Place a bucket or bowl under the pipes to catch any leftover water.
- Use a towel or rag to dry the area around the valves and sink.
- Clear out items from under the sink to give yourself enough workspace and prevent accidental spills.
How to Safely Remove Your Old Faucet
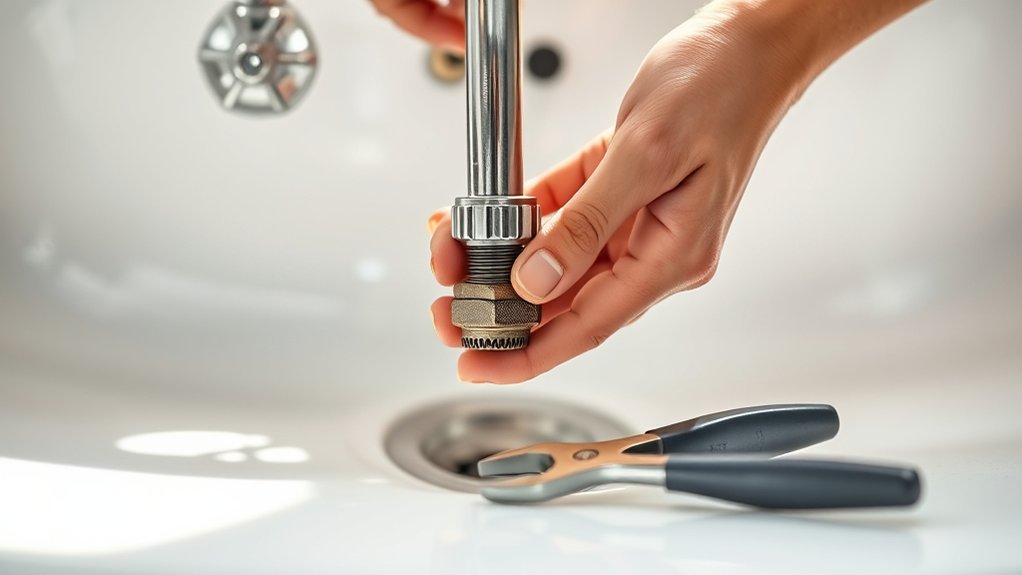
Now that the water supply is off, you’ll want to disconnect the water lines carefully to avoid any spills. Use a wrench to loosen the connections, but don’t force them if they’re stuck. Taking your time here helps prevent damage and keeps the process safe.
Turn Off Water Supply
Although it might seem simple, turning off the water supply is a crucial step to prevent leaks and water damage while removing your old faucet. Here’s how you do it:
- Locate the shut-off valves under the sink. These are usually small knobs or levers attached to the water pipes.
- Turn both the hot and cold water valves clockwise until they stop. This shuts off the water flow.
- Open the faucet to drain any remaining water in the lines. This reduces pressure and prevents spills when you disconnect the faucet.
If you don’t find shut-off valves under the sink, you may need to turn off the main water supply to your home. Always double-check by running the faucet after shutting off the valves to ensure no water flows.
Disconnect Water Lines
After shutting off the water supply and confirming no water flows from the faucet, you can safely disconnect the water lines. First, place a bucket or towel underneath the connections to catch any leftover water. Use an adjustable wrench to loosen the nuts attaching the supply lines to the faucet.
Turn the nuts counterclockwise until they come off easily. Be careful not to damage the supply lines or fittings. If the lines are old or corroded, they might be stuck—apply gentle, steady pressure rather than forcing them.
Once disconnected, inspect the lines for wear or damage. If needed, replace them with new flexible supply lines for a secure fit. With the water lines removed, you’re ready to proceed with removing the old faucet.
Clean the Sink and Inspect for Damage
Before installing your new faucet, make certain to clear away all debris from the sink area. Check carefully for any cracks or damage that might cause leaks later. Don’t forget to assess the condition of the drain to ensure everything is in good shape.
Clear Debris Thoroughly
Once you remove the old faucet, take time to clear away any debris or buildup in the sink area. This step guarantees a clean surface for the new faucet and prevents future leaks or damage.
Here’s how to do it effectively:
- Remove Loose Debris: Use a damp cloth or sponge to wipe away dirt, old plumber’s putty, and mineral deposits.
- Scrub Stubborn Buildup: Apply a mild cleaner or vinegar solution and scrub with a soft brush to break down tough grime.
- Dry and Inspect: Thoroughly dry the area and check for any signs of water damage or corrosion that might need attention before installing the new faucet.
Taking these steps will give you a clean, solid foundation for a smooth faucet replacement.
Check For Cracks
Though you’ve cleared away debris, you still need to carefully inspect the sink for cracks or damage that could affect the new faucet’s installation. Take a close look around the faucet holes and the sink’s surface. Use a flashlight if necessary to spot hairline cracks or chips that could worsen once you install the new fixture.
Check under the sink as well, focusing on any signs of leaks or water damage that might indicate hidden cracks. If you find any damage, address it before proceeding to guarantee a secure and leak-free installation. Catching these issues now saves you from potential headaches later and helps your new faucet fit perfectly and function properly.
Assess Drain Condition
As you prepare to replace your faucet, start by thoroughly cleaning the sink and evaluating the drain’s condition. This step ensures there are no hidden issues that could cause leaks or blockages later.
- Remove any debris or buildup around the drain opening using a scrub brush and mild cleaner.
- Inspect the drain for cracks, corrosion, or worn-out seals that might compromise its integrity.
- Check the drain stopper mechanism to confirm it functions smoothly without sticking or leaking.
Address any damage before installing the new faucet to avoid future plumbing problems. Taking the time to assess and clean the drain now will help your replacement go smoothly and keep your sink working efficiently.
Install Your New Faucet Correctly
How do you guarantee your new faucet fits perfectly and functions smoothly? Start by aligning the faucet with the mounting holes on your sink or countertop. Make sure the gasket or putty is properly placed to prevent leaks.
Insert the faucet through the holes carefully, ensuring it sits flush against the surface. From underneath, thread the mounting nuts onto the faucet shanks, tightening them by hand first. Use a basin wrench or adjustable wrench to secure the nuts firmly, but don’t overtighten to avoid damaging components.
Double-check that the faucet is centered and straight before fully tightening. Finally, remove any excess putty around the base with a cloth. By following these steps, you’ll assure your new faucet is installed correctly and ready for the next phase.
Securely Connect the Water Supply Lines
Where do you start when connecting your water supply lines? First, ensure the water is still off to avoid leaks. Then, follow these steps:
- Attach the supply lines: Connect the hot and cold water lines to the corresponding faucet inlets. Hand-tighten the connections before using a wrench to snug them up, but don’t overtighten.
- Check the washers: Make sure rubber washers or gaskets are in place inside the connectors to prevent leaks.
- Secure the lines: Use adjustable wrenches to firmly tighten the connections at both the faucet and shutoff valves, ensuring a secure fit without damaging the fittings.
Test Your New Faucet for Proper Function and Leaks
Before fully restoring your water supply, turn on the faucet to check for proper water flow and to spot any leaks. Run both hot and cold water, confirming the temperature adjusts correctly and the pressure feels consistent. Watch under the sink carefully for any dripping or moisture around the supply lines, connections, and faucet base.
If you notice leaks, tighten the connections gently with a wrench, but don’t overtighten. Also, check the aerator by removing it and inspecting for debris that might affect flow. Once everything functions smoothly without leaks, you can restore full water pressure and replace any access panels or covers you removed.
Testing thoroughly now prevents costly repairs later and ensures your new faucet works perfectly from day one.
Frequently Asked Questions
What Type of Faucet Is Best for Hard Water Areas?
You’ll want a faucet made from brass or stainless steel for hard water areas since they resist corrosion and mineral buildup. Look for models with ceramic disc valves—they’re durable and handle hard water better without leaking.
These materials and valve types ensure longevity and reduce maintenance. Choosing the right faucet can save you from frequent replacements. It’s a smart investment for areas with hard water.
How Do I Dispose of My Old Faucet Responsibly?
Your old faucet is a sinking ship—don’t let it pollute the sea. Take it to a metal recycling center or donate it if functional.
You’re giving it new life and protecting the planet simultaneously.
Can I Replace a Faucet Without Professional Plumbing Skills?
Yes, you can replace a faucet without professional skills by following detailed instructions carefully. Make sure to turn off the water, use the right tools, and take your time to avoid mistakes or leaks during installation.
What Are Common Signs My Faucet Needs Replacement?
If your faucet sounds like a roaring waterfall or leaks nonstop, it’s screaming for replacement. You’ll also notice rust, low water pressure, or strange noises.
Don’t ignore these signs—they’ll flood your life with frustration!
How Long Does a Typical Faucet Replacement Take?
A typical faucet replacement takes about 1 to 2 hours. You’ll save time by gathering tools beforehand and turning off the water. If you’re experienced, you might finish quicker, but expect some troubleshooting along the way.
Conclusion
Now that you’ve replaced your faucet step by step, you’re ready to enjoy a fresh, leak-free sink. Just like a well-oiled machine, your new faucet will run smoothly and efficiently.
Remember, taking your time and double-checking connections pays off—no need to throw in the towel if something feels off. With a little patience and care, you’ve turned a challenging task into a walk in the park.
By following these simple faucet replacement steps, you’ve ensured a durable and functional fixture. Enjoy the benefits of your new faucet and happy washing!