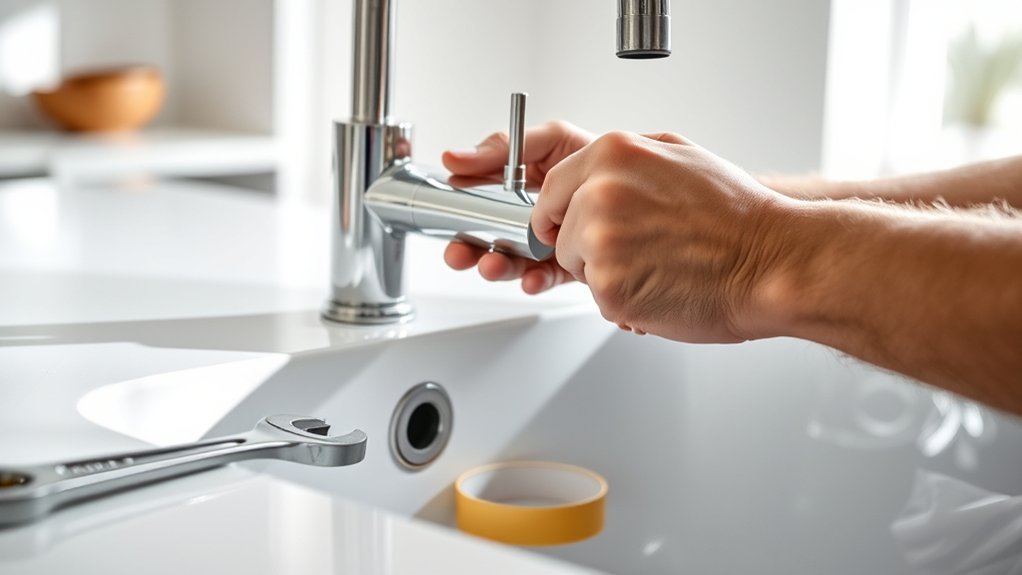
How to Install a Kitchen Faucet in 7 Easy Steps
To install a kitchen faucet in seven easy steps, start by gathering all necessary tools and your new faucet parts. Installing a kitchen faucet is a straightforward process that can save you money and enhance your kitchen’s functionality.
Before you begin, make sure to shut off the water supply to avoid any spills or damage.
Next, prepare your sink by draining any remaining water and clearing the area for easy access. Remove the old faucet by disconnecting the supply lines and loosening the mounting nuts carefully. This step ensures a smooth transition to your new faucet.
Position and secure the new faucet base using a gasket to prevent leaks. Then, connect the supply lines tightly to the corresponding valves.
Finally, slowly turn on the water and check for leaks and proper flow to confirm a successful installation.
Keep going if you want detailed tips for a flawless setup.
Key Takeaways
- Shut off water supply valves and open faucet to drain remaining water before starting installation.
- Remove old faucet by disconnecting supply lines and loosening mounting nuts with appropriate wrenches.
- Clean the sink surface thoroughly to remove old putty or grime for a secure seal.
- Position and secure the new faucet base with gasket or plumber’s putty, tightening mounting nuts evenly.
- Connect supply lines to shutoff valves, turn on water slowly, and check for leaks and proper function.
Gather Tools and Materials for Your Kitchen Faucet
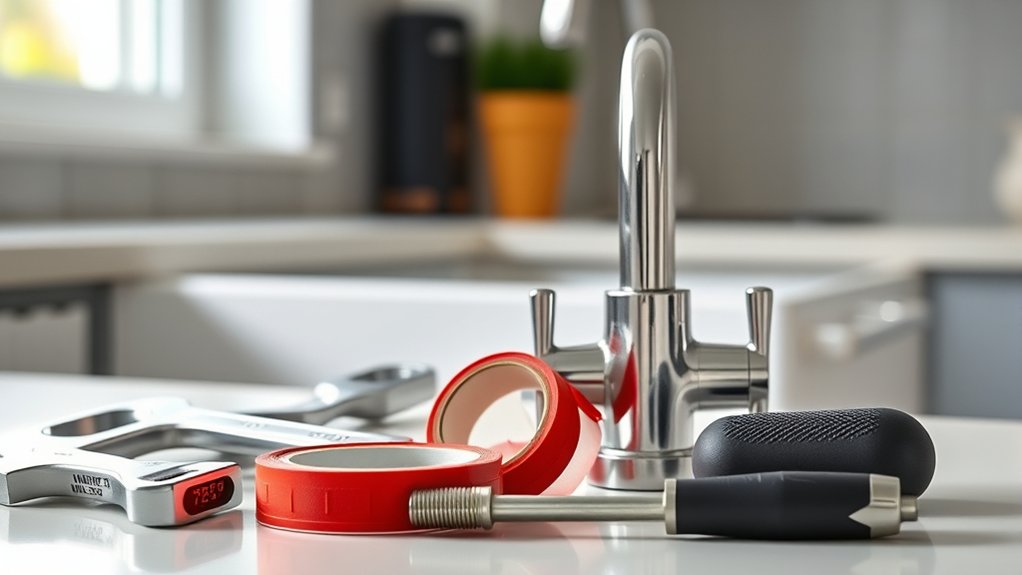
Before you begin installing your kitchen faucet, make sure you have all the necessary tools and materials on hand. You’ll need an adjustable wrench, basin wrench, plumber’s tape, and a screwdriver. Having a bucket or towel nearby helps catch any residual water.
Also, keep your new faucet and any included parts, like mounting hardware and gaskets, within reach. If your faucet requires a supply line, check if it’s included or if you need to buy one separately. Don’t forget silicone sealant or plumber’s putty to guarantee a watertight seal.
Gathering everything beforehand saves time and prevents interruptions during installation. When you’re fully prepared, the process will flow smoothly, and you’ll avoid frustration caused by missing tools or materials.
Shut Off Water Supply and Prep Your Sink
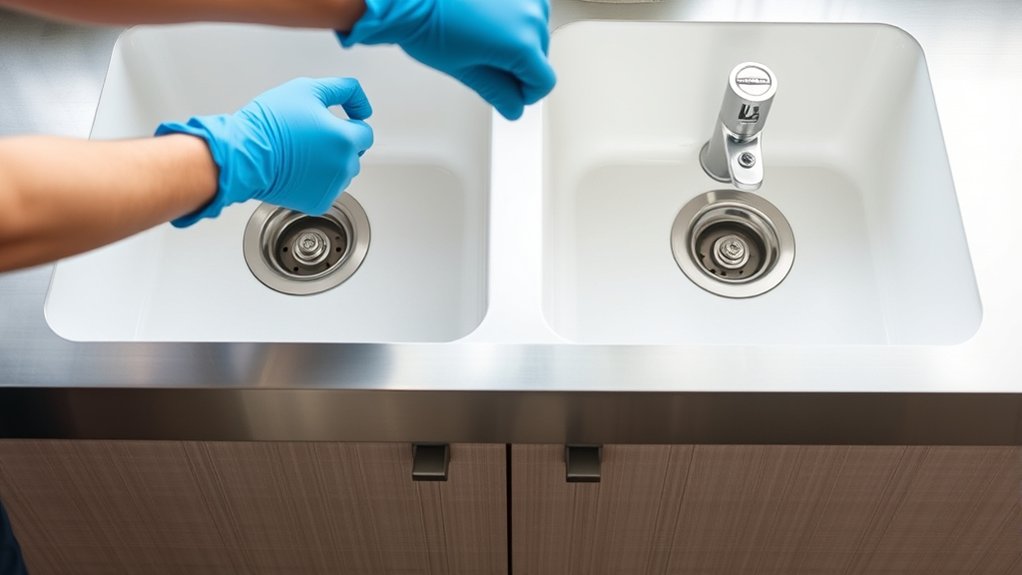
Once you’ve gathered all your tools, shut off the water supply to prevent leaks during installation. Locate the shut-off valves under your sink and turn them clockwise until tight. If there are no individual valves, turn off the main water supply for your home.
Next, open the faucet to drain any remaining water from the lines. Prepare your sink area by clearing out items and wiping the surface clean. This will give you easy access and a tidy workspace.
- Turn off both hot and cold water valves
- Open faucet to relieve pressure
- Place a bucket or towel under pipes to catch drips
- Clear and clean the sink area
- Gather a flashlight for visibility under the sink
These steps set you up for a smooth faucet installation.
Remove the Old Kitchen Faucet
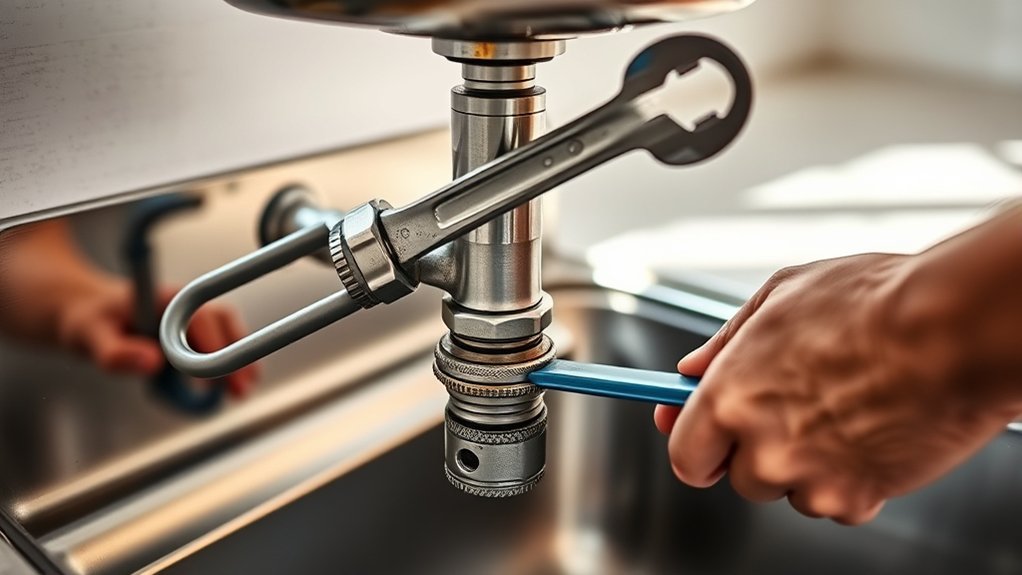
Now that the water supply is shut off, you’re ready to remove the old kitchen faucet. Start by disconnecting the water supply lines from the faucet.
Make sure to have a bucket or towel handy to catch any remaining water.
Shut Off Water Supply
Although it might seem simple, shutting off the water supply is a crucial step to avoid leaks and water damage while removing your old kitchen faucet. Before you start, locate the shutoff valves under the sink or the main water valve for your home. Turn the valves clockwise until they’re fully closed.
Double-check by turning on the faucet to ensure no water flows out.
Here’s what you need to do:
- Find the correct shutoff valves under the sink.
- Turn both hot and cold water valves clockwise.
- If no valves exist, shut off the main water supply.
- Open the faucet to relieve any pressure.
- Keep a towel handy for any residual drips.
Once the water is off, you’re ready to proceed safely.
Disconnect Faucet Connections
How do you disconnect the faucet connections without causing a mess? First, place a bucket or towel under the sink to catch any residual water. Next, use an adjustable wrench to loosen the nuts connecting the water supply lines to the faucet.
Turn the nuts counterclockwise until they’re free. Be careful not to damage the supply lines or fittings. Once disconnected, loosen the mounting nuts holding the faucet to the sink from underneath.
These can be tight, so use a basin wrench if necessary. After removing the nuts, gently lift the old faucet out from above the sink. Wipe away any old plumber’s putty or grime to prepare for the new installation.
Taking these steps guarantees a smooth removal without spills or damage.
Install and Secure the New Kitchen Faucet Base
Before tightening anything, position the new faucet base carefully into the sink’s mounting hole, making sure the gasket or putty creates a watertight seal. Align the faucet so its handles and spout face the right direction. Once aligned, secure the base from underneath using the mounting nuts or brackets provided.
Tighten them evenly to prevent leaks or wobbling, but avoid overtightening, which could damage the sink or faucet. Double-check the faucet’s stability before moving on.
- Confirm the gasket or putty fully covers the mounting surface
- Use a basin wrench for hard-to-reach mounting nuts
- Tighten nuts gradually, alternating sides if there are multiple
- Keep the faucet steady while securing the base
- Inspect for gaps between the faucet base and sink
This guarantees a solid, leak-free foundation for your new kitchen faucet.
Connect the Kitchen Faucet Water Supply Lines
Once the faucet base is securely in place, you’ll connect the water supply lines to bring water flow to your kitchen faucet. First, attach the hot and cold water supply lines to the corresponding faucet inlets, usually marked with red for hot and blue for cold. Hand-tighten the connections, then use an adjustable wrench to secure them snugly—don’t overtighten, or you risk damaging the fittings.
Next, connect the other ends of the supply lines to the shutoff valves under your sink. Make sure the connections are tight and properly aligned to avoid leaks. Finally, check that the lines aren’t kinked or twisted, which could restrict water flow.
With the supply lines connected, you’re ready to move on to testing your new faucet.
Test Your New Kitchen Faucet for Leaks and Functionality
Now that your faucet is connected, turn on the water to check the flow and pressure. Watch closely for any leaks around the connections and tighten them if needed.
This step guarantees your new faucet works properly without wasting water.
Check Water Flow
Start by turning on the water supply valves slowly to avoid sudden pressure changes. Once the water flows, observe the faucet’s performance carefully. Make certain both hot and cold water run smoothly without sputtering or weak pressure.
Check for a steady, even stream without splashing. Listen for any unusual noises like banging or hissing, which could indicate an issue. Finally, guarantee the water temperature adjusts properly when you turn the handle.
Here are key points to focus on when checking water flow:
- Confirm both hot and cold water flow steadily.
- Watch for consistent water pressure and stream.
- Look out for splashing or uneven flow.
- Listen for unusual noises during operation.
- Test temperature control responsiveness.
This ensures your new faucet works perfectly before finalizing installation.
Inspect Connection Tightness
Although you’ve confirmed the water flows properly, you still need to inspect the connection tightness to prevent leaks. Start by turning off the faucet and carefully feeling around each connection point underneath the sink. Look for any moisture or drips, especially where hoses meet the water supply valves and the faucet base.
Use a wrench to gently tighten any loose fittings, but don’t overtighten, as this can damage threads or seals. After tightening, turn the water back on and watch closely for leaks while running the faucet through hot and cold settings. If everything stays dry and the faucet functions smoothly, you’ve successfully guaranteed a secure installation.
Regularly checking these connections helps avoid water damage and keeps your kitchen running efficiently.
Clean Up and Check Your Faucet Installation
How do you know if your kitchen faucet installation is truly complete? After tightening connections, it’s essential to clean up and thoroughly check your work to verify everything functions perfectly. Start by wiping down the faucet and surrounding area to remove any debris or tools.
Then, perform these checks:
- Turn on the water supply and test both hot and cold water flow.
- Look carefully for leaks around all connections and joints.
- Operate the faucet handle smoothly to confirm proper movement.
- Check the spray hose (if applicable) for secure attachment and function.
- Make sure the faucet base is firmly seated without wobbling.
Taking these final steps guarantees a clean workspace and a faucet that works as it should, giving you confidence in your installation.
Frequently Asked Questions
What Types of Kitchen Faucets Are Available?
You’ll find several types of kitchen faucets: single-handle, double-handle, pull-out, pull-down, touchless, and commercial-style. Each offers different features and styles, so you can pick one that fits your kitchen’s look and your needs perfectly.
How Do I Choose the Right Faucet Finish?
You should choose a faucet finish that matches your kitchen’s style and existing hardware. Consider durability, ease of cleaning, and how well it hides water spots or fingerprints to keep your faucet looking great longer.
Can I Install a Faucet Without Professional Help?
You don’t need to be a superhero to install a faucet yourself. With basic tools and careful steps, you can handle the job confidently. Just follow instructions closely, and you’ll save time and money without professional help.
What Should I Do if Water Pressure Is Low?
If your water pressure is low, you should check for clogged aerators or supply lines. You can clean or replace them, make sure valves are fully open, and inspect for leaks or build-up in the pipes to improve flow.
How Do I Maintain and Clean My Kitchen Faucet?
You should regularly rinse residues and remove mineral buildup by wiping with a white vinegar solution. Don’t forget to clean the aerator and check for leaks.
Keeping your kitchen faucet clean keeps it functioning flawlessly.
Conclusion
Now that you’ve installed your kitchen faucet, you’re part of the 70% of homeowners who tackle DIY projects to save money and gain confidence. Taking these simple steps not only improves your kitchen’s look but also helps you avoid costly plumber visits.
Remember, a well-installed kitchen faucet means fewer leaks and less water waste, protecting your home and the environment. Enjoy your new faucet and the satisfaction of a job well done!
By following this kitchen faucet installation guide, you ensure a durable and efficient fixture that enhances your kitchen’s functionality.