Why Is My Shark Vacuum Not Charging?
If your Shark vacuum is not charging, it can be frustrating and inconvenient. Ensuring your Shark vacuum charges properly is essential for maintaining its performance. Common reasons for charging issues include problems with the power outlet, charger, or the vacuum itself.
First, check that the power outlet is working and that your charger shows an indicator light. Clean the charging contacts on both the vacuum and the dock to ensure a good connection.
A faulty battery or outdated firmware can also cause charging problems.
Make sure the vacuum is properly seated on the dock and that the dock is securely plugged in.
If the vacuum still won’t charge, exploring these common fixes can help you restore proper charging and get your Shark vacuum back to optimal use.
Key Takeaways
- Check the charger and power outlet for damage, proper connection, and functionality to ensure power supply to the vacuum.
- Clean charging contacts on both the vacuum and dock with alcohol to maintain proper electrical connection.
- Reset the vacuum using the reset button to resolve minor software or charging glitches.
- Inspect the battery for wear, swelling, overheating, or reduced capacity indicating it may need replacement.
- Ensure the charging dock is on a stable surface, properly aligned, and connected to a working outlet.
How To Check If Your Shark Vacuum Charger Is Working
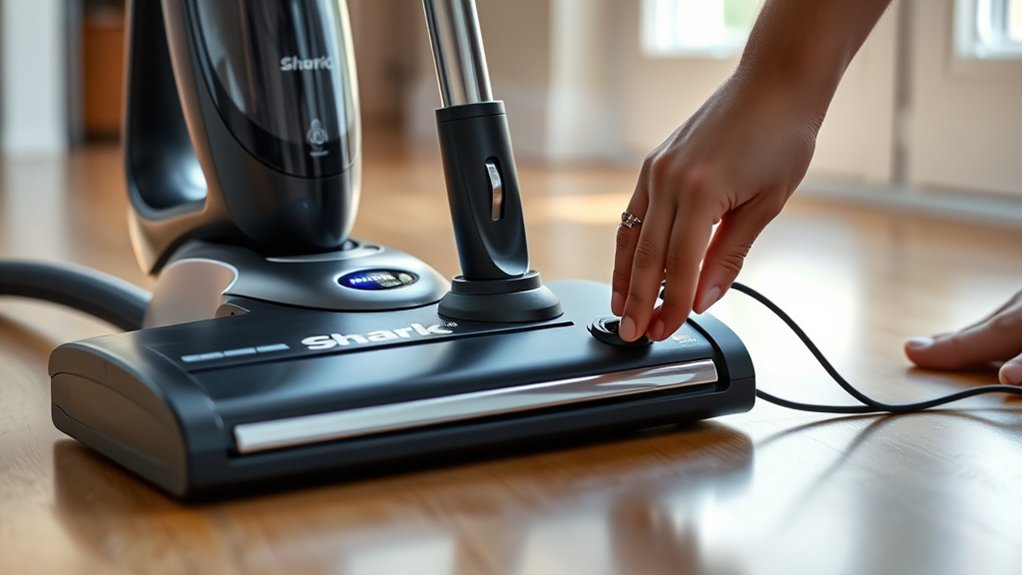
Before assuming your Shark vacuum charger is faulty, you should first verify if it’s actually working. Start by unplugging the charger and inspecting the cord for any visible damage or fraying.
Next, plug the charger into a power source and check if the indicator light on the charger turns on. If there’s no light, the charger might not be receiving power or could be defective.
You can also test the charger with a multimeter to measure its output voltage; compare this reading to the specifications listed on the charger. Additionally, try charging a different compatible Shark vacuum battery if possible.
These steps help you pinpoint whether the issue lies with the charger itself before moving on to other potential problems.
Check Power Outlet For Shark Vacuum Charging
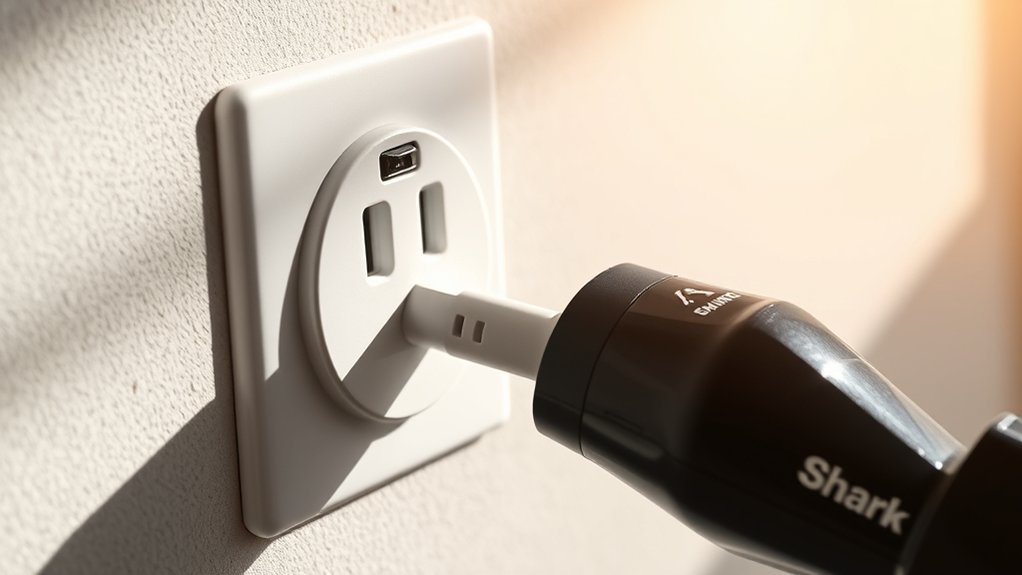
First, check if the power outlet you’re using is supplying electricity by plugging in another device. If the alternate device doesn’t work, the outlet might be the issue.
Make sure you test different outlets to rule out power supply problems before troubleshooting your Shark vacuum further.
Inspect Outlet Power Supply
A faulty or unpowered outlet is a common reason your Shark vacuum might not be charging. Start by inspecting the outlet’s power supply carefully. Verify the outlet is securely connected to your home’s electrical system and shows no visible damage such as cracks or burn marks.
Check if the outlet’s switch is turned on if it has one. You can also look for any tripped circuit breakers or blown fuses in your electrical panel that might be cutting power to that outlet. Make sure the outlet provides a stable power supply; sometimes outlets can be loose or worn out, causing intermittent or no power.
Confirming the outlet’s condition helps rule out power supply issues before moving on to other troubleshooting steps.
Test With Alternate Device
If your Shark vacuum isn’t charging, try plugging another device into the same outlet to see if it receives power. This simple test helps you determine whether the problem lies with the outlet or the vacuum itself. Here’s what you should do:
- Use a lamp, phone charger, or any small appliance.
- Confirm the alternate device powers on without issues.
- If it doesn’t work, reset the outlet’s circuit breaker or try a different outlet.
- If the device powers on, the outlet is fine, and the charging issue is likely with your Shark vacuum.
Testing with another device saves time and narrows down the cause, helping you focus your troubleshooting efforts effectively.
Clean And Maintain Shark Vacuum Charging Contacts
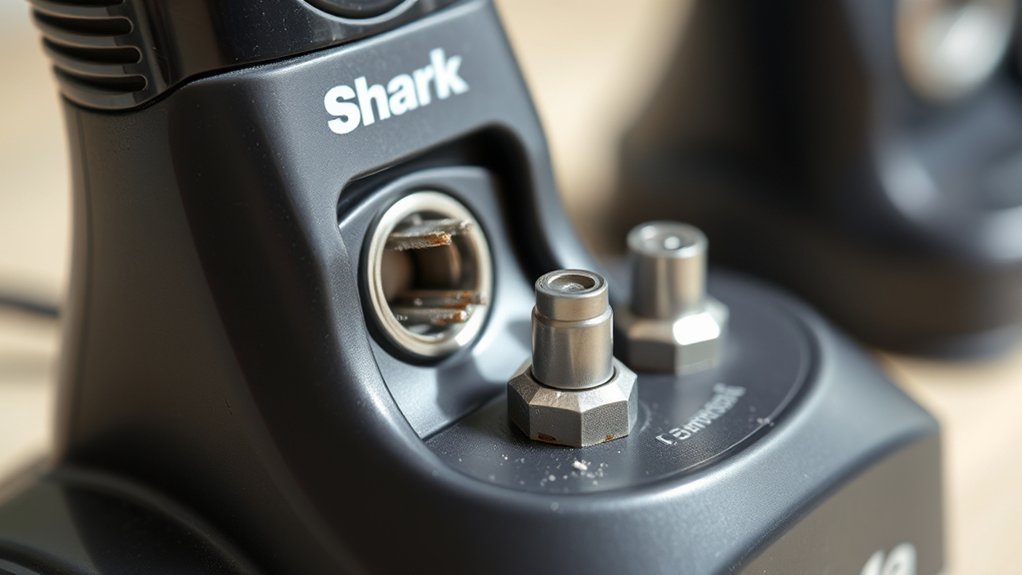
Although your Shark vacuum may seem fully charged, dirty or corroded charging contacts can prevent it from receiving power properly. To fix this, unplug the charger and turn off your vacuum. Locate the charging contacts on both the vacuum and the charger base—these small metal points can accumulate dust, dirt, or oxidation over time.
Use a soft cloth or cotton swab lightly dampened with rubbing alcohol to gently clean the contacts. Avoid using excessive moisture or abrasive materials, as they can damage the contacts. After cleaning, let everything dry completely before reconnecting.
Regularly maintaining these contacts guarantees a solid connection and helps your vacuum charge efficiently. Taking these simple steps can often resolve charging issues without needing replacements or professional repairs.
Reset Your Shark Vacuum To Fix Charging
If your Shark vacuum isn’t charging, start by locating the reset button on the device.
Perform a hard reset by holding the button as instructed in the manual.
After resetting, check if the vacuum begins charging properly.
Locate The Reset Button
Where can you find the reset button on your Shark vacuum to resolve charging issues? Typically, it’s located in one of these easy-to-access spots:
- Near the battery compartment, often under a small panel
- On the back or bottom of the vacuum body
- Close to the charging port or docking station area
- Inside a tiny hole requiring a paperclip press
Before pressing the reset button, make sure your vacuum is unplugged from the charger. Press and hold the button for a few seconds to reset the device. This simple step can clear minor glitches blocking the charging process.
Once reset, reconnect the charger and check if your vacuum starts charging normally. Locating and using this button correctly can be a quick fix for your charging trouble.
Perform A Hard Reset
After locating and using the reset button, you can try performing a hard reset to address persistent charging issues with your Shark vacuum. To do this, first unplug the vacuum from its charging dock and make sure it’s completely powered off.
Next, press and hold the reset button for about 10 to 15 seconds. This action clears any software glitches that might be preventing proper charging. Once you release the button, wait a few moments before placing the vacuum back on the charger.
Performing a hard reset essentially reboots the vacuum’s system, often resolving minor errors that a simple reset can’t fix. This step is vital if your vacuum still refuses to charge after the initial reset.
Verify Charging Post-Reset
How can you tell if the hard reset worked to fix your Shark vacuum’s charging problem? After resetting, you’ll want to verify whether the vacuum actually starts charging again. Here’s what to do:
- Plug the vacuum into the charger and check for the charging indicator light.
- Make sure the charging contacts between the vacuum and charger are clean and aligned.
- Let the vacuum charge for at least 30 minutes before testing battery status.
- Turn on the vacuum to see if it holds power and runs smoothly without shutting off.
If these steps confirm your vacuum is charging normally, the reset probably resolved the issue. If not, further troubleshooting or contacting Shark support might be necessary.
Verifying charging post-reset ensures you don’t overlook a persistent problem.
Why A Faulty Shark Vacuum Battery Stops Charging
When your Shark vacuum battery fails to hold a charge, it’s often due to internal damage or wear that prevents it from accepting power properly. You might notice the vacuum won’t charge because the battery’s cells have degraded over time, reducing their capacity to store energy. Faulty connections inside the battery pack can also disrupt the charging process.
Additionally, if the battery’s circuitry is damaged, it won’t regulate power flow correctly, causing the charger to stop working. Even exposure to extreme temperatures or frequent deep discharges can harm the battery’s performance. Understanding these issues helps you identify why your vacuum won’t charge, allowing you to focus on fixing the root cause rather than just the symptoms.
When To Replace The Battery In Your Shark Vacuum
You should replace your Shark vacuum battery when it no longer holds a charge or the runtime drops considerably. Watch for signs like the vacuum dying quickly or not powering on at all.
These indicators show your battery is reaching the end of its lifespan.
Battery Lifespan Indicators
Wondering if your Shark vacuum’s battery is nearing the end of its life? It’s important to watch for specific indicators so you know when it’s time to replace it. Batteries naturally lose capacity over time, reducing your vacuum’s efficiency.
Here are key signs to track your battery’s lifespan:
- Shorter run times than when new
- Longer charging periods to reach full power
- Vacuum powers off abruptly during use
- Battery feels hot or swollen after charging
Keeping an eye on these signs helps you avoid unexpected interruptions and keeps your vacuum performing well. When you notice these lifespan indicators consistently, it’s a good idea to invest in a new battery to maintain ideal cleaning power.
Signs Of Battery Failure
Although your Shark vacuum may still turn on, certain signs clearly indicate its battery is failing and needs replacement. If you notice your vacuum runs for a much shorter time than before or dies abruptly during use, the battery is likely losing its capacity. Another red flag is if the vacuum takes unusually long to charge or never reaches a full charge.
You might also see the battery overheating or swelling, which is dangerous and a definite sign to replace it immediately. Additionally, if your vacuum won’t hold a charge at all despite charging attempts, it’s time for a new battery. Paying attention to these signs helps you avoid interruptions and keeps your Shark vacuum performing efficiently.
How Temperature Affects Shark Vacuum Charging
Since battery performance depends heavily on temperature, your Shark vacuum may struggle to charge properly in extreme hot or cold conditions. Batteries operate best within a specific temperature range, and stepping outside that can reduce their efficiency or even prevent charging altogether.
Here’s how temperature affects your vacuum’s charging:
- Cold temperatures slow chemical reactions inside the battery, lowering charging speed and capacity.
- Extreme heat can cause battery overheating, triggering safety shutdowns and charging delays.
- Charging in a very cold or hot environment may shorten battery lifespan over time.
Storing and charging your vacuum in a moderate temperature room helps maintain ideal battery health and charging performance.
To avoid charging issues, keep your Shark vacuum in a temperature-controlled space whenever possible.
How Firmware Updates Affect Shark Vacuum Charging
When you update your Shark vacuum’s firmware, you can improve its charging efficiency and fix bugs that might have caused charging problems. Firmware updates often include tweaks to the battery management system, which controls how the vacuum charges and preserves battery health. If your vacuum isn’t charging properly, outdated firmware could be the culprit.
By installing the latest update, you guarantee your vacuum communicates correctly with its charging base and manages power flow effectively. Sometimes, manufacturers release patches that address specific charging glitches users have reported. To check for updates, connect your vacuum to the Shark app or follow the manufacturer’s instructions.
Keeping your firmware current helps maintain consistent charging performance and prevents unexpected power issues from interfering with your cleaning routine.
Fixing Shark Vacuum Charging Dock Problems
If your Shark vacuum isn’t charging properly, the problem might lie with the charging dock rather than the vacuum itself. Start by checking the dock’s connection to the power outlet. Ensure it’s plugged in firmly and the outlet works.
Next, inspect the charging contacts on both the dock and vacuum for dirt or corrosion. Clean them gently with a dry cloth if needed. Also, verify the dock is placed on a flat, stable surface to allow proper alignment.
Finally, reset the dock by unplugging it for a minute, then plugging it back in.
To fix charging dock problems, you should:
- Confirm the power source is active and secure
- Clean charging contacts carefully
- Position the dock on a level surface
- Reset the dock by power cycling it
These steps often restore proper charging functionality.
Avoiding User Mistakes That Block Charging
Beyond checking the charging dock itself, user habits can sometimes prevent your Shark vacuum from charging properly. Make sure you always place the vacuum correctly on the dock; misalignment can block the charging connectors. Avoid forcing the vacuum onto the dock if it doesn’t fit easily, as this can damage the contacts.
Keep the charging area clean and free of debris, which can interfere with the connection. Don’t forget to check the power source—if the outlet isn’t supplying power, your vacuum won’t charge. Also, avoid using extension cords that may not provide consistent power.
Finally, don’t leave the vacuum on the dock continuously if it’s not designed for that, as overcharging might affect battery health and performance.
How To Contact Shark Support For Charging Help
Wondering how to get expert help with your Shark vacuum’s charging issues? You can reach out to Shark Support quickly for reliable assistance. Here’s how to connect with them:
Need expert help with your Shark vacuum charging? Reach out to Shark Support for quick, reliable assistance.
- Visit the official Shark website and use the live chat for instant help.
- Call their customer service hotline for direct troubleshooting guidance.
- Email Shark Support with your vacuum model and charging problem details for a detailed response.
- Check Shark’s social media pages; sometimes, they offer support or updates there.
Before contacting, have your vacuum’s model number and purchase details handy to speed up the process. Shark Support can guide you through repair options, warranty coverage, or replacement parts to get your vacuum charging properly again.
Don’t hesitate to ask—they’re there to help!
Frequently Asked Questions
Can Using a Non-Original Charger Damage My Shark Vacuum?
Yes, using a non-original charger can damage your Shark vacuum. It might deliver incorrect voltage or current, causing battery issues or overheating.
Always stick to the manufacturer’s charger to keep your vacuum safe and functioning properly.
How Long Should My Shark Vacuum Take to Fully Charge?
Your Shark vacuum usually takes about 3.5 to 4 hours to fully charge.
If it’s taking much longer, check the charger and battery for issues, and make sure you’re using the original charging equipment.
Does Vacuum Usage Time Affect Charging Efficiency?
Yes, using your vacuum frequently can affect charging efficiency because the battery heats up and wears down faster. Let it cool between uses, and avoid overcharging to maintain ideal battery health and performance.
Can Extreme Humidity Impact My Shark Vacuum’s Charging?
You might not know that 85% of electronic charging issues relate to environmental factors. Yes, extreme humidity can cause corrosion or short circuits in your Shark vacuum’s battery, so keep it dry to guarantee proper charging and longer battery life.
Are There Any Safety Precautions While Charging the Vacuum?
You should charge your Shark vacuum in a dry, well-ventilated area away from flammable materials.
Don’t leave it charging unattended for long periods, and always use the original charger to prevent overheating or damage.
Conclusion
If your Shark vacuum isn’t charging, don’t let frustration pile up like dust bunnies. By checking the charger, power outlet, and cleaning contacts, you can often clear the fog. Resetting the vacuum or updating firmware might be the spark it needs.
Remember, a faulty battery or dock issues can block charging, but avoiding common mistakes keeps things running smoothly. When in doubt, Shark support is just a call away to help you stay powered up. Ensuring your Shark vacuum charges properly is key to maintaining its performance and longevity.