7 Steps to Create a Vacuum at Home
To create a vacuum at home, start by preparing a clean, well-lit workspace and gathering essential materials like a sealable container, a manual or electric pump, rubber seals, and tubing. Understanding the basics of vacuum creation is crucial for successful experiments and DIY projects.
Set up your vacuum chamber by ensuring airtight connections and a secure lid. Use the pump to steadily remove air from the container.
After removing the air, test for leaks and fix any issues as needed.
With practice, you’ll improve vacuum strength and learn how to apply this knowledge for various projects and experiments.
Key Takeaways
- Prepare a clean, stable workspace and gather materials like a sealable container, vacuum pump, tubing, and airtight seals.
- Inspect and modify the container lid by creating a sealed hole for tubing connection using sealant for airtightness.
- Securely attach the vacuum pump to the container and ensure all connections are airtight before starting.
- Use a manual or electric pump to steadily remove air, monitoring pressure to achieve the desired vacuum level.
- Test for leaks using visual checks and soapy water, then fix any seal issues to maintain a strong vacuum.
Prepare Your Work Area for Vacuum Creation
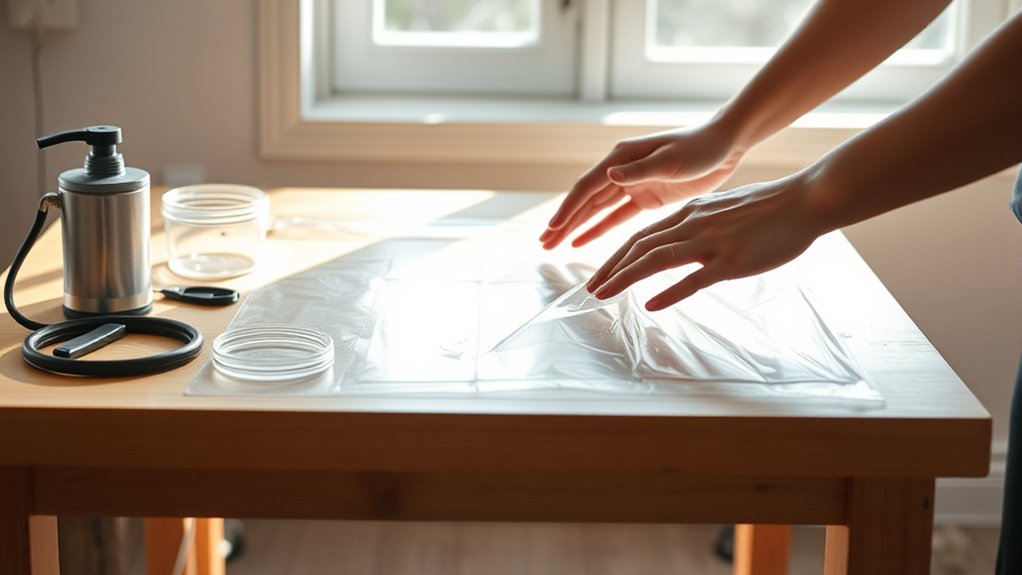
Before you begin creating a vacuum, make sure your work area is clean, organized, and free of clutter. This helps prevent accidents and guarantees you can find tools quickly. Clear off surfaces and wipe them down to remove dust or debris that could interfere with your setup.
Good lighting is essential, so position yourself near a bright window or use a strong lamp. Ventilation matters too, especially if you’ll be working with materials that release fumes. Arrange your workspace so everything you need will be within easy reach, reducing distractions and mistakes.
Finally, set up a flat, stable surface to work on, which helps keep components steady during assembly. Taking these steps will set you up for success in creating your vacuum.
Gather the Materials You’ll Need
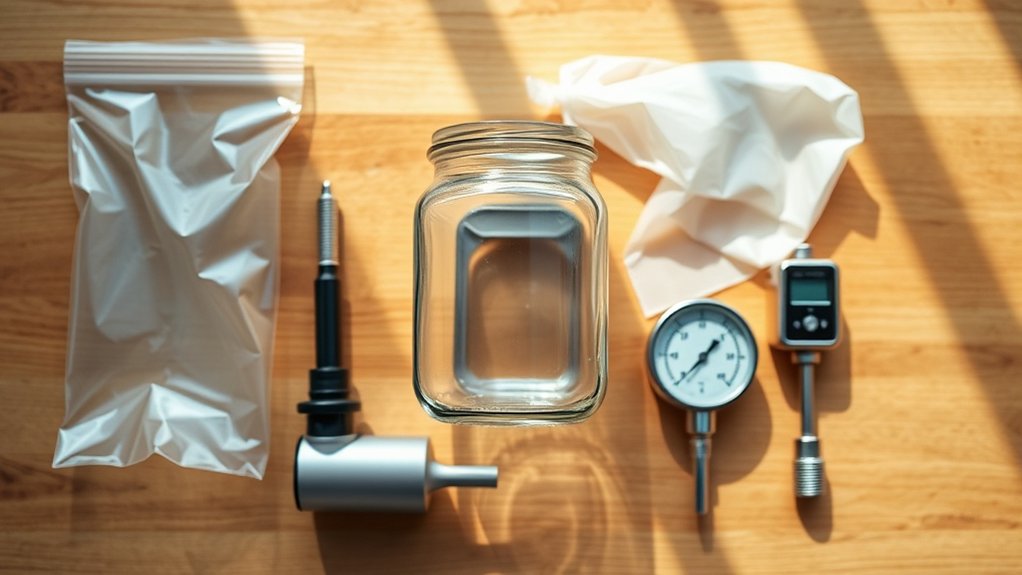
Although creating a vacuum might seem complex, gathering the right materials simplifies the process considerably. You’ll need a sturdy container with a sealable lid, like a glass jar or a plastic container, to act as your vacuum chamber. A reliable vacuum pump is essential; you can find affordable hand pumps or use repurposed equipment like a bike pump with a valve attachment.
Make sure to have rubber seals or gaskets to guarantee airtight connections. Additionally, flexible tubing helps connect the pump to the container. Don’t forget basic tools like screwdrivers or pliers to secure fittings.
Having a pressure gauge is helpful but optional for monitoring vacuum levels. By collecting these items beforehand, you’ll be ready to move forward without interruptions.
Set up the Vacuum Chamber With Everyday Items
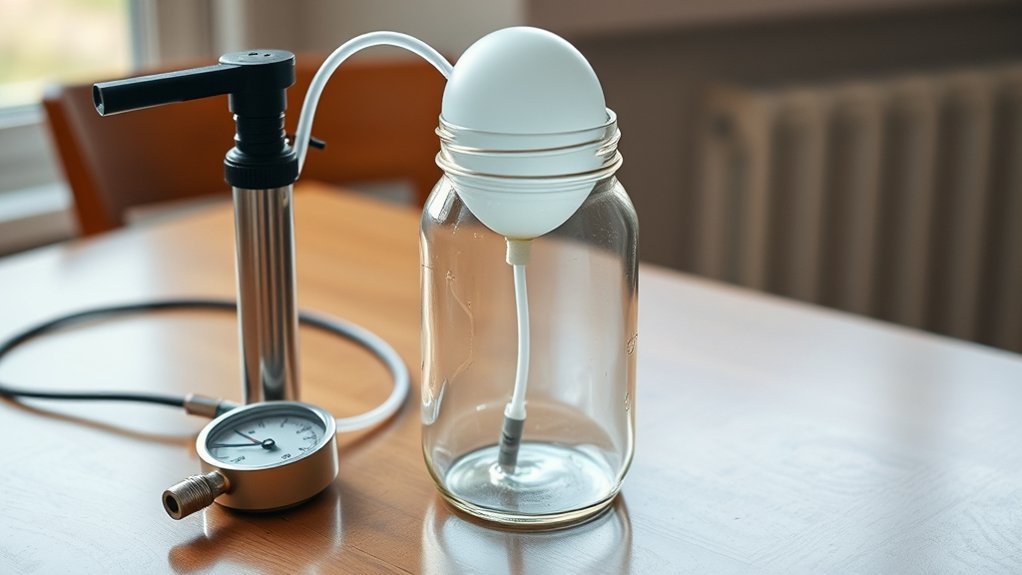
When you set up the vacuum chamber, start by choosing a container that seals tightly to prevent air leaks. A sturdy glass jar or a plastic container with a rubber gasket works well. Next, prepare the lid to connect with your vacuum source later.
Follow these steps:
- Inspect the container for cracks or gaps, ensuring a perfect seal.
- Drill or cut a small hole in the lid to fit tubing or a valve.
- Use silicone sealant or strong tape around the hole and lid edges to stop air from escaping.
This setup will create a controlled space to remove air, ready for the vacuum process. Keep the chamber clean and dry to maintain the seal’s integrity during use.
Create a Vacuum Using a Manual or Electric Pump
You can create a vacuum by using either a manual or electric pump, each offering different benefits. Manual pumps give you full control and are simple to operate, while electric pumps work faster and require less effort.
Let’s explore how to use both effectively for your vacuum setup.
Manual Pump Techniques
How can you quickly and effectively create a vacuum at home without complex equipment? Using a manual pump is a practical solution. Here’s how to do it:
- Choose the Right Pump: Select a hand-operated vacuum pump designed for small-scale use. Ensure it has a tight seal for better suction.
- Prepare the Container: Attach the pump securely to the container or bag from which you want to remove air. Check for leaks to maintain vacuum integrity.
- Pump Steadily: Pull the handle slowly and consistently. Avoid rushing, as steady pumping will remove air more efficiently and prevent damage to the container.
Electric Pump Advantages
Why settle for manual effort when an electric pump can do the job faster and with less strain? Using an electric pump to create a vacuum saves you time and energy, especially if you need consistent or repeated vacuuming. You simply turn it on, and the pump quickly removes air without requiring constant pumping.
Electric pumps often come with built-in gauges, so you can monitor the vacuum level precisely. They also tend to create stronger vacuums than manual pumps, making them ideal for more demanding tasks. Plus, electric pumps reduce the physical effort, which is great if you have limited strength or plan to vacuum frequently.
Test and Troubleshoot Your Vacuum Seal
When should you check your vacuum seal to guarantee it’s working properly? You should test it right after creating the vacuum and periodically thereafter to ensure no air leaks.
Here’s how to test and troubleshoot your vacuum seal effectively:
- Visual Inspection: Look for gaps, wrinkles, or dirt along the seal that might prevent airtight closure.
- Leak Test: Press gently on the sealed area. If you feel air escaping or hear a hissing sound, the seal isn’t tight.
- Water Submersion: Submerge the sealed bag or container in water briefly. If bubbles appear, air is leaking in.
Fix Common Problems When Making a Vacuum
If your vacuum isn’t holding, start by checking for air leaks around seals and connections. Make sure every seal fits tightly to prevent air from slipping in.
Next, troubleshoot any pressure issues by confirming your vacuum pump is working properly and maintaining the right level.
Identifying Air Leaks
How can you tell if your homemade vacuum isn’t holding pressure? One key sign is that it loses suction quickly or won’t maintain a low-pressure environment.
To find out where air is sneaking in, try these steps:
- Listen carefully: Put your ear close to the vacuum chamber and listen for hissing sounds, which indicate escaping air.
- Use soapy water: Apply soapy water around joints and connections. Bubbles will form where air leaks occur.
- Feel for drafts: Run your hand slowly along seals and fittings to sense any air movement.
Ensuring Proper Seals
Why do proper seals matter so much in creating a vacuum? Without airtight seals, air sneaks in, ruining your vacuum. You need to check every joint and surface where parts meet.
Use flexible materials like rubber gaskets or silicone to fill gaps. Press seals firmly and evenly to avoid weak spots.
Here’s a quick guide to common seals and their conditions:
| Seal Type | Material | Common Issue |
|---|---|---|
| Gasket | Rubber | Cracks, hardening |
| O-ring | Silicone | Deformation, tears |
| Tape Seal | Adhesive tape | Peeling, gaps |
Inspect these regularly. Replace or adjust seals if you spot damage. Proper sealing keeps your vacuum strong and reliable.
Troubleshooting Pressure Issues
When your vacuum doesn’t hold pressure as expected, pinpointing the issue quickly saves both time and effort. Start by checking for leaks, as even a tiny gap can ruin the vacuum.
Next, inspect your sealing materials—worn or improperly placed seals won’t maintain pressure. Finally, examine your vacuum pump or suction device; if it’s weak or malfunctioning, it won’t create enough pressure.
Here’s a quick checklist to troubleshoot pressure issues:
- Check all seals and connections for cracks or gaps.
- Replace or reposition sealing materials if they look damaged or misaligned.
- Test your vacuum pump to ensure it’s working efficiently and providing strong suction.
Following these steps should get your vacuum working properly again.
Use Your Homemade Vacuum for Simple Projects
Wondering what you can tackle with your homemade vacuum? It works great for simple projects around the house. You can use it to test the strength of suction, remove air from sealed containers, or even experiment with small-scale physics demonstrations.
Here’s a quick guide to some practical uses:
| Project | Purpose |
|---|---|
| Sealed jar vacuum test | Preserve food by removing air |
| Inflatable toy deflation | Quickly remove air for storage |
| Science experiments | Demonstrate air pressure and suction |
| Dust removal | Clean small electronics or crevices |
| Leak detection | Identify leaks by observing pressure changes |
Try these projects to understand vacuum principles better and see how versatile your homemade device can be.
Frequently Asked Questions
Can I Create a Vacuum Without Any Specialized Tools?
You can’t create a perfect vacuum without specialized tools, but you can reduce air pressure somewhat using household items like a sealed container and a pump.
However, true vacuums need precise equipment you likely don’t have.
What Safety Precautions Should I Take When Making a Vacuum?
You should wear safety goggles and gloves to protect yourself. Make sure your workspace is well-ventilated, avoid sharp objects, handle equipment carefully, and never leave the vacuum setup unattended to prevent accidents or injuries.
How Long Can a Homemade Vacuum Maintain Its Seal?
You can usually maintain a homemade vacuum seal for a few hours to a day, depending on your materials and how airtight your setup is.
Leaks and material flexibility affect how long it holds.
Check it regularly!
Are There Any Household Items That Should Never Be Used?
You shouldn’t use fragile or porous items like glass or paper, as they can break or let air in. Avoid chemicals or flammable materials too, since they pose safety risks when sealed in a vacuum environment.
Can a Homemade Vacuum Be Used for Food Preservation?
You can use a homemade vacuum for food preservation, but it might not be as effective or reliable as commercial vacuum sealers. Make sure your setup removes enough air to prevent spoilage and keeps food fresh longer.
Conclusion
Now that you’ve built your vacuum at home, you’re holding a small miracle in your hands—turning everyday items into a powerful tool. Keep experimenting and don’t be afraid to tinker when things don’t work perfectly. Like a gardener nurturing a seedling, your patience and care will help your vacuum thrive.
With these steps, you’re ready to explore new projects and discover the magic of creating a vacuum all by yourself. Embrace the learning process and keep refining your skills. This hands-on experience is a fantastic way to understand how vacuums work and inspires creativity in DIY science.