How to Uninstall Kitchen Faucet in 7 Easy Steps
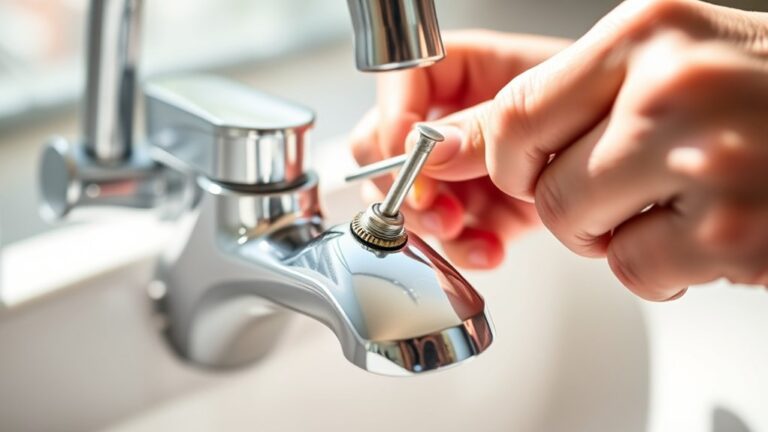
To uninstall your kitchen faucet in 7 easy steps, start by gathering essential tools like a wrench and screwdriver. Turning off the water supply is crucial before beginning any faucet removal.
Open the faucet to drain the water lines thoroughly.
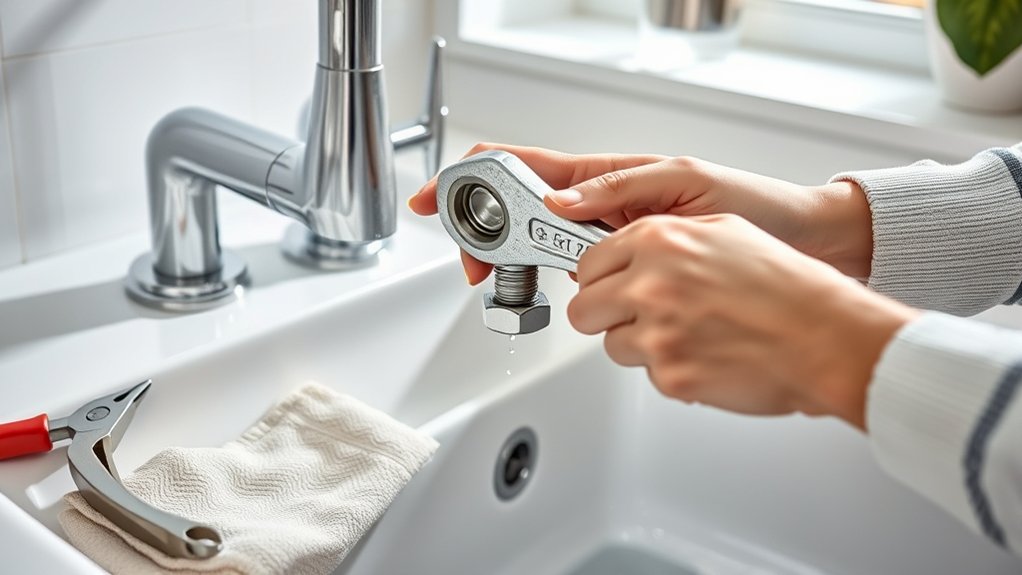
Next, carefully disconnect the water supply hoses using a wrench. Then, loosen and remove the mounting nuts located under the sink.
Once the nuts are removed, lift the faucet out gently.
After removing the faucet, clean the sink area thoroughly to remove any debris or buildup.
Inspect the area for leaks or damage that may need attention.
Following these simple steps ensures a smooth and efficient kitchen faucet removal.
Key Takeaways
- Turn off water supply valves and open faucet to drain remaining water and relieve pressure.
- Use an adjustable or basin wrench to disconnect water supply hoses carefully.
- Loosen and remove mounting nuts under the sink to free the faucet.
- Gently lift the faucet straight out, checking for hidden fasteners or connections.
- Clean the sink area thoroughly, removing old sealant and inspecting for damage.
Gather Essential Tools for Kitchen Faucet Removal
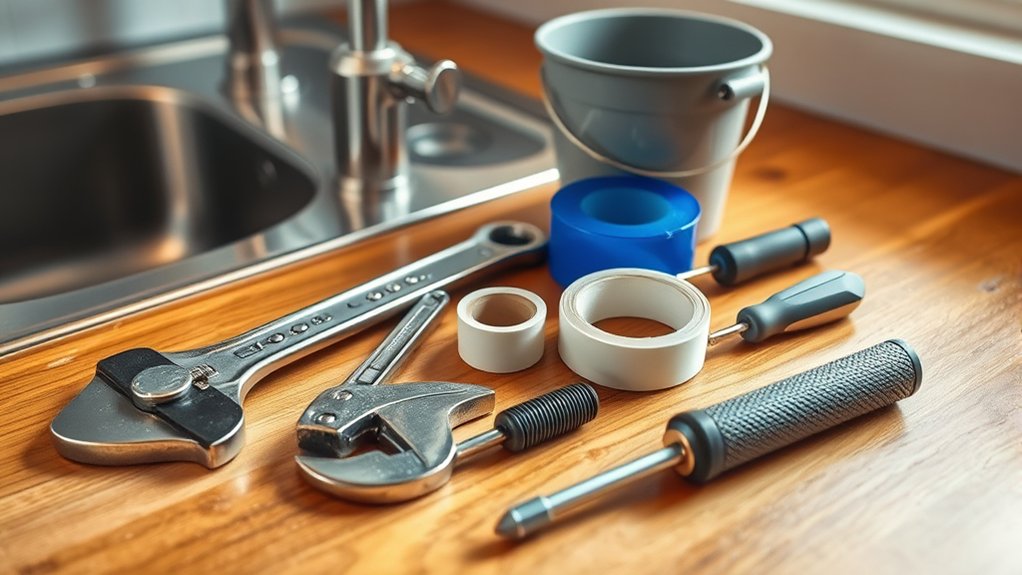
Before you begin uninstalling your kitchen faucet, make sure you’ve gathered all the essential tools. Having everything ready will save you time and frustration. You’ll need an adjustable wrench to loosen nuts and bolts, and a basin wrench to reach tight spaces under the sink.
A screwdriver, either flathead or Phillips, is necessary for removing screws that hold the faucet in place. Keep a bucket or bowl nearby to catch any residual water. Additionally, some plumber’s tape might come in handy if you plan to reinstall or replace the faucet later.
Don’t forget a towel or rag to wipe up spills. With these tools at hand, you’ll be well-prepared to tackle the faucet removal efficiently and smoothly.
Turn Off Water Supply and Drain Faucet Lines
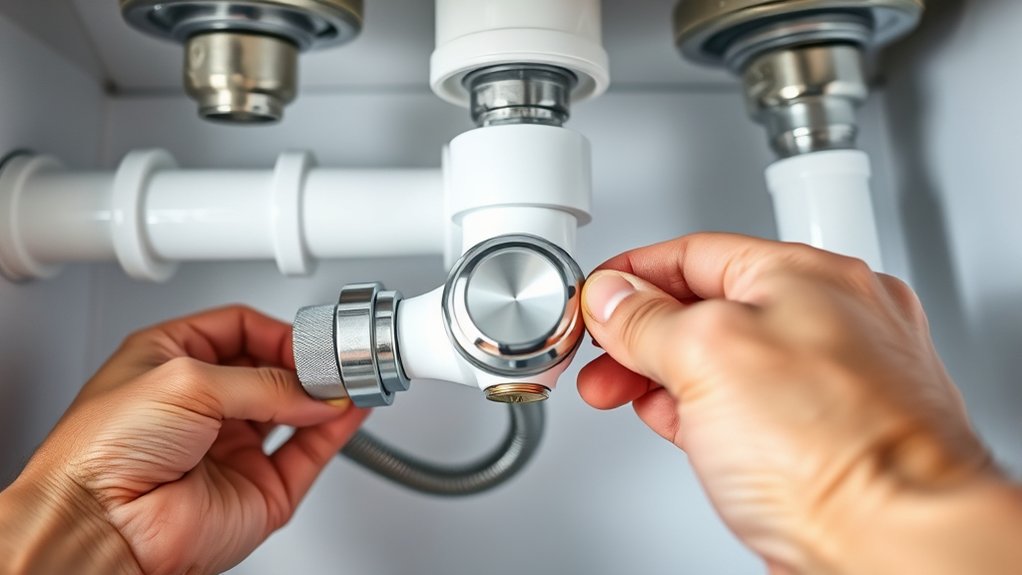
With your tools ready, the next step is to shut off the water supply to your kitchen faucet. Locate the shutoff valves under the sink—usually, there are two: one for hot water and one for cold. Turn both valves clockwise to close them completely.
If your valves are stuck or missing, you’ll need to shut off the main water supply to your home. Once the water is off, open the faucet to release any remaining water in the lines. Let it run until it stops flowing to relieve pressure and prevent spills during removal.
This step is essential to avoid water damage and makes the disconnection process safer and cleaner. Now you’re ready to move on to disconnecting the supply hoses.
Safely Disconnect Kitchen Faucet Water Supply Hoses
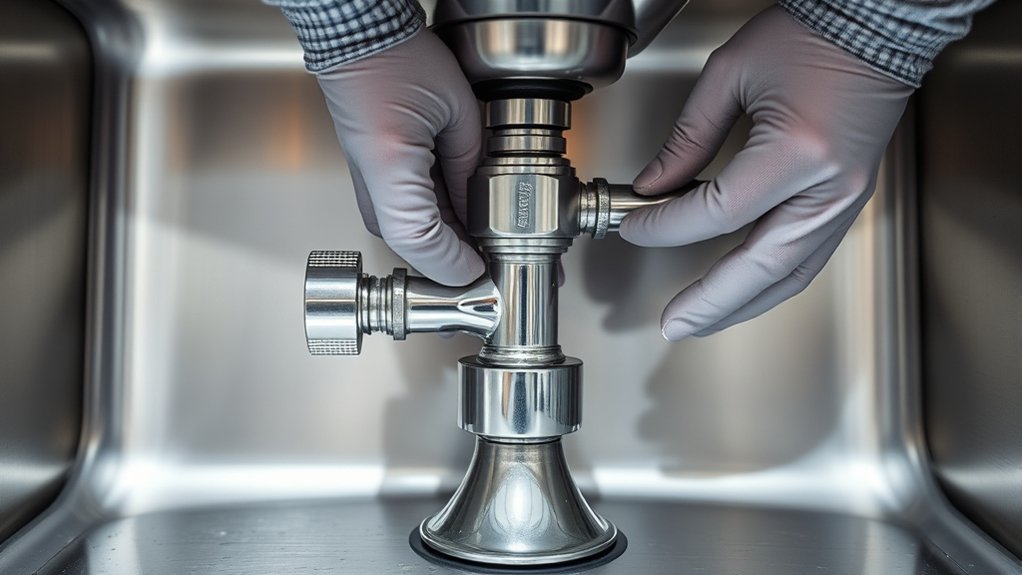
Now that the water supply is off, you’re ready to disconnect the hoses safely. Make sure to use the right tools, like an adjustable wrench, to avoid damaging the fittings.
Taking these steps will help prevent leaks and make removal smoother.
Turn Off Water Valves
Although it might seem simple, turning off the water valves is a crucial step to prevent leaks or water damage when disconnecting your kitchen faucet’s supply hoses. Locate the shutoff valves under the sink and turn them clockwise until they’re fully closed. If you don’t have individual shutoff valves, you’ll need to turn off the main water supply.
After closing the valves, open the faucet to drain any remaining water from the lines. This guarantees no water spills when you disconnect the hoses.
| Step | Location | Action |
|---|---|---|
| 1. Find shutoff valves | Under the sink | Turn clockwise to close |
| 2. Main supply option | Water meter area | Close main valve |
| 3. Drain water | Faucet | Open to release pressure |
| 4. Confirm shutoff | Faucet flow | Ensure no water runs |
Use Proper Tools
How do you safely disconnect your kitchen faucet’s water supply hoses without causing damage? Using the right tools is key. You’ll avoid stripping fittings or causing leaks by working carefully with proper equipment.
Here’s what you need to do:
- Get an adjustable wrench or basin wrench to fit tight spaces.
- Use pliers to hold the hose connector steady while you turn the wrench.
- Have a bucket or towel ready to catch residual water.
- Wear gloves to protect your hands and improve grip.
Loosen and Remove Faucet Mounting Nuts
Before you can fully remove the faucet, you’ll need to loosen and take off the mounting nuts that secure it to the sink. First, look under the sink to locate these nuts; they’re usually found directly beneath the faucet base. Use a basin wrench or an adjustable wrench to reach and turn the nuts counterclockwise.
These nuts might be tight or corroded, so apply steady pressure and consider spraying some penetrating oil if they resist. Be careful not to damage the sink or plumbing as you work. Once the nuts are loosened, continue turning them by hand until they come free.
Keep these nuts in a safe place—you might reuse them or need them as a reference. After this, the faucet will be ready for removal in the next step.
Lift Out the Old Kitchen Faucet From the Sink
Now that you’ve loosened the mounting nuts, go ahead and disconnect the water supply lines. Be sure to remove any remaining fasteners holding the faucet in place.
Then, lift the old faucet carefully out of the sink to avoid damaging the countertop.
Disconnect Water Supply Lines
Where should you begin when disconnecting the water supply lines? Start by turning off the water valves under your sink to stop the flow completely.
Next, follow these steps to safely disconnect the lines:
- Place a bucket or towel under the connections to catch any remaining water.
- Use an adjustable wrench to loosen the nuts connecting the supply lines to the faucet.
- Carefully unscrew the supply lines from both the shutoff valves and the faucet.
- Gently pull the disconnected lines away, ensuring no tension remains.
Remove Mounting Nuts
Once the water supply lines are disconnected, you can remove the mounting nuts securing the faucet to the sink. These nuts are usually located underneath the sink, attaching the faucet to the countertop or sink basin. Use a basin wrench or an adjustable wrench to loosen them, turning counterclockwise.
If the space is tight, a basin wrench’s long handle and pivoting head will make this easier. Be prepared for some resistance, especially if the nuts have corroded over time. Take your time loosening them to avoid damaging the sink or faucet.
Once the nuts are fully unscrewed, they’ll come off easily. Keep track of them in case you need them for reinstalling or for reference later. Removing these nuts is essential before you can lift the faucet out.
Lift Faucet Carefully
After you’ve successfully removed the mounting nuts securing the faucet, you’re ready to lift the faucet out of the sink. Take your time and follow these steps carefully:
- Grasp the faucet firmly at its base to maintain control.
- Gently wiggle the faucet back and forth to loosen any remaining sealant or debris.
- Lift the faucet straight up, avoiding any sideways pressure that might damage the sink surface.
- If it feels stuck, double-check for any hidden fasteners or connections before applying more force.
Clean the Sink Area After Faucet Removal
Although you’ve removed the faucet, the sink area can still be messy with debris, old plumber’s putty, and water stains. Start by wiping down the area with a damp cloth to remove loose dirt and dust. Use a plastic scraper or putty knife to gently lift away any stubborn plumber’s putty or sealant residue without damaging the sink surface.
For tougher stains or mineral buildup, apply a mild cleaner or a vinegar-water solution and let it sit for a few minutes before scrubbing with a soft brush. Rinse the area thoroughly with water and dry it completely using a clean towel. Taking these steps guarantees your sink is clean and ready for the next part of your faucet replacement or repair.
Inspect for Leaks and Prepare for Next Steps
How can you be sure your sink area is fully sealed and leak-free before moving on? Start by checking every connection and surface carefully. Follow these steps:
- Turn the water supply back on slowly and watch for drips around the exposed pipes and sink base.
- Dry any moisture immediately with a towel to identify fresh leaks easily.
- Inspect the valve connections and supply lines for cracks or corrosion that might cause future leaks.
- Ensure the sink surface is smooth and free of old putty or sealant that could prevent a proper seal with the new faucet.
Once you confirm there’s no leak, you’re ready to install a new faucet or make any necessary repairs without worry. Taking this time saves you from water damage later.
Frequently Asked Questions
Can I Uninstall a Kitchen Faucet Without Shutting off the Main Water Supply?
You shouldn’t uninstall a kitchen faucet without shutting off the main water supply or at least the local shutoff valves. Otherwise, water will flow uncontrollably, causing a mess and potential damage.
Always turn off water first.
How Long Does It Typically Take to Uninstall a Kitchen Faucet?
It typically takes you about 30 to 60 minutes to uninstall a kitchen faucet.
If you’re prepared and have the right tools ready, you’ll finish faster without much hassle or unexpected delays.
What Should I Do if the Mounting Nuts Are Rusted or Stuck?
If the mounting nuts are rusted or stuck, don’t give up yet. Spray them with penetrating oil, wait a few minutes, then use a wrench with steady force.
Heat or gentle tapping can help loosen stubborn nuts.
Are There Any Safety Precautions When Handling Old Faucet Parts?
Yes, you should wear gloves and safety goggles to protect against sharp edges and debris. Also, turn off the water supply to avoid leaks and be cautious of rust or old sealants that might contain harmful substances.
These precautions help minimize the risk of injury and exposure to hazardous materials when handling old faucet parts.
Can I Reuse the Old Faucet Parts for a New Installation?
You might consider giving your old faucet parts a second chance, but it’s wise to check for wear or damage first. Reusing them can save money, but new parts often guarantee a smoother, longer-lasting installation.
Checking each component carefully ensures that you avoid leaks or malfunctions later. While reusing parts is economical, the reliability of new parts often outweighs the cost savings.
Prioritizing quality can lead to fewer repairs and a more efficient faucet in the long run.
Conclusion
Uninstalling your kitchen faucet is like peeling back the layers of an old story, revealing a fresh start beneath. By following these simple steps, you’ve cleared the way for a new chapter in your kitchen’s life.
Remember, a careful removal sets the foundation for a smooth installation. Take pride in your work—you’ve not only removed a fixture but also made space for something better.
Your kitchen’s next transformation is just around the corner. With the faucet uninstalled properly, you’re ready to upgrade or replace it efficiently. This kitchen faucet removal ensures a hassle-free installation of your new fixture.