10 Steps to Stop a Leaky Faucet in Your Tub
To stop your leaky tub faucet effectively, start by identifying the faucet type and gathering the right tools and replacement parts. Knowing whether you have a compression, cartridge, or ball faucet is key to addressing the leak properly. This preparation ensures a smoother repair process and better results.
Next, turn off the water supply to prevent any spills or further damage. Carefully remove the faucet handle to access internal components like washers, O-rings, and cartridges. Inspect these parts closely for wear or damage.
Clean or replace any worn washers or seals, and apply lubricant to ensure smooth operation. Reassemble the faucet securely, but avoid overtightening to prevent damage.
Finally, turn the water back on slowly and check for any remaining leaks. If the faucet continues to drip, further troubleshooting may be necessary, or it might be time to seek professional assistance.
Following these basic steps will guide you through an effective tub faucet repair.
Key Takeaways
- Identify your faucet type and gather necessary tools and replacement parts before starting repairs.
- Turn off the water supply completely to prevent flooding during the repair process.
- Remove the faucet handle carefully and inspect internal parts for wear, corrosion, or buildup.
- Replace worn washers, O-rings, or cartridges and clean components thoroughly before reassembly.
- Reassemble the faucet securely, test for leaks, and troubleshoot persistent drips by rechecking parts or seeking professional help.
Identify Your Leaky Tub Faucet Type
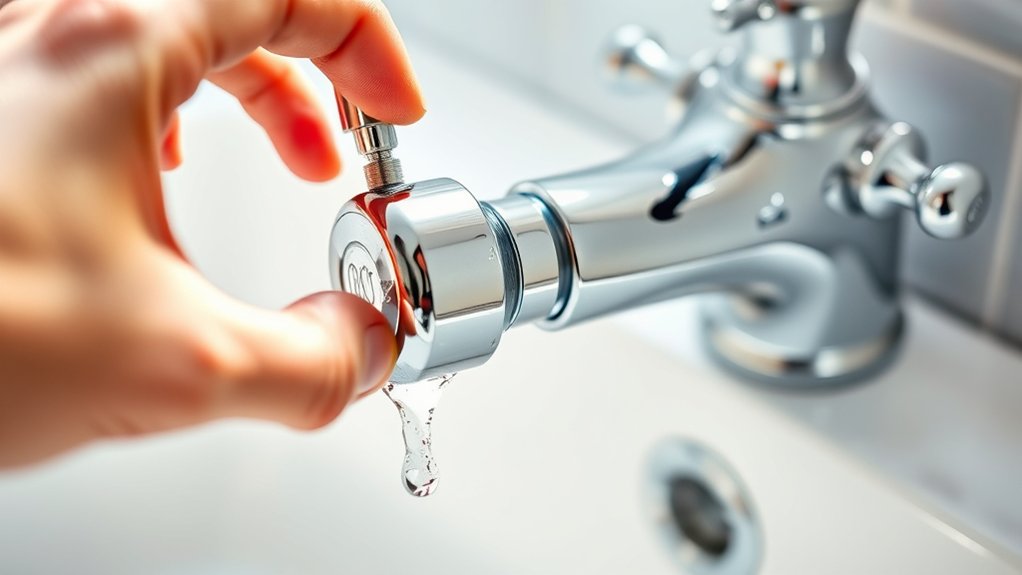
Before you can fix your leaky tub faucet, you need to identify its type. Most tubs have one of four common faucet types: compression, cartridge, ball, or ceramic disc. Look closely at your faucet handles—do they turn counterclockwise to open?
If so, you likely have a compression faucet, which uses rubber washers. If the handle pulls straight up or out, it might be a cartridge faucet, featuring a movable cartridge inside. A ball faucet has a single handle that moves in multiple directions, controlling water flow and temperature.
Gather Tools and Materials for Repair
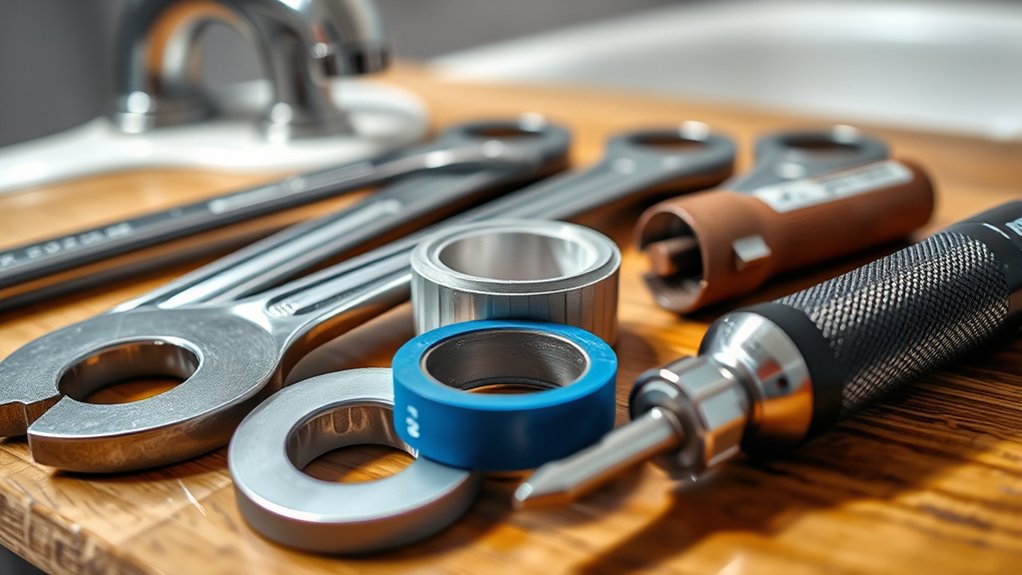
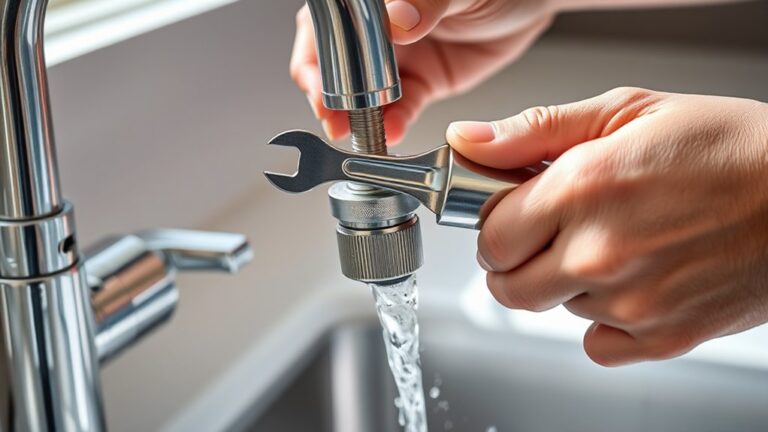
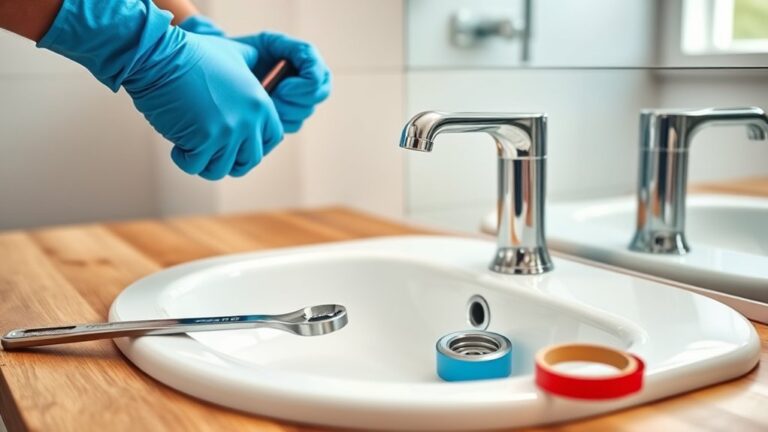
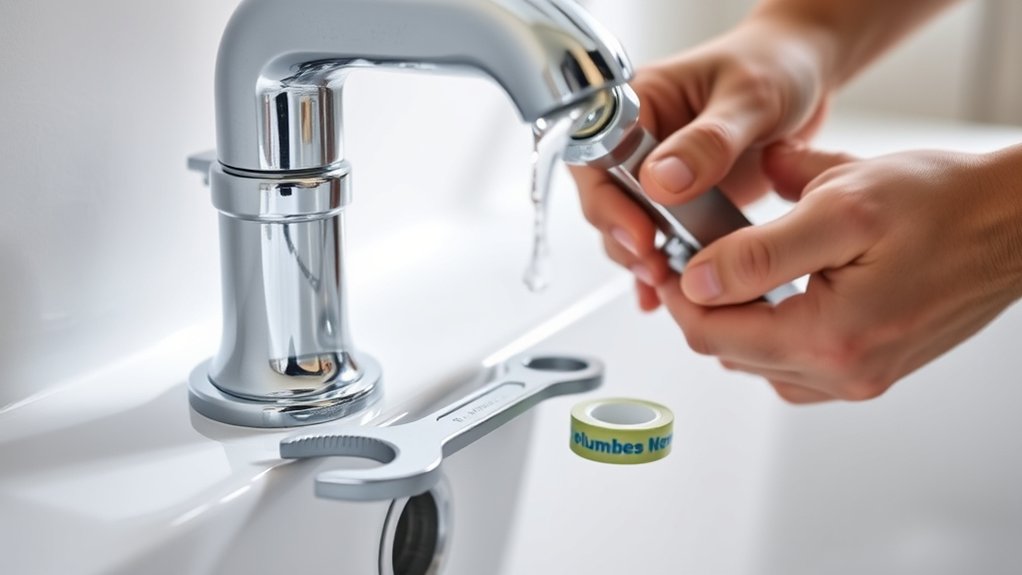
Once you know your faucet type, you’ll want to gather the right tools and materials to make the repair smooth and efficient. Common tools include an adjustable wrench, screwdrivers (flathead and Phillips), and an Allen wrench set. You might also need pliers and a utility knife.
For materials, have replacement washers, O-rings, or cartridges specific to your faucet model. It’s smart to bring a small container to hold screws and parts, so nothing gets lost during the repair. Additionally, keep some plumber’s grease handy to lubricate seals and prevent future leaks.
Preparing these items ahead of time will save you frustration and guarantee you can fix the faucet without unnecessary trips to the hardware store.
Turn Off the Water Supply
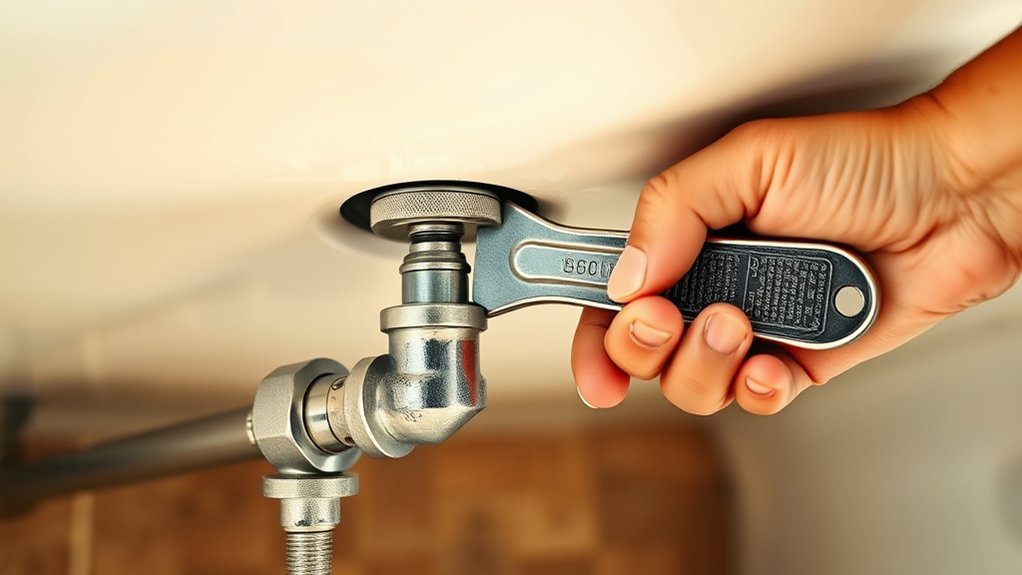
Two main valves usually control the water supply to your tub faucet, and turning them off will prevent any unwanted flooding while you work. First, locate the shut-off valves—typically found under the sink or near the tub. Turn them clockwise to close.
If you can’t find individual valves, use the main water supply valve for your home.
Here’s a quick guide:
| Valve Location | How to Identify | Action |
|---|---|---|
| Under Sink | Two knobs or levers | Turn clockwise |
| Near Tub | Small valves on pipes | Turn clockwise |
| Main Supply Valve | Usually near water meter | Turn clockwise |
Confirm the water is off by turning on the faucet. No water flow means you’re ready to proceed safely.
Remove the Faucet Handle
First, find the screws holding the faucet handle in place. Grab the right tools, like a screwdriver or Allen wrench, to avoid damage.
Then, gently remove the handle to keep everything intact for the next steps.
Locate Handle Screws
Before you can fix the leak, you’ll need to remove the faucet handle by locating the handle screws. Start by examining the handle closely—look for a small cap or cover that hides the screws. These caps are often decorative and can be popped off gently with a flathead screwdriver or a fingernail.
Once removed, you’ll see the screws holding the handle in place. Sometimes, the screws are on the front, sides, or even underneath the handle. If you don’t see any, try turning the handle counterclockwise; some handles unscrew without visible screws.
Take your time finding these screws so you don’t damage the handle or surrounding finish. Once located, you’re ready to proceed to the next step of loosening them carefully.
Use Proper Tools
Once you’ve located and exposed the handle screws, gather the right tools to remove the faucet handle without causing damage. Typically, you’ll need a screwdriver—either flathead or Phillips—depending on the screw type. A hex or Allen wrench is useful for set screws hidden beneath decorative caps.
Have a pair of adjustable pliers handy for any stubborn parts, but use them cautiously to avoid scratching the finish. A cloth or tape wrapped around the pliers’ jaws can provide extra protection. Before you start, make sure your tools fit snugly on the screws to prevent stripping.
Using the proper tools guarantees a smooth removal process and keeps your faucet components in good condition for reassembly. Avoid improvising with the wrong tools, as this can cause unnecessary damage.
Remove Handle Carefully
Two screws usually hold the faucet handle in place, so start by locating and loosening them carefully with the right screwdriver or hex wrench. Once the screws are removed, gently pull the handle straight off the faucet stem. If it feels stuck, wiggle it slightly or use a handle puller to avoid damaging the fixture.
Avoid using excessive force, which could break the handle or strip the screws. Set the handle and screws aside in a safe spot so you don’t lose them. Removing the handle carefully allows you to access the inner parts of the faucet for repair or replacement.
Take your time during this step—rushing can cause damage and complicate the repair process.
Inspect and Clean Faucet Parts
Although a leaky faucet may seem minor, inspecting and cleaning its parts is essential to fixing the problem. Start by examining each component for buildup or damage. Mineral deposits often cause leaks by preventing proper sealing.
Use a soft brush or cloth to gently clean the valve seat where water flows through, the faucet stem, checking for corrosion or debris, and the O-ring and surrounding grooves for grit or wear. Be thorough but careful not to scratch or damage parts.
Rinse everything with clean water and dry before reassembling. Proper cleaning restores smooth operation and helps you identify any worn parts that need replacing. This step sets the foundation to stop leaks effectively, avoiding unnecessary repairs later on.
Replace Worn Washers or Cartridges
If your faucet keeps dripping, worn washers might be the culprit and require replacing. You’ll want to carefully remove the old washers or cartridges and match them with exact replacements.
Taking your time during this step guarantees a tight seal and stops leaks for good.
Identifying Worn Washers
To fix a leaky tub faucet, start by checking the washers inside the valve. Worn washers are a common cause of drips and can wear down from constant water pressure and friction. Remove the faucet handle and valve stem to access the washer.
Look for these signs that the washer needs replacing: cracks or splits in the rubber material, flattened or misshapen edges that no longer seal properly, and hardening or brittleness, causing it to lose flexibility.
If you notice any of these issues, it’s time to replace the washer. Using a new washer ensures a tight seal and stops water from leaking through the valve. Make sure you get the exact size and type to fit your faucet model for best results.
Cartridge Replacement Tips
Replacing worn washers often solves faucet leaks, but sometimes the entire cartridge needs attention. To replace the cartridge, first shut off the water supply to your tub. Remove the faucet handle by unscrewing the retaining screw, then carefully take off any decorative caps.
Use pliers or a cartridge puller to extract the old cartridge; be gentle to avoid damaging the valve seat. Before inserting the new cartridge, clean the valve body to remove debris or mineral buildup. Align the new cartridge properly and press it firmly into place.
Reattach the handle, turn the water supply back on, and test for leaks. If the drip persists, double-check the cartridge seating or consider consulting a professional for help.
Lubricate Faucet Components
Although your faucet parts may look dry and worn, applying lubricant can restore smooth operation and prevent further leaks. First, clean the components thoroughly to remove old grime and buildup.
Then, use a plumber’s grease or silicone-based lubricant, which won’t damage rubber seals. Focus on key areas to guarantee everything moves effortlessly.
Apply lubricant to:
- The cartridge stem and O-rings to reduce friction and wear
- The valve seat where water flow is controlled
- The handle’s moving parts to prevent stiffness and squeaking
Reassemble the Faucet
Once you’ve lubricated all the necessary parts, you can start putting the faucet back together carefully to guarantee everything fits and functions properly. Begin by reinstalling the cartridge or stem into the faucet body, ensuring it aligns with the guides or slots. Tighten any retaining nuts or screws securely but avoid overtightening to prevent damage.
Next, replace the faucet handle, securing it with its screw. If your faucet has decorative caps or covers, snap or screw them back into place. Finally, reattach the escutcheon plate and tighten the mounting screws.
Throughout reassembly, make sure each component sits flush and moves smoothly without forcing parts. Taking your time here sets the stage for a leak-free faucet, so double-check your work before moving on to testing.
Turn On Water and Test for Leaks
Before fully securing everything, turn on the water supply slowly and watch closely for any drips or leaks around the faucet. This step guarantees your repairs hold tight and your efforts pay off.
Check all visible areas, including the base where the faucet meets the tub and around the handles.
Look for:
- Tiny droplets forming under the spout or near the handle.
- Water pooling around the faucet base or running down the tub wall.
- Unusual sounds like dripping or hissing that signal a leak.
If you don’t spot any leaks, you’re on the right track. If you see water escaping, don’t panic—this means you caught the issue early and can adjust accordingly before finishing.
Troubleshoot Persistent Faucet Leaks and Next Steps
If you notice leaks even after testing and tightening, don’t get discouraged. Persistent leaks often mean a deeper issue, like worn-out washers, damaged seals, or corrosion inside the faucet. First, turn off the water supply and disassemble the faucet carefully to inspect these parts.
Replace any damaged washers or O-rings with exact matches from a hardware store. If corrosion or mineral buildup is severe, soak parts in vinegar or use a commercial cleaner. Reassemble the faucet and test again.
If the leak continues, the problem might be with the valve seat or the faucet cartridge, which may need professional repair or replacement. Don’t hesitate to call a plumber if you’re unsure—addressing leaks promptly saves water and prevents costly damage.
Frequently Asked Questions
How Much Water Does a Leaky Tub Faucet Waste Daily?
You’re wasting about 20 to 30 gallons of water daily with a leaky tub faucet. That drip may seem small, but it adds up quickly, increasing your water bill and wasting a precious resource.
Fix it soon!
Can a Leaky Faucet Increase My Water Bill Significantly?
Yes, a leaky faucet can hike your water bill by up to 10%. You’re basically paying for wasted water dripping 24/7. Fixing it quickly saves you money and prevents needless water waste.
Are There Eco-Friendly Products to Prevent Faucet Leaks?
Yes, you can find eco-friendly faucet repair kits and sealants made from non-toxic materials. Using these helps prevent leaks while reducing environmental impact. You’ll save water and protect your home sustainably without harsh chemicals.
How Long Can I Safely Ignore a Slow Faucet Drip?
Ignoring a slow drip is like watching a tiny crack widen in your boat—it won’t sink you immediately, but over weeks, it wastes water and money.
You shouldn’t let it linger more than a few days before fixing it.
When Should I Call a Professional Plumber for Faucet Leaks?
You should call a professional plumber if the leak worsens, causes water damage, or you can’t fix it yourself.
Don’t wait if the drip keeps you up or raises your water bill noticeably.
Conclusion
Now that you’ve followed these steps, your leaky tub faucet should be singing a silent tune instead of dripping a constant drip. Remember, a little patience and the right tools go a long way in turning a frustrating leak into a quick fix.
If the drip persists, don’t hesitate to dig deeper or call a pro. You’ve got this—soon, your tub will be leak-free and ready for relaxing baths once again!
By addressing the leaky faucet in your tub promptly, you save water and avoid costly repairs. These 10 steps to stop a leaky faucet are designed to help you fix the problem efficiently and effectively. Keep this guide handy for any future faucet repair needs.