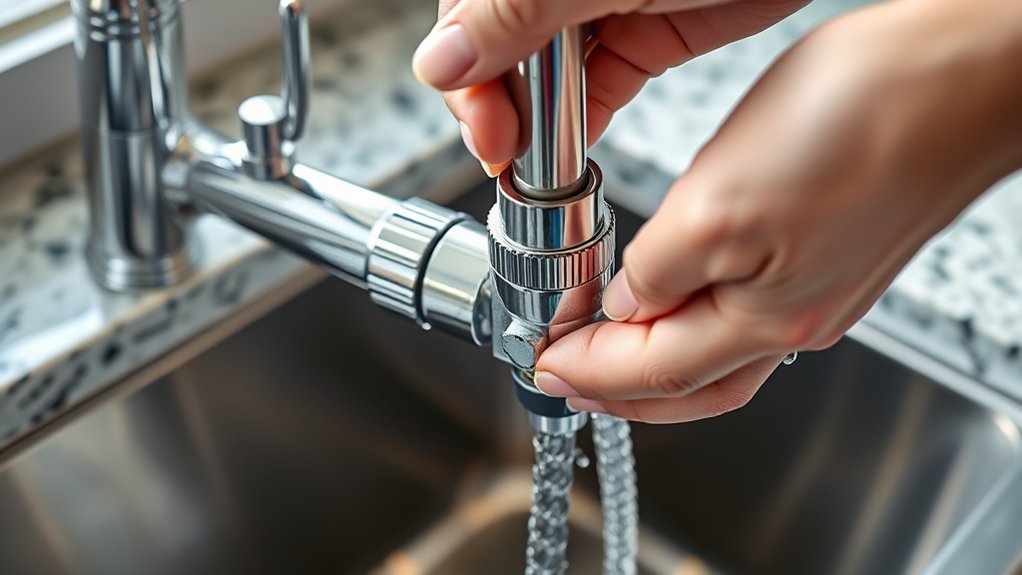
10 Steps to Reattach a Delta Kitchen Faucet Sprayer Thumb Control
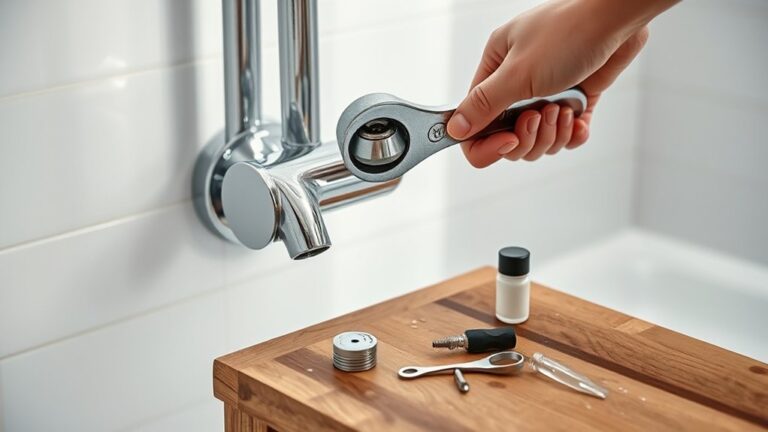
To reattach your Delta kitchen faucet sprayer thumb control, start by turning off the water supply and gathering essential tools like a screwdriver and pliers. Properly handling the Delta kitchen faucet sprayer thumb control ensures a secure fit and smooth operation.
Begin by removing the sprayer head carefully by twisting it off. Then, inspect and clean the thumb control for any signs of damage or debris that could affect its function.
Next, align the thumb control correctly on the handle and fasten it securely, making sure not to overtighten. Test its smooth movement to confirm proper installation.
Finally, reassemble the sprayer head, turn the water back on, and check for any leaks. Keep going to discover detailed tips for a flawless fix.
Key Takeaways
- Turn off the water supply valves under the sink and verify no water flows from the faucet before starting reattachment.
- Remove the sprayer head by twisting counterclockwise and inspect the thumb control for damage or debris.
- Align the thumb control on the handle properly, ensuring pivot points match and securing it with the correct screws or clips.
- Reassemble the sprayer head casing tightly and turn the water supply back on to test for leaks and proper function.
- Regularly clean the sprayer head, inspect the hose, and lubricate the thumb control to maintain smooth operation and longevity.
Identify Your Delta Faucet Sprayer Type
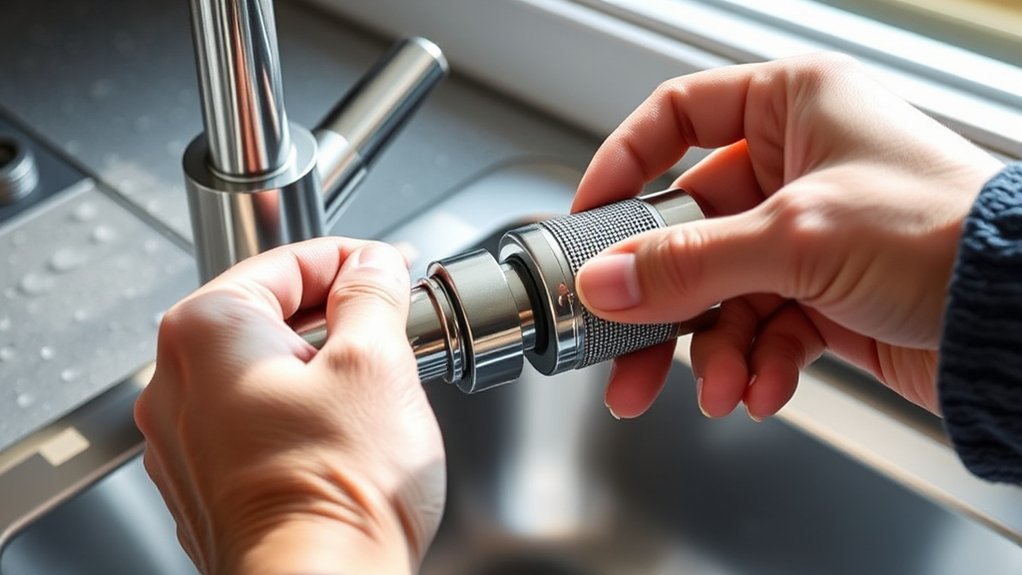
Before you begin reattaching your Delta kitchen faucet sprayer thumb control, you need to identify the exact type of sprayer you have. Delta offers various models, each with unique mechanisms for the thumb control. Look closely at the sprayer head—some have a button you press, while others feature a lever or slider.
Check for model numbers or brand markings on the underside or back of the sprayer. Knowing whether your sprayer is a pull-out or pull-down model helps determine the reattachment method. You can also compare your sprayer to images on Delta’s official website or product manuals.
Identifying your sprayer type guarantees you use the right technique and avoid damaging any parts during reattachment. This step makes the repair smoother and more effective.
Gather Tools to Reattach the Thumb Control
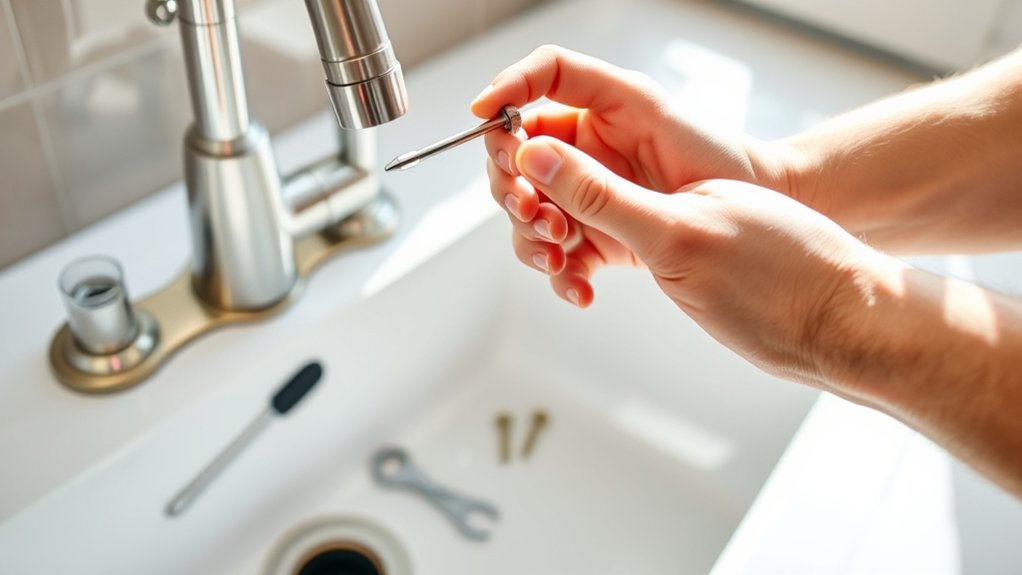
Once you’ve identified your Delta faucet sprayer type, gather the necessary tools to reattach the thumb control properly. Having the right tools ready will make the process smooth and less frustrating. You’ll feel more confident knowing everything is at hand before you start.
Here are the essential tools you’ll need:
- Phillips screwdriver: To remove and secure screws without stripping them.
- Needle-nose pliers: Perfect for gripping small parts and guiding the control into place.
- Towel or rag: To protect your faucet’s finish and catch any dropped pieces.
With these tools ready, you’ll be prepared to tackle the reattachment efficiently and avoid unnecessary delays or damage.
Turn Off the Water Supply Before Repairs
Before you start, locate the main water valve and shut off both the hot and cold water lines. This step prevents any accidental leaks or water damage while you work.
Make sure the water is completely off by turning on the faucet to check for any remaining flow.
Locate Main Water Valve
How do you prevent water damage while working on your Delta kitchen faucet? The first step is locating the main water valve. This valve controls the water supply to your entire home, so turning it off stops water flow completely, protecting you from unexpected leaks or flooding during repairs.
To find the main water valve, check these common spots:
- Near your water meter, often outside or in the basement
- Inside your basement or utility room where pipes enter the house
- Close to the front foundation or garage wall
Knowing exactly where this valve is gives you peace of mind and control. It’s a simple but essential step that keeps your kitchen dry and your repair process smooth.
Shut Off Both Lines
Although you’ve located the main water valve, you still need to shut off both the hot and cold water lines directly under your sink. Find the two shutoff valves—usually small knobs or levers attached to the pipes. Turn each valve clockwise to stop the water flow.
If the valves are levers, push them perpendicular to the pipe. Don’t force the valves if they’re stiff; use gentle but firm pressure to avoid damage. Shutting off these lines guarantees that water won’t leak or spray while you work on reattaching your Delta kitchen faucet sprayer thumb control.
Taking this step prevents unexpected messes and protects your plumbing. Once both valves are fully closed, you’re ready to proceed with the repair safely.
Verify Water Is Off
Once you’ve shut off both the hot and cold water lines, make certain the water is completely off by turning on the faucet. This step confirms that no water will unexpectedly spray or leak while you work on reattaching the thumb control. If water still flows, double-check the valves to ensure they’re fully closed.
Taking this precaution saves you from potential messes and frustration later.
Remember, verifying the water is off helps you:
- Avoid surprising bursts of water that can soak your kitchen.
- Prevent damage to surrounding cabinets and floors.
- Work confidently without rushing or worrying about leaks.
Remove the Sprayer Head to Access the Thumb Control
Start by disconnecting the sprayer head from the hose to get a clear view of the thumb control mechanism. Once it’s detached, carefully inspect the thumb control for any damage or misalignment.
This step is essential for ensuring a proper reattachment later on.
Disconnect Sprayer Head
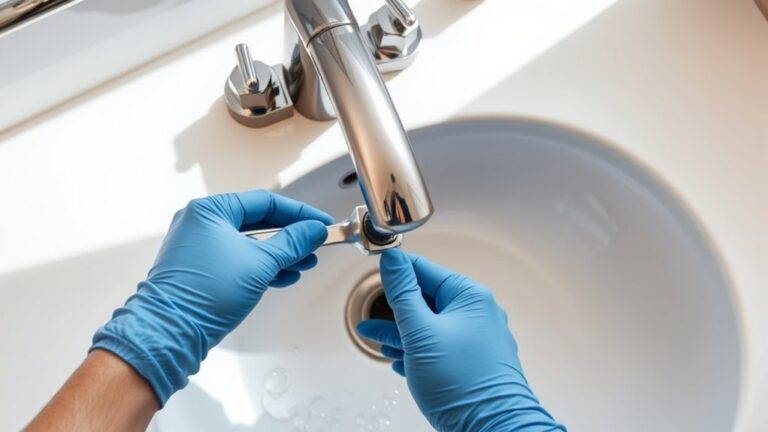
Before you can access the thumb control, you’ll need to disconnect the sprayer head from the hose. Start by turning off the water supply to avoid any unexpected sprays. Grip the sprayer head firmly and twist it counterclockwise to unscrew it from the hose.
If it feels stuck, use a cloth for better grip or gently wiggle it free. Be careful not to damage the threads while disconnecting.
Remember:
- Disconnecting the sprayer head is crucial for safe and effective repair.
- Taking your time here prevents accidental water messes.
- Handling parts gently protects your faucet from unnecessary damage.
Once detached, you’ll have clear access to the thumb control mechanism to continue with the next steps.
Inspect Thumb Control Mechanism
Although you’ve removed the sprayer head, you’ll need to carefully examine the thumb control mechanism to identify any signs of wear, damage, or obstruction that could be causing issues with spray activation. Start by inspecting the spring, lever, and button for any visible defects or debris buildup.
Clean any dirt or mineral deposits gently to guarantee smooth operation. If parts look worn or broken, you’ll need to replace them before reattaching the sprayer head.
| Component | Condition to Check | Action Required |
|---|---|---|
| Spring | Rust, loss of tension | Clean or replace |
| Lever | Cracks, misalignment | Adjust or replace |
| Button | Sticking, damage | Clean or replace |
This step guarantees proper functionality of your thumb control.
Inspect the Thumb Control for Damage or Wear
When you examine the thumb control, pay close attention to any cracks, worn areas, or signs of corrosion that could affect its functionality. A damaged thumb control won’t respond properly, leaving you frustrated every time you try to switch the spray. Look closely for subtle wear that might not be obvious at first glance but can cause slipping or sticking.
Check for:
- Small cracks that could cause the thumb control to break unexpectedly
- Areas where the surface feels rough or uneven, indicating wear
- Rust or corrosion that might interfere with smooth operation
Catching these issues early saves you from future headaches and guarantees your faucet sprayer works smoothly and reliably.
Align the Thumb Control Properly on the Handle
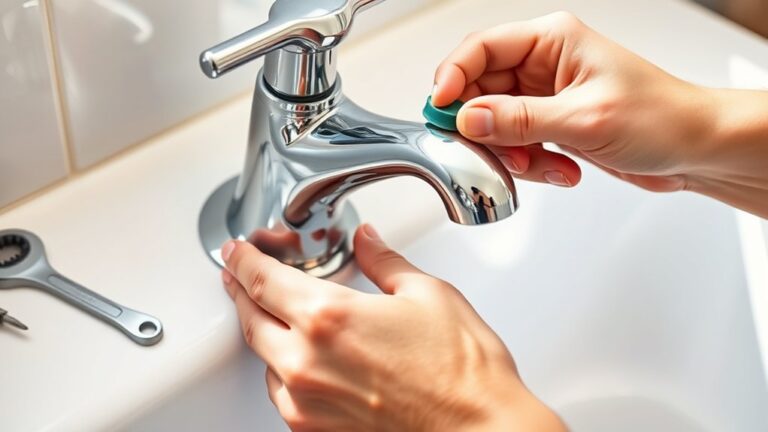
Since a properly aligned thumb control guarantees smooth operation, you’ll want to position it carefully on the handle. Begin by matching the thumb control’s orientation to the handle’s contours, ensuring the control fits flush without gaps. Check that the control’s pivot point aligns exactly with the handle’s mechanism to enable full range of motion.
Avoid forcing the control; if it doesn’t sit naturally, reassess its placement. You can gently wiggle it to find the ideal position where it moves smoothly up and down. Keep in mind, the thumb control should rest comfortably under your thumb when holding the sprayer, allowing for effortless activation.
Taking these steps now guarantees your faucet sprayer will function reliably once fully reassembled.
Fasten the Thumb Control With the Right Fasteners
To secure the thumb control firmly, you’ll need the correct fasteners that match your Delta faucet model. Using the right screws or clips ensures the control stays in place during daily use, preventing frustrating slips or loosening. Check your faucet’s manual or parts list to identify these fasteners precisely.
Once you have them, gently but firmly fasten the thumb control without overtightening, which might damage the plastic or metal components.
Keep these tips in mind as you fasten:
- Use the exact screws or clips designed for your model to avoid compatibility issues.
- Hand-tighten first, then use a screwdriver for a snug fit to prevent stripping.
- Double-check that the control feels solid and doesn’t wobble before moving on.
This careful fastening guarantees a reliable, long-lasting repair.
Test the Thumb Control to Ensure It Sticks Correctly
Now that the thumb control is fastened, check its alignment to make sure it fits perfectly. Move it smoothly to confirm there’s no sticking or resistance.
Finally, make certain it’s securely attached and won’t come loose during use.
Check Thumb Control Alignment
Although reattaching the thumb control is straightforward, you’ll want to check its alignment carefully before securing it. Misalignment can cause the control to stick or fail to function properly. Gently press the thumb control and observe its position relative to the sprayer body.
It should sit flush without tilting or gaps. If it feels off, adjust it slightly until it aligns perfectly. Remember, a well-aligned thumb control ensures smooth operation and prevents frustrating jams.
Take your time to:
- Avoid forcing the control, which can cause damage
- Confirm the control snaps into place securely
- Feel confident knowing your faucet will function flawlessly
This step might seem small, but it greatly impacts your faucet’s performance and your daily convenience.
Verify Smooth Movement
How smoothly does the thumb control move once it’s in place? You want to test its motion by sliding the control back and forth gently. It should move easily without any sticking or catching.
If you feel resistance or it jerks, double-check the alignment and reposition the control as needed. Also, watch for any debris or damage that might hinder movement. A smooth, consistent glide indicates proper reattachment and ensures you’ll have full control over the sprayer function.
Take your time to repeat this test a few times, making sure the control stays responsive and doesn’t slip out of position. This step helps guarantee your faucet operates reliably when you need it most.
Confirm Secure Attachment
Before you finish, test the thumb control to assure it sticks firmly in place. Press it several times to check that it doesn’t slip or feel loose. A securely attached thumb control ensures smooth operation and prevents frustrating interruptions while using your sprayer.
If it moves or detaches easily, reattach it carefully, making sure all clips or screws are properly aligned and tightened. Confirming its secure attachment saves you time and future hassle.
Remember, a properly secured thumb control means:
- You’ll enjoy hassle-free water flow control every time.
- It provides confidence that your faucet won’t malfunction unexpectedly.
- You avoid the annoyance of repeated repairs or adjustments.
Take this simple step seriously to keep your kitchen running smoothly.
Reassemble the Sprayer Head and Check for Leaks
Once you’ve aligned all the internal components correctly, you can start reassembling the sprayer head by securing the thumb control and tightening any screws or fittings. Make certain the thumb control moves smoothly without binding.
Next, snap or screw the outer casing back into place, ensuring a snug fit. After reassembly, turn on the water supply and test the sprayer by pressing the thumb control. Watch closely for any leaks around the sprayer head or connections.
If you spot drips, tighten the fittings a bit more or reseat the components to create a proper seal. Don’t forget to cycle the sprayer on and off a few times to confirm consistent water flow and no leaks. This guarantees everything is properly reattached and ready for daily use.
Maintain Your Delta Kitchen Faucet Sprayer to Prevent Issues
After ensuring your sprayer head is securely reassembled and leak-free, keeping your Delta kitchen faucet sprayer in good working order becomes much easier. Regular maintenance prevents unexpected issues and extends the sprayer’s lifespan. You want your kitchen routine to flow smoothly without interruptions, right?
Secure your sprayer head well, then enjoy easier maintenance and a longer-lasting Delta kitchen faucet sprayer.
To maintain your sprayer effectively:
- Clean the spray head regularly to avoid mineral buildup that clogs water flow.
- Check the hose for cracks or leaks, replacing it promptly if damaged.
- Lubricate the thumb control mechanism occasionally to keep it responsive and easy to use.
Frequently Asked Questions
Can I Use a Universal Thumb Control for My Delta Faucet?
You can try using a universal thumb control for your Delta faucet, but it might not fit perfectly or function well.
It’s best to get a Delta-specific replacement to guarantee proper fit and reliable operation.
How Do I Know if My Faucet Sprayer Is Covered Under Warranty?
You can check your faucet’s warranty by reviewing your purchase receipt or Delta’s website. If unsure, contact Delta customer service with your model number; they’ll confirm coverage and guide you through the claim process quickly.
What if the Water Pressure Is Low After Reattaching the Thumb Control?
If the water pressure feels like a wilting flower, check for blockages or kinks in the hose. You’ll want to guarantee the thumb control is fully seated and the water supply valves are open to restore strong flow.
Are There Any Special Cleaning Products Safe for Delta Sprayers?
You can use mild dish soap or a vinegar-water solution to clean your Delta sprayer safely. Avoid harsh chemicals or abrasive cleaners, as they might damage the finish or internal parts of your sprayer.
These gentle cleaning options help maintain the sprayer’s functionality and appearance. Always rinse thoroughly after cleaning to remove any residue.
Regular maintenance with safe products ensures your sprayer lasts longer and performs optimally.
Can I Replace the Thumb Control Without Turning off the Water Supply?
No, you shouldn’t replace the thumb control without turning off the water supply. Doing so risks water spraying everywhere and causing damage.
Always shut off the water first to stay safe and avoid a mess.
Conclusion
Reattaching your Delta kitchen faucet sprayer thumb control is like tuning a fine instrument—it takes precision and care to hit the right note. By following these steps, you’ll have your sprayer working smoothly again, ready to dance at your command.
Keep it maintained, and it’ll serve you like a reliable partner in the kitchen symphony. Don’t let a loose control throw off your rhythm; take charge and make your faucet sing! Proper reattachment ensures your Delta kitchen faucet sprayer thumb control functions flawlessly, giving you complete control and a seamless kitchen experience.