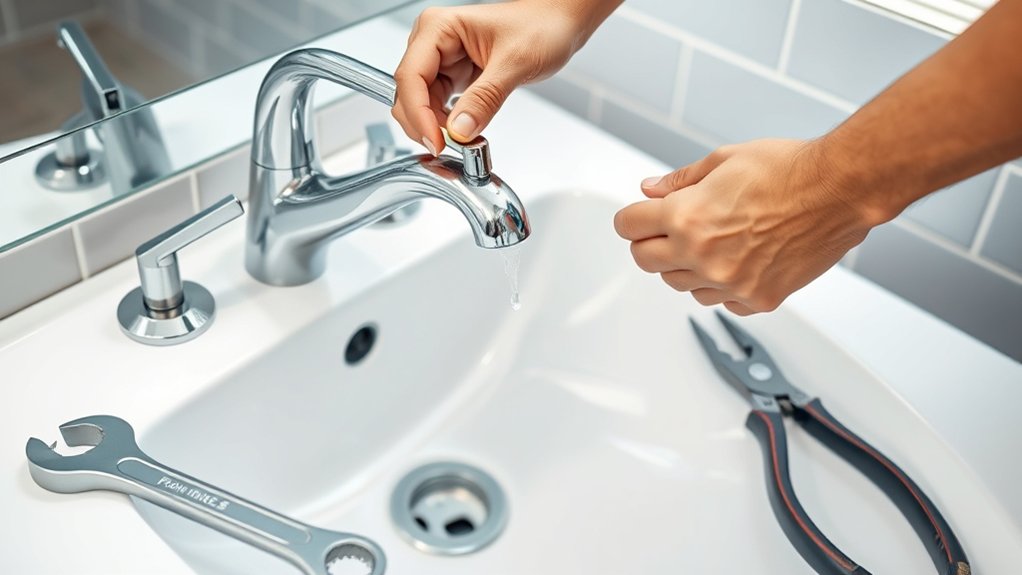
How to Remove Bathroom Faucet in 7 Easy Steps
First, gather your essential tools like wrenches, screwdrivers, and a bucket to remove your bathroom faucet efficiently. Turning off the water supply is crucial to prevent any leaks or water damage during the process. Clear the area around the sink to ensure you have enough space to work comfortably.
Next, carefully disconnect the water supply lines to avoid damaging them. Then, loosen and remove the mounting nuts located under the sink that hold the faucet in place. Once the nuts are removed, lift off the old faucet gently.
Clean the sink surface thoroughly to remove any grime or residue left behind. Inspect your plumbing for any signs of damage or wear that may need attention.
Finally, prep the area properly to ensure a smooth installation of your new faucet.
Follow these steps, and you’ll be set to make your next move smoothly and confidently.
Key Takeaways
- Turn off the water supply valves under the sink and open the faucet to drain remaining water.
- Use an adjustable wrench to disconnect water supply lines from the faucet.
- Loosen and remove mounting nuts securing the faucet using a basin or adjustable wrench.
- Lift the faucet straight up from the sink surface, applying penetrating oil if nuts are stuck.
- Clean the sink surface and plumbing area to prepare for new faucet installation.
Gather Tools for Faucet Removal
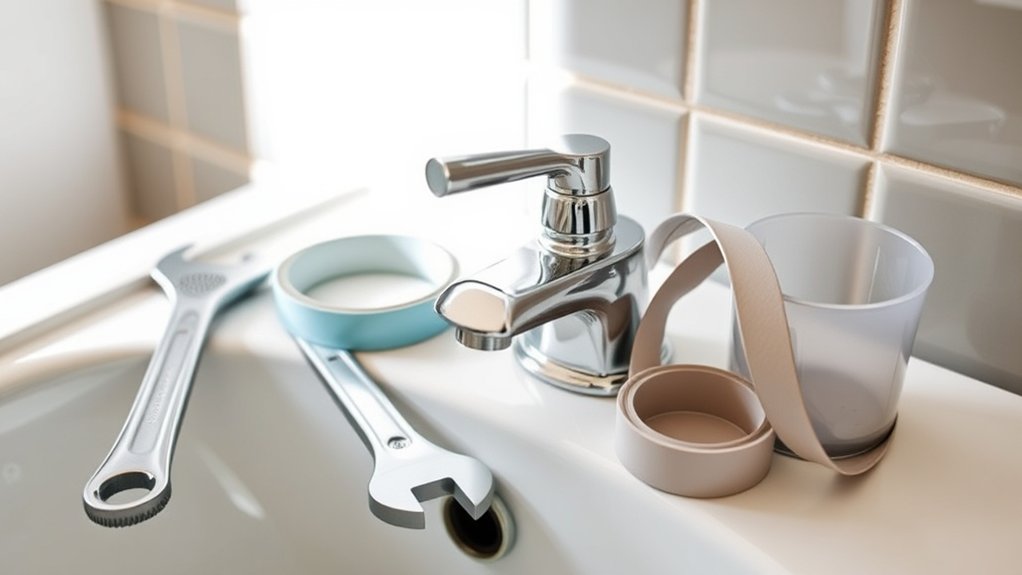
Before you begin removing your bathroom faucet, gather all the necessary tools to make the process smooth and efficient. You’ll need an adjustable wrench to loosen nuts and bolts, a basin wrench for hard-to-reach areas under the sink, and a screwdriver—usually Phillips or flathead depending on your faucet model.
It’s smart to have pliers handy for gripping and twisting stubborn parts. Don’t forget a bucket or small container to catch any leftover water and a towel to protect your cabinet from drips. If your faucet has decorative caps, a utility knife or flat tool can help you pry them off without damage.
Having these tools ready prevents interruptions and lets you focus on the removal without unnecessary hassle.
Turn Off the Water Supply and Clear the Area
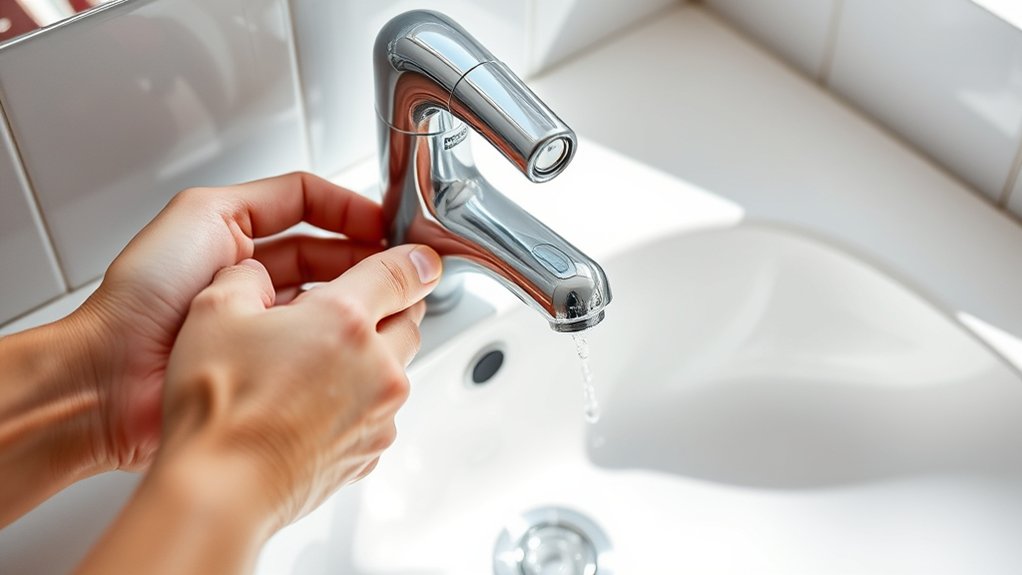
Since water can cause damage and create a mess, you’ll want to turn off the water supply before removing your bathroom faucet. Locate the shutoff valves under the sink and turn them clockwise until tight. If there aren’t any, you may need to shut off the main water supply.
Next, open the faucet to drain any remaining water in the pipes. Clearing the area around the sink is essential to give yourself room to work and protect surfaces from scratches or spills.
| Step | Action |
|---|---|
| Locate shutoff valves | Usually under the sink, on water lines |
| Turn valves clockwise | Close completely to stop water flow |
| Open faucet | Drain water from pipes before removal |
| Clear work area | Remove items and lay down towels or cloths |
Disconnect Bathroom Faucet Water Supply Lines Safely
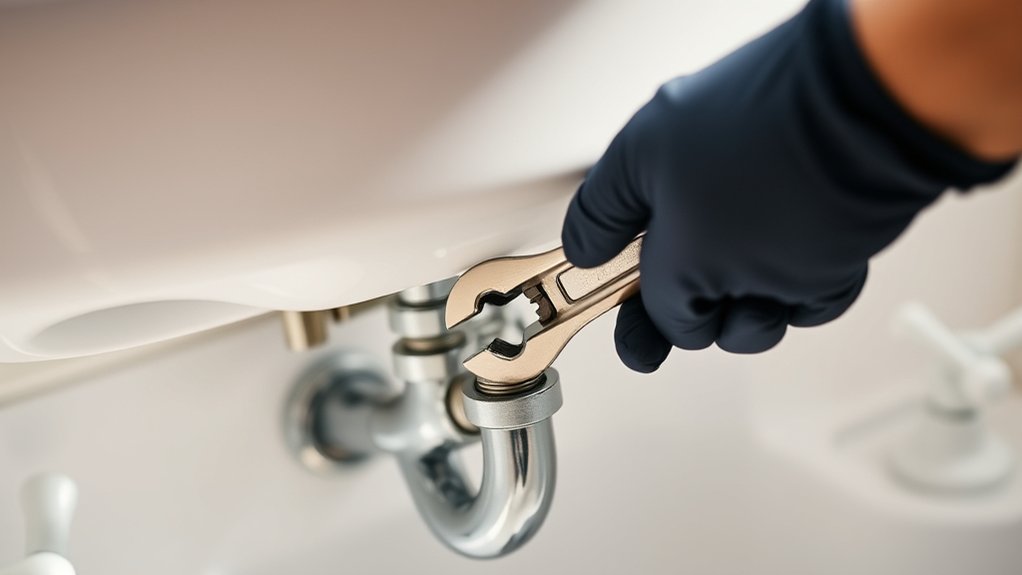
Before disconnecting the water supply lines, make sure you’ve completely turned off the water valve to avoid any leaks. Grab the right tools, like an adjustable wrench, to loosen the connections safely.
Taking these steps will help you prevent damage and keep the process smooth.
Turn Off Water Valve
How do you safely disconnect your bathroom faucet’s water supply lines? First, locate the shut-off valves under the sink—usually one for hot water and one for cold. Turn each valve clockwise to close them completely.
If you don’t have individual shut-offs, turn off the main water supply to your home. After closing the valves, open the faucet to release any water left in the lines; this prevents spills when you disconnect the supply lines. Keep a small bucket or towel handy to catch any remaining water.
Taking these steps guarantees you avoid water damage and makes disconnecting the supply lines safer and cleaner. Once the water is off and pressure relieved, you’re ready to proceed with removing the faucet.
Use Proper Tools
Once you’ve shut off the water and relieved pressure by opening the faucet, gather the right tools to disconnect the supply lines safely. Using proper tools prevents damage to the faucet and plumbing.
Here’s what you’ll need:
- Adjustable wrench – to loosen and tighten nuts without slipping.
- Basin wrench – perfect for reaching tight spots under the sink.
- Bucket or towel – to catch any residual water that might drip.
- Pliers – useful for gripping and turning stubborn fittings.
Make sure to choose tools that fit the size of your faucet’s fittings to avoid stripping. Working carefully with the right tools will help you disconnect the water supply lines smoothly and prepare the faucet for removal without causing leaks or damage.
Remove Mounting Nuts Under the Sink
Now, find the mounting nuts securing the faucet under the sink. Grab the right tools, like a basin wrench, to reach and loosen them.
Take your time to carefully turn the nuts without stripping or damaging them.
Locate Mounting Nuts
Before you can remove the faucet, you’ll need to locate the mounting nuts that secure it beneath the sink. These nuts hold the faucet firmly in place, so finding them is crucial before moving forward.
- Slide under the sink and use a flashlight to brighten dark areas.
- Look directly beneath the faucet base for one or more nuts attached to threaded rods.
- Identify the nuts, often metal and hexagonal, sometimes covered with plastic or rubber washers.
- Check for any additional brackets or clips that might hold the nuts in place.
Once you’ve located all mounting nuts, you’re ready to move on to loosening and removing them in the next step. Make sure you have a clear view and enough space to work comfortably.
Use Proper Tools
After locating the mounting nuts beneath the sink, gather the right tools to remove them safely and efficiently. Typically, you’ll need an adjustable wrench or a basin wrench since the space is tight. A basin wrench is especially handy because its long handle and pivoting head help you reach nuts in cramped areas without straining.
Make sure your wrench fits snugly on the nuts to avoid rounding them off. If the nuts are corroded or stuck, have some penetrating oil nearby to loosen them before trying to remove them. Using the proper tools reduces the risk of damaging your faucet or plumbing.
Set up adequate lighting under the sink so you can work clearly, and keep a bucket or towel handy to catch any drips once you start loosening the nuts.
Loosen Nuts Carefully
Although the mounting nuts can be tight and stubborn, you’ll want to loosen them carefully to avoid damaging the faucet or plumbing. Here’s how to proceed effectively:
- Use a basin wrench or adjustable wrench to reach the nuts under the sink.
- Turn the wrench counterclockwise slowly to break the nuts free without stripping them.
- Support the faucet from above to prevent it from shifting or falling as you loosen the nuts.
- If a nut is seized, apply penetrating oil and wait a few minutes before trying again.
Detach the Old Bathroom Faucet From the Sink Surface
Once you’ve turned off the water supply and disconnected the supply lines, you can start detaching the old faucet from the sink surface. Begin by checking for any remaining mounting hardware underneath the sink. Use a basin wrench or adjustable wrench to remove nuts securing the faucet.
Carefully lift the faucet straight up to avoid damaging the sink. If it’s stuck, gently wiggle it or apply a little penetrating oil. Keep all parts organized for potential reuse or disposal.
| Step | Tool Needed | Tip |
|---|---|---|
| 1. Check nuts | Basin wrench | Look for hidden fasteners |
| 2. Loosen nuts | Adjustable wrench | Turn counterclockwise |
| 3. Wiggle faucet | Hands | Avoid forcing damage |
| 4. Lift faucet | Hands | Pull straight upward |
| 5. Inspect | Flashlight | Confirm no parts remain |
Clean the Sink Surface After Removing Your Faucet
Before installing your new faucet, you’ll want to thoroughly clean the sink surface where the old one sat. This step guarantees a smooth, secure fit and prevents leaks or damage.
Thoroughly clean the sink surface before installing your new faucet to ensure a secure fit and prevent leaks.
Follow these steps to clean effectively:
- Remove any remaining putty, caulk, or sealant with a plastic scraper to avoid scratching the sink.
- Wipe the area with a damp cloth to clear away loose debris and dust.
- Apply a mild bathroom cleaner or vinegar solution to dissolve mineral deposits and grime.
- Rinse thoroughly with water and dry completely using a clean towel to prevent water spots.
Taking these steps will give you a clean, smooth surface ready for your new faucet installation.
Inspect and Prep Plumbing for New Faucet Installation
After cleaning the sink surface, inspect the plumbing underneath to guarantee everything is in good condition for your new faucet. Check for any signs of corrosion, leaks, or damaged pipes that might cause issues later. Tighten any loose connections and replace worn-out washers or O-rings if needed.
If you spot rust or mineral buildup, clean it off thoroughly to ensure a tight seal. Also, verify that the water supply valves work smoothly by turning them on and off. If they’re stiff or leaking, consider replacing them before installing the new faucet.
Finally, clear the area of debris and make sure all mounting holes align with your new faucet’s specifications. Taking these steps now will save you time and prevent problems during installation.
Frequently Asked Questions
How Do I Know if My Faucet Needs Replacement?
You’ll know your faucet needs replacement if it leaks, has low water pressure, shows corrosion, or won’t shut off properly.
If it’s outdated or damaged beyond repair, it’s time to upgrade for better function and style.
What Type of Faucet Is Best for Water Conservation?
You’ll want a faucet with a WaterSense label—it can save up to 30% more water than standard models. Choosing one with aerators helps reduce flow without sacrificing pressure, making your bathroom eco-friendly and budget-friendly.
Can I Remove a Faucet Without Shutting off Water?
You shouldn’t remove a faucet without shutting off the water; doing so risks flooding and water damage. Always turn off the water supply valves under the sink before starting to guarantee a safe, mess-free removal process.
How Long Does a Typical Faucet Removal Take?
You might think faucet removal takes forever, but it typically takes 30 to 60 minutes. If you’re organized and have the right tools, you’ll breeze through the process without unnecessary delays or frustration.
What Are Signs of Plumbing Damage After Faucet Removal?
You’ll notice leaks, water stains, or mold near the sink if there’s plumbing damage. Also, listen for dripping sounds and check for low water pressure or corrosion on pipes.
Act quickly to avoid bigger issues.
Conclusion
Removing your bathroom faucet doesn’t have to be a headache. By gathering your tools, turning off the water, and carefully disconnecting the supply lines, you’ll breeze through the process.
Taking the time to clean and inspect the sink afterward sets you up for a smooth fresh start. With these simple steps, you’re not just removing an old fixture—you’re making way for a brighter, more refreshed bathroom experience.
Following this guide to remove bathroom faucet will save you time and effort. Embrace the satisfaction of a job well done and get ready to install your new bathroom faucet with confidence.