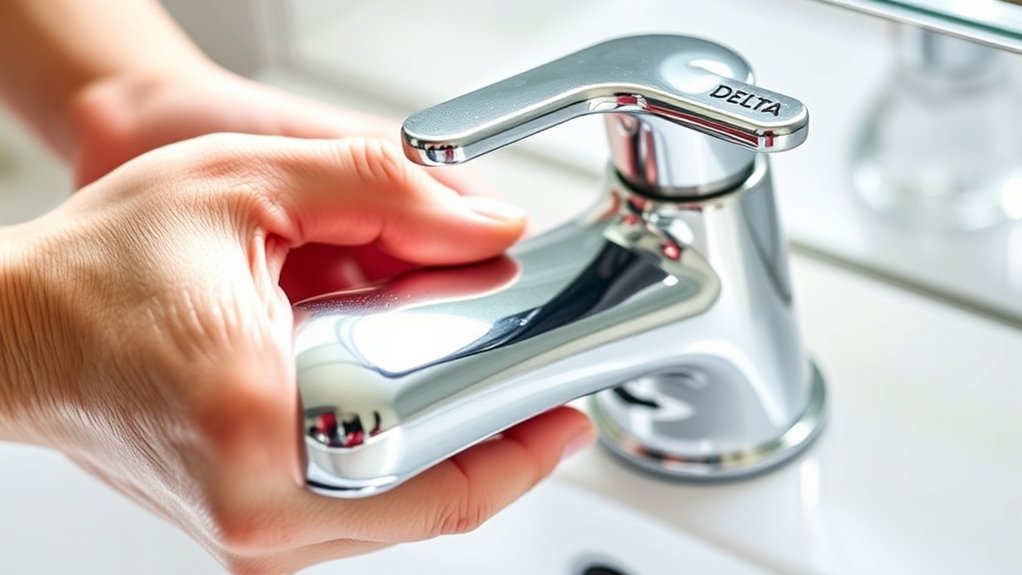
How to Remove Delta Bathroom Faucet Handle in 10 Easy Steps
First, turn off your water supply and open the faucet to relieve pressure. Removing a Delta bathroom faucet handle can seem tricky, but with the right tools and steps, it’s straightforward.
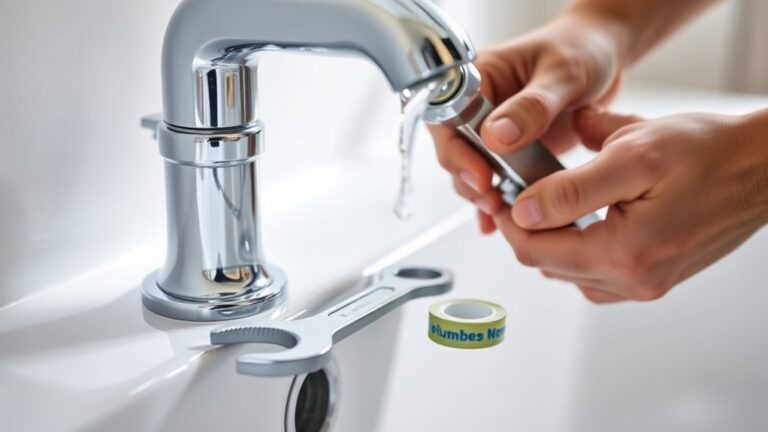
Identify your Delta faucet handle type and gather tools like an Allen wrench and flathead screwdriver.
Pry off the decorative cap hiding the set screw, then loosen the screw and gently lift the handle, checking for retaining clips.
If the handle is stuck, apply lubricant and wiggle it carefully to avoid damage.
Clean all parts thoroughly before reinstalling the handle securely.
Following these steps will help you remove your Delta bathroom faucet handle smoothly and without causing damage.
Keep going to uncover tips for a smooth, damage-free removal.
Key Takeaways
- Turn off the water supply under the sink and open the faucet to release pressure before starting.
- Pry off the decorative cap on the handle to reveal the hidden set screw using a flathead or plastic tool.
- Use an Allen wrench or screwdriver to loosen and remove the set screw securing the handle.
- Gently lift the handle with a flathead screwdriver or pry tool, checking for and removing any retaining clips.
- Clean the valve area, inspect for damage, then reassemble the handle and test for smooth operation and leaks.
Identify Your Delta Faucet Handle Type
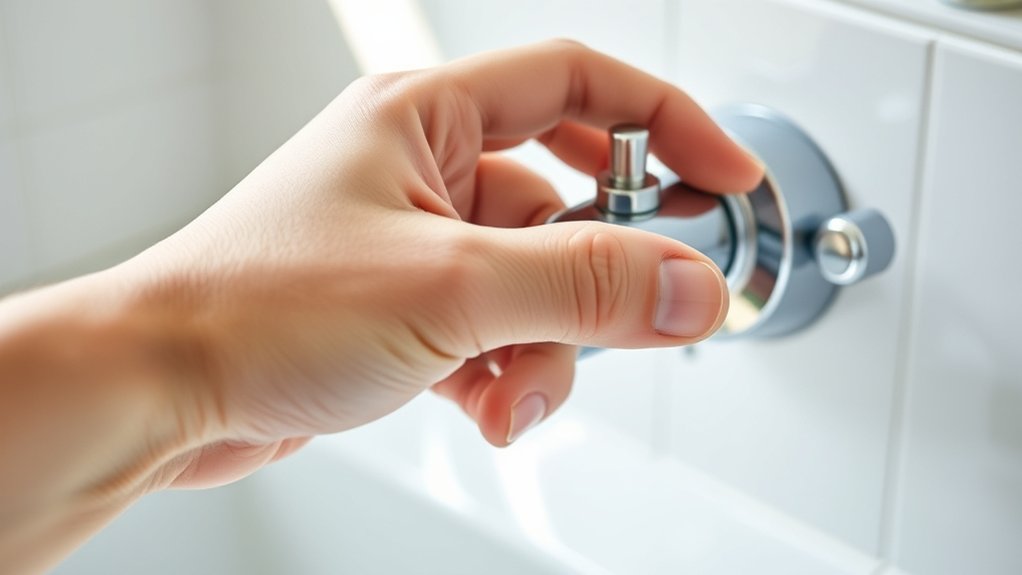
Before you begin removing your Delta bathroom faucet handle, you need to identify the type of handle you have. Delta faucets commonly come with two main handle types: lever handles and knob handles. Lever handles are elongated and easy to grip, while knob handles are round or oval-shaped.
Take a close look at your handle to determine which type it is. You might also notice whether the handle has a visible screw or if it’s concealed under a decorative cap. Some models feature a small set screw on the side or back, which you’ll need to loosen.
Identifying the handle type helps you understand how it’s secured to the faucet stem, so you can remove it without causing damage or frustration during the process.
Gather the Basic Tools You’ll Need
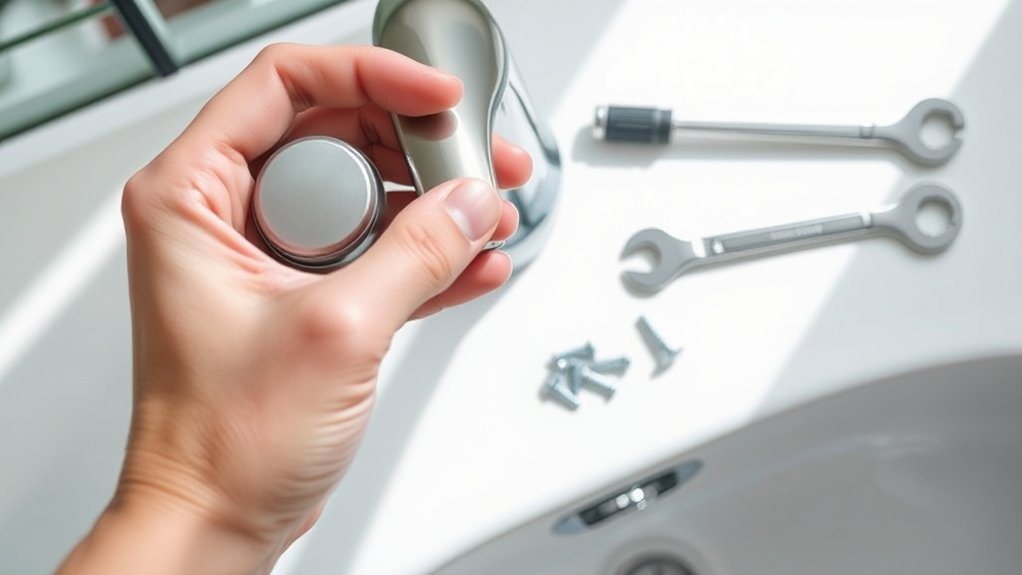
Although removing a Delta bathroom faucet handle may seem straightforward, having the right tools on hand makes the process much smoother. Before you start, gather everything you need to avoid interruptions.
Most Delta faucets require just a few basic tools.
Here’s a quick list to get you prepared:
| Tool | Purpose |
|---|---|
| Allen Wrench | Loosens set screws on handle |
| Phillips Screwdriver | Removes screws from handle caps |
| Adjustable Wrench | Helps loosen nuts if needed |
Having these tools ready guarantees you can work efficiently and avoid damaging your faucet. Keep them within reach, and you’ll breeze through removing the handle without extra hassle.
Once you have your tools, you’re ready to proceed to the next step.
Turn Off the Water Supply to Your Delta Faucet
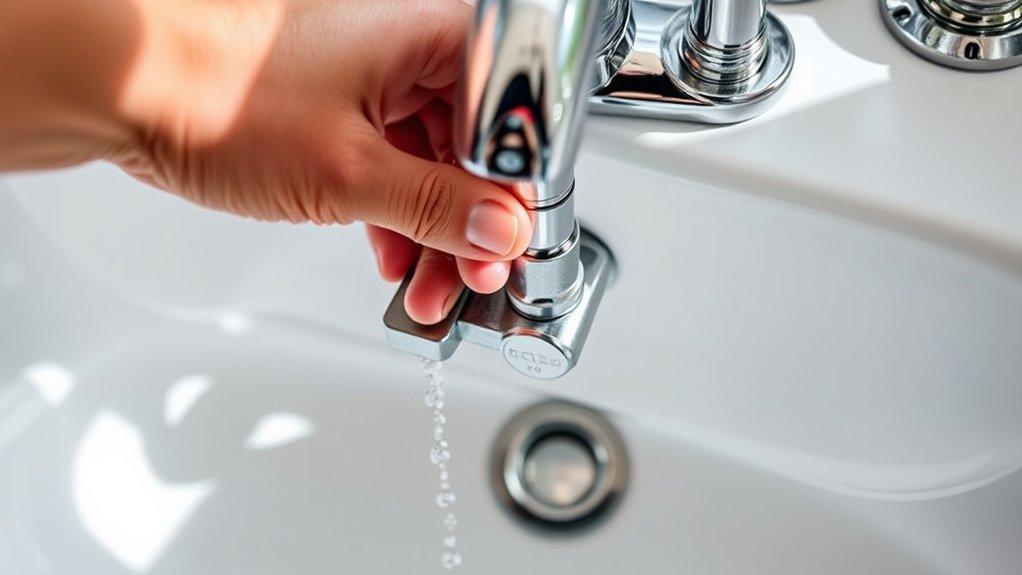
Before you start, locate the water shutoff valves under your sink and turn them clockwise to close.
Once you’ve done that, open the faucet to make sure the water flow has completely stopped.
This step is essential to avoid any unexpected leaks while you work on the handle.
Locate Water Shutoff Valves
To safely remove your Delta bathroom faucet handle, you need to turn off the water supply first. Start by locating the shutoff valves under your bathroom sink. These valves control the flow of water to the faucet and are usually small, round knobs or levers attached to the pipes.
If you don’t see individual shutoff valves, check for a main water valve near the water meter or where the water line enters your home. Turn the valves clockwise to close them, stopping the water flow. If the valves feel stuck, don’t force them—try gently wiggling or use pliers with care.
Once the valves are off, you can proceed without worrying about water leaking while you remove the faucet handle.
Verify Water Supply Is Off
Once you’ve turned off the shutoff valves, check that the water supply to your Delta faucet is completely off by turning on the faucet handles. If no water flows, you’re good to go.
If water still trickles out, double-check that the valves are fully closed by turning them clockwise. Sometimes shutoff valves aren’t fully closed or may be faulty, so you might need to turn off the main water supply to your home if the local valves don’t stop the flow.
After confirming the water is off, leave the handles open to relieve any remaining pressure in the lines. This step prevents unexpected sprays and makes removing the faucet handle safer and cleaner.
Now you’re ready to proceed with handle removal.
Locate the Set Screw on Your Faucet Handle
You’ll usually find the set screw on the underside or back of your Delta faucet handle. Grab a hex key or screwdriver, depending on your model, to loosen it.
Identifying the exact spot will make removing the handle much easier.
Set Screw Placement
Although the set screw is small, it plays an essential role in securing your Delta bathroom faucet handle. Typically, you’ll find the set screw on the underside or back of the handle, often hidden from immediate view. It’s usually tucked away in a recessed hole or covered by a decorative cap that blends with the handle’s design.
Look closely near the base where the handle meets the faucet body. In some models, the screw faces downward; in others, it’s positioned on the side. Identifying its exact location is key before attempting removal, as loosening this screw is what frees the handle.
Take your time inspecting the handle carefully to spot the set screw, ensuring you’re prepared for the next step in the removal process.
Tools Needed
Finding the set screw is the first step before gathering the right tools to remove your Delta bathroom faucet handle. The set screw usually hides under a decorative cap or on the underside of the handle.
Once located, you’ll need specific tools to loosen it safely without damaging the faucet.
Here’s a quick guide to the essential tools:
| Tool | Purpose | Tip |
|---|---|---|
| Allen wrench | Loosen set screw | Match size to your screw |
| Screwdriver | Remove decorative caps | Use flathead or Phillips |
| Penetrating oil | Loosen stuck screws | Apply sparingly, wait 10 mins |
| Rag | Clean area | Prevent scratches |
Having these ready makes handle removal smooth and hassle-free.
Remove the Decorative Cap Covering the Set Screw
Before you can loosen the set screw, you need to remove the decorative cap that covers it. Look closely at the faucet handle to find this small, usually plastic or metal, cap. It’s often located on the side or top of the handle.
Use a flathead screwdriver or a thin, blunt tool to gently pry off the cap. Be careful not to scratch the faucet’s finish. If the cap feels stuck, wiggle your tool slightly while applying gentle pressure.
Once the cap pops off, set it aside safely—you’ll need it when reassembling. Removing this cap exposes the set screw, allowing you to proceed with loosening the handle in the next step. Taking your time here prevents damage and guarantees a smooth removal process.
Unscrew the Handle With the Right Tool
Once you’ve exposed the set screw, grab the appropriate tool—usually an Allen wrench or a screwdriver—to loosen it. Check the size of the screw head to pick the right tool, ensuring a snug fit to avoid stripping. Insert the tool firmly into the screw and turn it counterclockwise.
Apply steady pressure and avoid forcing it, which could damage the screw or handle. If the screw resists, try applying a penetrating lubricant and let it sit for a few minutes before trying again. Keep turning until the screw is completely loosened but don’t remove it entirely yet; just loosen it enough so the handle can slide off easily.
Using the correct tool will make this step smoother and prevent unnecessary damage.
Gently Pry Off the Faucet Handle and Look for Retaining Clips
Use a flathead screwdriver or a plastic pry tool to gently lift the faucet handle without damaging the finish.
As you pry, keep an eye out for small retaining clips that hold the handle in place. Removing these carefully guarantees you don’t break any parts during the process.
Tools Needed for Prying
Although prying off the faucet handle might seem tricky, having the right tools makes the job much easier. You’ll want to gather a few essentials before you start to avoid frustration and protect your faucet from damage.
Here are the tools you’ll need for prying:
- Flathead screwdriver – Perfect for gently slipping under the handle’s edge.
- Putty knife – Offers a wider surface to distribute pressure evenly.
- Utility knife – Helps to cut through any caulk or paint sealing the handle.
- Soft cloth or rag – Place this between the tool and faucet to prevent scratches.
With these tools ready, you can carefully pry off the handle without causing harm to your Delta faucet.
Identifying Retaining Clips
With the right tools in hand, you can gently pry off the faucet handle without damaging your Delta fixture. Once removed, closely inspect the base of the handle for retaining clips. These small but important parts keep the handle securely attached to the valve stem.
Retaining clips often appear as C-shaped or snap rings, usually made of metal or plastic. Use a flashlight if needed to spot them clearly. Here’s a quick guide to help you identify common retaining clips:
| Clip Type | Appearance | Material |
|---|---|---|
| Snap Ring | Circular with gap | Metal |
| C-Clip | C-shaped | Metal/Plastic |
| Retaining Pin | Small pin or rod | Metal |
Knowing which clip you’re dealing with helps you plan the next removal step efficiently.
Safe Removal Techniques
Before you start prying off the faucet handle, make sure you have the right tools ready, such as a flat-head screwdriver or a plastic pry tool, to avoid scratching your Delta fixture. Use gentle pressure to lift the handle, preventing damage to both the handle and surrounding parts.
Once the handle is loose, look carefully for retaining clips that secure it to the valve stem. These clips can be tricky to spot but are essential to remove for safe detachment.
Follow these steps:
- Insert the pry tool gently under the handle’s edge.
- Apply even, slow pressure to lift the handle.
- Inspect for retaining clips around the base.
- Use needle-nose pliers to remove clips without bending them.
This approach keeps your faucet intact and ready for repairs.
What to Do If the Handle Won’t Budge
If the handle won’t budge, don’t force it, as that can cause damage. Instead, check for a hidden set screw, often located under a decorative cap or behind the handle. Use a flathead screwdriver or a small pick to carefully remove the cap and reveal the screw.
Once found, loosen the set screw with the right-sized Allen wrench or screwdriver. If it still won’t move, apply a penetrating lubricant around the base where the handle meets the faucet body. Let it sit for a few minutes to loosen any corrosion or mineral buildup.
Gently wiggle the handle back and forth to help break the seal. Avoid using excessive force, and if it remains stuck, consider consulting a professional to prevent further damage.
Clean and Inspect Your Delta Faucet Before Reassembly
Once you’ve removed the handle, take the time to thoroughly clean and inspect your Delta faucet. This step helps prevent future issues and guarantees smooth operation. Start by wiping away any grime or mineral buildup with a soft cloth and mild cleaner.
After removing the handle, clean and inspect your Delta faucet to ensure smooth, trouble-free operation.
Then, carefully check for any worn or damaged parts that might need replacing.
Here’s what to focus on:
- Clean the valve cartridge and surrounding areas to remove debris.
- Inspect the O-rings and seals for cracks or wear.
- Look for corrosion or mineral deposits on metal components.
- Verify that the faucet stem moves freely without resistance.
Taking these steps now saves you headaches later and keeps your faucet working perfectly.
Reinstall the Faucet Handle Properly
Although reinstalling the faucet handle may seem straightforward, taking care to align it properly guarantees smooth operation and prevents leaks. Start by positioning the handle onto the cartridge stem carefully. Make certain it fits snugly without forcing it.
Next, secure the handle with the set screw or retaining clip you removed earlier. Tighten the screw just enough to hold the handle firmly but avoid overtightening.
Follow this checklist for a smooth reinstall:
| Step | Action |
|---|---|
| 1 | Align handle on cartridge |
| 2 | Insert set screw or clip |
| 3 | Tighten screw securely |
| 4 | Test handle movement |
| 5 | Check for leaks |
After reinstalling, test the handle to confirm smooth operation and no leaks.
Frequently Asked Questions
How Do I Know if My Delta Faucet Handle Needs Replacement?
You know your Delta faucet handle needs replacement if it’s loose, cracked, or difficult to turn. Leaks around the handle or persistent drips also signal it’s time to swap it out for a new one.
Can I Use a Universal Handle on My Delta Faucet?
About 70% of faucet handles aren’t universally compatible. You can use a universal handle on your Delta faucet only if it matches the size and connection style.
Check specs carefully to guarantee a proper fit before buying.
What Are Common Signs of a Faulty Delta Faucet Handle?
You’ll notice your Delta faucet handle feels loose, hard to turn, or leaks water. Sometimes it makes squeaking noises or doesn’t fully control water flow.
These signs mean you should check or replace the handle soon.
How Often Should I Maintain My Delta Faucet Handle?
You should maintain your Delta faucet handle every six months to prevent buildup and guarantee smooth operation. Regular cleaning and checking for leaks help you avoid bigger repairs and keep your faucet working efficiently.
Maintaining your faucet regularly ensures longevity and optimal performance. It also helps to identify minor issues before they become major problems. Make maintenance a routine part of your home care.
Are There Warranty Options for Delta Faucet Handles?
Warranty options for Delta faucet handles are like a safety net—you’re usually covered for defects for up to five years.
You can check their website or contact customer service to see what specific warranty applies to your model.
Conclusion
Removing your Delta bathroom faucet handle is like opening a treasure chest—you just need the right key and a gentle touch. By carefully identifying the handle type, gathering your tools, and patiently removing each piece, you’re opening the door to a smoother, leak-free experience.
Remember, every step you take brings you closer to restoring your faucet’s flow, turning a tricky task into a simple victory you can proudly claim. Following these easy steps ensures that removing your Delta bathroom faucet handle is straightforward and hassle-free.
With the right approach, you’ll enjoy a fully functional faucet and a bathroom repair done with confidence.