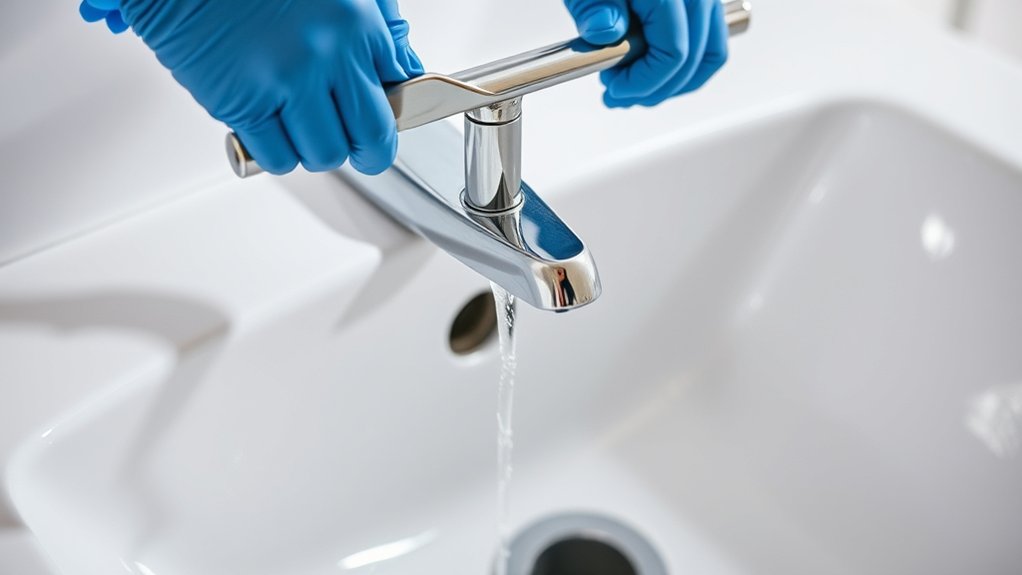
Fix a Dripping Bathtub Faucet in 7 Easy Steps
To fix a dripping bathtub faucet in 7 easy steps, start by identifying your faucet type by checking the handles. This essential step helps you understand the mechanism causing the drip and prepares you for the repair process.
Gather basic tools like screwdrivers and a wrench to ensure you have everything needed before beginning.
Next, turn off the water supply completely to avoid any mess or water damage.
Remove the handle carefully to access the valve inside the faucet.
Inspect and replace the faulty washer or cartridge, which is often the source of leaks.
Reassemble the faucet snugly, then turn the water back on and test for leaks.
Regular maintenance of your faucet will prevent future drips and extend its lifespan.
This guide will help you master each step confidently and keep your bathtub faucet functioning properly.
Key Takeaways
- Turn off the water supply at the main valve and local shut-off valves near the bathtub.
- Remove the faucet handle carefully using appropriate screwdrivers and penetrating oil if stuck.
- Identify faucet type and inspect washers, O-rings, or cartridges for wear or damage.
- Replace worn or damaged parts with exact-fit replacements, ensuring proper alignment and snug fit.
- Reassemble faucet, turn water back on slowly, and check for leaks while operating the faucet.
Figure Out What Kind of Dripping Bathtub Faucet You Have
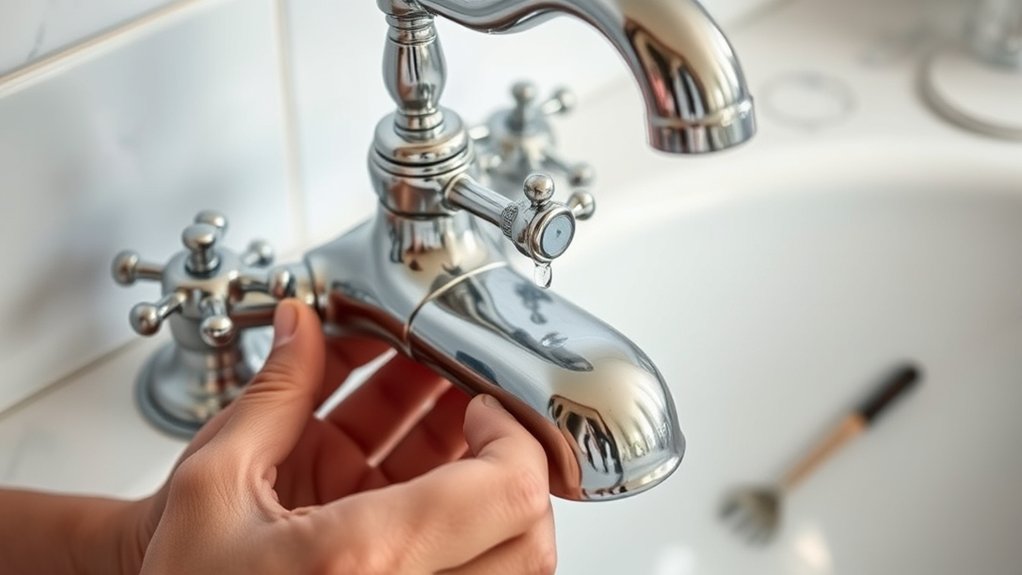
How do you know what type of dripping bathtub faucet you have? First, take a close look at your faucet’s handles. If you see two separate handles—one for hot and one for cold—you likely have a compression faucet.
If there’s just one handle controlling both temperature and flow, you probably have a cartridge or ball faucet. Cartridge faucets typically have a smooth, cylindrical handle, while ball faucets feature a rounded handle with a single lever.
Another type is a ceramic disc faucet, which usually has a wide, flat handle and is known for durability. Identifying the type helps you understand the internal mechanism causing the drip, so you can target the fix accurately and avoid unnecessary repairs or replacements.
Grab These Essential Tools Before You Start
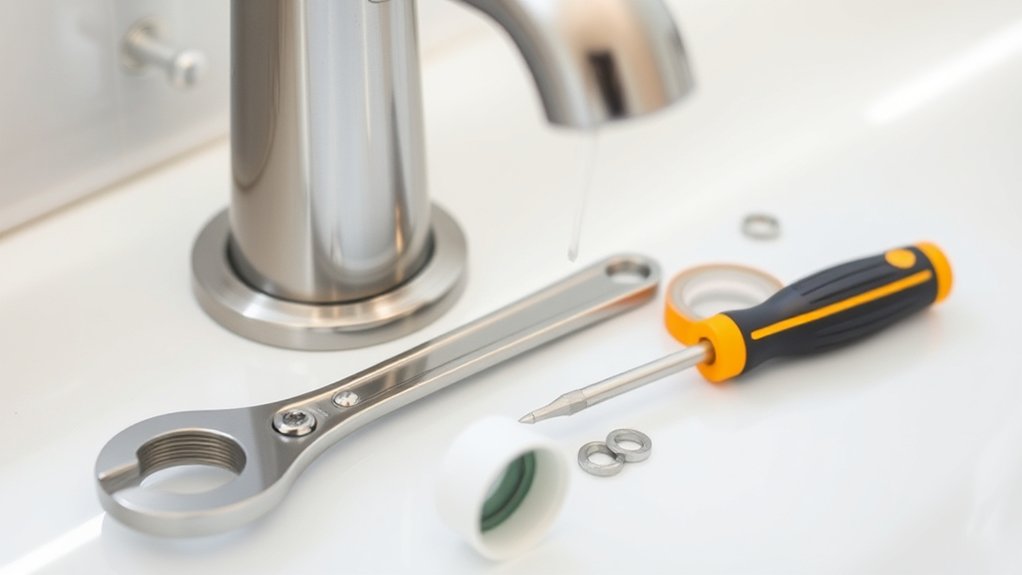
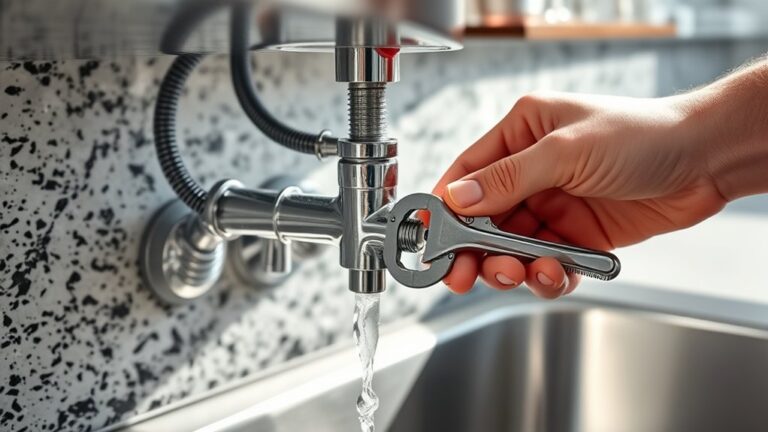
Before you plunge into fixing your dripping bathtub faucet, make sure you have the right tools on hand to make the job smoother and quicker. You’ll need a flathead screwdriver and a Phillips screwdriver to remove screws and handles. Grab an adjustable wrench to loosen nuts without damaging them.
A pair of needle-nose pliers will help you grip small parts securely. Don’t forget a replacement washer or O-ring specific to your faucet type, as these often cause leaks. It’s also smart to have some plumber’s grease to lubricate parts when reassembling.
Ultimately, keep a rag or small container nearby to catch drips or hold removed parts. Having these essentials ready will save you time and frustration as you tackle the repair.
Turn Off the Bathtub Water Supply Safely
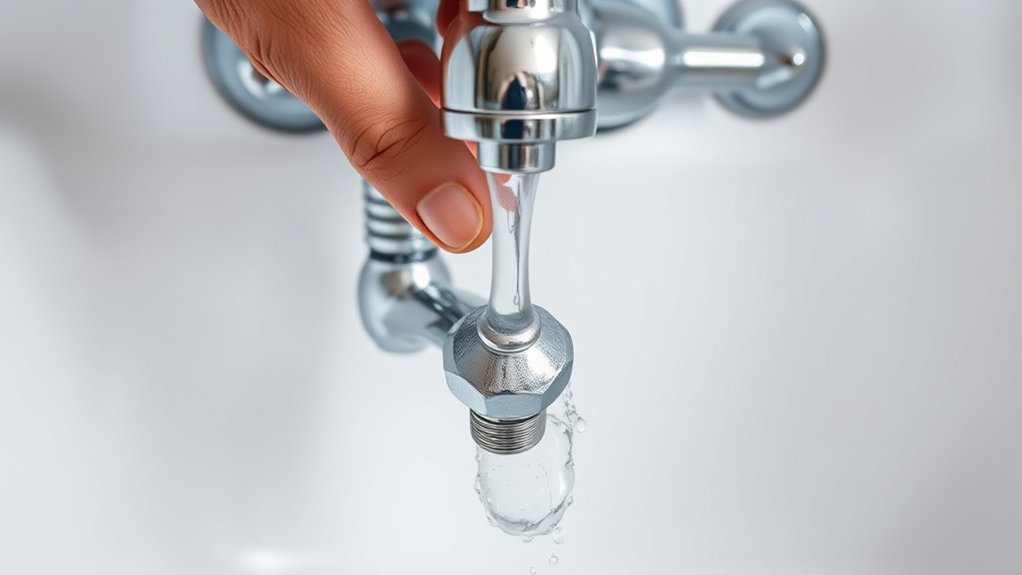
Before you start fixing the drip, make sure to locate and shut off the main water valve or the local supply for your bathtub. This step prevents any unexpected flooding while you work.
Once the water’s off, double-check by turning on the faucet to confirm no water flows.
Locate Main Water Valve
Since water can cause damage quickly, you’ll want to locate and shut off the main water valve before starting any repairs on your bathtub faucet. This valve controls the entire water supply to your home, so turning it off stops water flow and prevents leaks during your repair.
Typically, you’ll find the main valve near the water meter or where the supply pipe enters your house.
Here’s a quick reference to help you spot it:
| Location | Appearance | Common Tools Needed |
|---|---|---|
| Basement | Round wheel or lever valve | Adjustable wrench |
| Outside near meter | Box with lid, lever valve | Screwdriver (lid access) |
| Utility room | Lever valve | None (hand-operated) |
Knowing this saves time and avoids water damage.
Shut Off Local Supply
How do you stop water flow to your bathtub without shutting off the entire house supply? First, locate the local shut-off valves, usually found near the bathtub’s plumbing or under the tub access panel. These valves control water specifically to your bathtub.
Turn the valve handles clockwise to close them; this action stops water from reaching the faucet. If you find individual hot and cold valves, close both to ensure no water leaks through. Sometimes, these valves may be stiff—use a wrench gently if needed, but avoid forcing them to prevent damage.
Shutting off the local supply lets you work on the faucet without disrupting water elsewhere in your home. Once the valves are off, you’re ready for the next step in fixing your dripping faucet.
Verify Water Is Off
Once you’ve turned the local shut-off valves, you need to verify that the water is completely off before proceeding. Start by opening the bathtub faucet slowly. If no water flows out, the supply is successfully shut off.
If water still trickles, double-check the valves to confirm they’re fully closed. Sometimes, valves partially close, allowing a slow drip. If the local shut-offs don’t stop the water, you may need to turn off the main water supply to your home.
After confirming the water is off, place a bucket or towel under the faucet to catch any residual water when you start disassembling the faucet. Verifying the water is off protects you from unexpected leaks and makes the repair process safer and cleaner.
Remove the Faucet Handle to Access the Valve
You’ll need a few basic tools like a screwdriver and an adjustable wrench to remove the faucet handle. Start by locating and carefully loosening any screws while keeping safety in mind to avoid slipping or damaging parts.
Once the handle is off, you’ll have clear access to the valve for the next steps.
Tools Needed
Before removing the faucet handle to access the valve, gather the right tools to make the process smooth and efficient. Having everything on hand saves time and prevents frustration. You’ll need basic hand tools and some specialty items depending on your faucet type.
| Tool | Purpose | Tip |
|---|---|---|
| Screwdriver | Remove screws on the handle | Use the correct head size |
| Allen wrench | Loosen set screws | Check handle for hidden screws |
| Adjustable wrench | Turn nuts and bolts | Protect finish with cloth |
| Pliers | Grip and twist parts | Use gentle pressure |
| Cloth or rag | Prevent scratches and clean | Wrap around wrench jaws |
Prepare these before you start to guarantee a hassle-free handle removal and valve access.
Handle Removal Techniques
Gathering the right tools makes removing the faucet handle much easier. First, locate the screw securing the handle—often hidden under a decorative cap. Use a flathead screwdriver to gently pry off this cap.
Then, grab a Phillips or Allen wrench, depending on your handle type, and unscrew the fastener. If the handle feels stuck, apply a little penetrating oil and let it sit for a few minutes to loosen any corrosion. After that, carefully wiggle and pull the handle straight off the valve stem.
Avoid using excessive force to prevent damage. Once the handle is removed, you’ll have clear access to the valve for repair or replacement. Keep your tools handy and work patiently to guarantee a smooth removal process.
Safety Precautions
Although removing the faucet handle is a straightforward step, taking proper safety precautions is essential to avoid injury or water damage. First, turn off the water supply to the bathtub to prevent unexpected leaks. Use a cloth or towel to cover the drain, stopping small parts from falling in.
Wear gloves to protect your hands from sharp edges or rust. Use the right tools, like a screwdriver or Allen wrench, to avoid stripping screws or damaging the handle. Work slowly and carefully when prying off the handle to prevent chipping tiles or scratching surfaces.
Finally, keep a bucket or towel nearby to catch any residual water that might drip when you access the valve. Following these precautions will make the process safer and smoother.
Diagnose and Replace the Faulty Washer or Cartridge
If your bathtub faucet keeps dripping after shutting off the water supply, the problem likely lies in a worn-out washer or cartridge. First, remove the handle and the faucet stem to access the washer or cartridge. Inspect the washer for cracks, flattening, or stiffness—any damage means it needs replacing.
If your faucet uses a cartridge, check it for signs of wear or buildup that can cause leaks. Take the old washer or cartridge to a hardware store to find an exact replacement. When installing the new part, make sure it fits snugly and aligns properly.
Avoid overtightening, which can damage components. Replacing the faulty washer or cartridge is key to stopping the drip and restoring your faucet’s function.
Reassemble the Faucet and Test for Leaks
Once you’ve replaced the faulty washer or cartridge, carefully reassemble the faucet by reversing the removal steps. Start by securing the stem or cartridge back into the faucet body, making sure it fits snugly. Reattach the retaining nut and tighten it firmly but avoid overtightening.
Next, replace the handle and fasten it with the screw. Don’t forget to reinstall the decorative cap if there is one. Once everything’s back in place, turn the water supply on slowly.
Open the faucet and watch closely for any drips or leaks around the handle and spout. If you notice no leaks and the faucet operates smoothly, you’ve successfully fixed the drip. If leaks persist, double-check your assembly and the condition of the new parts before trying again.
Prevent Future Drips With Regular Faucet Maintenance
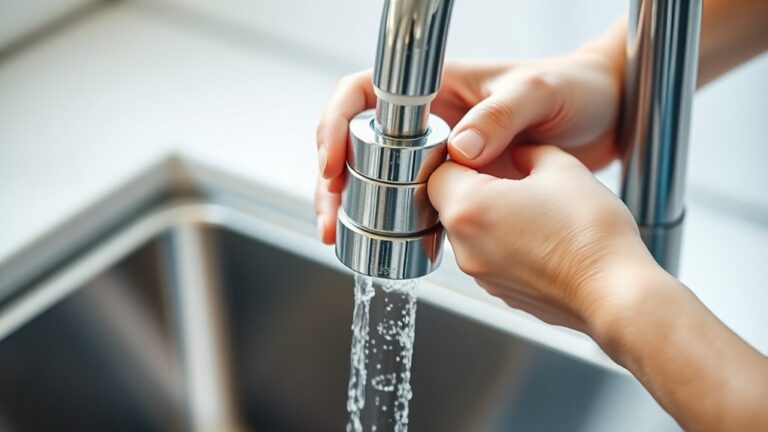
To keep your faucet dripping-free, you need to maintain it regularly. Start by cleaning the faucet aerator every few months to remove mineral buildup that can cause leaks. Check the handles and spout for any looseness and tighten them as needed.
Replace worn washers or O-rings promptly to prevent drips before they start. Lubricate moving parts occasionally with plumber’s grease to guarantee smooth operation. Keep an eye on water pressure; high pressure can damage faucet components, so consider installing a pressure regulator if needed.
Finally, inspect your faucet during routine home maintenance to catch small issues early. By staying proactive and attentive, you’ll extend your faucet’s life and avoid the hassle of constant repairs or costly replacements.
Frequently Asked Questions
Can a Dripping Faucet Cause High Water Bills?
Yes, a dripping faucet can cause high water bills because even small leaks waste water continuously.
You’ll notice the costs adding up over time, so fixing it quickly helps you save money and conserve water.
Is It Safe to Fix a Faucet Without Plumbing Experience?
You can try fixing a faucet without plumbing experience, but it’s risky. You might cause leaks or damage.
If you’re unsure, it’s safer to call a professional to avoid costly problems or injuries.
How Long Does a Typical Faucet Repair Take?
When push comes to shove, a typical faucet repair takes about 30 minutes to an hour.
If you’re prepared with the right tools, you’ll have that drip fixed before you know it.
When Should I Call a Professional Plumber?
You should call a professional plumber if the leak persists after your attempts, if you notice water damage, or if the repair involves complicated parts.
Don’t hesitate if you’re unsure or the problem worsens quickly.
Can Hard Water Cause Faucet Drips?
Oh yes, hard water loves turning your faucet into a leaky fountain! You’ll find mineral deposits gumming up seals, making drips sneak in like uninvited guests.
Conclusion
Now that you’ve conquered fixing that stubborn dripping faucet, you’re basically a plumbing superhero! No more midnight water symphonies or skyrocketing bills haunting your dreams. With just a few tools and some elbow grease, you’ve turned a pesky drip into a distant memory.
Keep up with regular maintenance, and your bathtub will thank you with years of drip-free bliss. Who knew saving gallons of water could feel this heroic? Fixing a dripping bathtub faucet not only conserves water but also reduces your utility bills.
You’ve got this! By following these simple steps, you’ve mastered how to fix a dripping bathtub faucet and protect your home from unnecessary water waste.