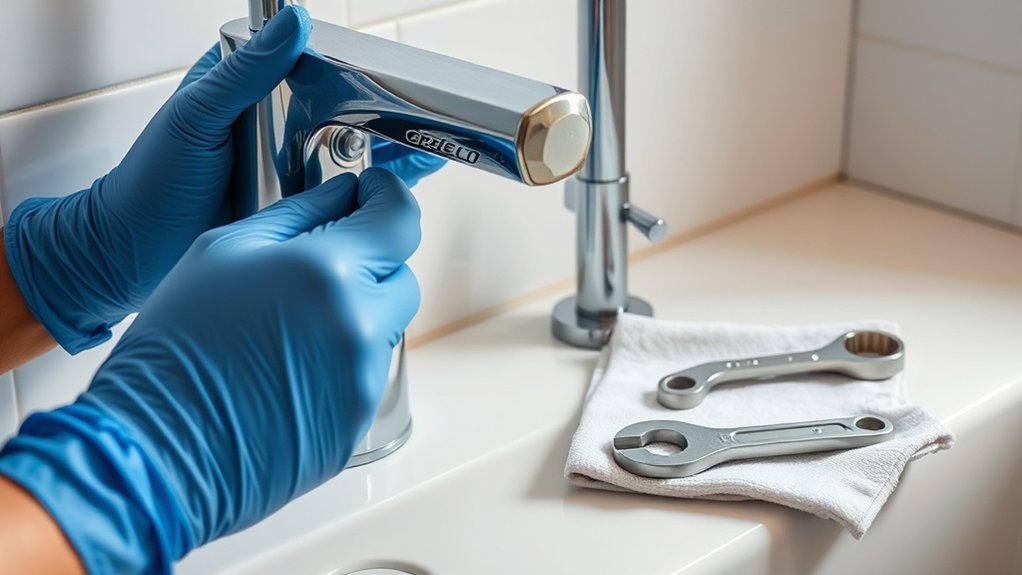
Repair a Dripping Shower Faucet in 7 Easy Steps
You’ll start by turning off the main water supply and clearing the area around your shower. This essential step helps prevent water damage and gives you a clean workspace to repair your dripping shower faucet. Addressing a leaking shower faucet promptly can save water and reduce your utility bills.
Next, remove the handle by taking off any decorative caps and unscrewing it carefully. Inspect the valve, washers, and O-rings for wear or buildup, then replace any damaged parts with properly matched ones.
Reassemble the faucet securely, turn the water back on, and check for leaks. Following simple maintenance tips can keep your shower drip-free and working smoothly—discover how to make these repairs last.
Key Takeaways
- Turn off the main water supply and clear the workspace before starting the repair.
- Remove the shower handle by unscrewing and gently pulling it off to access internal parts.
- Inspect and replace worn washers, O-rings, or cartridges causing the drip.
- Clean valve seats and components to remove mineral buildup and ensure proper sealing.
- Reassemble the faucet carefully, turn water back on, and test for leaks to confirm repair success.
Common Causes of a Dripping Shower Faucet
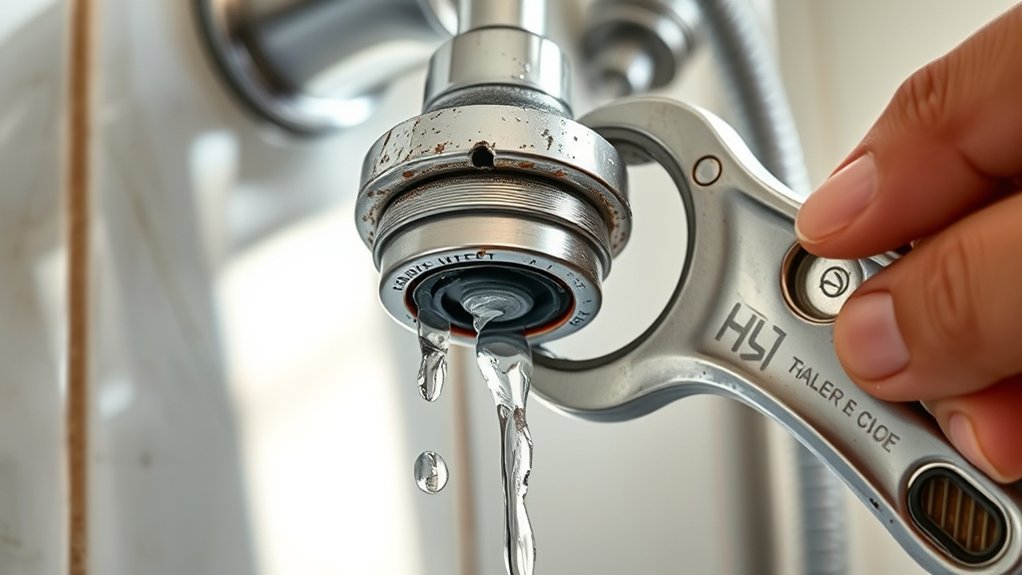
Although it may seem like a minor annoyance, a dripping shower faucet usually signals an underlying issue you’ll want to fix. Most often, worn-out washers cause leaks by failing to create a proper seal when the faucet is off. You might also find that damaged or corroded valve seats let water escape, especially if mineral buildup is present.
Another common culprit is a faulty O-ring, which can wear down and cause drips around the handle. Sometimes, high water pressure or a loose part inside the faucet contributes to the problem. Identifying the exact cause helps you address the issue efficiently, preventing wasted water and higher bills.
Once you know what’s wrong, you’ll be ready to gather the right tools and parts for a successful repair.
Tools and Parts You’ll Need to Fix Your Shower Faucet
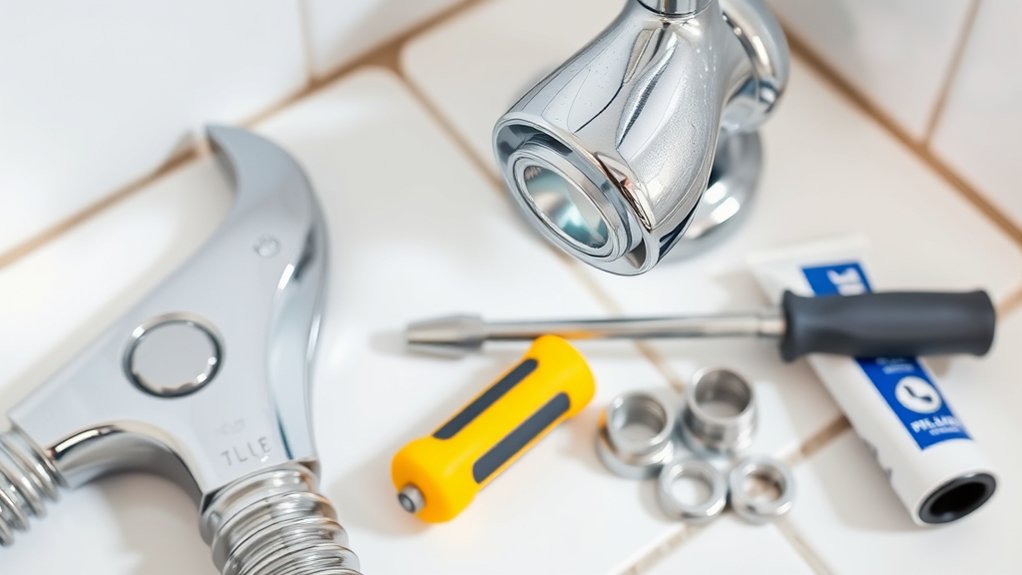
Before you start fixing your dripping shower faucet, gather the essential tools and replacement parts to make the process smoother and faster. Having everything ready helps you avoid interruptions and guarantees you can complete the repair efficiently. Most leaks are caused by worn-out washers or cartridges, so be sure to have the right replacements on hand.
Here are three key items you’ll need:
- Adjustable wrench or pliers for removing faucet parts
- Replacement washers, O-rings, or cartridge specific to your faucet model
- Screwdrivers (flathead and Phillips) to take off handles and trim
With these tools and parts ready, you’ll be set to tackle the repair confidently and fix that annoying drip.
Turn Off the Water Supply and Prepare Your Workspace
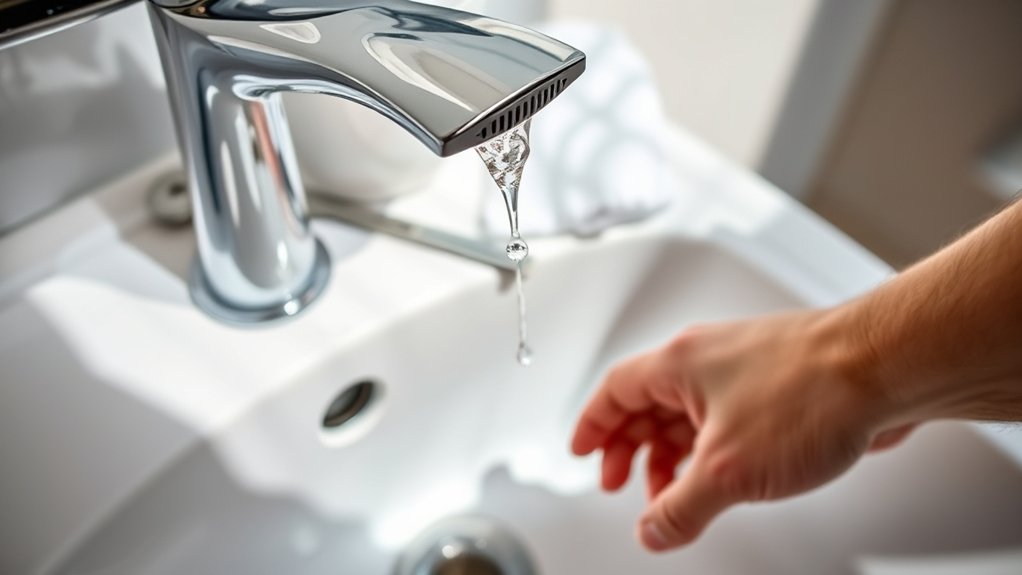
First, find your main water valve and turn it off to stop the water flow.
Next, clear the area around your shower to give yourself plenty of room to work.
Organize your tools and parts so everything is within easy reach.
Locate Main Water Valve
Where do you start when fixing a dripping shower faucet? First, locate the main water valve to shut off the water supply. This step is essential to avoid water damage and make repairs safely.
The main valve is usually found in one of these places:
- Near the water meter, often outside your home or in a basement
- Inside a utility room or basement, close to where water lines enter the house
- In colder climates, inside a heated garage or utility closet to prevent freezing
Turn the valve clockwise to close it completely. Once the water is off, test by turning on the shower faucet; no water should flow. Now, you’re ready to begin repairs without worrying about leaks or flooding.
Clear And Organize Area
Once you’ve shut off the main water valve and confirmed no water flows from the shower, it’s time to clear and organize your workspace. Remove any items around the tub or shower area to prevent damage or loss.
Lay out towels or a waterproof mat to catch drips and protect the floor. Gather essential tools like a wrench, screwdriver, and replacement parts before you start.
| Task | Preparation Tip |
|---|---|
| Clear Surroundings | Remove toiletries and rugs |
| Protect Surfaces | Use towels or mats |
| Organize Tools | Keep tools within arm’s reach |
This setup helps you work efficiently and keeps the area safe from water or tool mishaps.
Take Off the Handle to Reach the Valve
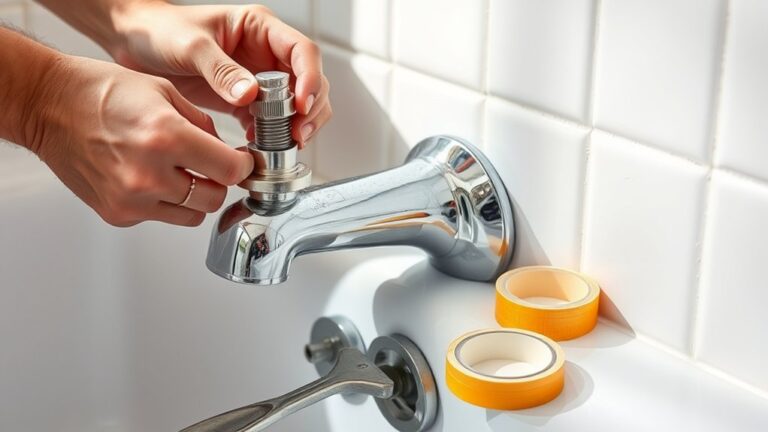
Before you can access the valve, you’ll need to remove the shower handle carefully. Start by locating the screw that holds the handle in place—this is often hidden under a decorative cap. Use a flathead screwdriver to pry off the cap gently.
Then, unscrew the handle using a Phillips or Allen wrench, depending on your model. Once the handle is loose, pull it straight off the valve stem. If it’s stuck, wiggle it gently or apply a little penetrating oil to loosen it.
Be careful not to damage the finish.
Remember these key points:
- Always turn off the water supply before starting.
- Keep screws and small parts in a container to avoid loss.
- Use the correct tools to prevent stripping screws or damaging parts.
Check and Replace Washers and O-Rings
Now that you’ve removed the handle, check the washers for any signs of wear or damage. Make sure you select the correct size and type of O-rings for your faucet model. Replacing them properly will help stop the drip and restore smooth operation.
Identifying Worn Washers
Although a dripping shower faucet can have several causes, worn washers and O-rings are the most common culprits you’ll want to check first. To identify worn washers, remove the faucet handle and inspect the washer for cracks, flattening, or mineral buildup. A damaged washer won’t create a tight seal, causing leaks.
Look for these signs:
- Visible cracks or tears in the washer material
- Flattened or misshapen washers that no longer fit snugly
- Hard or brittle washers due to age or mineral deposits
If you notice any of these issues, replace the washer promptly. Keep in mind that washers are inexpensive and easy to swap, so addressing this early can save water and prevent further faucet damage.
Selecting Correct O-Rings
Once you’ve replaced worn washers, check the O-rings next, as these small rubber seals also play a key role in preventing leaks. To select the right O-ring, measure the inner diameter and thickness carefully. Use high-quality rubber materials like EPDM or silicone for durability and resistance to water and heat.
Avoid guessing—using the wrong size can cause persistent dripping.
Here’s a quick reference table for common shower faucet O-rings:
| Size (ID x Thickness) | Recommended Material |
|---|---|
| 7/8″ x 1/16″ | EPDM |
| 1″ x 1/8″ | Silicone |
| 1 1/8″ x 3/32″ | Nitrile Rubber |
Pick the material and size that fit your faucet model to guarantee a proper seal.
Proper Replacement Techniques
Before installing new washers and O-rings, make sure you fully drain any remaining water from the faucet to prevent messes. Next, carefully remove the old washers and O-rings using a pick or small screwdriver without damaging the valve seat.
Clean the valve seat thoroughly to ensure a tight seal with the new parts. When you install the replacements, press them firmly into place but avoid stretching or twisting the O-rings.
Finally, reassemble the faucet and test for leaks by turning the water back on slowly. Keep these tips in mind:
- Use the exact size washers and O-rings recommended for your faucet model
- Lubricate O-rings lightly with plumber’s grease before installation
- Double-check for even seating to prevent future drips
Following these steps will help you fix the drip efficiently and avoid repeated repairs.
Reassemble the Faucet and Test for Leaks
After you’ve replaced the necessary parts, carefully reassemble the faucet by reversing the steps you took to dismantle it. Start by inserting the cartridge or valve back into place, ensuring it aligns correctly with the housing. Secure any retaining clips or nuts snugly but avoid overtightening to prevent damage.
Reattach the handle, trim plate, and any decorative caps. Once fully reassembled, turn the water supply back on slowly. Watch closely for any signs of leaks around the faucet base and handle.
If you notice dripping or moisture, tighten the connections slightly and test again. Operate the faucet several times to confirm smooth function and that no water escapes. When you’re confident the leak is fixed, clean up your workspace and enjoy a drip-free shower.
Keep Your Shower Faucet Leak-Free With Simple Maintenance
Ensuring your shower faucet remains leak-free doesn’t stop at repairs; regular maintenance plays a big role in preventing future drips. You can keep your faucet in top shape by adopting a few simple habits. First, inspect your faucet regularly for early signs of wear or mineral buildup.
Next, clean the aerator and showerhead to maintain smooth water flow and prevent clogs. Finally, lubricate moving parts to reduce friction and wear.
Here are three key maintenance tips to keep in mind:
- Check and replace worn washers or O-rings promptly.
- Remove mineral deposits with vinegar or a descaling solution.
- Tighten loose screws and fittings to avoid leaks.
Frequently Asked Questions
Can a Dripping Shower Faucet Increase My Water Bill Significantly?
Yes, a dripping shower faucet can increase your water bill noticeably over time. Even small leaks waste gallons daily, so fixing it promptly helps you save money and conserves water efficiently.
Don’t ignore the drip!
How Long Does It Typically Take to Repair a Dripping Shower Faucet?
Fixing that pesky drip usually takes you about 30 minutes to an hour, like catching a leaky note in a symphony.
With the right tools, you’ll silence the drip and save water quickly.
Are There Eco-Friendly Washers and O-Rings Available?
Yes, you can find eco-friendly washers and O-rings made from sustainable materials like natural rubber or silicone. These options reduce environmental impact while maintaining durability, helping you repair your faucet responsibly and effectively.
Can I Use the Same Repair Steps for a Bathtub Faucet?
Absolutely, you can! Like a mirror reflecting your efforts, the repair steps for a bathtub faucet closely resemble those for a shower.
Just remember to check for any model-specific quirks before you plunge in.
When Should I Consider Replacing the Entire Shower Faucet Instead?
You should consider replacing the entire shower faucet if it’s old, corroded, or repairs don’t stop leaks.
Also, if you want to upgrade style or functionality, replacing it can save time and future hassle.
Conclusion
Fixing a dripping shower faucet isn’t as intimidating as it seems—you’ve got the tools and know-how to tackle it head-on. By following these simple steps, you’ll stop that constant drip and save water like a pro.
Remember, a little regular maintenance keeps leaks at bay, turning your shower into a well-oiled machine. Don’t let a small drip turn into a flood; nip it in the bud and enjoy peace of mind. With these repair a dripping shower faucet tips, you can maintain a leak-free bathroom and conserve water efficiently.