How to Stop Water Dripping Into Your Washing Machine
To stop water dripping into your washing machine, start by unplugging the appliance for safety. Inspect the hoses, seals, and the water inlet valve carefully for any leaks, cracks, or loose connections. Identifying these common trouble spots early can help prevent water damage and costly repairs.
Next, tighten or replace any damaged hoses and worn seals to effectively stop drips. Ensuring your washing machine is level is also important, as an uneven machine can cause water to pool and drip.
Running a test cycle after these adjustments helps catch any remaining issues promptly.
If you want to explore more ways to fix leaks and maintain your machine, there are helpful tips and steps you can follow next. Regular maintenance can extend the life of your washing machine and keep it running smoothly.
Key Takeaways
- Inspect and replace damaged or cracked water inlet hoses to prevent continuous water dripping.
- Check and clean the water inlet valve to ensure it closes properly and stops water flow.
- Tighten all hose connections and clamps to eliminate leaks at connection points.
- Replace worn or torn door seals and gaskets to stop water escaping during cycles.
- Regularly monitor and maintain valves, hoses, and seals to detect and fix leaks early.
How to Identify the Source of Water Dripping in Your Washing Machine
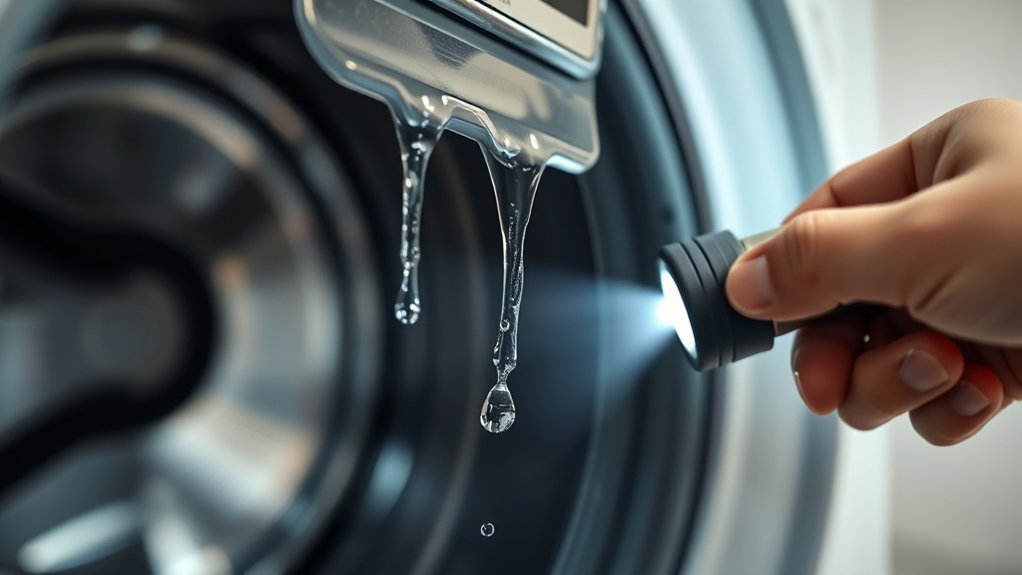
Before you can fix the water dripping into your washing machine, you need to pinpoint exactly where the leak is coming from. Start by unplugging the machine and pulling it away from the wall to get a clear view. Check the water supply hoses for any cracks or loose connections.
Next, inspect the door seal or gasket for tears or buildup that might cause water to escape. Look under the machine for puddles, which can help you trace the drip’s origin. Run a short cycle with the machine empty and watch closely to see where water appears.
Don’t forget to examine the detergent drawer and drain pump area, as leaks can occur there too. Being systematic will save you time and prevent unnecessary repairs.
Common Causes of Water Dripping in Washing Machines
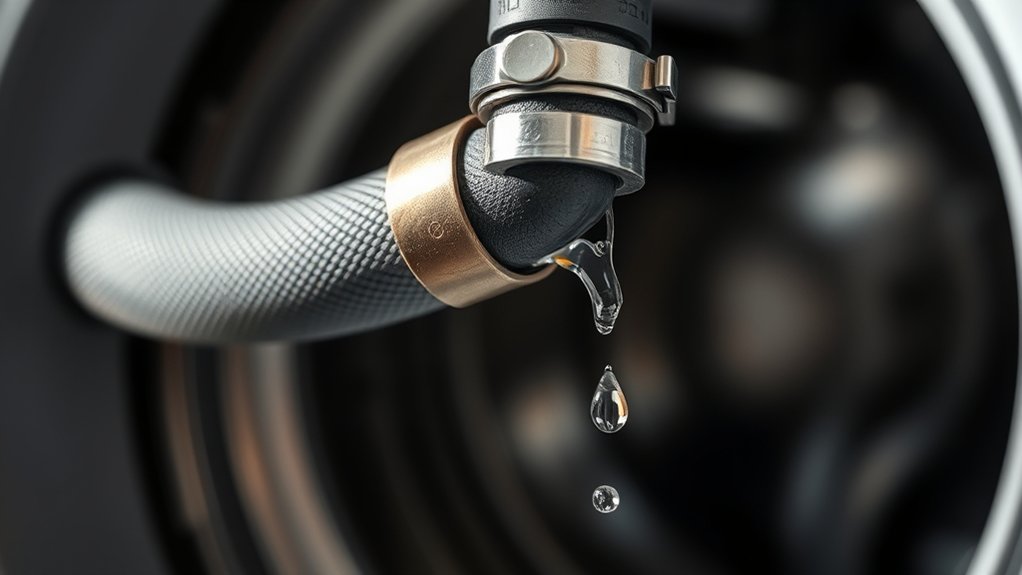
You might find water dripping from your washing machine due to a faulty water inlet valve, a damaged door seal, or a loose or cracked hose. These issues are common and can cause leaks if not addressed promptly.
Identifying which one is causing the problem will help you fix it quickly.
Faulty Water Inlet Valve
Although it might seem minor, a faulty water inlet valve can cause continuous dripping into your washing machine, leading to water waste and potential damage. This valve controls the water flow into your machine, opening to let water in during cycles and closing when it’s done. If it malfunctions, water can leak even when the machine isn’t running.
You might notice a persistent drip or hear water running unexpectedly. To fix this, first unplug the machine and turn off the water supply. Check the valve for signs of wear, cracks, or mineral buildup.
Cleaning may help, but if the valve is damaged, replace it to stop the leak. Addressing this issue promptly prevents higher water bills and protects your appliance from further harm.
Damaged Door Seal
When a washing machine’s door seal gets damaged, it can cause water to leak during cycles, creating a mess and potentially damaging your floor. The door seal, or gasket, forms a watertight barrier between the drum and door. If it tears, cracks, or becomes misshapen, water escapes through these gaps.
Check the seal regularly for signs of wear, mold, or debris buildup that can compromise its integrity. Clean the seal gently with a mild detergent and verify it dries thoroughly after each wash to prevent deterioration.
If you spot visible damage or persistent leaks, replace the door seal promptly. Doing so keeps your machine running efficiently and protects your laundry area from water damage. Don’t delay fixing a faulty seal—it’s key to stopping leaks.
Loose or Cracked Hose
If your washing machine starts leaking water, a loose or cracked hose could be the culprit. Over time, hoses can wear out, crack, or loosen, causing leaks that drip into or around your machine. You should check all hoses connected to your washer regularly for any visible damage or looseness.
Tightening clamps or replacing hoses can quickly stop the leak.
| Hose Location | Common Issue | Solution |
|---|---|---|
| Inlet Hose | Cracks or holes | Replace hose |
| Drain Hose | Loose connection | Tighten hose clamp |
| Drain Hose | Kinks or damage | Straighten or replace |
| Inlet Hose | Worn-out clamps | Replace clamps |
| All hoses | Old or brittle | Inspect and replace |
Regular maintenance keeps leaks at bay and your laundry running smoothly.
How to Inspect and Fix Faulty Hoses
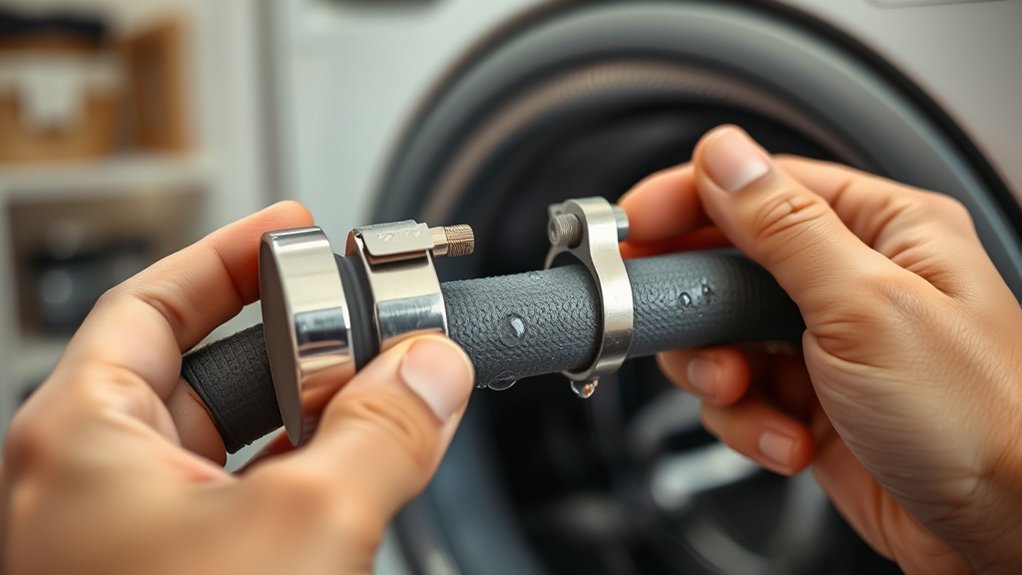
You’ll want to start by checking your hoses for any cracks, bulges, or leaks that could be causing water to drip. If you spot worn-out or damaged hoses, replacing them is the best way to prevent further issues.
Also, make sure all hose connections are tight and secure to stop any water from escaping.
Identifying Hose Damage
Although hoses may seem sturdy, they can develop small cracks or leaks that cause water to drip into your washing machine. Start by unplugging your machine and turning off the water supply. Then, carefully examine each hose from end to end.
Look for visible signs of wear, such as cracks, bulges, or soft spots. Pay close attention to connections where hoses attach to the machine and faucets—these areas are prone to leaks. Run your fingers along the hose to feel for moisture or weak spots you might miss visually.
If you notice any damage, tighten loose connections to see if that stops the dripping. Remember, catching hose damage early helps prevent bigger problems and keeps your washing machine running smoothly without unwanted water leaks.
Replacing Worn-Out Hoses
How do you know when it’s time to replace your washing machine hoses? Look for visible signs like cracks, bulges, or brittleness. If you notice leaks or water pooling around your machine, that’s a clear warning.
Even if hoses seem fine, replacing them every five years is a good preventive measure.
To replace worn-out hoses, first turn off the water supply and unplug your machine. Then, carefully disconnect the old hoses from both the washing machine and the water supply valves. Inspect the new hoses for any damage before installing.
Attach the new hoses securely, ensuring they’re correctly positioned without kinks or twists. After reconnecting, turn the water back on and check for leaks. Replacing hoses promptly helps avoid water damage and keeps your washing machine running smoothly.
Securing Hose Connections
When water keeps dripping into your washing machine, faulty hose connections are often the culprit. First, turn off the water supply and unplug the machine. Inspect each hose connection for cracks, corrosion, or loose fittings.
If you spot any damage, replace the hose immediately. To fix loose connections, use a wrench to tighten the hose clamps securely, but don’t overtighten—they can crack the fittings. You can also apply plumber’s tape around threaded connections to prevent leaks.
After securing the hoses, turn the water back on and check for drips. If you still notice leaks, double-check the connections or consider replacing the hose altogether. Regularly inspecting and tightening your hose connections can prevent water damage and keep your washing machine running smoothly.
How to Check and Replace Worn-Out Seals
Since worn-out seals often cause water to drip into your washing machine, checking them regularly is essential. Start by unplugging the machine and locating the door seal or gasket. Inspect it closely for cracks, tears, or signs of wear.
If you spot any damage, it’s time to replace the seal. Remove the old seal by carefully pulling it away from its groove or fasteners. Clean the area thoroughly to remove dirt and residue.
Fit the new seal into place, making sure it sits evenly and securely. Press it firmly around the edges to prevent leaks. After replacement, run a short cycle to check for drips.
Regularly maintaining seals guarantees your machine stays leak-free and efficient.
How to Inspect and Repair the Water Inlet Valve
You’ll want to start by identifying any signs that the water inlet valve is malfunctioning, like constant dripping or failure to shut off. Gather basic tools like a screwdriver and a multimeter to help with the repair.
Then, follow simple step-by-step instructions to replace the valve and stop the leak.
Identifying Valve Malfunctions
Although water dripping into your washing machine can stem from various issues, a malfunctioning water inlet valve is a common culprit you should check first. Start by unplugging the machine and turning off the water supply. Remove the valve cover to visually inspect for cracks, mineral buildup, or corrosion.
If you notice water pooling around the valve or hear constant dripping, the valve’s internal diaphragm or solenoid may be faulty. Test the valve by disconnecting the hoses and observing if water continues to flow when the machine is off. If it does, the valve isn’t shutting properly and needs repair or replacement.
Detecting these signs early helps prevent water damage and ensures your washing machine operates efficiently without leaks.
Tools Needed For Repair
Before you begin inspecting or repairing the water inlet valve, gather the essential tools to make the job smoother and safer. You’ll need a flathead screwdriver and a Phillips screwdriver to remove the washing machine’s back panel and access the valve. A pair of pliers will help you disconnect hoses and tighten fittings.
Have a bucket or towel ready to catch any residual water when you detach the hoses. A multimeter comes in handy to test the valve’s electrical components for continuity, ensuring it’s functioning correctly. Finally, keep a flashlight nearby to see clearly inside the machine.
Having these tools prepared will streamline your repair process and reduce the risk of damage or injury.
Step-by-Step Valve Replacement
When the water inlet valve leaks or malfunctions, replacing it promptly can prevent further water damage to your washing machine. First, unplug the machine and turn off the water supply. Disconnect the hoses from the back of the washer, then remove the access panel to locate the valve.
Take note of how the valve is connected, then carefully detach the electrical connectors and remove the mounting screws. Replace the faulty valve with a new one, ensuring it’s positioned correctly. Reattach the screws and electrical connectors, then reconnect the hoses.
Turn on the water supply and plug the machine back in. Finally, run a short cycle to check for leaks and proper water flow. This step-by-step replacement will stop unwanted dripping efficiently.
How to Clean Washer Water Filters to Prevent Leaks
Since your washing machine’s water filters trap debris and mineral buildup, cleaning them regularly is essential to prevent leaks and guarantee proper water flow. Start by unplugging your machine and turning off the water supply. Locate the filters, usually found where the hoses connect to the machine.
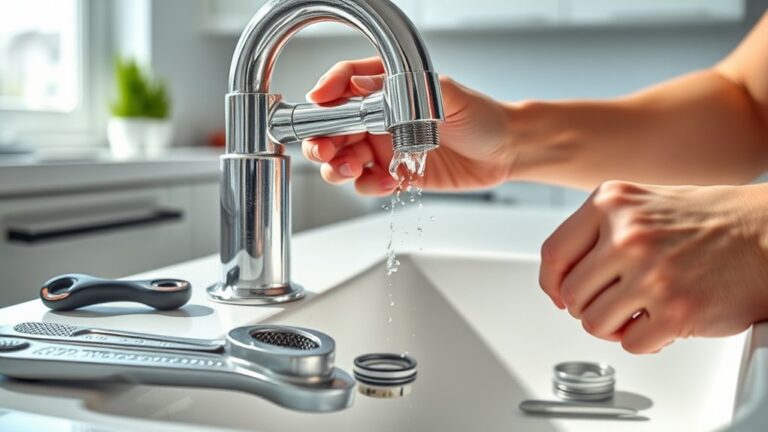
Unscrew the hoses carefully, placing a towel underneath to catch any drips. Remove the filters—small mesh screens or discs—and rinse them under running water to clear out trapped particles. Use a soft brush if needed to remove stubborn deposits.
Once clean, reinsert the filters securely and reconnect the hoses tightly. Turn the water supply back on and check for leaks during a short test wash. Regular cleaning keeps your machine running smoothly and helps avoid costly water damage.
How to Tighten Loose Hose Connections
If you notice water dripping near your washing machine hoses, loose connections are often the culprit. First, turn off the water supply to avoid further leaks.
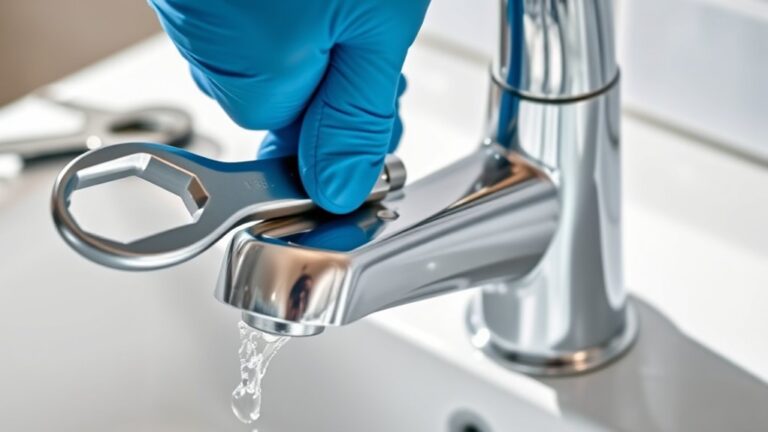
Then, use a wrench or pliers to gently tighten the hose fittings where they connect to the machine and the wall valves. Be careful not to overtighten, as this can damage the fittings or hoses.
After tightening, turn the water supply back on and observe the connections closely for any signs of dripping. If you still see leaks, double-check each connection to make sure they’re secure.
Regularly inspecting and tightening these hoses can prevent leaks and protect your floor from water damage. Remember, a snug fit is key to stopping water drips effectively.
How to Use Sealant or Tape to Fix Minor Drips
Tightening loose hose connections often stops most leaks, but minor drips can still persist around fittings or joints. To fix these, you’ll want to use sealant or tape for a watertight barrier. Here’s how to do it:
- Turn off the water supply and dry the area around the drip completely.
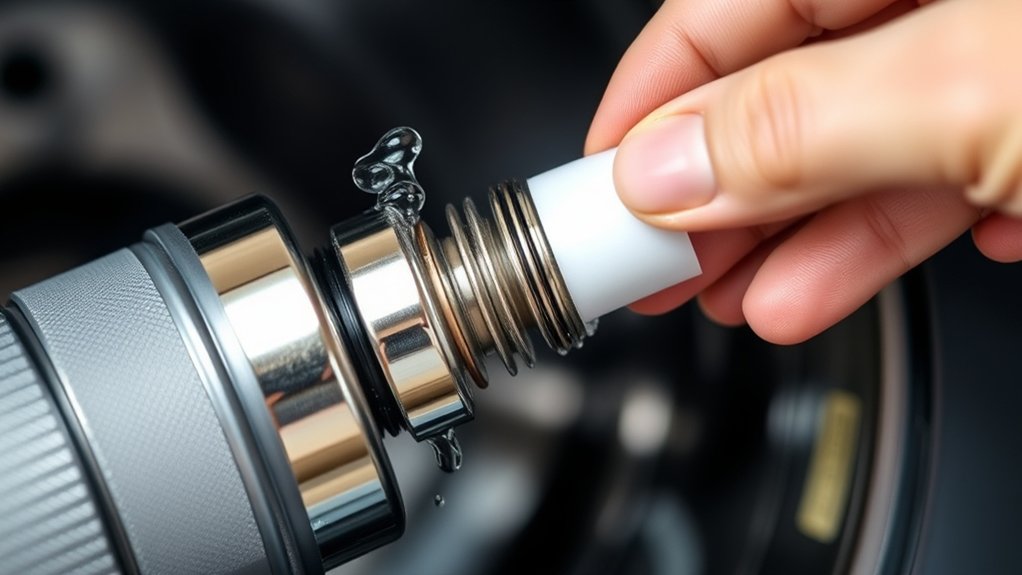
- Apply plumber’s tape (Teflon tape) around threaded fittings by wrapping it clockwise 3-5 times.
- For non-threaded joints, use waterproof silicone sealant—apply a thin, even layer over the leaking spot.
- Allow the sealant to cure as per instructions before turning the water back on to check for leaks.
This method effectively stops minor drips without needing a full hose replacement.
When to Replace Old or Cracked Water Hoses
Even with regular maintenance, water hoses can wear out over time and develop cracks or leaks that tape and sealant can’t fix. You should replace your water hoses immediately if you notice visible cracks, bulges, or leaks, as these flaws can lead to serious water damage.
Also, if your hoses are more than five years old, it’s a good idea to swap them out proactively. Don’t wait for a drip or burst; replacing old hoses is a simple, inexpensive way to prevent costly repairs. When installing new hoses, choose reinforced stainless steel ones for added durability.
Always turn off the water supply before removing old hoses to avoid spills. Keeping your hoses in good condition guarantees your washing machine operates smoothly without unexpected water leaks.
How to Level Your Washing Machine to Prevent Water Pooling
Replacing old or damaged hoses can stop leaks, but uneven washing machines can still cause water to pool and drip. To level your washing machine, follow these steps:
- Place a spirit level on top of the machine to check its balance.
- Adjust the feet by turning them clockwise or counterclockwise to raise or lower each corner.
- Tighten the locking nuts on the feet to keep them in place once level.
- Recheck with the spirit level to verify the machine is perfectly horizontal.
How to Prevent Mold and Mildew From Water Drips
Because water drips create damp environments, they encourage mold and mildew growth around your washing machine. To prevent this, start by wiping up any water spills immediately with a dry cloth. Keep the area around your machine well-ventilated by opening windows or using a fan to reduce humidity.
Regularly clean the washing machine door seal and detergent drawer, as these spots often trap moisture. Use a washing machine cleaner monthly to eliminate any hidden mold inside the drum. Consider placing a moisture absorber nearby to keep the air dry.
Signs You Need Professional Repair for Washing Machine Leaks
If you notice persistent water pooling around your washing machine despite regular maintenance, it’s a clear sign you might need professional repair. Ignoring these signs can lead to bigger issues and costly damage.
Watch for these specific indicators:
- Water leaking from the door seal or bottom of the drum during cycles.
- Unusual noises or vibrations that accompany the leaks.
- Damp or musty odors signaling hidden mold or internal water damage.
- Visible cracks or rust on hoses, valves, or the machine’s base.
When you spot any of these, don’t delay—calling a professional ensures the leak is fixed correctly and prevents further water damage to your home.
Tips for Regular Maintenance and Testing After Repairs
Once you’ve had repairs completed, staying on top of regular maintenance and testing is key to preventing future leaks. Check hoses and connections monthly for signs of wear or looseness. Tighten fittings if you spot any dripping or moisture.
Run your washing machine through a test cycle after repairs to verify everything’s sealed properly. Keep the area under and around the machine dry and clean to quickly spot new leaks. Also, inspect the detergent drawer and door seals regularly, as buildup can cause water to pool and drip.
Don’t forget to clean the filter to maintain proper drainage. By routinely performing these steps, you’ll catch issues early and extend your washing machine’s lifespan, saving time and money on bigger repairs down the road.
Frequently Asked Questions
Can Hard Water Cause Washing Machine Leaks?
Yes, hard water can cause washing machine leaks by leaving mineral deposits that clog or damage hoses and seals. You’ll want to regularly clean and use water softeners to prevent buildup and keep everything running smoothly.
How Does Water Pressure Affect Washing Machine Dripping?
Imagine your washing machine drips nonstop after a pressure spike. High water pressure can cause leaks by stressing hoses and valves.
You’ll want to install a pressure regulator to keep dripping—and costly damage—at bay.
Are Certain Washing Machine Brands More Prone to Leaks?
Yes, some brands have reputations for leaks due to design or materials. You should research reviews and reliability ratings to pick a model less prone to dripping.
Proper installation and maintenance also help prevent leaks.
Can Detergent Type Influence Water Dripping Issues?
Ever wonder if your detergent’s causing that drip? Yes, using too much or the wrong type can create excess suds, leading to water leakage.
You should choose high-efficiency detergent and follow recommended amounts to prevent dripping.
Is It Safe to Use a Washing Machine During a Leak?
It’s not safe to use your washing machine during a leak because water can cause electrical hazards or damage the appliance. You should fix the leak first to avoid potential risks and guarantee your machine works properly.
Conclusion
You don’t have to let water dripping into your washing machine become a constant headache. By quickly identifying leaks, fixing hoses, seals, or valves, and keeping your machine level, you’ll keep the problem at bay.
Think of your washing machine as a well-oiled orchestra—each part must work in harmony to avoid a dripping symphony. Stay proactive with regular maintenance, and you’ll save yourself time, money, and frustration long after the repairs.
To stop water from dripping into your washing machine, focus on timely leak detection and proper repairs. Regularly maintaining your washing machine will prevent water damage and extend its lifespan. Taking these steps ensures your appliance runs smoothly without unwanted water dripping issues.