How to Replace a Shower Faucet in 7 Easy Steps
To replace your shower faucet in seven easy steps, start by turning off the water supply to avoid any mess or damage.
Next, open the faucet to drain any remaining water in the pipes. This initial step is crucial for a smooth and hassle-free shower faucet replacement.
Gather all necessary tools and carefully remove the old faucet handles and valve.
Inspect the plumbing for any signs of damage or wear before proceeding.
Installing the new valve securely with plumber’s tape will ensure a tight, leak-free fit.
Attach the new handles and trim pieces, making sure everything is aligned properly.
Finally, turn the water back on and test the faucet for leaks and proper function.
Following these steps will help you achieve a successful and efficient shower faucet replacement.
Key Takeaways
- Turn off the main water supply and open the shower faucet to drain remaining water before starting removal.
- Remove the old faucet handles, escutcheon plate, and valve stem or cartridge using appropriate tools.
- Inspect and clean plumbing, checking for damage or leaks, and prepare the valve seat for the new faucet.
- Install the new valve, secure connections with plumber’s tape, and avoid overtightening to prevent damage.
- Attach handles and trim, then test the faucet for leaks, proper water flow, and temperature control before finalizing.
Turn Off Your Shower Faucet Water Supply
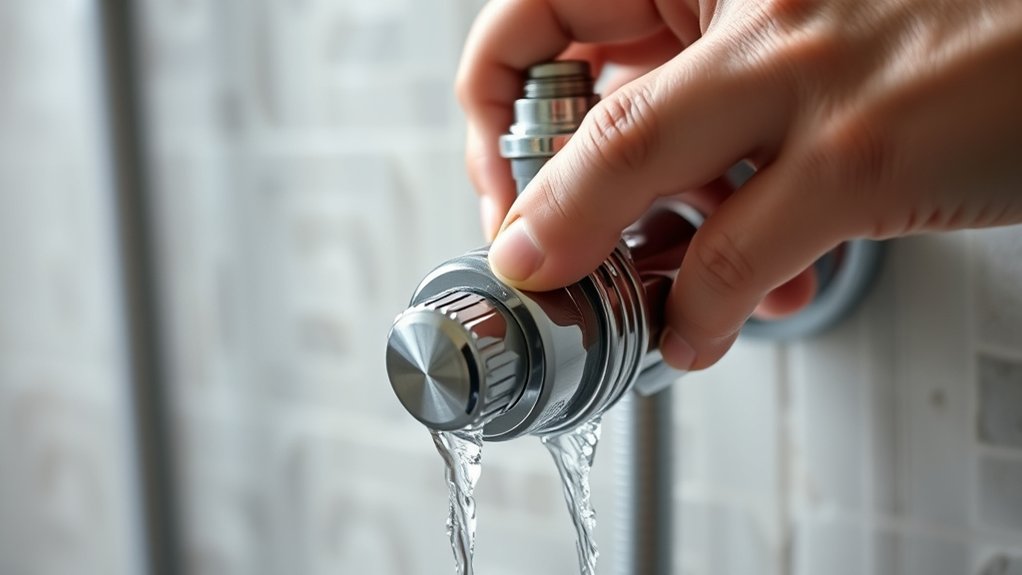
Before you begin replacing your shower faucet, make sure you turn off the water supply to prevent leaks and water damage. Locate the main water valve for your home, usually found near the water meter or where the main line enters your house. If you can’t find it, check for a separate shutoff valve near your shower or bathroom.
Once you’ve found the right valve, turn it clockwise to close it completely. After shutting off the water, open your shower faucet to drain any remaining water from the pipes. This step reduces pressure and minimizes water spills during replacement.
Double-check that the water flow has stopped before moving forward, ensuring a smooth and safe faucet installation process.
Get Your Tools and Materials Ready
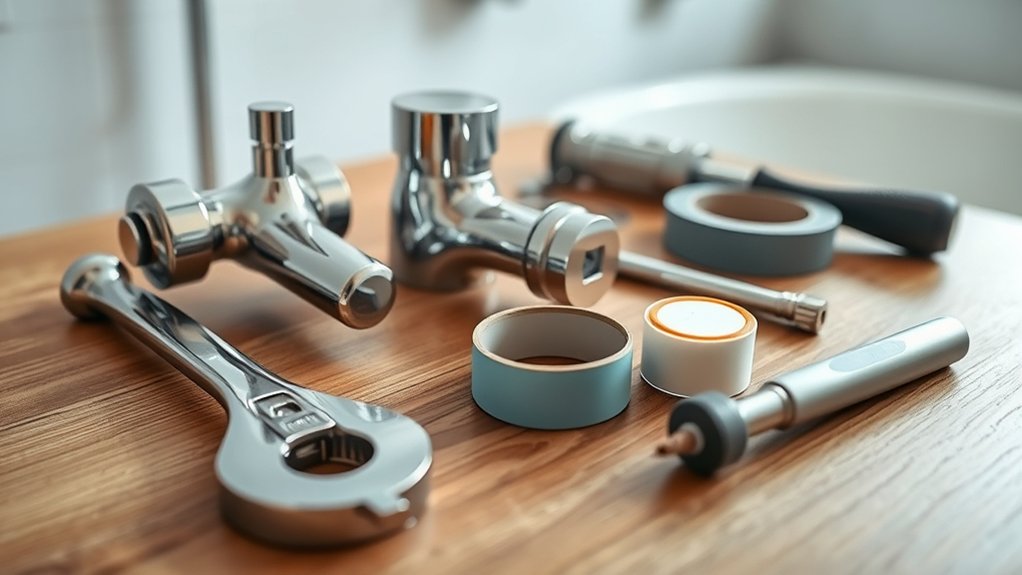
Once you’ve turned off the water supply, gather all the tools and materials you’ll need to replace your shower faucet. You’ll want a new shower faucet kit that fits your existing plumbing, a screwdriver set, an adjustable wrench, and plumber’s tape. Having a utility knife and a putty knife on hand helps remove old caulk or sealant.
Keep a bucket or towels nearby to catch any residual water. It’s also smart to have some cleaning supplies to prep the area once the old faucet is off. By collecting everything before you start, you’ll avoid interruptions and make the process smoother.
Double-check your new faucet’s instructions to see if any specialized tools are necessary, so you’re fully prepared.
Remove the Old Shower Faucet and Handles
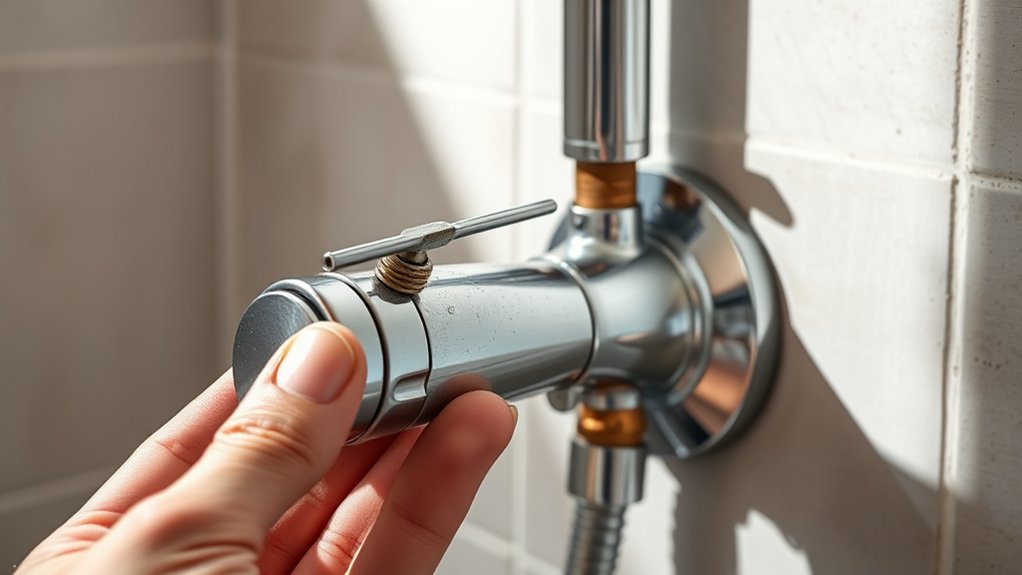
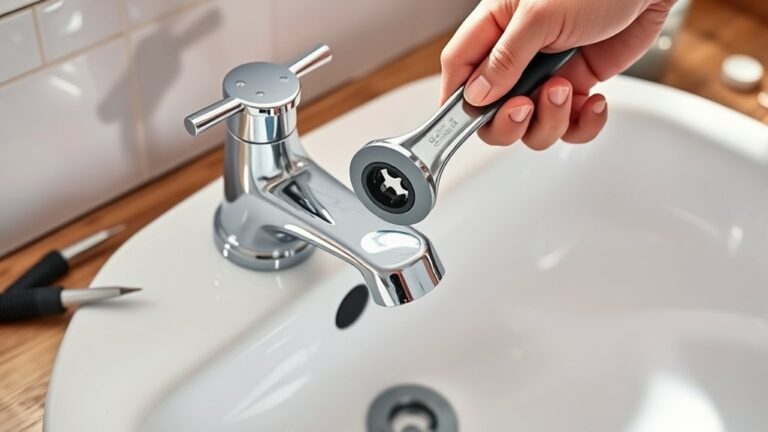
You’ll need a few basic tools like a screwdriver and an adjustable wrench to get started. First, turn off the water supply and carefully remove the handles by loosening their screws.
Then, use your wrench to detach the old faucet, making sure not to damage the plumbing behind it.
Tools Needed
Although removing the old shower faucet and handles might seem straightforward, having the right tools on hand makes the process much smoother. With the proper tools, you’ll feel confident tackling the job without frustration or delay.
Here’s a quick list of essentials to keep you prepared and motivated.
| Tool | Why You Need It |
|---|---|
| Adjustable Wrench | To loosen and remove nuts without damage |
| Screwdriver Set | For removing screws on faucet handles |
| Allen Wrench | To detach set screws in modern fixtures |
These tools help you work efficiently and avoid common setbacks, making the replacement process less stressful. Be sure to gather them before starting to save time and keep your project on track.
Step-by-Step Removal
How do you start removing your old shower faucet and handles without causing damage? First, turn off the water supply to prevent leaks. Then, open the faucet to drain any remaining water.
Use a screwdriver to carefully remove the handle screws, usually hidden under decorative caps—gently pry these off with a flathead screwdriver. Once the handles are off, unscrew the escutcheon plate (the decorative cover) with a wrench or screwdriver, depending on the model. Be cautious not to scratch the wall surface.
Finally, use an adjustable wrench to loosen and remove the faucet valve stem or cartridge. Keep all parts organized, so you know what to replace or reuse. Taking your time during removal will protect your plumbing and make installation smoother.
Check Plumbing Condition and Prepare for Valve Installation
Before installing the new valve, inspect the existing plumbing carefully to guarantee there are no leaks, corrosion, or damaged pipes that could complicate the replacement. Check the condition to avoid future issues and assure a smooth installation.
Here’s what you should do:
- Turn off the main water supply and open the faucet to drain remaining water.
- Examine all visible pipes for rust, cracks, or water stains.
- Test for loose connections or fittings that might need tightening or replacement.
- Clean the valve seat and surrounding area to ensure a proper seal with the new valve.
Taking these steps prepares you for a trouble-free valve installation and extends the life of your shower system.
Install the New Faucet Valve
Now that you’re ready, align the new faucet valve carefully to guarantee it fits correctly. Secure all the valve connections tightly to prevent leaks.
Finally, turn on the water and test the flow to make sure everything works smoothly.
Align Valve Properly
When you install the new faucet valve, make certain to align it precisely with the existing plumbing connections to guarantee a proper fit and prevent leaks. Proper alignment helps avoid future issues and keeps your shower functioning smoothly.
Follow these steps to align the valve correctly:
- Check the valve’s orientation against the water supply lines.
- Hold the valve in place and ensure the mounting holes line up with the wall studs.
- Adjust the valve depth so it sits flush with the finished wall surface.
- Confirm that the valve’s handle connection points match your faucet trim specifications.
Taking time to align the valve properly sets a solid foundation for the rest of the installation and helps you avoid rework later.
Secure Valve Connections
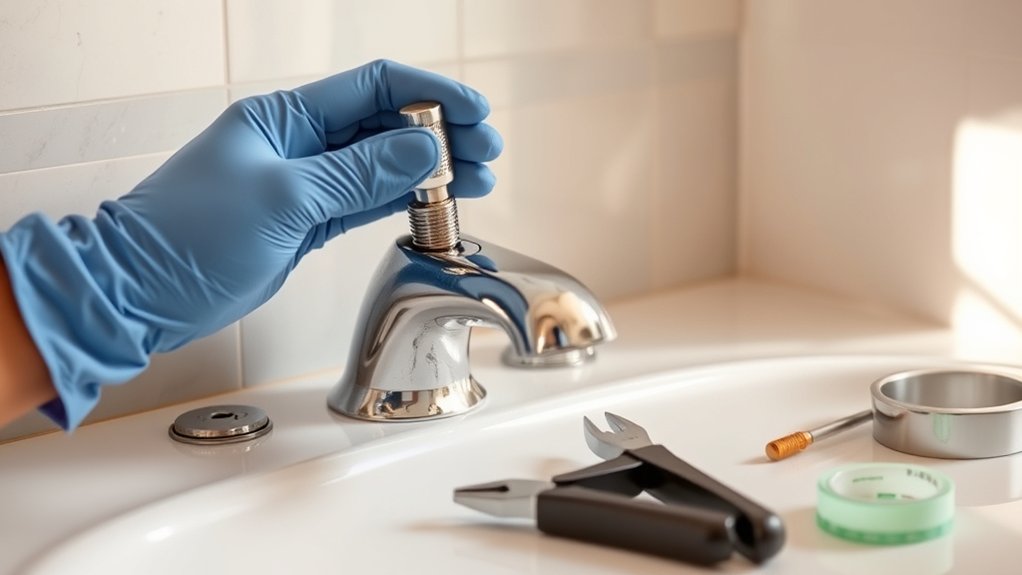
Although aligning the valve properly is essential, you’ll need to secure all connections tightly to prevent leaks and guarantee reliable water flow. Start by applying plumber’s tape around the valve threads to ensure a watertight seal. Then, carefully thread the valve onto the supply lines, tightening by hand at first.
Use an adjustable wrench to snug the connections firmly, but don’t overtighten, as that can damage the fittings. Double-check that any compression nuts or slip joints are secure and properly seated. If your valve uses soldered connections, make sure the joints are clean and heated evenly before applying solder.
Take your time securing each connection, as loose fittings are a common source of leaks and water damage. Once everything’s tight and sealed, you’re ready to move on.
Test Water Flow
How can you be sure your new shower faucet valve is installed correctly? Testing the water flow is the key. Before closing the wall, turn the main water supply back on and check for leaks.
Then, follow these steps to ensure everything works perfectly:
- Turn the faucet handle to start water flow.
- Check both hot and cold water to confirm proper temperature control.
- Observe the flow rate; it should be steady without sputtering.
- Look for any leaks around the valve or connections.
If you notice leaks or inconsistent flow, tighten connections or recheck your installation. Once you’re confident the valve operates smoothly, you can finish sealing the wall and enjoy your new shower faucet.
Put On the New Shower Faucet Handles and Trim
Since the valve and piping are secure, you can now focus on attaching the new shower faucet handles and trim. Begin by sliding the trim plate over the valve body, aligning it with the screw holes. Secure the plate with screws, tightening them just enough to hold it firmly without cracking the finish.
Next, position the new handle onto the valve stem, making sure it fits snugly. Use the provided set screw or fastening mechanism to lock the handle in place. Finally, if your trim kit includes a decorative cap or cover, snap or screw it on to conceal any exposed hardware.
Take your time aligning everything properly to guarantee a clean, professional look. Your new faucet handles and trim are now installed and ready for the next step.
Test Your New Shower Faucet for Leaks and Function
Before you finish the job, you’ll want to turn on the water and carefully check your new shower faucet for leaks and proper operation. This step guarantees everything is sealed and functioning correctly before you wrap up. Follow these steps:
Always test your new shower faucet for leaks and proper function before completing the installation.
- Slowly turn on the water supply to avoid pressure surges.
- Inspect all visible connections for any drips or moisture.
- Test both hot and cold water settings to confirm proper temperature control.
- Operate the diverter (if applicable) to ensure water flows correctly between the showerhead and tub spout.
If you spot any leaks, tighten connections or reseal as needed. Confirming your faucet works perfectly now saves you from costly fixes later.
Frequently Asked Questions
Can I Replace a Shower Faucet Myself Without Plumbing Experience?
Yes, you can replace a shower faucet yourself even without plumbing experience. Just follow clear instructions, use basic tools, turn off the water, and take your time.
If unsure, watch tutorials or ask for help.
What Type of Faucet Valve Is Best for Low Water Pressure?
You’ll want a pressure-balancing valve or a thermostatic valve for low water pressure. These control flow well, maintain consistent temperature, and prevent sudden pressure drops.
This way, your shower stays comfortable even with weak water supply.
How Do I Choose a Faucet That Matches My Bathroom Decor?
You’ll want to think about your bathroom’s style, colors, and finishes. Match your faucet’s material and design with existing fixtures, like towel bars or lighting. Don’t forget to pick a finish that complements your decor and personal taste.
Are There Eco-Friendly Shower Faucets Available?
Yes, you’ll find eco-friendly shower faucets designed to save water and energy. Look for WaterSense labels or low-flow options; they help reduce your utility bills while keeping your bathroom stylish and environmentally responsible.
What Maintenance Tips Extend the Life of a Shower Faucet?
You might think maintenance’s tricky, but it’s simple: regularly clean mineral buildup, check for leaks, and avoid harsh chemicals.
You’ll keep your shower faucet working smoothly and looking great for years without costly repairs or replacements.
Conclusion
By following these seven easy steps, you’ll have your new shower faucet up and running in no time. Remember, a little patience goes a long way when tackling home repairs. Taking the time to check every connection and test for leaks ensures you won’t have to revisit the project later.
With your new faucet installed, you can enjoy a invigorating shower without any hassle—proving that a stitch in time really does save nine! Replacing a shower faucet is a simple home improvement task that can enhance your bathroom’s functionality and style. By investing effort upfront, you save time and prevent future plumbing issues, making this a worthwhile DIY project.