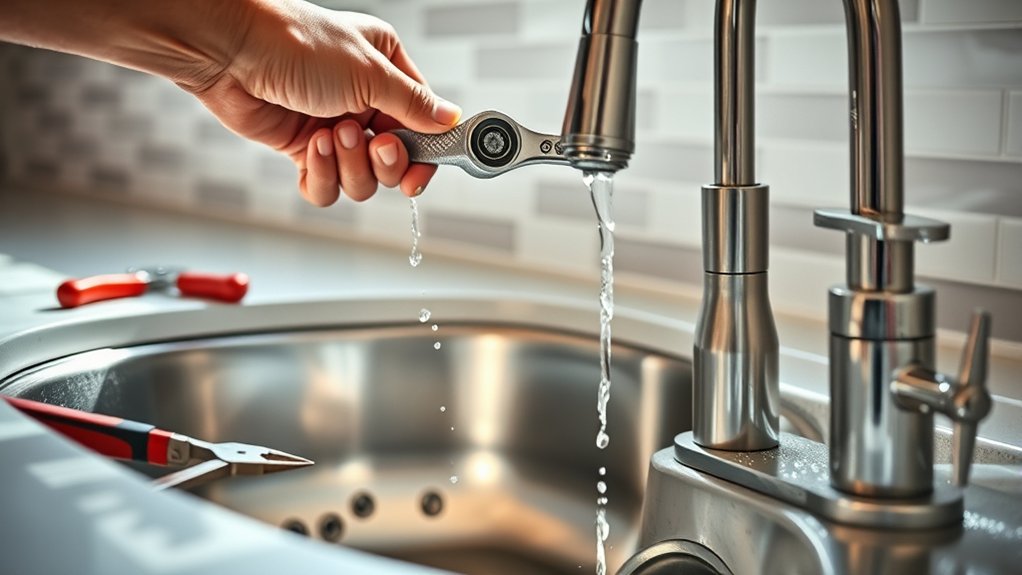
Quick Guide to Replace Sink Faucet in 7 Steps
Start by clearing your workspace and gathering essential tools like a wrench and bucket to replace your sink faucet efficiently. Turning off the water valves and draining the lines by opening the faucet is crucial to avoid spills. This preparation ensures a smooth and safe faucet replacement process.
Next, loosen the supply lines and mounting nuts carefully to remove the old faucet without damaging the sink. Clean the sink surface thoroughly before positioning your new faucet to ensure a secure fit.
Then, secure the faucet underneath firmly using the mounting hardware.
Reconnect the water lines tightly to prevent leaks, and slowly turn the water back on to check for any drips. Following these steps carefully will help you master a smooth and successful faucet replacement in no time.
Key Takeaways
- Clear the sink area and gather essential tools like wrenches, plumber’s tape, and a bucket before starting.
- Shut off water supply valves and open the faucet to drain remaining water.
- Disconnect supply lines, unscrew mounting nuts, and carefully remove the old faucet.
- Clean the sink surface and faucet holes thoroughly to ensure a proper seal.
- Install the new faucet, secure mounting nuts, reconnect supply lines, and check for leaks.
Prepare Your Workspace and Gather Tools
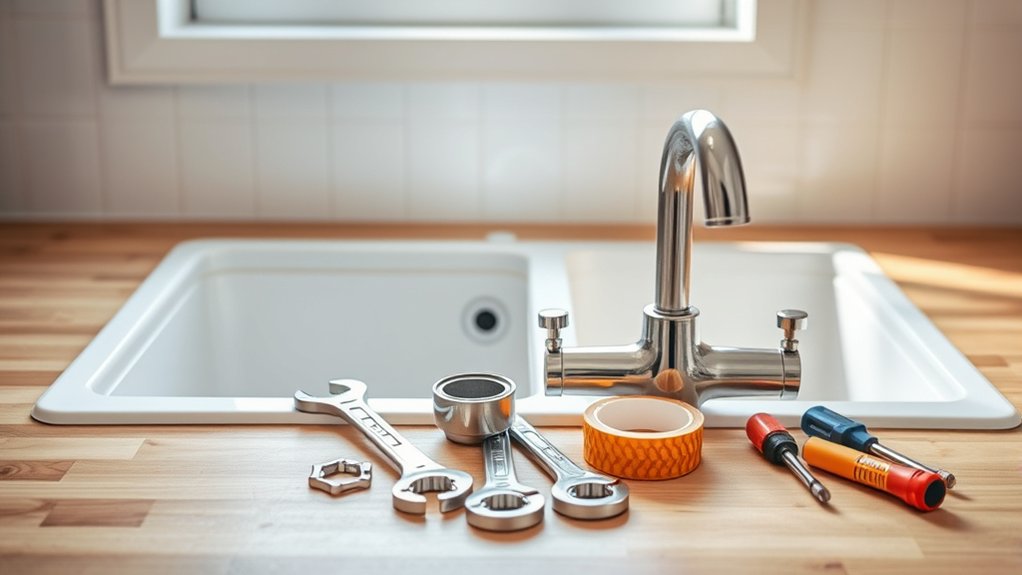
Before you begin replacing your sink faucet, make sure you clear the area under the sink and around the countertop. This gives you easy access to plumbing and prevents any tools or parts from getting lost or damaged.
Next, gather the essential tools: an adjustable wrench, basin wrench, plumber’s tape, bucket, and a towel or rag. You might also need a screwdriver and a flashlight to see into tight spaces. Having everything within reach streamlines the process and saves time.
Finally, prepare a clean workspace by laying down a towel or mat to protect your countertop and catch any drips. Getting organized now guarantees a smoother faucet replacement without unnecessary interruptions or frustration.
Turn Off Water Supply and Drain Faucet Lines
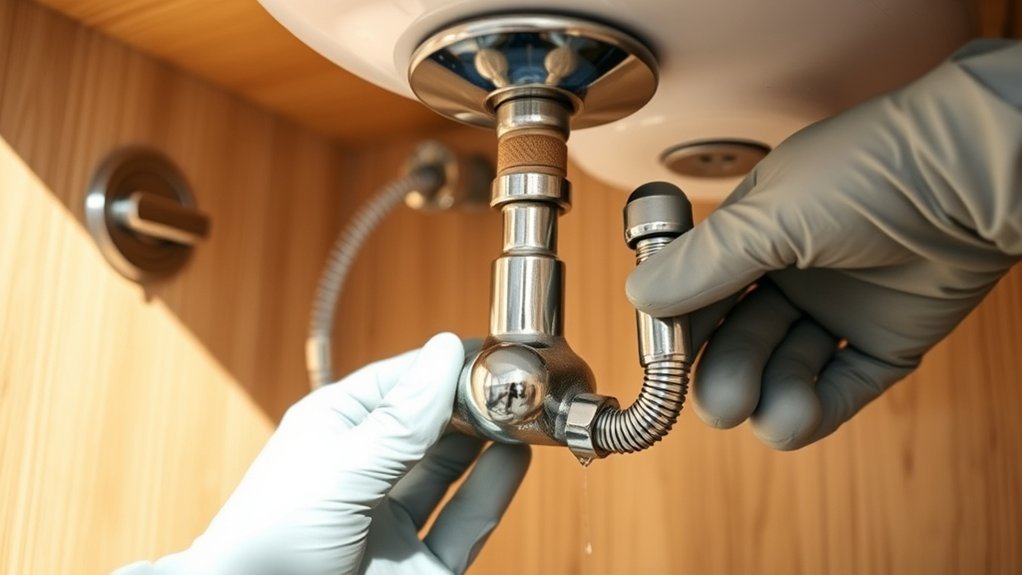
With your workspace set and tools ready, the next step is to shut off the water supply to your sink. Locate the shutoff valves under the sink—usually one for hot water and one for cold. Turn each valve clockwise until it stops to block the water flow.
If your sink lacks individual shutoffs, turn off the main water supply to your home. After closing the valves, open the faucet to drain any remaining water from the lines. This prevents spills and pressure buildup while you work.
Keep a bucket or towels handy to catch any drips. Draining the lines ensures a smooth, mess-free replacement process and protects your workspace from unexpected leaks during the faucet removal and installation.
Safely Remove Your Old Sink Faucet
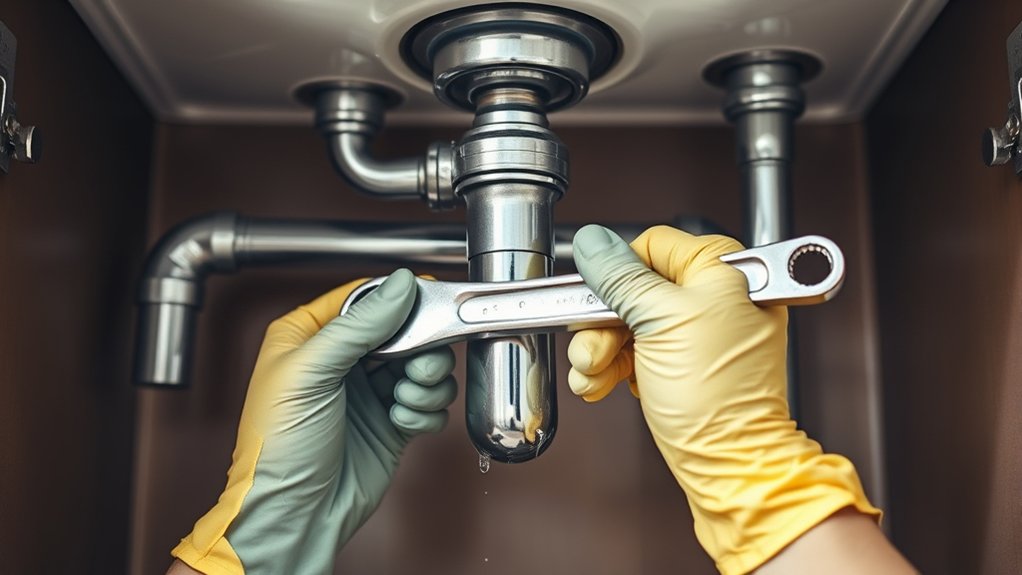
Once you’ve shut off the water and drained the lines, you can safely start removing your old sink faucet. Begin by disconnecting the supply lines with an adjustable wrench, loosening the nuts carefully to avoid damage.
Next, remove the mounting nuts securing the faucet to the sink’s underside; these can be tight, so use a basin wrench for better reach. Finally, lift the faucet off the sink, gently wiggling it if needed to break any sealant or adhesive.
- Disconnect supply lines with a wrench.
- Unscrew mounting nuts under the sink.
- Lift and remove the faucet carefully.
Following these steps ensures a smooth, damage-free removal, preparing you for the next phase of installation.
Clean the Sink Area Before Installation
After removing your old faucet, take a moment to thoroughly clean the sink area. Use a mild cleaner or a mixture of vinegar and water to wipe down the surface, removing any grime, mineral deposits, or old plumber’s putty residue. Pay close attention to the faucet holes and surrounding edges to verify they’re free from debris.
This step is vital because a clean surface helps create a proper seal for your new faucet and prevents leaks. Dry the area completely with a clean cloth before moving on. Taking the time to clean now saves you from potential problems later and guarantees your new faucet sits flush and functions smoothly.
Don’t rush this part—it sets the foundation for a successful installation.
Install Your New Faucet Step-by-Step
Because you’ve prepped the sink area thoroughly, installing your new faucet will go smoothly. First, position the faucet base into the sink holes, making sure it’s aligned properly. Next, secure the faucet underneath the sink using the mounting nuts or brackets provided—tighten them firmly but don’t overtighten to avoid damage.
With the sink prepped, align the faucet base and securely fasten mounting hardware without overtightening.
Finally, attach any decorative caps or handles included in your faucet kit to complete the setup.
- Insert the faucet base into sink holes, align carefully.
- Tighten mounting hardware below sink securely.
- Attach decorative elements like caps or handles.
Following these steps guarantees your faucet sits stable and ready for water supply connections. You’re now set to move on confidently to the next stage.
Connect Water Supply Lines and Check for Leaks
While your new faucet is securely in place, you’ll need to connect the water supply lines carefully to guarantee a watertight seal. First, attach the hot and cold water lines to their corresponding valves, tightening them by hand before using a wrench for a snug fit. Avoid overtightening to prevent damage.
Once connected, turn on the water supply slowly and watch for leaks.
| Step | Tip |
|---|---|
| Attach supply lines | Match hot/cold lines correctly |
| Tighten connections | Use adjustable wrench, not pliers |
| Turn water on | Slowly to avoid pressure spikes |
| Check for leaks | Inspect joints, use tissue paper |
If you spot leaks, tighten connections slightly or reseal with plumber’s tape as needed.
Test Your Faucet and Wrap Things Up
Once you’ve confirmed there are no leaks and everything feels secure, it’s time to test your faucet’s functionality. Turn on both hot and cold water to check the flow and temperature control. Make sure the handles turn smoothly and the water pressure is consistent.
Listen for any unusual sounds that might indicate an issue.
To wrap things up:
- Clean the area around the faucet to remove any installation debris.
- Tighten any loose connections if needed after testing.
- Dispose of old parts and tools properly to keep your workspace safe.
Following these steps ensures your new faucet works perfectly and your sink area stays neat and functional. You’re all set!
Frequently Asked Questions
What Type of Faucet Is Best for My Sink Style?
You’ll want a faucet that matches your sink’s hole configuration and style—single-hole for modern, widespread for traditional. Consider your countertop space and finish preferences to guarantee it complements your overall kitchen or bathroom design perfectly.
How Do I Choose the Right Faucet Finish?
You choose the right faucet finish by matching it to your sink’s style, existing hardware, and personal taste. Consider durability and ease of cleaning, plus how finishes like chrome or brushed nickel complement your bathroom or kitchen decor.
Think about the overall look you want to achieve. Some finishes are more traditional, while others offer a modern touch. Your choice should enhance the space and fit your lifestyle.
Can I Replace a Faucet Without Professional Help?
Yes, you can replace a faucet without professional help if you’re comfortable with basic tools and plumbing. Just turn off the water, follow instructions carefully, and take your time to avoid leaks or damage.
Make sure to have all necessary tools ready before starting. Disconnect the old faucet carefully to prevent any water spills.
Double-check connections after installation to ensure there are no leaks. Testing the new faucet thoroughly will help confirm a successful replacement.
What Should I Do if the Water Pressure Is Low?
If your water pressure is low, you should check for clogged aerators or valves, clean them, and verify supply lines are fully open.
You might also want to inspect for leaks or call a plumber if the problem persists.
How Often Should I Replace My Sink Faucet?
How often do you want to deal with leaks or corrosion? You should replace your sink faucet every 10-15 years or sooner if it’s dripping, rusted, or causing low water pressure.
This will help keep things running smoothly.
Conclusion
Now that you’ve connected the water lines and tested your faucet, the moment of truth is almost here. Will everything flow perfectly without a drip or leak? With careful steps and attention to detail, you’re just seconds away from enjoying your refreshed sink.
Take a deep breath, turn on the water, and watch your hard work come to life. You’ve mastered the task—now enjoy the smooth, steady stream of success. Replacing a sink faucet is easier than you thought, and your new fixture will bring both function and style to your kitchen or bathroom.