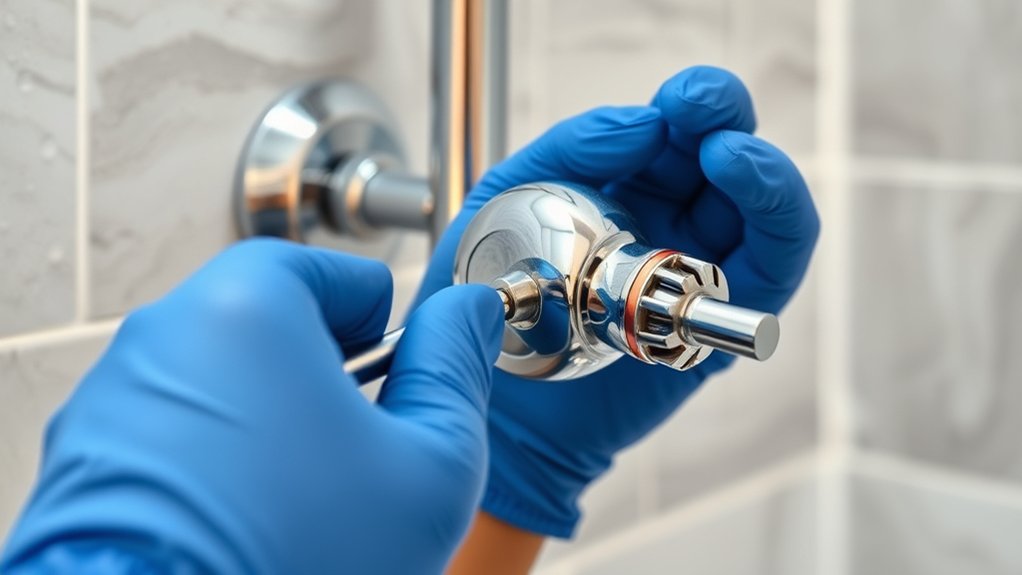
How to Replace a Shower Faucet Handle in 10 Easy Steps
To replace your shower faucet handle, start by gathering all necessary tools and shutting off the water supply. This essential step ensures a smooth and safe replacement process.
Knowing how to replace a shower faucet handle can save you time and avoid costly repairs.
Remove the old handle by loosening the screws and gently pulling it off. Carefully check the valve stem for any damage or buildup that might affect the new handle’s performance.
Match and prepare your new handle to fit the valve stem properly.
Attach the new handle securely, but avoid overtightening to prevent damage.
Turn the water back on slowly to test for leaks and ensure smooth operation. If you encounter any issues, adjust or tighten parts as needed.
Following these basics will help you install the handle confidently and correctly.
Key Takeaways
- Turn off the main water supply and open the shower faucet to drain remaining water and relieve pressure.
- Use a screwdriver and utility knife to remove the old handle and any caulking around it.
- Inspect the valve stem and surrounding parts for damage or mineral buildup before installing the new handle.
- Align and attach the new handle securely, tightening screws without overtightening to avoid damage.
- Turn water back on slowly, test handle movement, check for leaks, and adjust as needed for smooth operation.
Gather Tools for Replacing Your Shower Handle
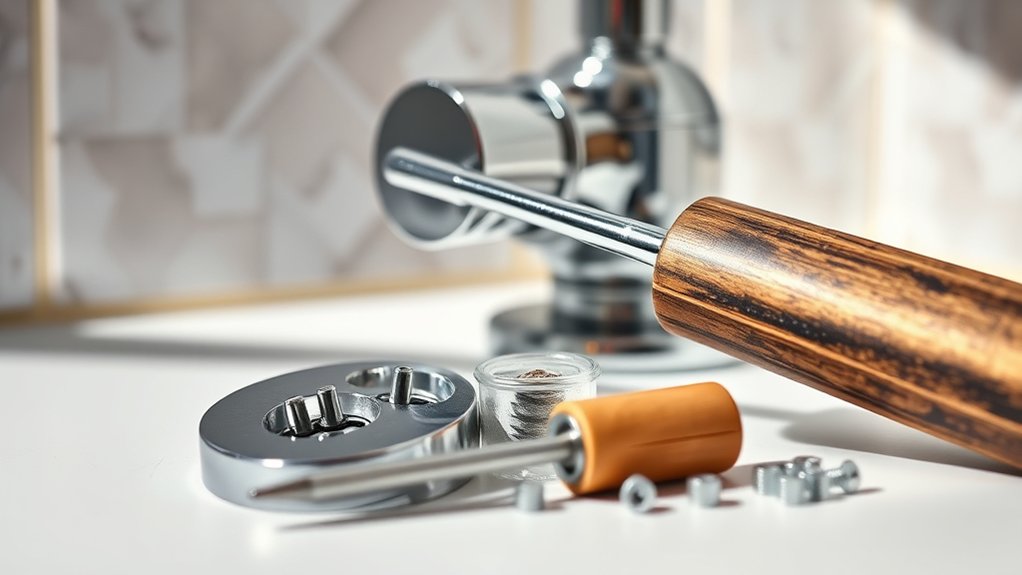
Before you begin replacing your shower faucet handle, make sure you have all the necessary tools on hand. You’ll typically need a screwdriver, either Phillips or flathead, depending on your handle’s screws. An Allen wrench or hex key is often required for set screws hidden under decorative caps.
Keep a utility knife nearby to carefully remove any caulking around the handle. A pair of pliers can help if parts are stuck or hard to turn. It’s also smart to have a towel or small container ready to catch any screws or parts you remove.
Gathering these tools upfront saves you from interruptions and frustration. Once you have everything ready, you’ll be set for a smooth handle replacement process.
Turn Off the Water Supply to Your Shower
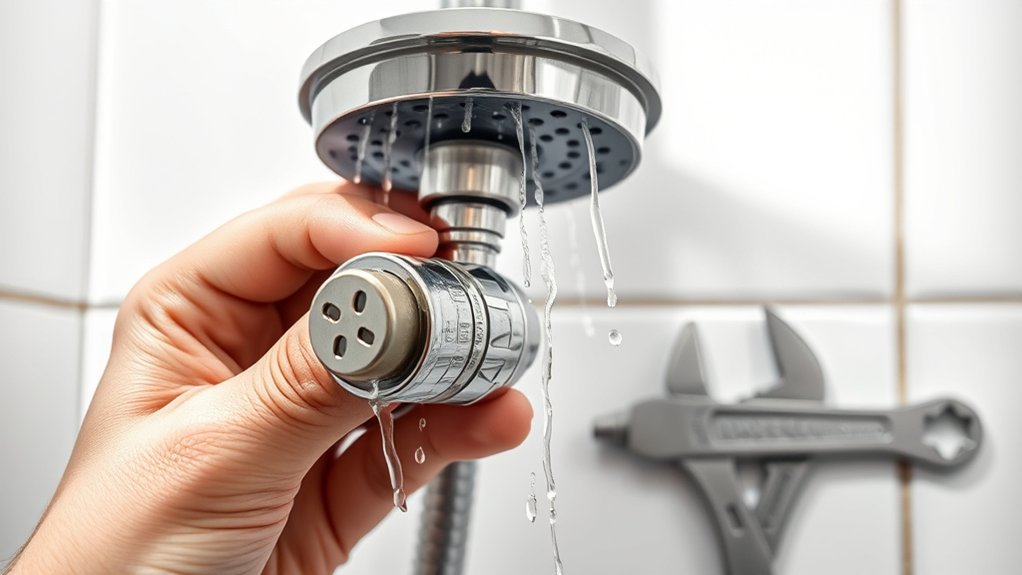
How do you make sure water doesn’t spray everywhere when you remove your shower handle? The key is turning off the water supply first. Here’s how to do it:
- Locate the main water shutoff valve for your home. It’s usually near the water meter or where the main water line enters your house.
- Turn the valve clockwise until it stops. This shuts off water flow to your entire home, including the shower.
- Open the shower faucet to drain any remaining water in the pipes. This relieves pressure and prevents drips when you remove the handle.
Remove the Old Shower Faucet Handle Safely
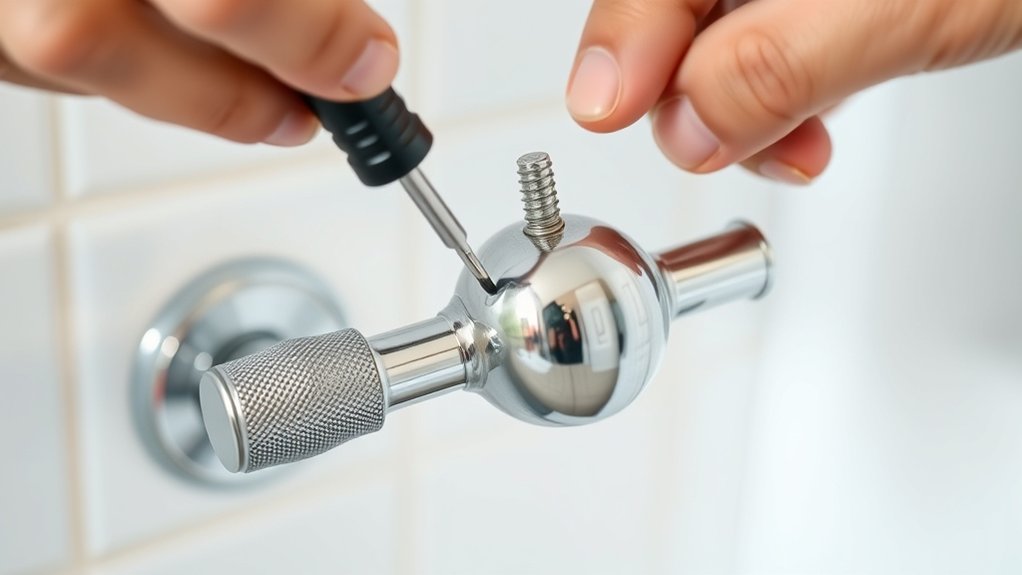
Before you start removing the old handle, gather the right tools like a screwdriver and an adjustable wrench. Make sure you wear gloves and protect your eyes to avoid any injuries.
Taking these safety steps will help you work smoothly and prevent damage.
Tools Needed
Although removing the old shower faucet handle might seem straightforward, having the right tools makes the process much safer and easier.
Before you start, gather these essentials to avoid frustration and damage:
- Screwdriver – Typically, a Phillips or flathead screwdriver is needed to remove the handle screws. Make sure it fits properly to prevent stripping.
- Allen wrench (hex key) – Some handles use a set screw hidden under a decorative cap that requires an Allen wrench for removal.
- Pliers – Useful for gripping and twisting stubborn or corroded parts without causing damage.
Having these tools ready helps you work efficiently and protects your plumbing.
Once you have them, you’ll be well-prepared to remove the handle and move on to installing the new one.
Safety Precautions
Since working with plumbing involves water and tools, you’ll want to take safety precautions to prevent injury and avoid damaging your fixtures. First, turn off the water supply to the shower to avoid unexpected leaks or water damage. Next, cover the drain with a cloth or stopper to prevent small parts from falling in.
Use the proper tools to avoid stripping screws or damaging the handle. Wear gloves to protect your hands from sharp edges or debris. If the handle is stuck, apply penetrating oil and let it sit before attempting removal to reduce the risk of breaking parts.
Finally, work carefully and patiently, ensuring each step is done correctly to keep yourself safe and avoid costly repairs.
Inspect Valve and Handle for Damage
When you remove the shower faucet handle, take a close look at both the valve and handle for any signs of wear or damage. This step helps you avoid future leaks or malfunctions once you install the new handle. Focus on these key areas:
- Inspect the valve stem for corrosion or cracks, which can affect water flow and cause leaks.
- Examine the handle for cracks, stripped screws, or worn-out grip surfaces that might make it hard to turn.
- Check the surrounding cartridge or valve body for mineral buildup or damage that could impair function.
If you spot any issues, it’s best to address them before proceeding. Fixing these problems now ensures your shower will work smoothly after the replacement.
Choose the Right Replacement Shower Handle
Before you buy a replacement shower handle, make sure you know the exact type and size that fits your existing valve. Handles come in various styles and attachment methods, so measuring the valve stem and identifying your handle style is essential. Check whether your handle uses a set screw, a push-on fit, or a spline design.
Also, consider the finish to match your bathroom’s décor.
| Handle Type | Attachment Method |
|---|---|
| Single Lever | Set Screw |
| Cross Handle | Push-On Fit |
| Knob Handle | Spline Fit |
| Lever with Button | Set Screw |
| Dual Handle | Push-On Fit |
Choosing the right handle ensures smooth operation and avoids extra work during installation.
Get the Valve Stem Ready for the New Handle
Although the old handle is removed, you’ll need to inspect and clean the valve stem thoroughly to guarantee the new handle fits and operates smoothly. Start by checking the valve stem for any corrosion or damage that could interfere with the handle’s attachment.
Next, clean the stem using a wire brush or cloth to remove mineral buildup and debris. Finally, apply a small amount of plumber’s grease to the valve stem threads and shaft to ensure smooth turning and prevent future corrosion.
Here’s what to do:
- Inspect the valve stem carefully for wear or damage.
- Clean off any dirt, rust, or mineral deposits.
- Lubricate the stem with plumber’s grease before installing the new handle.
This preparation helps your new handle work perfectly.
Attach and Secure the New Shower Faucet Handle
Now, align the new handle carefully onto the valve stem to guarantee proper fit. Tighten the screws securely so the handle stays firmly in place.
Once attached, test the handle to make sure it moves smoothly and controls the water flow correctly.
Align Handle Properly
How do you guarantee the new shower faucet handle fits perfectly? Proper alignment is key to smooth operation and a polished look. Follow these steps to align your handle correctly:
- Check the spindle orientation: Ensure the handle’s hole matches the valve stem’s position before sliding it on.
- Position the handle evenly: Center it so it sits flush against the wall, avoiding any tilt or uneven gaps.
- Test the rotation: Gently turn the handle to confirm it moves freely without resistance and aligns with the hot and cold markers.
Taking these steps prevents wobbling and ensures the handle functions as intended. Once aligned, you’re ready to secure it firmly in place.
Tighten Screws Securely
Once you’ve aligned the handle properly, you’ll need to tighten the screws securely to keep it firmly in place. Use a screwdriver that fits the screw heads precisely to avoid stripping them. Turn each screw clockwise, applying steady pressure until it feels snug.
Don’t overtighten, as this can damage the handle or strip the threads. If your handle has multiple screws, tighten them evenly, alternating between screws to ensure the handle sits flush against the valve. Double-check that the handle doesn’t wobble or shift as you tighten.
Once all screws feel secure, give the handle a gentle wiggle to confirm it’s firmly attached. Properly secured screws ensure your new shower faucet handle stays reliable and safe during use.
Test Handle Functionality
Before fully tightening the handle, you’ll want to test its functionality to guarantee it turns smoothly and controls water flow properly. Here’s how to do it:
- Gently turn the handle back and forth, checking for any resistance or unusual stiffness. It should move fluidly without catching.
- Run the water briefly to confirm the handle correctly adjusts the flow and temperature. Make sure the water stops completely when the handle is in the off position.
- If everything operates smoothly, tighten the screws securely without overdoing it, which might damage the handle or strip the threads.
Testing the handle before finalizing assures your replacement works perfectly, preventing leaks or functionality issues later. This step saves you time and frustration down the road.
Test the New Handle for Proper Function and Leaks
Although you’ve installed the new handle, you’ll want to turn the water on slowly to check for proper operation and any leaks around the base or connections. Gradually increase the water flow while watching the handle’s movement to ensure it turns smoothly and controls water temperature and pressure accurately.
Keep an eye out for dripping or moisture near the handle, escutcheon plate, or where the handle connects to the valve stem. If you spot any leaks, tighten the screws or connections slightly, but avoid overtightening. Also, listen for unusual noises or feel for vibrations, which may indicate improper installation.
Once you confirm the handle works flawlessly and shows no leaks, you can confidently finish the project, knowing your shower faucet is ready for use.
Fix Common Problems After Replacing Your Shower Handle
If you notice your new shower handle leaks, you’ll want to tighten connections or replace worn washers. Adjusting the water temperature might require repositioning the handle or cartridge.
For a loose handle, securing the screws or adding thread tape usually does the trick.
Handle Leaks Solutions
When your newly installed shower faucet handle starts leaking, you’ll want to address the issue quickly to prevent water waste and damage. Start by checking the handle’s tightness—loose screws often cause leaks.
Next, inspect the cartridge or valve stem; a worn-out cartridge can let water seep through. Finally, examine the O-rings and washers inside the handle assembly. These small parts commonly wear out and lead to drips.
- Tighten the handle screws carefully without over-tightening.
- Replace the cartridge if you notice visible damage or persistent leaks.
- Swap out worn O-rings and washers to create a proper seal.
Adjusting Water Temperature
After fixing leaks by tightening screws or replacing worn parts, you might notice your water temperature isn’t quite right. This usually happens because the faucet handle isn’t properly aligned with the valve cartridge inside. To adjust, first turn off the water supply.
Remove the handle again and check the cartridge position. Most cartridges have a temperature limit stop or an adjustment dial. Rotate this stop to allow more hot or cold water flow, depending on your preference.
Reattach the handle and turn the water back on to test the temperature. If it’s still off, repeat the adjustment until you get the desired mix. Remember, small tweaks make a big difference, so adjust gradually to avoid sudden scalding or freezing water while showering.
Fixing Loose Handles
Why does your new shower handle feel loose despite your efforts? This common issue usually comes down to a few simple fixes. First, check the set screw on the handle—sometimes it’s not tightened enough.
Second, inspect the handle’s interior for debris or damage that prevents a snug fit. Third, make sure the handle is properly aligned with the valve stem; misalignment can cause looseness. To fix it, tighten the set screw with an Allen wrench, clean out any dirt, and reposition the handle correctly.
These steps should secure your handle firmly in place, letting you enjoy your shower without any wobbling or frustration. Don’t overlook these small adjustments—they make all the difference.
Maintain Your Shower Handle for Lasting Use
To keep your shower faucet handle working smoothly, you’ll need to clean and inspect it regularly. Start by wiping the handle with a mild cleaner to remove soap scum and mineral deposits that can cause stiffness. Check for signs of corrosion or wear around the handle and screws.
Tighten any loose screws to prevent wobbling. If you notice difficulty turning the handle, consider removing it and applying plumber’s grease to the internal parts to guarantee smooth operation. Avoid using harsh chemicals or abrasive tools that can damage the finish.
Regular maintenance not only extends the handle’s lifespan but also prevents leaks and costly repairs. By staying proactive, you can enjoy a reliable shower handle for years to come.
Frequently Asked Questions
Can I Replace a Shower Handle Without Turning off the Main Water Supply?
You shouldn’t replace a shower handle without turning off the main water supply or the local shutoff valve. Water can spray out, causing damage and making the job harder.
Always shut off water to stay safe and dry.
How Do I Know if My Shower Valve Needs Replacing Too?
If your handle feels loose yet your water flow is weak or inconsistent, your valve likely needs replacing. Don’t confuse minor handle issues with valve problems; the valve controls pressure and temperature, so faulty valves cause bigger troubles.
What Tools Can I Use if I Don’t Have a Screwdriver?
If you don’t have a screwdriver, you can use a coin, butter knife, or even pliers to turn the screws gently.
Just be careful not to damage the screw heads or surrounding fixtures while working.
Are All Shower Handles Universal or Brand-Specific?
Not all shower handles are cut from the same cloth; many are brand-specific. You’ll want to match your faucet’s make and model to avoid a mismatch, ensuring your new handle fits like a glove.
How Often Should I Replace My Shower Faucet Handle?
You should replace your shower faucet handle when it feels loose, hard to turn, or leaks. Typically, handles last 10-15 years, but if you notice damage or wear, don’t wait—swap it out to avoid bigger problems.
Conclusion
You might think replacing your shower handle is just a small fix, but it’s amazing how a simple twist can bring comfort back to your daily routine. By following these steps, you’re not only saving money but also reclaiming control over your shower experience.
And isn’t it funny how something so small can make your mornings feel brand new? So go ahead—fix that handle and enjoy every invigorating drop. Replacing a shower faucet handle is a quick and easy repair that can enhance your bathroom’s functionality and style.
With these easy steps, you’ll have your shower faucet handle replaced in no time, making your daily shower more enjoyable and efficient.