What Is Vacuum Pressure Impregnation and How to Perform It
Vacuum Pressure Impregnation (VPI) is a specialized sealing process used to enhance the durability and performance of porous materials. By removing trapped air and moisture through a vacuum, VPI ensures that liquid sealants can penetrate deeply into tiny voids and imperfections.
This technique is essential in industries requiring reliable insulation, corrosion resistance, and structural integrity.
To perform VPI, you start by thoroughly cleaning and drying the part. Next, place it inside a sealed vacuum chamber and pull a vacuum to extract air and moisture. Once this is achieved, apply pressure to force the sealant deep into the material’s pores.
This method effectively seals the material and improves its longevity.
Continuing with this process, you’ll learn how to optimize VPI parameters and test your parts for the best results.
Key Takeaways
- Vacuum Pressure Impregnation (VPI) fills tiny voids in porous materials with sealants to enhance durability and prevent leaks. The process involves placing the item in a vacuum chamber to remove trapped air before introducing sealant under pressure. Equipment needed includes a vacuum chamber, vacuum pump, pressure vessel, resin delivery system, and monitoring instruments.
- Proper preparation involves cleaning, drying, inspecting components, and sometimes pre-heating to improve sealant penetration. Post-process inspection includes visual checks, leak testing, and electrical evaluations to ensure thorough impregnation and component integrity.
What Is Vacuum Pressure Impregnation?
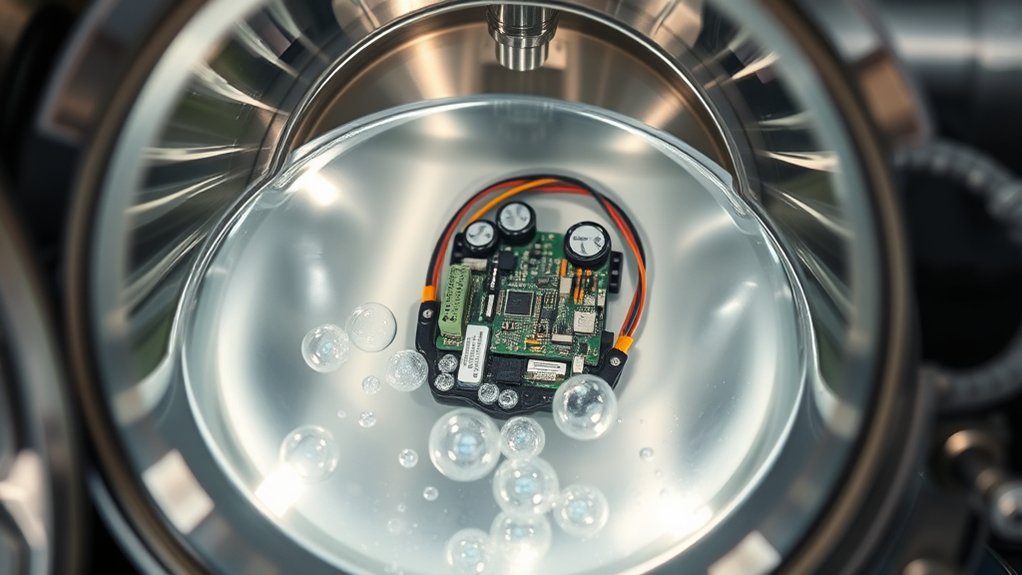
What exactly is vacuum pressure impregnation, and why does it matter? You’re looking at a process designed to fill tiny voids and pores within materials using a special liquid sealant. First, you place the item in a chamber and create a vacuum, pulling out trapped air from its porous structure.
Then, you introduce the sealant under pressure, forcing it deep inside those empty spaces. This method guarantees thorough penetration that simple dipping or brushing can’t achieve. You’ll often use vacuum pressure impregnation in manufacturing or repair to improve a component’s integrity by sealing internal gaps.
Understanding this process helps you handle delicate or complex parts more effectively, ensuring they meet specific performance or durability standards without compromising their original structure.
Why Vacuum Pressure Impregnation Improves Porous Materials
Because porous materials have tiny gaps that weaken their structure, vacuum pressure impregnation considerably enhances their strength and durability. When you use this method, you remove trapped air from those gaps and fill them with a sealing resin under pressure. This process prevents moisture, oils, and contaminants from entering, which can cause damage or corrosion over time.
As a result, the material lasts longer and performs better.
Here’s a quick look at how vacuum pressure impregnation benefits porous materials:
| Benefit | Effect on Material | Your Result |
|---|---|---|
| Air Removal | Eliminates trapped air | Stronger, denser parts |
| Resin Penetration | Fills voids completely | Improved durability |
| Contaminant Barrier | Prevents moisture ingress | Longer lifespan |
You’ll see improved reliability and reduced maintenance with this technique.
Essential Equipment for Vacuum Pressure Impregnation
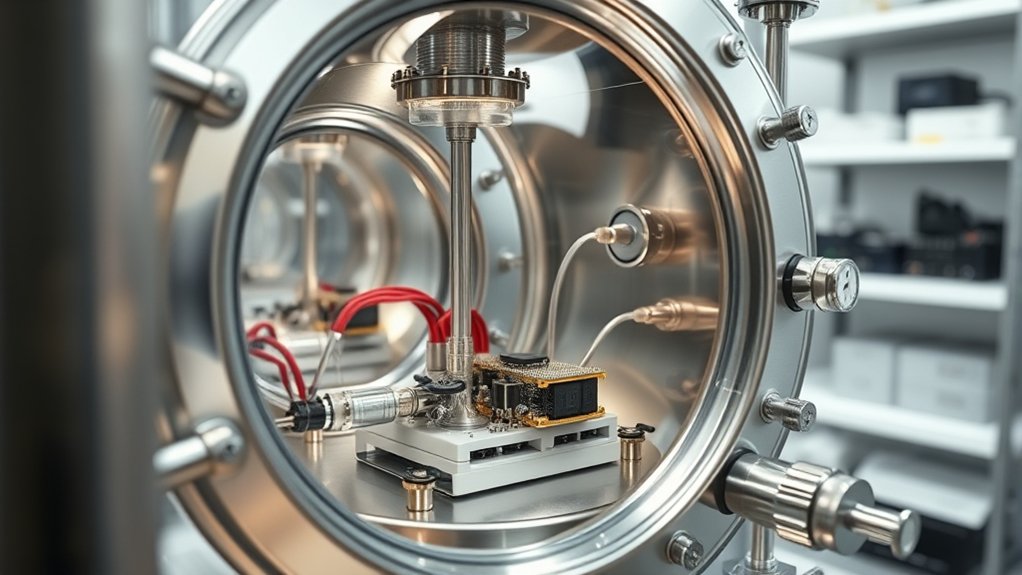
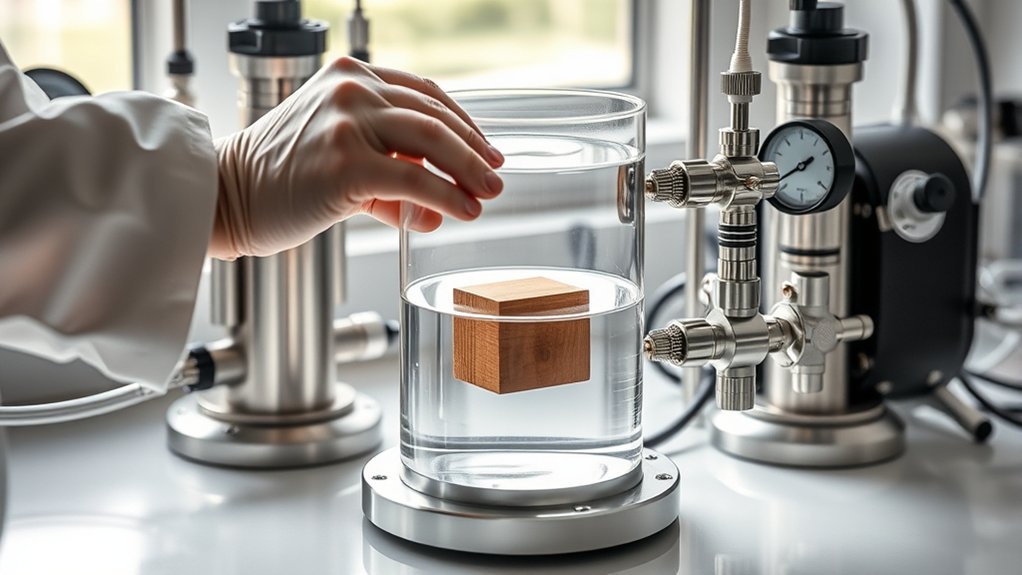
Improving the strength and durability of porous materials relies on carefully controlled processes, and that starts with the right equipment. You’ll need a vacuum chamber designed to withstand pressure changes, ensuring a tight seal to prevent air leaks. A reliable vacuum pump is essential to remove air from the material’s pores efficiently.
Next, a pressure vessel capable of applying consistent pressure helps force the impregnation resin deep into the material. You’ll also want a resin delivery system to circulate and control the impregnation fluid. Finally, monitoring instruments like pressure gauges and vacuum meters let you track conditions in real time, ensuring ideal impregnation.
Using this equipment properly is key to achieving quality results in vacuum pressure impregnation.
Preparing Materials and Components for VPI
How do you guarantee your materials and components are ready for vacuum pressure impregnation? Start by thoroughly cleaning them to remove oils, dirt, and debris that could block resin penetration. Dry the components completely to avoid moisture interfering with the process.
Inspect for cracks or damage; any defects might compromise impregnation quality. Ascertain all parts fit properly within the impregnation chamber to maintain an effective seal during vacuum and pressure stages. If dealing with complex geometries, consider pre-heating components to reduce resin viscosity and improve flow.
Finally, organize components to allow resin access to all voids and cavities, maximizing impregnation effectiveness. By carefully preparing your materials and components, you set the stage for a successful vacuum pressure impregnation process.
Choosing the Right Resin or Sealant for VPI
Once your materials and components are properly prepared, selecting the right resin or sealant becomes your next focus to guarantee effective impregnation. You want a resin that penetrates deeply, cures well, and fits your component’s specific needs. Consider factors like viscosity, curing time, and thermal or chemical resistance.
Choosing incorrectly can lead to poor sealing or damage.
Here’s a quick guide to help you decide:
| Resin/Sealant Type | Ideal Use Case | Key Benefits |
|---|---|---|
| Epoxy | Electrical insulation | Strong, durable |
| Polyester | General sealing | Cost-effective, fast |
| Silicone | High temperature tolerance | Flexible, heat resistant |
| Acrylic | Quick curing, light parts | Low viscosity, clear |
Match these with your component’s requirements for best results.
Step 1: Creating the Vacuum to Remove Air and Moisture
First, you’ll prepare the vacuum chamber to guarantee it’s airtight and ready for the process. Then, you’ll start extracting air trapped inside the material to create a strong vacuum.
Finally, you’ll use specific techniques to remove moisture, setting the stage for effective impregnation.
Vacuum Chamber Preparation
Before you begin the vacuum impregnation process, you need to prepare the vacuum chamber by creating a strong vacuum that removes air and moisture from the workpiece. Start by making certain the chamber is clean and free of debris, as contaminants can compromise the vacuum seal. Place your workpiece securely inside, making sure it’s properly positioned for even exposure.
Close and seal the chamber tightly to prevent leaks. Then, activate the vacuum pump to gradually reduce the pressure inside the chamber. Monitor the pressure gauge carefully to reach the desired vacuum level without causing damage.
This preparation guarantees that trapped air and moisture can be effectively extracted, setting the stage for a successful impregnation process. Proper chamber preparation is vital for achieving ideal results.
Air Extraction Process
How do you effectively remove all the trapped air and moisture from your workpiece? You start by placing it inside the vacuum chamber and sealing it tightly. Then, you activate the vacuum pump to lower the chamber’s pressure, which causes the air and moisture inside the pores of the workpiece to expand and escape.
This step is essential because it clears out voids that could prevent proper impregnation later. You’ll want to maintain the vacuum for a specific time, depending on the material and porosity, ensuring maximum air extraction. Keep an eye on the vacuum gauge to confirm adequate pressure levels.
Once air removal is complete, you’re ready to move on to the next phase of impregnation, confident your workpiece is thoroughly prepared.
Moisture Removal Techniques
Although removing air is essential, creating a strong vacuum also pulls moisture out of your workpiece’s pores, preventing future issues like corrosion or weakening. When you lower the pressure, water trapped inside starts to evaporate at a lower temperature, allowing you to extract moisture without damaging sensitive components.
To optimize moisture removal, monitor the vacuum level and duration carefully. You’ll also want to guarantee your workpiece is clean, as contaminants can trap moisture. Using these techniques helps maintain the integrity and longevity of your parts.
Visualize moisture removal like this:
- Tiny water droplets evaporating under low pressure
- Vapor escaping from microscopic pores
- Moisture visibly condensing on chamber walls
- A hygrometer showing decreasing humidity levels
- Workpiece surface drying evenly and thoroughly
Step 2: Applying Pressure to Inject Sealants or Resins
Once the vacuum has removed air and moisture from the material, you’ll apply pressure to force sealants or resins deep into its pores. This step typically involves increasing the chamber pressure above atmospheric levels, which pushes the impregnation fluid into every microscopic cavity. You need to monitor the pressure carefully, ensuring it’s high enough to achieve thorough penetration without damaging the material.
The pressure duration varies depending on the material’s porosity and the sealant’s viscosity, so follow recommended guidelines closely. By doing this, you effectively fill voids that could otherwise lead to leaks or weaknesses. After the pressure phase, the material should be saturated with the sealant or resin, ready for curing or drying processes.
This step is vital for enhancing durability and performance.
Common VPI Challenges and How to Avoid Them
After applying pressure to inject sealants or resins, you might still encounter issues that affect the quality of the impregnation. To avoid these common VPI challenges, focus on proper preparation and process control. Verify your parts are clean and dry before starting.
Watch for uneven resin distribution caused by inadequate vacuum levels. Prevent air entrapment by maintaining consistent vacuum and pressure cycles. Avoid resin degradation by monitoring cure times and temperatures carefully.
Common challenges include:
- Air bubbles trapped inside cavities
- Uneven resin flow or pooling
- Sealant curing too quickly or too slowly
- Contamination on component surfaces
- Equipment leaks causing pressure loss
Testing and Inspecting Components After VPI
After VPI, you’ll want to start with visual inspection techniques to catch any surface defects. Next, perform leak testing methods to guarantee the impregnation is complete and airtight.
Finally, evaluate the electrical performance to confirm the component meets all operational standards.
Visual Inspection Techniques
Although vacuum pressure impregnation (VPI) enhances the durability and performance of components, you’ll still need to conduct thorough visual inspections to verify the process’s success. Visual inspection helps you spot surface defects, incomplete resin coverage, or contamination that might compromise the component’s integrity. Use bright, even lighting and magnification tools to catch subtle flaws.
Focus on key areas like joints, cracks, and critical surfaces.
Look for:
- Uneven resin distribution or pooling
- Surface bubbles or voids
- Discoloration or resin drips
- Residue or foreign particles
- Cracks or mechanical damage
Leak Testing Methods
Visual inspections can reveal many surface issues, but they won’t catch every flaw hidden beneath the surface. That’s where leak testing methods come in after Vacuum Pressure Impregnation (VPI). You can use techniques like pressure decay or helium leak testing to detect tiny leaks that compromise the seal.
Pressure decay involves pressurizing the component and monitoring for pressure drops over time, indicating leakage. Helium leak testing is more sensitive, using helium as a tracer gas and specialized detectors to find even the smallest leaks. These tests guarantee your components maintain integrity and prevent moisture ingress or performance failures.
Electrical Performance Evaluation
How can you be sure your components perform electrically as intended once the Vacuum Pressure Impregnation process is complete? You’ll want to carry out a thorough electrical performance evaluation to confirm insulation integrity and overall functionality. This involves a series of tests and inspections designed to detect any flaws introduced during VPI.
Focus on these key evaluations:
- Insulation resistance testing to measure dielectric strength
- Hipot testing for high-voltage withstand capacity
- Partial discharge analysis to identify microscopic faults
- Continuity checks ensuring proper electrical paths
- Functional tests simulating real operating conditions
Tips to Optimize Vacuum Pressure Impregnation
When you optimize vacuum pressure impregnation, you enhance both the efficiency and quality of the process. Start by ensuring your vacuum system is leak-free to maintain ideal pressure levels. Use the right resin viscosity to improve penetration without causing damage.
Monitor cycle times closely; too long wastes resources, too short reduces effectiveness.
Here’s a quick guide to keep in mind:
| Tip | Benefit | Action Item |
|---|---|---|
| Maintain vacuum seal | Consistent pressure | Inspect seals regularly |
| Adjust resin viscosity | Better penetration | Test resin before use |
| Optimize cycle time | Saves time and materials | Track and record cycles |
Top Industrial Applications of Vacuum Pressure Impregnation
Optimizing vacuum pressure impregnation sets the stage for its effective use across various industries. When you apply this technique, you enhance product durability, insulation, and performance by sealing microscopic voids in materials.
You’ll find it especially valuable in:
- Electric motor manufacturing, improving insulation and preventing moisture damage
- Automotive parts production, enhancing corrosion resistance and longevity
- Aerospace component fabrication, ensuring airtight and reliable seals
- Electronics, protecting delicate circuits from contaminants and moisture
- Hydraulic systems, preventing leaks and increasing pressure tolerance
Frequently Asked Questions
How Long Does a Typical VPI Cycle Take?
A typical VPI cycle takes about 2 to 4 hours, depending on the part size and resin type.
You’ll need to adjust times to guarantee complete impregnation and curing for ideal results in your process.
Can VPI Be Used on Non-Porous Materials?
You’ll find that VPI isn’t effective on non-porous materials since it relies on porous surfaces to absorb resins. In fact, over 90% of successful VPI cases involve porous substrates like castings and composites.
What Safety Precautions Are Necessary During VPI?
You should wear protective gloves, goggles, and a respirator to avoid chemical exposure. Make certain of proper ventilation, follow equipment instructions, and regularly inspect seals to prevent leaks.
Always handle chemicals carefully and keep a spill kit nearby.
How Environmentally Friendly Is the VPI Process?
You’ll find VPI fairly eco-friendly since it reduces waste by sealing materials effectively, preventing leaks and corrosion.
Plus, using non-toxic resins and recycling solvents helps minimize environmental impact during the process.
Are There Any Alternatives to Vacuum Pressure Impregnation?
Looking for alternatives? You’ll find options like dip coating, resin injection, or even thermal spray.
Each method has its quirks, but you can choose one that fits your needs without relying solely on VPI.
Conclusion
Now that you know how vacuum pressure impregnation seals every tiny crevice, you can unlock the full potential of porous materials. By carefully preparing your components, choosing the right resin, and mastering the process, you’ll turn weak spots into impenetrable fortresses.
Remember, like a painter perfects every stroke, your attention to detail guarantees flawless results. Embrace VPI, and watch your materials transform with strength and durability that lasts. Vacuum pressure impregnation is the key to enhancing material performance and ensuring long-term reliability.