How to Clean Faucet Aerator in 10 Easy Steps
To clean your faucet aerator in 10 easy steps, start by turning off the water supply to prevent any spills or leaks.
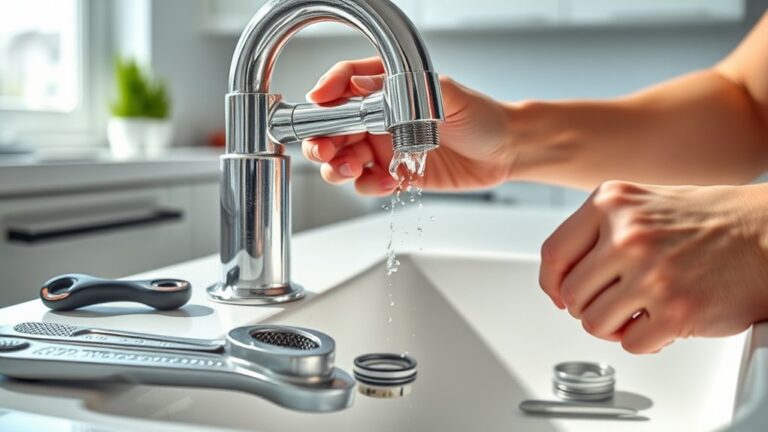
Gently unscrew the aerator using a cloth for better grip and protection. Faucet aerator cleaning is essential to remove mineral buildup and improve water flow.
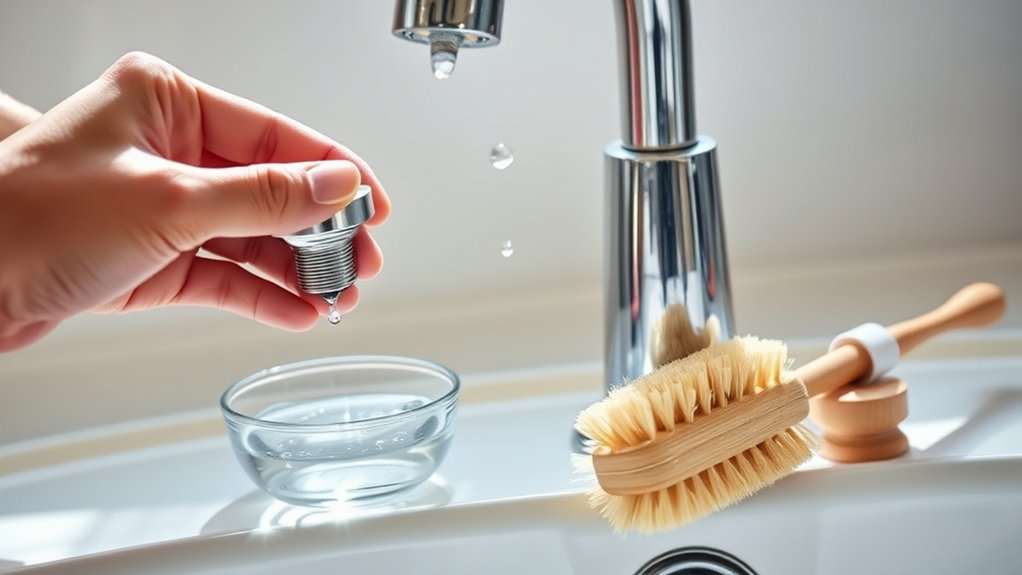
Next, soak the aerator parts in vinegar for 30 minutes to break down stubborn deposits.
After soaking, scrub away any debris with a soft brush to avoid damaging the components.
Rinse all parts thoroughly under running water to wash away loosened dirt.
Reassemble the aerator components carefully, ensuring each piece fits correctly.
Screw the aerator back onto the faucet snugly but avoid overtightening.
Finally, turn the water back on and test the water flow for smoothness, adjusting if necessary.
Keep following these steps to maintain a perfectly clean faucet aerator and enjoy consistent water pressure.
Key Takeaways
- Turn off the water supply and open the faucet to drain remaining water before removing the aerator.
- Unscrew the aerator counterclockwise using your hands or a wrench wrapped in cloth for protection.
- Disassemble the aerator parts carefully, including the screen and washers, and lay them out in order.
- Soak parts in vinegar or a descaling solution for 30 minutes, then scrub gently with a toothbrush.
- Rinse all parts thoroughly, reassemble, hand-tighten the aerator onto the faucet, and test the water flow.
Why Clean Your Faucet Aerator?
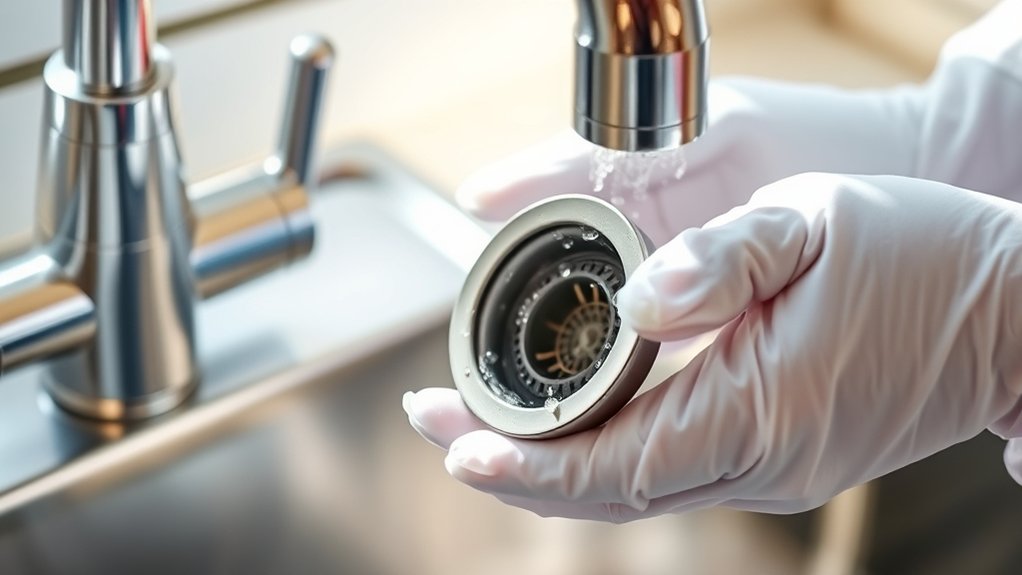
Although you might not notice it right away, cleaning your faucet aerator is essential to maintain steady water flow and prevent buildup. Over time, minerals and debris accumulate inside the aerator, restricting water pressure and causing uneven spray patterns. If you overlook this, you’ll likely experience slow or sputtering water flow that can frustrate everyday tasks like washing your hands or rinsing dishes.
Regular cleaning keeps your faucet functioning smoothly and helps avoid costly repairs or replacements. Plus, a clean aerator improves water efficiency by mixing air with water, reducing waste without sacrificing pressure. By taking a few minutes to clean it, you guarantee your faucet works at its best, saving water and energy while maintaining hygiene and convenience in your daily routine.
Identify Your Faucet Aerator Model for Cleaning
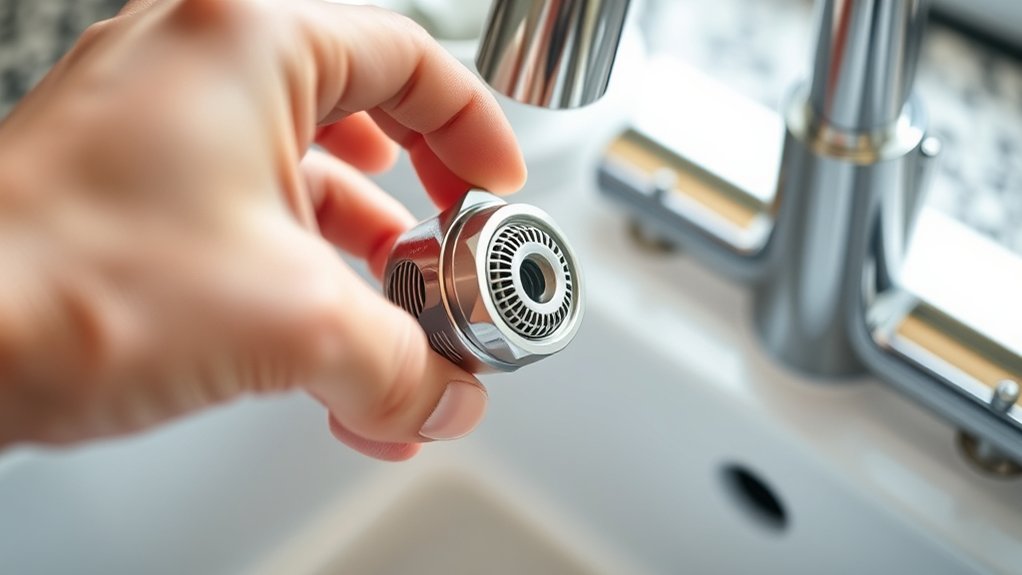
Before you start cleaning, you’ll need to identify your faucet aerator model. First, locate the aerator at the tip of your faucet and note its size and shape.
Knowing the type and size will help you choose the right cleaning method and tools.
Types of Aerators
Since faucet aerators come in various shapes and designs, identifying your specific model helps guarantee you clean it properly. You’ll typically encounter three main types: standard, dual-threaded, and snap-on aerators. Standard aerators have a single thread, making them easy to remove with a simple twist.
Dual-threaded aerators feature both male and female threads, so you’ll need to determine which side connects to your faucet. Snap-on aerators don’t screw off; instead, they pop out with a firm pull. Some aerators include flow restrictors or screens inside, which can trap debris.
Knowing your aerator type ensures you use the right tools and techniques during cleaning, preventing damage and guaranteeing a thorough job. Once you’ve identified the type, you’re ready to locate and remove it for cleaning.
Locating the Aerator
Now that you know the type of aerator you’re dealing with, it’s time to find it on your faucet. Typically, the aerator screws onto the faucet’s spout tip, where water flows out. Look closely at the end of the faucet’s nozzle—you’ll usually see a small, round screen or mesh.
Some aerators are hidden inside a decorative housing or have a small cap covering them. If you don’t see it immediately, check underneath the spout or near the base. In rare cases, aerators might be built-in or recessed, requiring a gentle twist or a tool to access.
Once you locate it, you’ll be ready to remove and clean it properly without damaging your faucet.
Checking Aerator Size
Although it might seem straightforward, checking your aerator size is essential to make sure you get the right tools and replacement parts. First, remove the aerator from your faucet by unscrewing it counterclockwise. Use a ruler or caliper to measure the diameter of the aerator’s threads—this is usually between 15/16 inch and 55/64 inch for standard models.
Also, note whether the threads are male (outside) or female (inside), as this affects compatibility. If you’re unsure, take the aerator to a hardware store for comparison. Identifying the exact size and type helps avoid buying mismatched parts that won’t fit or seal properly.
Once you know your aerator’s size, you can confidently proceed with cleaning or replacing it without hassle.
Gather Basic Tools to Clean Your Aerator
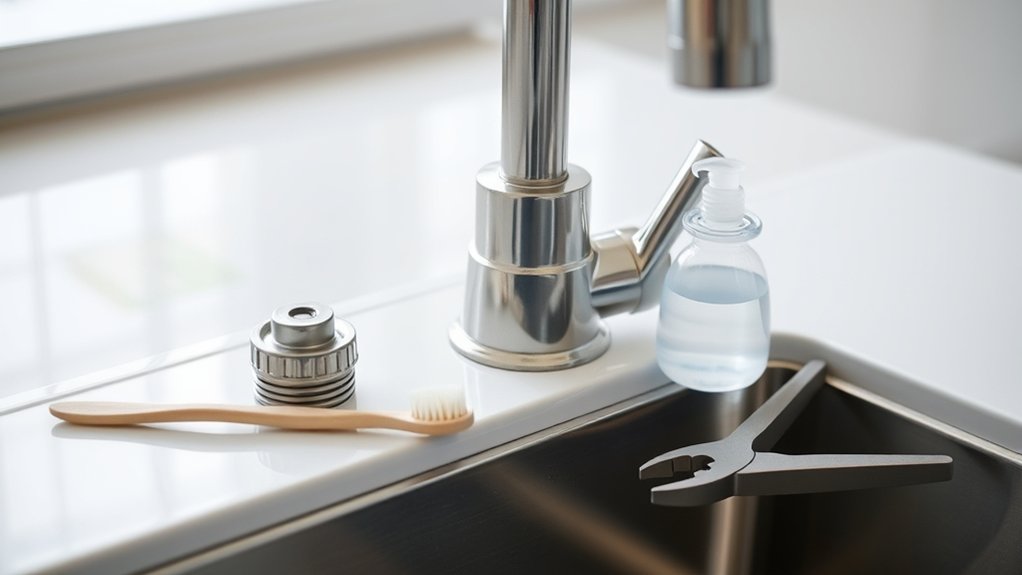
Before you start cleaning your faucet aerator, gather a few basic tools to make the process smoother. Having the right items on hand helps you work efficiently without interruptions.
Here are the essential tools you’ll need:
- Adjustable wrench or pliers – Use these to carefully unscrew the aerator without damaging it or your faucet.
- Small bowl or container – This holds the aerator parts and any cleaning solution, preventing loss and mess.
- Old toothbrush or soft brush – Perfect for scrubbing away mineral deposits and debris from tiny holes.
With these tools ready, you’ll be set to clean your aerator effectively and restore your water flow without hassle.
Next, you’ll be prepared to move on to the actual cleaning steps.
Turn Off Water Supply to Faucet Aerator
Once you have your tools ready, the next step is to turn off the water supply to your faucet aerator. This prevents water from spraying out once you start working on it. Look under the sink for the shut-off valves—usually, there are two: one for hot water and one for cold.
Turn both valves clockwise to close them completely. If you don’t find individual shut-offs, you might need to turn off the main water supply to your home. After turning off the valves, open the faucet to release any remaining water in the pipes.
This step guarantees a dry work area and reduces mess. Now, you’re all set to proceed safely with cleaning your faucet aerator.
Unscrew the Aerator Without Damaging It
To unscrew the aerator without damaging it, you’ll want to use the right tools and a gentle touch. Start by evaluating the aerator’s condition; if it’s been on a long time, mineral buildup might make it tricky to remove. Here’s how to proceed carefully:
- Wrap the aerator with a cloth or rubber grip to protect its finish and improve your grip.
- Use adjustable pliers or a wrench, but don’t apply excessive force—turn counterclockwise slowly.
- If it resists, spray a bit of penetrating oil around the threads and wait a few minutes before trying again.
Taking these steps helps prevent scratches or stripping, ensuring your aerator stays intact for cleaning and reinstallation.
Take Apart the Aerator Components
Although the aerator looks like a single piece, it’s made up of several parts that you’ll need to separate for a thorough cleaning. Start by carefully pulling apart the outer casing, mesh screen, and any rubber washers inside. Use your fingers or a small tool like a toothpick to gently pry the components apart without damaging them.
Lay each part out in order to keep track of how they fit together. Take note of any buildup or debris you see on each piece—it’ll help you know where to focus your cleaning efforts later. Be cautious with the mesh screen since it’s delicate and prone to bending.
Once separated, you’ll have better access to every nook and cranny, ensuring a more effective cleaning process.
Soak Parts to Remove Mineral Deposits
You’ll want to soak the aerator parts in a solution that effectively breaks down mineral deposits, like vinegar or a commercial cleaner. Let them sit for at least 30 minutes to loosen buildup, but be careful not to soak too long to avoid damage.
For stubborn deposits, gently scrub with a brush after soaking to get everything clean.
Choosing Soaking Solutions
Since mineral deposits can be stubborn, choosing the right soaking solution is key to dissolving buildup effectively. You’ll want a solution that’s strong enough to break down minerals but gentle enough to protect your aerator parts.
Here are three common options:
- White vinegar – Its acidity makes it excellent for dissolving lime and calcium deposits without harsh chemicals.
- Lemon juice – Natural and slightly acidic, it works well if you prefer a fresh scent and an eco-friendly option.
- Commercial descaler – Designed specifically for mineral buildup, these products often act faster but read instructions carefully to avoid damage.
Pick a solution based on what you have available and your aerator’s material to guarantee safe, effective cleaning.
Soaking Duration Tips
While soaking your faucet aerator parts, the duration plays an essential role in effectively breaking down mineral deposits without causing damage. Typically, soaking for 30 minutes to an hour is enough to dissolve most buildup. If your aerator has light deposits, 15 to 30 minutes might suffice.
However, avoid soaking for more than two hours, especially in acidic solutions like vinegar, as prolonged exposure can corrode metal components. Keep an eye on your parts during soaking to make certain they’re not deteriorating. Once the soaking time is up, rinse the pieces thoroughly with water to wash away loosened minerals.
Removing Stubborn Deposits
If mineral deposits cling stubbornly to your faucet aerator parts, soaking them is the most effective way to loosen the buildup. Start by submerging the aerator components in a solution that can dissolve minerals without damaging the parts. Here’s how you do it:
- Use white vinegar or a vinegar-water mix (equal parts) for a natural, powerful cleaner.
- Let the parts soak for at least 30 minutes; for tougher deposits, leave them overnight.
- After soaking, gently scrub the parts with an old toothbrush to remove loosened deposits.
This simple soaking method softens mineral buildup, making it easier to clear away and restore your faucet’s water flow quickly and efficiently.
Scrub Away Debris and Build-Up
Before reassembling your faucet aerator, you’ll want to scrub away any debris and mineral build-up that could block water flow. Use an old toothbrush or small brush to gently clean all parts, especially the screen and mesh. Focus on stubborn spots, applying a bit of vinegar if needed.
This removes grime and restores smooth water flow.
| Part | Recommended Tool | Cleaning Tip |
|---|---|---|
| Screen | Toothbrush | Brush gently to avoid damage |
| Mesh | Soft brush | Use vinegar for mineral build-up |
| Housing | Cloth | Wipe clean, remove dirt |
| Threads | Brush or cloth | Clear debris for easy reassembly |
| Rubber washer | Soft cloth | Inspect and clean carefully |
Scrubbing thoroughly guarantees your aerator functions efficiently.
Rinse and Reassemble Your Faucet Aerator
Once you’ve thoroughly scrubbed each part, rinse them under running water to wash away loosened debris and any remaining vinegar. Make sure every component is clean, as leftover particles can affect water flow or cause damage.
Rinse all parts thoroughly under running water to remove debris and vinegar, ensuring optimal water flow.
Next, carefully reassemble your faucet aerator by following these steps:
- Place the screen and flow restrictor back into the aerator housing in the correct order.
- Screw the aerator housing onto the faucet spout by hand, ensuring it’s snug but not overtightened.
- Wipe the exterior with a cloth to remove any water spots or residue.
Test Water Flow and Adjust Aerator Settings
Now that your faucet aerator is clean and reassembled, turn on the water to check the flow rate. If the water pressure feels too strong or weak, you can adjust the aerator settings to suit your needs.
This helps guarantee ideal water use and comfort.
Assess Water Flow Rate
How can you tell if your faucet aerator is working properly? One key way is by evaluating the water flow rate. A consistent, smooth stream usually means your aerator is in good shape.
To check, follow these steps:
- Turn on the faucet fully and observe the water flow. It should be steady without splashing or sputtering.
- Measure the water output by filling a container for a set time (e.g., 10 seconds). Compare this to your faucet’s expected flow rate, typically around 1.5 to 2.5 gallons per minute.
- Note any irregularities like weak flow or uneven spray patterns, which could signal buildup or damage inside the aerator.
Evaluating flow rate helps you decide if cleaning or adjustments are needed to maintain efficient water use.
Modify Aerator Settings
Where should you start when adjusting your faucet aerator for ideal water flow? Begin by turning the water on and observing the stream. If it’s uneven or too weak, you’ll want to tweak the aerator settings.
Remove the aerator screen and check for debris or buildup that might restrict flow. After cleaning, reattach it and test the water again. If the water pressure still feels off, consider replacing the aerator with one offering different flow rates—typically measured in gallons per minute (GPM).
Screwing in a lower GPM aerator reduces water use, while a higher GPM one boosts flow. Adjust until you find a balance between water efficiency and performance. Remember, a properly adjusted aerator saves water and improves your faucet’s functionality.
Frequently Asked Questions
How Often Should I Replace My Faucet Aerator?
You should replace your faucet aerator every 6 to 12 months, or sooner if you notice reduced water flow or buildup.
Regular replacement keeps your water clean and guarantees your faucet works efficiently without clogs.
Can a Clogged Aerator Affect Water Pressure?
A clogged aerator can crush your water pressure like a soda can under a truck, making your faucet trickle instead of flow.
You’ll want to clean it regularly to keep water streaming strong and steady.
Are There Eco-Friendly Aerator Options Available?
Yes, you can find eco-friendly aerators designed to reduce water waste while maintaining pressure. They use efficient flow restrictors and sustainable materials, helping you save water and energy without sacrificing performance in your daily use.
Will Cleaning Remove Bacteria From the Aerator?
You can remove up to 99% of bacteria when you clean your faucet aerator regularly. Using vinegar and a brush breaks down grime and kills germs, helping you maintain a healthier, cleaner water flow.
Can I Clean a Faucet Aerator Without Removing It?
You can clean a faucet aerator without removing it by soaking a cloth in vinegar and wrapping it around the aerator, then scrubbing gently with a toothbrush to loosen debris.
It’s less thorough but works for light cleaning.
Conclusion
Now that you’ve cleaned your faucet aerator, you’ll notice improved water flow and efficiency—like tuning a vintage radio to catch the clearest signal. Regular maintenance not only saves water but also extends your faucet’s life.
Don’t wait for a problem to arise; keeping your aerator clean is a small task that makes a big difference. So, grab your tools and keep that water running smoothly, just like the good old days.
By following these easy steps to clean your faucet aerator, you ensure optimal water flow and prevent buildup. Regular faucet aerator cleaning is key to maintaining water quality and prolonging your faucet’s lifespan. Make faucet aerator cleaning part of your routine for lasting results.