How to Install a Bathroom Faucet in 7 Easy Steps
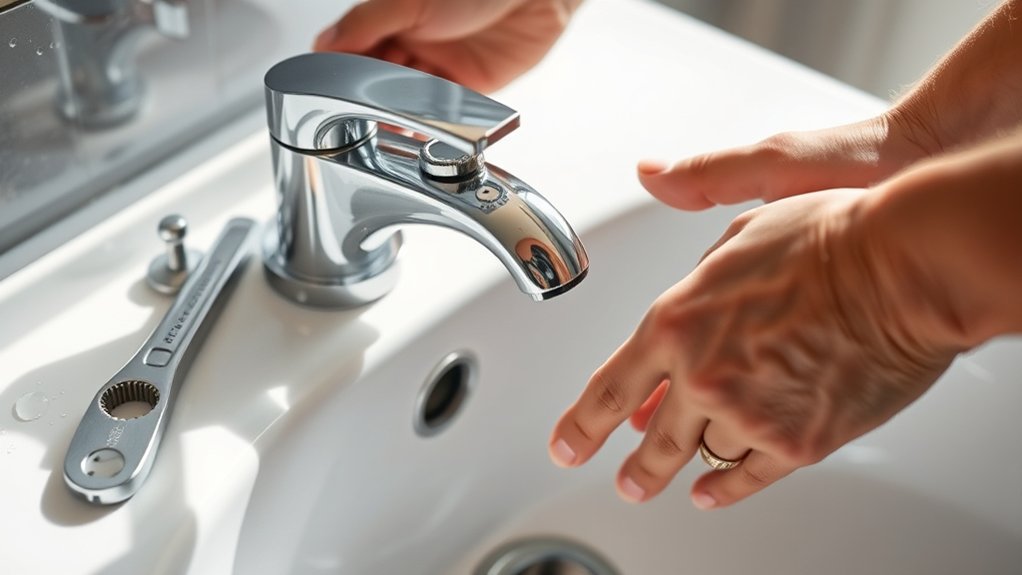
To install a bathroom faucet in seven easy steps, start by gathering all the necessary tools and turning off the water supply. Installing a bathroom faucet is a straightforward process that can save you time and money compared to hiring a professional.
With the right preparation, you can achieve a smooth and efficient installation.
Next, remove the old faucet carefully and clean the sink surface thoroughly. Position and secure the new faucet, then connect the water supply lines.
Turn the water back on slowly and check for leaks.
Finally, test the faucet for proper flow and function. Keep following for helpful tips to guarantee a smooth, trouble-free installation.
Key Takeaways
- Turn off the main water supply and open faucets to drain remaining water before starting installation.
- Remove the old faucet by disconnecting supply lines and loosening mounting nuts with appropriate wrenches.
- Clean the sink surface thoroughly, removing old putty, residue, and inspecting for damage.
- Position the new faucet with gasket or putty, secure mounting nuts underneath without overtightening, and ensure proper alignment.
- Connect supply lines to hot and cold valves, turn water back on slowly, then check for leaks and proper faucet function.
What You Need to Install a Bathroom Faucet
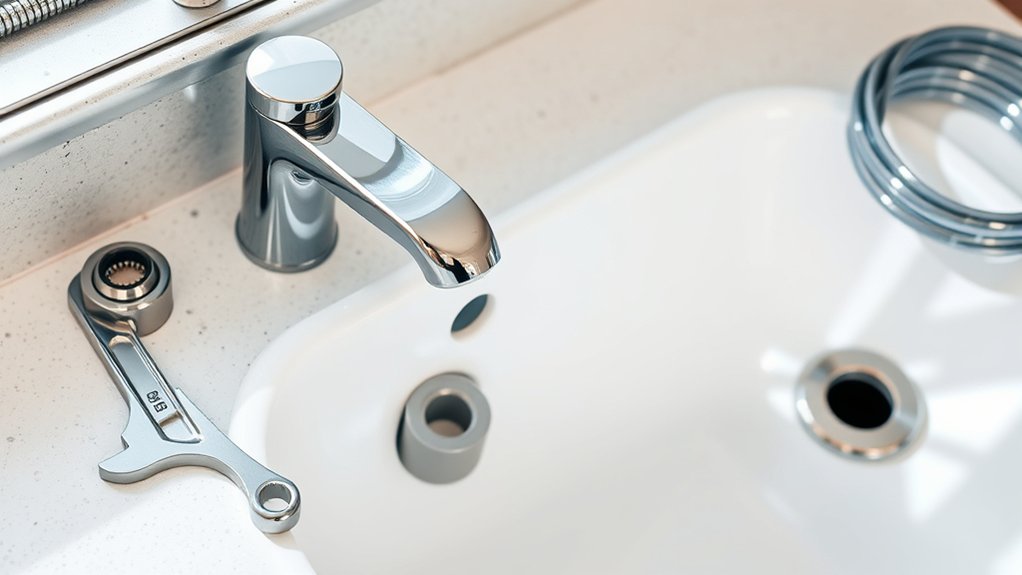
Before you begin installing your bathroom faucet, you’ll need to gather a few essential tools and materials to guarantee a smooth process. Start with the new faucet itself, making sure it fits your sink’s configuration. You’ll also need an adjustable wrench, basin wrench, plumber’s tape, and a screwdriver.
Don’t forget a bucket or container to catch any residual water during installation. Having a flashlight or work light handy will help if your workspace is dim. You might also want some plumber’s putty or silicone sealant for a watertight seal.
In the end, keep a towel or rag nearby to wipe up any spills. Gathering these essentials upfront helps you stay organized and efficient throughout the installation.
Turn Off the Water and Prepare Your Sink
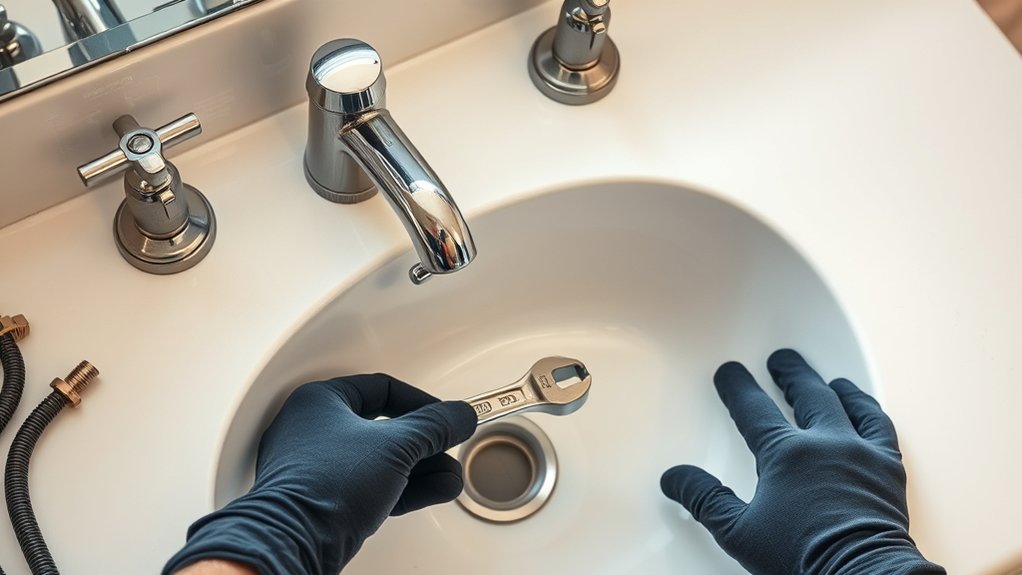
Before you start, turn off the main water valve to prevent any leaks or spills. Next, clear everything out from around your sink to give yourself plenty of room to work.
These steps will help you avoid any surprises once you begin the installation.
Locate Main Water Valve
How do you guarantee a smooth faucet installation without flooding your bathroom? The key is to locate and turn off the main water valve before starting. This stops the water flow and prevents leaks or water damage during your project.
To find the main water valve:
- Check near your water meter, usually outside or in the basement
- Look for a round wheel or lever on a pipe
- In apartments, it may be inside a utility closet or under the sink
- If unsure, ask your landlord or consult your home’s blueprint.
Once you locate it, turn the valve clockwise until it stops. Confirm the water is off by opening a faucet and watching for any flow. Now you’re ready to proceed safely.
Clear Sink Area
Where should you start once the main water valve is off? Begin by opening the faucet to drain any remaining water in the lines. This prevents spills when you disconnect the old faucet.
Next, clear everything from under and around the sink to give yourself plenty of workspace. Remove any items stored in the cabinet to avoid damage or obstruction. Use a towel or small bucket to catch drips when you disconnect the water supply lines.
Check that your tools and new faucet parts are within reach. Finally, wipe down the sink surface to guarantee it’s clean and dry, making installation smoother. Taking these steps prepares your sink area, helping you work efficiently and avoid messes during your faucet installation.
Remove the Old Faucet and Clean the Area
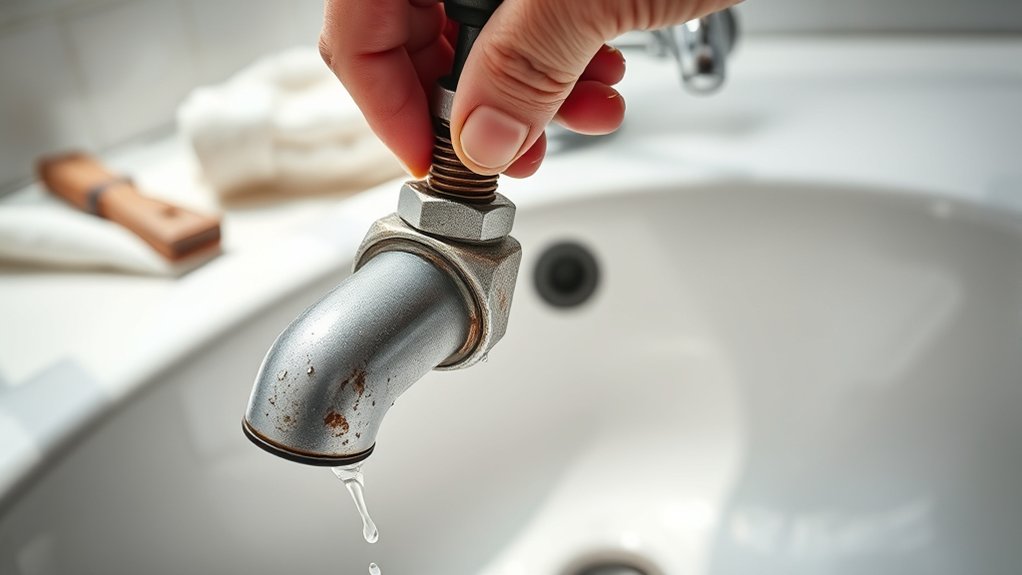
Now that the water supply is off, you can disconnect the faucet components carefully. Once the old faucet is removed, take time to clean the sink surface thoroughly.
This guarantees a smooth installation for your new faucet.
Turn Off Water Supply
Why is turning off the water supply your first step? It’s vital to prevent water from flooding your workspace when you remove the old faucet. Before you start, locate the shut-off valves under the sink or turn off the main water supply if needed.
Once off, open the faucet to drain any remaining water in the pipes. This guarantees a dry and safe area for your work.
Here’s what you should do:
- Find the shut-off valves beneath your sink
- Turn valves clockwise to close water flow
- Open faucet to release trapped water
- Place a bucket or towel to catch drips
Turning off the water supply protects your bathroom and makes removing the old faucet easier.
Disconnect Faucet Components
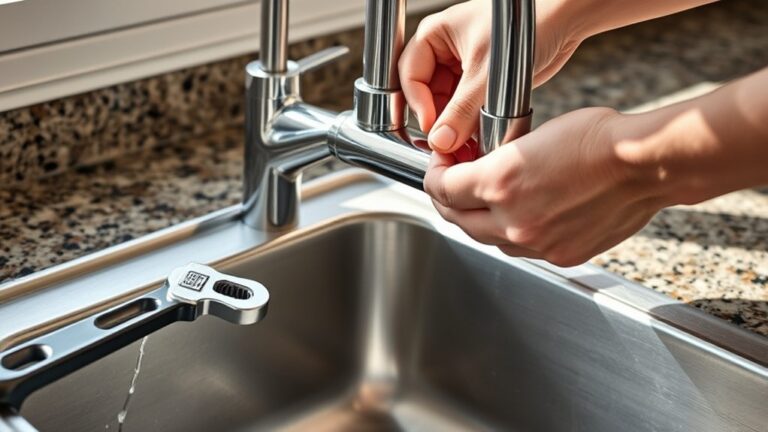
How do you safely disconnect the old faucet without causing leaks or damage? First, turn off the water supply and open the faucet to release pressure. Use an adjustable wrench to loosen and disconnect the supply lines carefully.
Then, remove mounting nuts under the sink with a basin wrench. Lift the old faucet out gently. Keep a bucket nearby to catch any residual water.
| Step | Tool Needed | Tip |
|---|---|---|
| Loosen Lines | Adjustable wrench | Turn counterclockwise slowly |
| Remove Nuts | Basin wrench | Use a flashlight for visibility |
| Lift Faucet | Hands | Wiggle gently to avoid damage |
Once disconnected, you’re ready to proceed to the next step without causing any leaks or harm.
Clean Sink Surface
Once you’ve removed the old faucet, take a moment to thoroughly clean the sink surface before installing the new fixture. This step ensures a smooth installation and prevents any debris from interfering with the seal. Start by removing any old putty, caulk, or residue left behind.
Then, wipe down the area with a mild cleaner to eliminate dirt and grime. Check the sink surface for any damage or corrosion that might need repair before proceeding. Finally, dry the area completely to help the new faucet adhere properly.
To clean the sink surface effectively:
- Scrape off old putty or caulk with a plastic scraper
- Use a non-abrasive cleaner to avoid scratching
- Rinse thoroughly with water to remove cleaning residue
- Dry the surface with a clean cloth before installation
Install the New Bathroom Faucet Securely
Although it may seem tricky at first, you can securely install the new bathroom faucet by carefully following the proper steps and using the right tools. Begin by positioning the faucet into the mounting holes on your sink. Make sure the gasket or putty is correctly placed to prevent leaks and protect the sink surface.
From underneath, thread the mounting nuts onto the faucet tailpieces and tighten them by hand to keep the faucet steady. Then use a basin wrench or adjustable wrench to firmly secure the nuts, but don’t overtighten—they should be snug enough to hold the faucet firmly without damaging any parts. Double-check that the faucet is aligned properly before fully tightening.
Taking your time here ensures a stable, leak-free setup for your new bathroom faucet.
Connect Water Supply Lines and Check for Leaks
After securing the faucet, you’ll need to connect the water supply lines to guarantee a proper flow. Start by attaching the hot and cold water lines to their respective valves under the sink. Be sure to hand-tighten the connections first, then use a wrench to snug them—don’t overtighten, as that can damage fittings.
Once connected, turn the water supply back on slowly and watch for any leaks. If you spot drips, tighten the connections slightly until the leaks stop. Here are the key steps:
- Identify hot and cold water lines correctly
- Hand-tighten fittings before using a wrench
- Turn on water supply gradually
- Inspect all connections carefully for leaks
This ensures a secure, leak-free connection before moving on.
Test Your New Faucet for Proper Function
With the water supply securely connected and leak-free, it’s time to test your new faucet to make sure everything works smoothly. Turn the water valves on slowly to avoid sudden pressure surges. Then, turn on the faucet handles and let the water run for a few minutes.
Check both hot and cold water flows to ensure proper temperature control. Watch carefully for any drips or leaks around the base, handles, and supply connections. Make sure the water pressure feels steady and strong.
Also, test the faucet’s aerator by observing the water stream; it should flow evenly without splashing. Finally, turn off the faucet to confirm it shuts off completely without any dripping. If everything functions as expected, your installation is successful and your faucet is ready for use.
Troubleshoot Common Bathroom Faucet Installation Issues
If you encounter problems during or after installing your bathroom faucet, don’t worry—most issues have straightforward solutions. First, check for leaks around connections; tighten any loose fittings carefully. If the water flow is weak, ensure the aerator isn’t clogged or the supply valves are fully open.
For a faucet that won’t shut off completely, inspect the cartridge or washers for damage and replace them if needed. Finally, if the handles feel stiff or hard to turn, apply plumber’s grease to the moving parts.
Common issues to troubleshoot include:
- Leaking connections or water pooling under the sink
- Low water pressure or uneven flow
- Faucet handle sticking or not turning smoothly
- Persistent dripping despite shutting off water
Address these quickly to keep your faucet working perfectly.
Frequently Asked Questions
Can I Install a Bathroom Faucet Without Professional Plumbing Experience?
Yes, you can install a bathroom faucet without professional experience. Just follow clear instructions, use basic tools, and take your time.
If you run into trouble, don’t hesitate to watch tutorials or ask for help.
What Type of Faucet Finish Is Best for Bathroom Durability?
You’ll want a brushed nickel finish—it’s basically the superhero of bathroom durability, resisting water spots and scratches like a champ. Chrome’s flashy but needs constant pampering.
How Do I Choose the Right Faucet Size for My Sink?
You choose the right faucet size by measuring your sink’s holes and space. Match the faucet’s spout reach to your sink’s basin, ensuring it doesn’t splash water outside.
Also, consider the countertop space around it.
Are There Water-Saving Faucets Available for Bathrooms?
Water-saving faucets are like superheroes for your bathroom, cutting water waste without sacrificing flow. You’ll find models with aerators and flow restrictors that help you save water and lower your bills effortlessly.
These features ensure efficient water use while maintaining performance. Installing such faucets is an easy step towards sustainability. Plus, they contribute to reducing your environmental footprint.
Can I Install a Faucet on a Countertop Instead of the Sink?
Yes, you can install a faucet on a countertop instead of the sink, as long as the countertop has pre-drilled holes or you can drill them.
Make sure the countertop material supports plumbing connections securely.
Conclusion
Installing a bathroom faucet might seem tricky, but with just seven simple steps, you can do it yourself confidently. Did you know nearly 60% of homeowners tackle plumbing projects on their own to save money? By following these steps, you’ll not only enhance your bathroom’s look but also gain valuable DIY skills.
So, turn off that water, grab your tools, and enjoy the satisfaction of a job well done! Installing a bathroom faucet is a great way to improve your home and boost your plumbing know-how. With these easy steps, your bathroom faucet installation will be smooth, efficient, and cost-effective.