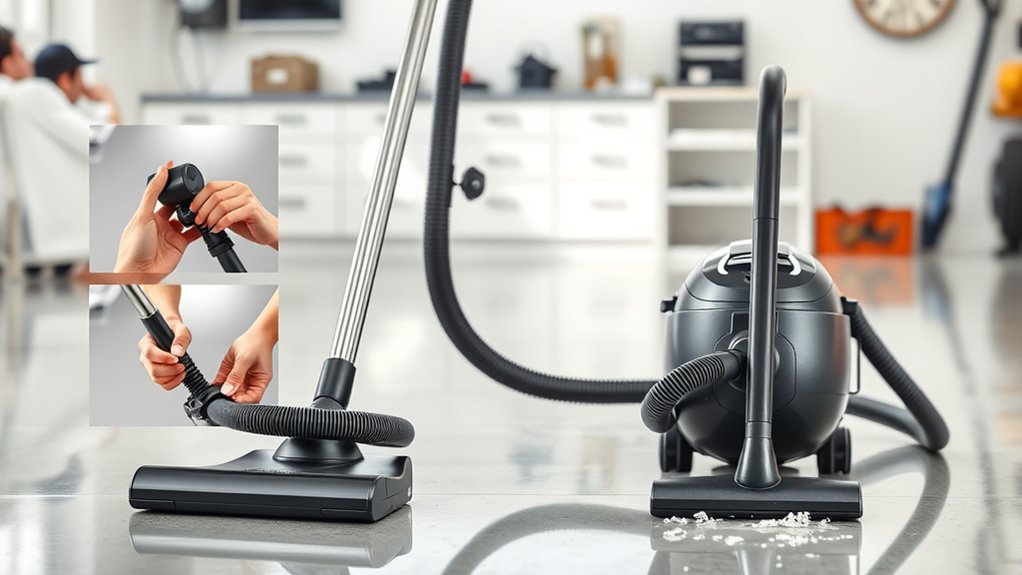
How Do You Use a Wet Dry Vacuum in 7 Easy Steps?
To use a wet dry vacuum in 7 easy steps, start by gathering your vacuum and safety gear. Wet dry vacuums are versatile tools designed for both liquid spills and dry debris, making them essential for thorough cleaning. Setting up your vacuum correctly ensures efficient performance and safety during use.
Next, set up the vacuum, choosing wet or dry mode based on the mess. Attach the right tools, like a foam or cartridge filter, then turn it on and test the suction.
Vacuum up liquids or debris carefully, then empty and clean the tank.
Keep everything maintained to avoid issues. Regular maintenance helps boost your vacuum’s performance and lifespan.
Keep going to uncover tips that’ll enhance your cleaning experience even further.
Key Takeaways
- Inspect and assemble the vacuum with the appropriate filter and attachment for wet or dry cleaning tasks.
- Plug in the vacuum, select the correct mode (wet, dry, or both), and ensure all components are secure.
- Turn on the vacuum and test suction by vacuuming a small area or hand to confirm functionality.
- Use steady, overlapping strokes with suitable attachments, avoiding hazardous materials or sharp objects.
- After use, empty and clean the tank, maintain filters, check for clogs, and store the vacuum in a dry place.
Get Your Vacuum and Safety Gear Ready
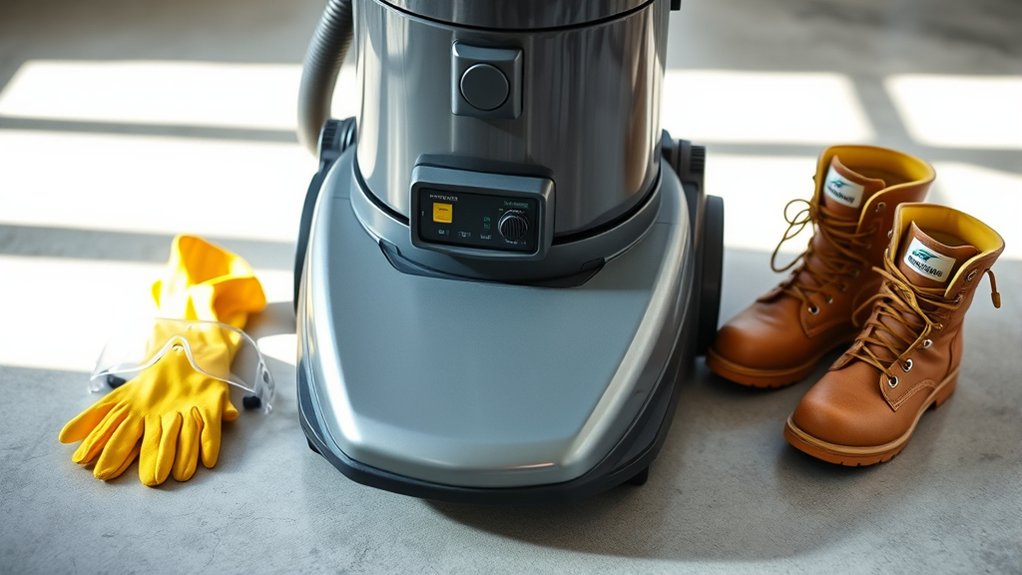
Before you begin, make sure you have your wet dry vacuum and the proper safety gear ready. You’ll want gloves to protect your hands from debris and any liquids you might encounter. Safety goggles are a smart choice to shield your eyes from splashes or dust.
Check that your vacuum is in good condition—inspect the power cord for damage and confirm the hose and attachments are clean and intact. Choose work clothes that you don’t mind getting dirty or wet. Having a sturdy pair of boots or closed-toe shoes will protect your feet.
Gathering everything beforehand keeps you safe and makes the cleaning process smoother. Once you have your vacuum and gear set, you’re ready to move on to setting up your vacuum correctly.
Set Up Your Vacuum for Wet or Dry Messes
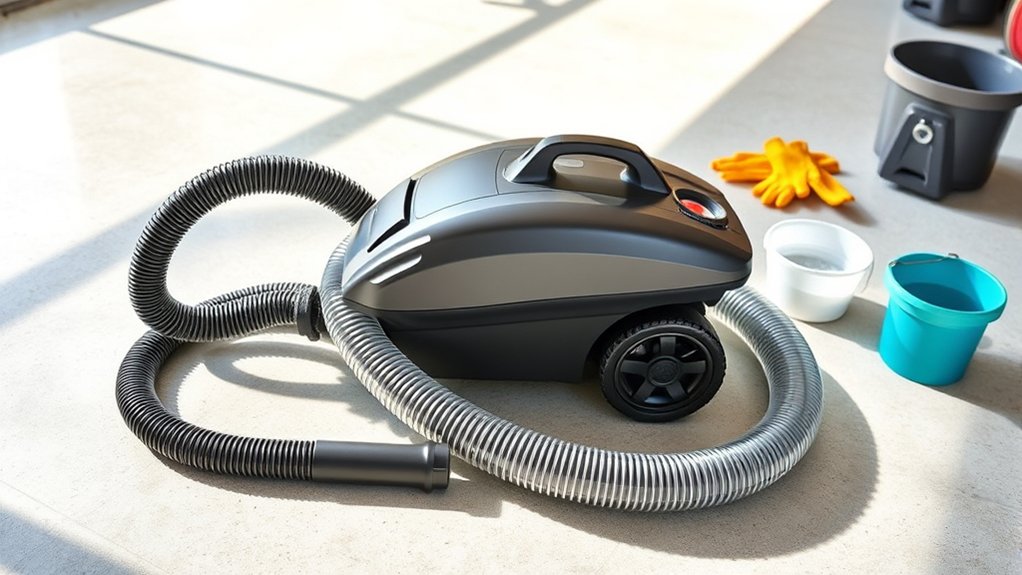
Before you start vacuuming, make sure you choose the right mode for wet or dry messes. Attach the correct filters to avoid damage and guarantee proper suction.
Finally, secure the collection tank tightly to prevent leaks and spills.
Choose Appropriate Vacuum Mode
Although wet dry vacuums are versatile, you need to select the correct mode to handle either wet or dry messes effectively. Choosing the right mode ensures maximum suction and prevents damage. Most vacuums have clear settings or switches for wet and dry use.
Switch to “wet” mode when cleaning spills or damp debris, and to “dry” mode for dust and dirt.
Here’s a quick guide to help you pick:
| Vacuum Mode | Best For |
|---|---|
| Dry | Dust, dirt, dry debris |
| Wet | Liquid spills, wet messes |
| Both | Mixed messes |
| Off | Before switching modes |
| Auto | Some models adjust modes |
Always double-check your vacuum’s instructions to avoid mistakes.
Attach Correct Filters
How do you make sure your wet dry vacuum works efficiently for the mess at hand? Start by attaching the correct filter. For dry debris, use a standard paper or foam filter designed to trap dust and dirt.
When handling wet spills, switch to a specialized wet filter or remove the dry filter entirely if your model allows, since wet messes can damage dry filters and reduce suction. Always check the vacuum’s manual to identify the right filter type for your task. Attach the filter securely to prevent dust or water from bypassing it and clogging the motor.
Taking this step ensures optimal performance and protects your vacuum’s internal components. Proper filter use not only improves cleaning but also extends your vacuum’s lifespan.
Secure Collection Tank
A secure collection tank is essential to keep your wet dry vacuum running smoothly and prevent leaks or spills. Before you begin, make sure the tank is properly seated in the vacuum base. Check that any locking mechanisms or clips are firmly engaged to hold the tank in place.
If your vacuum has a gasket or rubber seal, inspect it for damage and verify it fits snugly to avoid leaks. When dealing with wet messes, double-check that the tank is clean and dry before attaching it; moisture can cause poor seals.
Once secured, give the tank a gentle shake to confirm it’s stable. Taking these steps will help you avoid messes, maintain suction power, and ensure your vacuum performs efficiently every time you use it.
Hook Up the Right Wet Dry Vacuum Attachments
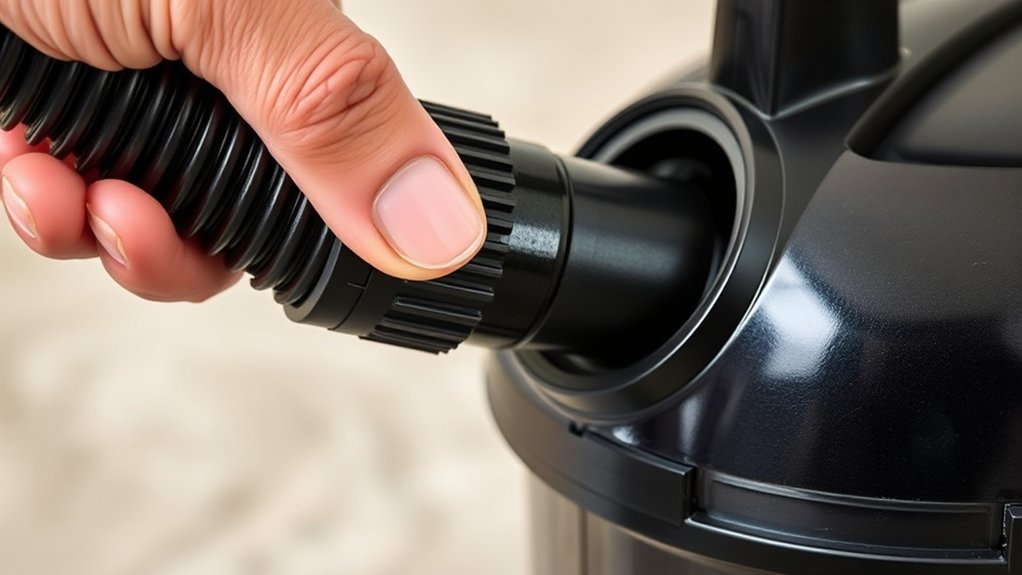
You’ll want to identify the different attachments that come with your wet dry vacuum and understand what each one is best for. Match the right attachment to the task at hand to get the best results.
Make sure each attachment is securely connected before you start cleaning.
Identify Attachment Types
Which attachment you choose for your wet dry vacuum can make all the difference in tackling specific messes effectively. Before you start, get to know the common attachment types so you can connect the right one quickly. Here are three key attachments you’ll find handy:
- Crevice Tool: Slim and angled, perfect for tight spaces and corners.
- Brush Nozzle: Soft bristles for delicate surfaces and dusting.
- Utility Nozzle: Wide and sturdy, designed for large debris and wet messes.
Each attachment fits differently, so check the vacuum’s hose diameter and locking mechanism to guarantee a secure connection. Identifying these attachment types upfront saves you time and effort during cleanup.
Match Attachments To Tasks
How do you decide which attachment to use for each cleaning job? Start by matching the attachment’s design to the task at hand. Use a wide nozzle for large debris or wet spills to cover more surface quickly.
A crevice tool works best for tight spaces, corners, and edges where dirt hides. For delicate surfaces or upholstery, choose a brush attachment to loosen dust without damage. When tackling stairs or car interiors, a smaller handheld tool provides better control.
If you’re cleaning liquids, make certain you use attachments designed to handle wet messes safely. By pairing each attachment with its specific purpose, you’ll clean more efficiently and protect both your surfaces and your vacuum from unnecessary wear.
Secure Attachments Properly
Before turning on your wet dry vacuum, make certain each attachment is securely connected to prevent air leaks and loss of suction. Check that hoses, nozzles, and extension wands fit snugly and lock into place. Loose connections reduce efficiency and can cause debris to escape.
Here’s how to secure attachments properly:
- Align the attachment with the vacuum’s inlet or hose and push firmly until it clicks or locks.
- Inspect seals and gaskets for wear; replace if damaged to maintain a tight seal.
- Twist or lock attachments as designed to ensure they won’t come loose during use.
Turn It On and Give It a Quick Test
Wondering if your wet dry vacuum is ready to tackle the job? The best way to find out is to turn it on and give it a quick test. First, make sure the power cord is securely plugged in and the switch is in the “off” position before you start.
Then, flip the switch to “on” and listen for any unusual sounds or vibrations that could signal an issue. Check that the suction feels strong by placing the hose near your hand or a small piece of debris. If everything runs smoothly, you’re good to go.
If not, double-check your attachments and connections before trying again. This quick test guarantees your vacuum is working properly and ready for the task ahead.
Vacuum Up Liquids or Debris Safely
When you start vacuuming liquids or debris, make sure you’ve set up your wet dry vacuum correctly to avoid damage or mess. First, check that the correct filter is in place—use the foam filter for liquids and the cartridge filter for dry debris. Next, confirm the tank is empty to maximize capacity and prevent overflow.
Finally, attach the right nozzle for the job to ensure efficient suction.
Remember these tips for safe vacuuming:
- Never switch between wet and dry without changing filters to avoid clogs.
- Keep an eye on the tank level to stop vacuuming before it fills.
- Avoid vacuuming hazardous materials like flammable liquids or sharp objects that can damage the vacuum.
Following these steps keeps your vacuum effective and your space clean.
Empty and Keep Your Vacuum in Top Shape
To keep your wet dry vacuum performing at its best, you’ll need to empty the tank regularly and perform simple maintenance tasks. After each use, unplug the vacuum and carefully remove the tank or canister. Dispose of the collected debris or liquids properly, then rinse the tank with clean water to prevent buildup and odors.
Make sure to dry the tank thoroughly before reassembling. Check the filters regularly; clean or replace them as needed to maintain suction power. Inspect hoses and attachments for clogs or damage, clearing blockages promptly.
Storing your vacuum in a dry, cool place will also extend its lifespan. By following these steps, you’ll keep your wet dry vacuum in top shape and ready for any cleaning job.
Troubleshoot Common Wet Dry Vacuum Problems
Although wet dry vacuums are versatile and reliable, you might encounter a few common issues during use. Don’t worry—most problems are easy to fix with a little troubleshooting. If your vacuum isn’t picking up debris effectively, check for clogs in the hose or nozzle.
A loss of suction often means the filter is dirty or improperly installed. Ultimately, if the vacuum won’t turn on, make sure it’s plugged in and the power switch is functioning correctly.
To summarize, here’s what to check:
- Hose and nozzle for blockages
- Filter cleanliness and placement
- Power source and switch condition
Frequently Asked Questions
Can a Wet Dry Vacuum Be Used to Clean Carpets?
Yes, you can use a wet dry vacuum to clean carpets, especially for wet spills or deep dirt. Just make sure to use the proper attachments and settings to avoid damaging your carpet fibers.
Using the vacuum carefully will help maintain the carpet’s texture and appearance. Always check the manufacturer’s instructions for both your carpet and vacuum. This ensures you use the device safely and effectively.
How Long Does the Vacuum’s Battery Usually Last?
The vacuum’s battery usually lasts between 20 to 60 minutes, depending on the model and power setting you use.
You’ll want to charge it fully before each job to make sure it runs smoothly.
Are Wet Dry Vacuums Safe for Outdoor Use?
Yes, you can safely use wet dry vacuums outdoors as long as you avoid wet conditions that could damage the motor or cause electrical hazards.
Always check the manufacturer’s guidelines and keep the vacuum dry and stable.
What Is the Average Lifespan of a Wet Dry Vacuum?
You’d expect a wet dry vacuum to last about 5 to 10 years, but if you use it outdoors often, coincidentally it might wear out faster.
Keep it clean and maintained to extend its life.
Can I Use Regular Vacuum Bags With a Wet Dry Vacuum?
You can’t use regular vacuum bags with a wet dry vacuum because they’re designed for dry debris only. Always use bags or filters made specifically for wet dry vacuums to avoid damage and guarantee proper suction.
Conclusion
Using a wet dry vacuum correctly makes cleanup faster and easier. Did you know that wet dry vacuums can remove up to 99.9% of spills and debris, saving you hours compared to manual cleaning? By following these simple steps, you’ll handle any mess confidently, protect your vacuum, and troubleshoot issues quickly.
Keep your space spotless and your vacuum running smoothly by sticking to these tips. With proper use, maintenance, and care, a wet dry vacuum becomes an essential tool for efficient cleaning. You’ll wonder how you ever managed without one!