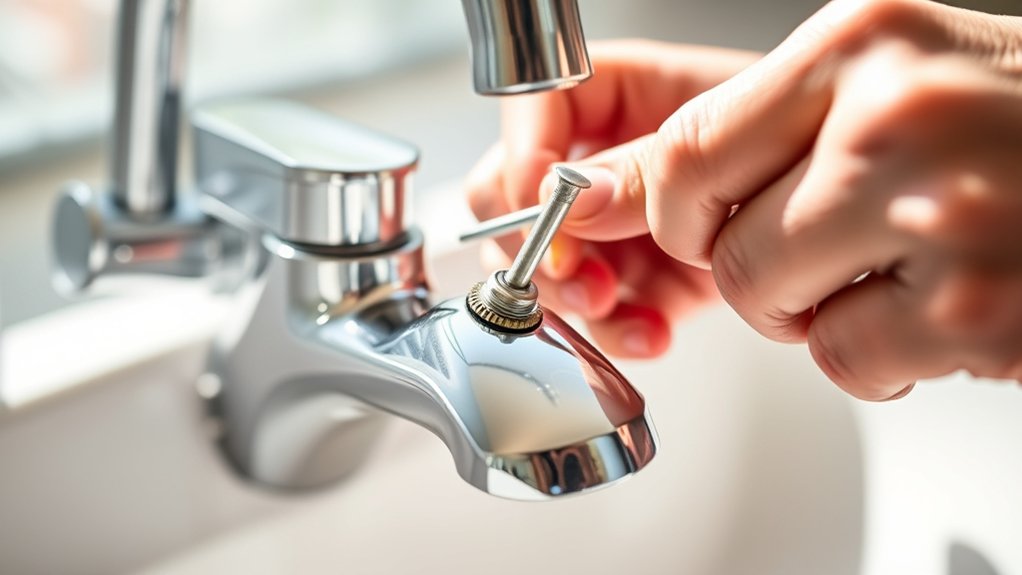
How to Remove Faucet Handle in 7 Easy Steps
To remove your faucet handle in seven easy steps, start by gathering essential tools like screwdrivers and an Allen wrench. These tools will help you safely and effectively remove the handle without causing damage.
Turning off the water supply is crucial to avoid any spills or leaks during the process.
Next, open the faucet to drain any remaining water from the pipes.
Gently pop off the handle cap to expose the set screw underneath.
Use the appropriate tool to loosen this screw carefully.
Once the set screw is loose, lift the handle off cautiously without forcing it.
After removal, clean and inspect the exposed parts to ensure everything is in good condition.
Keep following for detailed tips to make the process smoother and prevent damage.
Key Takeaways
- Turn off the water supply and open the faucet to drain remaining water before starting.
- Pry off the handle cap gently using a flathead screwdriver or plastic putty knife to access the set screw.
- Use the appropriate Allen wrench or screwdriver to remove the hidden set screw under the handle.
- Carefully lift and remove the faucet handle, supporting the base to avoid damage.
- Clean and inspect exposed parts for wear or damage before reassembling the faucet.
Gather Tools to Remove a Faucet Handle
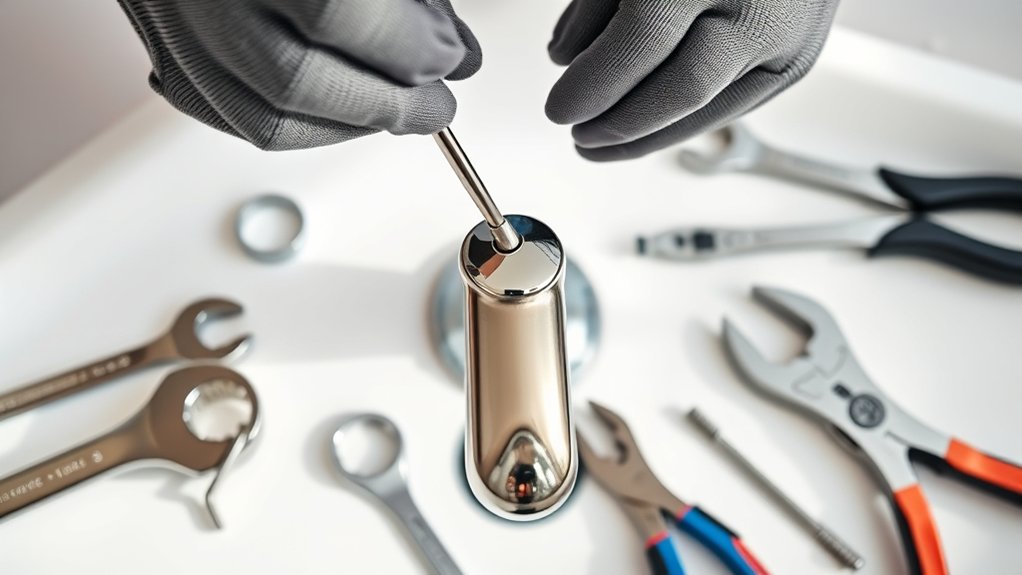
Before you begin removing the faucet handle, gather all the necessary tools to make the process smoother. You’ll typically need a flathead screwdriver and a Phillips screwdriver to handle various screws. An Allen wrench set is essential since many faucet handles use hex screws hidden under decorative caps.
You might also want a pair of adjustable pliers to grip stubborn parts without causing damage. Having a cloth handy can protect your fixtures and catch any small screws that might fall. Don’t forget a flashlight to help you see tight or dark areas clearly.
Collecting these tools upfront prevents interruptions and saves time, letting you focus on the removal without scrambling for equipment midway through the job.
Turn Off the Water Supply Before Removal
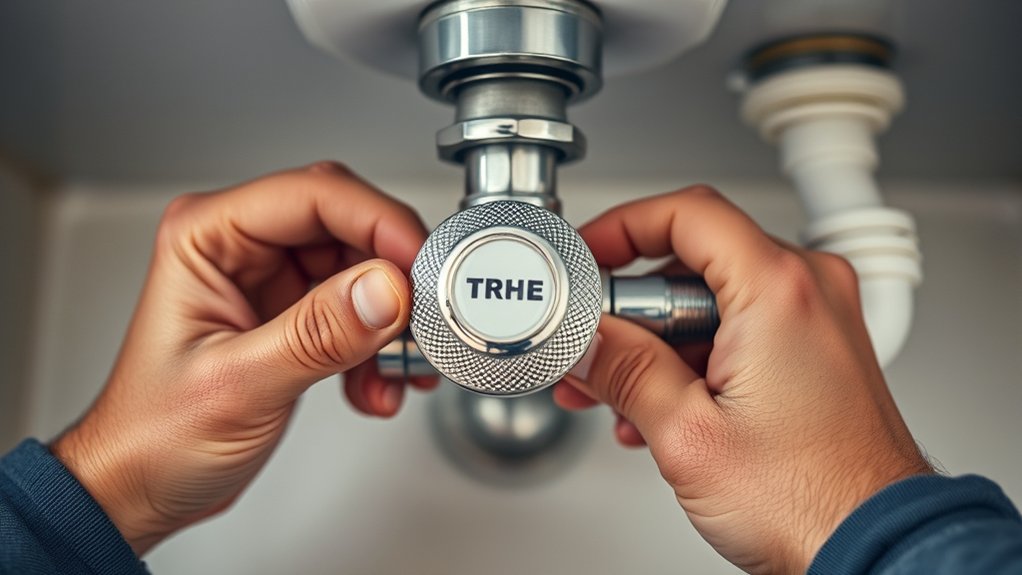
How do you prevent water from flooding your workspace when removing a faucet handle? The key is to turn off the water supply first. This simple step saves you from unexpected messes and costly repairs.
Before you start, locate the shutoff valves under the sink or near the main water line. Then, follow these steps:
Locate the shutoff valves under the sink or near the main water line before beginning any faucet work.
- Turn the valves clockwise to close them tightly.
- Open the faucet to drain remaining water and relieve pressure.
- Double-check for leaks by watching the pipes closely.
Find and Pop Off the Handle Cap

First, locate the small handle cap on your faucet handle—it’s usually centered or on the side. Grab a flathead screwdriver or a similar tool to gently pry it off without damaging the finish.
Take your time and carefully pop the cap off to reveal the screw underneath.
Locate Handle Cap
Where exactly is the handle cap hiding on your faucet? It’s often tucked right on top or at the front of the handle, blending in seamlessly. You might miss it if you don’t know where to look.
Locating this little cap is your first victory in tackling your faucet repair.
Look for these spots where the handle cap commonly hides:
- On the flat top surface of the handle, often a small, round piece
- At the base of the handle, near where it meets the faucet body
- Underneath a decorative cover or emblem that snaps on
Once you find it, you’ll feel a surge of confidence—knowing you’re one step closer to fixing the problem without hassle or damage.
Use Proper Tools
Although locating the handle cap can be tricky, using the proper tools will make popping it off much easier and prevent damage to your faucet. Start with a flathead screwdriver that fits snugly under the edge of the cap. If you don’t have one, a plastic putty knife works well and reduces the risk of scratching the finish.
Avoid using sharp or pointed tools that might gouge the surface. Before prying, wrap the tool’s tip with a thin cloth to protect the faucet. You’ll want steady, gentle leverage to loosen the cap without bending or cracking it.
Having the right tool ready not only speeds up the process but also keeps your faucet looking good for years to come.
Gently Pop Off
Once you locate the handle cap, gently pry it off using your chosen tool, taking care not to apply too much force. The handle cap often hides the screw securing the faucet handle, so removing it carefully is essential to avoid damage. Use a flathead screwdriver or a plastic pry tool to ease it off without scratching the surface.
Remember, patience is key here.
As you pop off the cap, keep in mind:
- You’ll feel a satisfying click, signaling success.
- The small cap might be slippery; hold it firmly.
- Avoid rushing to prevent any cracks or dents.
Taking these steps guarantees a smooth, damage-free removal, setting you up perfectly for the next stage of your faucet handle removal.
Carefully Remove the Set Screw Holding the Handle
Once you’ve popped off the handle cap, look closely to find the set screw holding the handle in place. Make sure you have the right tool, usually an Allen wrench or screwdriver, that fits snugly to avoid stripping the screw.
Take your time and turn the screw slowly to remove it safely.
Locating The Set Screw
Before you can remove the faucet handle, you need to locate the set screw that holds it in place. This small screw is usually hidden, so take a close look around the base or the underside of the handle. Don’t rush—finding it precisely will save you frustration later.
Here’s how to spot it easily:
- Check for a tiny hole or cover on the handle’s side or back.
- Look under decorative caps or plastic covers that might be hiding the screw.
- Shine a flashlight to reveal dark or shadowed areas where the set screw could be concealed.
Once you find it, you’ll feel confident and ready to move forward without damaging your faucet. Take your time—this step is key to a smooth handle removal.
Choosing The Right Tool
After locating the set screw, your next step is picking the right tool to remove it without causing damage. Most set screws are either Allen (hex) screws or flathead/slotted screws. Identify the screw type before proceeding.
If it’s an Allen screw, use a properly sized Allen wrench that fits snugly to avoid stripping. For flathead screws, grab a flathead screwdriver with a blade width matching the screw slot. Avoid using a Phillips screwdriver on flathead screws, as it can slip and damage the screw head.
Turn the tool counterclockwise gently but firmly. If the screw feels stuck, apply a penetrating lubricant and wait a few minutes before trying again. Using the appropriate tool ensures a smooth removal and prevents costly repairs.
Lift Off the Faucet Handle Without Damage
Although removing a faucet handle might seem straightforward, you’ll want to do it carefully to avoid damaging any parts. Start by gently wiggling the handle back and forth to loosen it. If it resists, don’t force it—apply a little penetrating oil or warm water to help ease it off.
Use a handle puller if needed, but always protect the finish with a cloth.
Keep these tips in mind to lift off your faucet handle without damage:
- Take your time; rushing can cause cracks or breaks.
- Use the right tool for your faucet type to avoid scratches.
- Support the faucet base with your other hand for stability.
Clean and Inspect the Faucet’s Exposed Parts
Once you’ve removed the handle, you’ll want to clean and inspect the exposed parts carefully to guarantee everything is in good condition. Start by wiping away any dirt, grime, or mineral buildup using a soft cloth and mild cleaner. Avoid harsh chemicals that could damage the finish.
Check the stem, cartridge, or valve for signs of corrosion, cracks, or wear. Look closely at the surrounding areas for leaks or damaged seals. If you notice any debris stuck in crevices, use a small brush or toothpick to remove it gently.
Taking the time to clean and examine these components now helps prevent future issues and ensures your faucet will function properly when you’re ready to put it back together.
Prepare Faucet Parts for Reassembly or Replacement
Before reassembling your faucet, make certain each part is clean, intact, and ready to function properly. Take this time to examine every component carefully. If something looks worn or damaged, replacing it now will save you frustration later.
Organize your parts so nothing gets lost during reassembly.
Focus on these key steps:
- Check for cracks or corrosion that could cause leaks or malfunction.
- Lubricate moving parts to ensure smooth operation and prevent future stiffness.
- Arrange screws and small pieces in a container or on a magnetic tray to keep them secure.
Frequently Asked Questions
What Causes a Faucet Handle to Become Stuck or Hard to Turn?
You’ll find a faucet handle stuck or hard to turn because of mineral buildup, corrosion, or worn-out parts inside. Dirt and debris can also jam it, making movement tough until you clean or replace components.
How Do I Identify the Type of Faucet Handle I Have?
You’ll identify your faucet handle type by checking its shape and mechanism—whether it’s a knob, lever, or cross handle. Also, look under the handle for screws or caps to determine if it’s a cartridge, ball, or compression style.
Can I Replace Just the Faucet Handle Without Replacing the Entire Faucet?
You can swap out just the faucet handle, like changing a hat on your favorite friend.
As long as the new handle fits the stem, you won’t need to replace the whole faucet—easy and budget-friendly!
What Materials Are Faucet Handles Commonly Made From?
Faucet handles are commonly made from metal, like brass or stainless steel, and durable plastics. You’ll also find ceramic or glass options for decorative styles.
Choose a material that matches your faucet’s look and durability needs.
How Do I Prevent Faucet Handles From Corroding or Rusting?
You can prevent faucet handles from rusting by applying a protective coating; did you know 30% of plumbing issues stem from corrosion? Regularly clean and dry handles, and use rust-resistant materials or sealants to keep them looking new.
Conclusion
Removing your faucet handle is simpler than you might think. With the right tools and careful steps, you’ll have it off in no time. Think of it like peeling a ripe fruit—gentle but deliberate, ensuring nothing gets damaged.
Once you’ve cleaned and inspected the parts, you’re ready to reassemble or replace with confidence. You’ve taken control of your faucet repair, making your space feel refreshed and well cared for. Following these faucet handle removal steps ensures a smooth and successful fix every time.