How to Install a Kitchen Sink Faucet in 7 Easy Steps
To install a kitchen sink faucet in seven easy steps, start by gathering all necessary tools and materials. Having everything ready will save time and prevent interruptions during the installation process. It’s essential to turn off your water supply and clear the area around the sink before beginning.
Next, remove the old faucet carefully and clean the mounting space thoroughly. This ensures a proper fit for your new faucet.
Securely install the new faucet base and attach all components as instructed.
After that, connect the water supply lines tightly and check for any leaks while testing the handles.
Reattach any accessories such as sprayers or soap dispensers.
Finally, clean up the workspace to complete the job.
Following these basics will make the process smooth, and you’ll discover helpful tips to guarantee a lasting, leak-free faucet.
Key Takeaways
- Turn off water supply, open faucet to drain water, and prepare the sink area with necessary tools and materials.
- Remove the old faucet by disconnecting supply lines and loosening mounting nuts, then clean the mounting area.
- Position and secure the new faucet base over sink holes, tightening mounting hardware without overtightening.
- Connect hot and cold supply lines to faucet and valves, then turn on water and check for leaks.
- Perform final checks for leaks and function, securely tighten fittings, and clean the sink area after installation.
Gather Tools and Materials for Faucet Installation
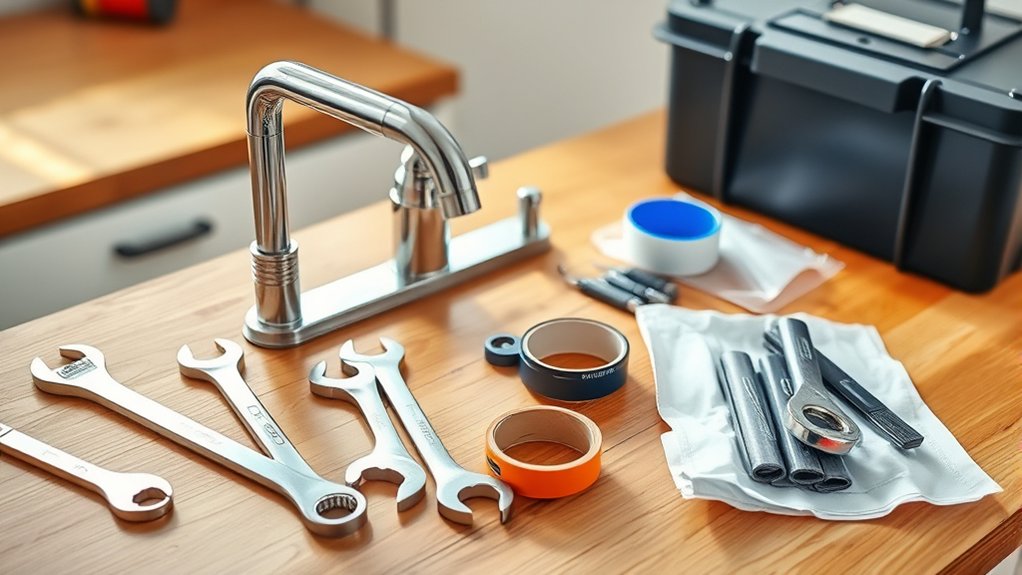
Before you begin installing your kitchen sink faucet, make sure you gather all the necessary tools and materials. You’ll need an adjustable wrench, basin wrench, plumber’s tape, and a screwdriver—usually Phillips or flathead depending on your faucet model. Also, have a bucket or towel handy to catch any residual water during installation.
Don’t forget the new faucet itself and any included parts like mounting nuts, gaskets, and supply lines. If your faucet doesn’t come with supply lines, pick up flexible ones that fit your water valves. Having everything ready helps you avoid interruptions and frustration.
Double-check the manufacturer’s instructions for any special tools or components you might need. Once you have all these items, you’re set to move on confidently with your installation.
Turn Off Water and Get Your Sink Ready
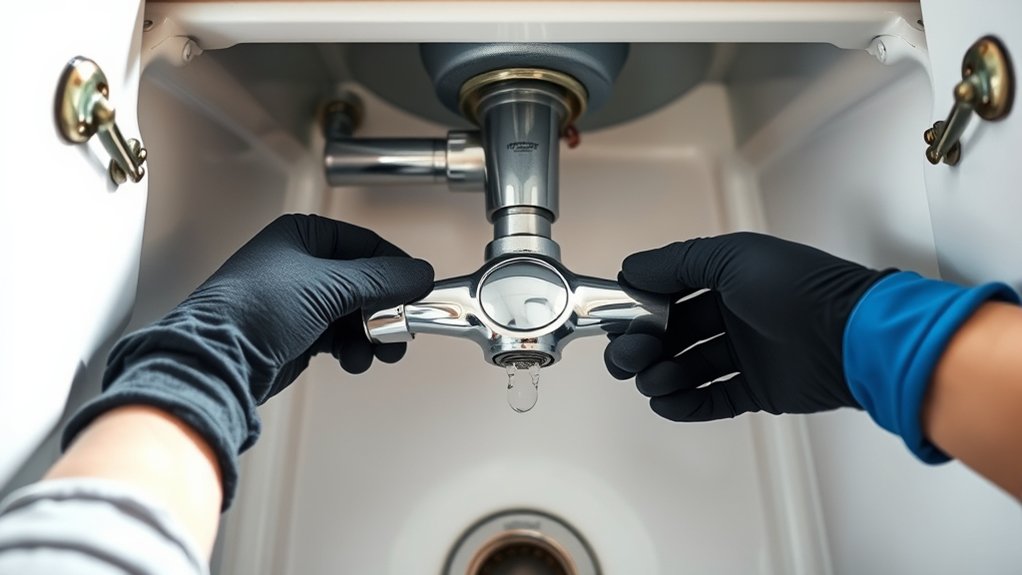
Since water can cause damage or make installation messy, you’ll want to turn off the water supply to your kitchen sink before starting. Locate the shutoff valves under the sink and twist them clockwise to close. If you can’t find individual valves, shut off the main water supply for your home.
After shutting off the water, open the faucet to drain any remaining water in the lines. This prevents spills when disconnecting hoses later. Finally, clear the area under the sink to give yourself enough space to work comfortably.
- Use a bucket or towel to catch any residual water.
- Confirm both hot and cold supplies are fully off.
- Double-check by turning the faucet on after closing valves.
- Remove any items blocking access to plumbing fixtures.
Remove Old Faucet and Inspect Mounting Area
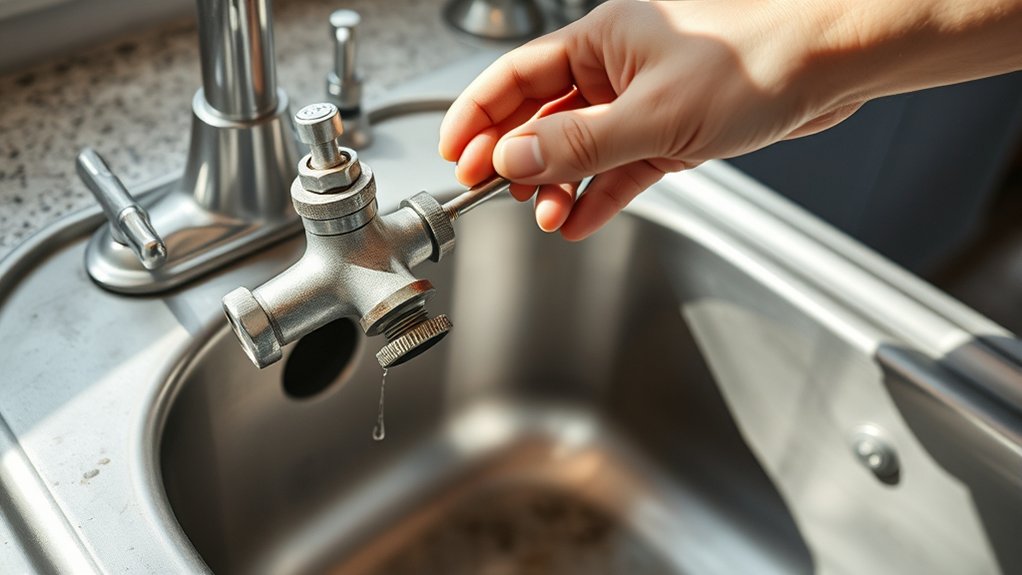
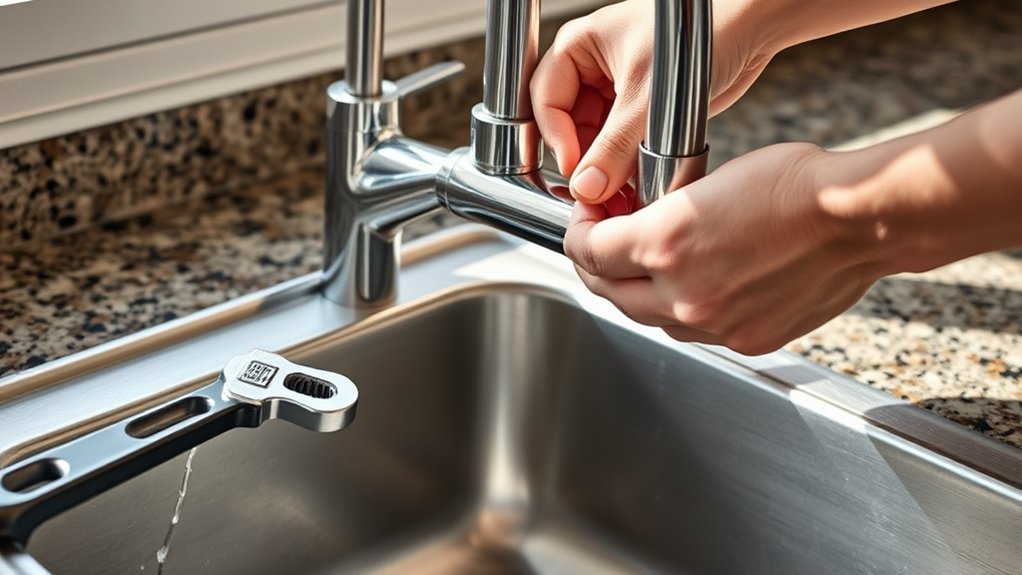
Once you’ve turned off the water and cleared your workspace, you can start removing the old faucet. Begin by disconnecting the supply lines with an adjustable wrench. Loosen and remove the mounting nuts beneath the sink that hold the faucet in place.
If the faucet is stuck, gently wiggle it or use a basin wrench to reach tight spots. Once free, lift the faucet out from above the sink. Next, thoroughly clean the mounting area—remove old putty, grime, or mineral buildup to guarantee a smooth surface.
Inspect the sink and mounting holes for any damage or corrosion. Address any issues before proceeding, as a clean, intact mounting area is essential for a secure installation of your new faucet.
Install the New Kitchen Sink Faucet Base Securely
Start by aligning the faucet base properly over the mounting holes to guarantee a snug fit. Then, tighten the mounting hardware securely to keep the faucet stable.
Finally, check the base for any wobbling before moving on.
Align Faucet Base Properly
Before tightening the mounting nuts, make sure you align the faucet base properly over the sink holes. Proper alignment guarantees a secure fit and prevents leaks or uneven placement. Take your time to adjust the base so it sits flush and looks straight from every angle.
Here are key points to focus on:
- Check that the faucet handle(s) operate smoothly without obstruction
- Confirm the base covers all mounting holes completely
- Ensure the faucet is centered relative to the sink basin
- Verify the gasket or seal is evenly compressed to avoid water seepage
Careful alignment here saves you from having to redo the installation later. Once you’re confident with the position, you can proceed to secure the mounting hardware tightly.
Secure Mounting Hardware Tight
Although aligning the faucet base is essential, you need to tighten the mounting hardware securely to keep everything firmly in place. Begin by positioning the mounting bracket or plate under the sink where the faucet tailpiece fits through. Next, slide the mounting nuts onto the faucet shank threads and hand-tighten them to hold the faucet base steady.
Use a basin wrench or adjustable wrench to tighten these nuts further; turn them clockwise until they’re snug but avoid over-tightening, which could damage the sink or faucet. If your faucet includes a locking clip or additional washers, make sure they’re properly positioned before final tightening.
Securing the mounting hardware firmly ensures your faucet won’t wobble or shift during use, providing a solid foundation for the rest of your installation process.
Check Base Stability
How can you be sure your kitchen sink faucet base is stable after tightening the mounting hardware? First, give the base a firm shake to see if it moves or wiggles. A secure base won’t shift under pressure.
Next, visually inspect the connection to confirm the mounting nuts are fully tightened and flush against the sink. Use a flashlight if needed to check underneath. Also, verify that the gasket or plumber’s putty is evenly compressed to prevent leaks and maintain stability.
Finally, ensure the faucet sits evenly without tilting.
To check base stability effectively:
- Test for any lateral or rotational movement.
- Confirm mounting hardware is snug but not over-tightened.
- Inspect sealing material for uniform compression.
- Make sure the faucet aligns straight and level with the sink.
Connect Water Supply Lines to Your Kitchen Faucet
Where do you start when connecting water supply lines to your kitchen faucet? First, identify the hot and cold water valves under the sink. Attach the supply lines to the corresponding valves, making sure the hot line goes to the hot valve and the cold line to the cold valve.
Hand-tighten the nuts to avoid cross-threading, then use an adjustable wrench to give them an extra quarter turn for a secure fit. Next, connect the other ends of the supply lines to the faucet’s threaded inlets. Again, hand-tighten first, then snug with a wrench.
Be careful not to overtighten, as this can damage fittings. Once connected, guarantee the lines aren’t kinked or twisted, which could restrict water flow or cause leaks.
Test Your Kitchen Faucet for Leaks and Function
Now that your faucet’s connected, turn on the water to check the flow and pressure. Carefully inspect all connections for any leaks or drips.
If you spot any issues, tighten fittings or replace parts to guarantee everything works perfectly.
Check Water Flow
Why is it important to check water flow after installing your kitchen faucet? Ensuring proper water flow confirms your installation is successful and your faucet functions efficiently. It helps you identify any blockages, pressure issues, or faulty parts early on.
Here’s what to focus on:
- Turn on both hot and cold water to verify steady, consistent flow.
- Observe the water stream for any sputtering or irregular spray patterns.
- Check the aerator for debris that might restrict water flow.
- Note if the flow pressure feels weak, indicating possible supply line or valve issues.
Inspect Faucet Connections
How can you be sure your kitchen faucet is completely secure after installation? Start by closely inspecting all connections under the sink. Check the water supply lines where they attach to the faucet and shutoff valves.
Tighten any loose nuts with an adjustable wrench, but don’t overtighten and risk damage. Next, turn on the faucet and watch carefully for leaks at every joint. Pay attention to both hot and cold water lines, as well as the base where the faucet meets the sink.
Also, operate the faucet handles to confirm smooth function and consistent water flow. If everything stays dry and works properly, your faucet connections are secure, and you’re ready to enjoy your new installation without worry.
Identify and Fix Drips
After making sure all your connections are tight and leak-free, the next step is to test your faucet for any drips or slow leaks that might not be obvious at first glance. Turn on the water and watch closely around the base, handles, and spout. Even a tiny drip can waste water and cause damage over time.
To identify and fix drips, remember to:
- Check the faucet aerator for clogs or buildup that can affect flow.
- Inspect the cartridge or valve inside the handle for wear or damage.
- Tighten any loose parts carefully without overtightening.
- Replace worn washers or seals that often cause leaks.
Addressing these issues promptly keeps your faucet working smoothly and prevents costly repairs later.
Reattach Accessories and Clean the Area
Once you’ve secured the faucet, go ahead and reattach any accessories like the sprayer or soap dispenser to restore full functionality. Make sure each accessory is tightly connected to avoid leaks or loose fittings.
After everything’s back in place, clean the sink area thoroughly to remove any debris, fingerprints, or water spots.
Here’s a quick checklist to keep you organized:
| Task | Tool Needed | Tip |
|---|---|---|
| Reattach Sprayer | Adjustable Wrench | Tighten but don’t overtighten |
| Install Soap Dispenser | Screwdriver | Check for proper alignment |
| Clean Area | Soft Cloth & Cleaner | Use non-abrasive cleaner |
This final step ensures your new faucet installation looks great and works perfectly.
Frequently Asked Questions
What Types of Kitchen Faucets Are Best for Hard Water Areas?
You should choose faucets made from stainless steel or brass with ceramic disc valves, as they resist corrosion and mineral buildup.
Look for models with easy-to-clean aerators to handle hard water effectively and last longer.
How Do I Choose the Right Faucet Finish for My Kitchen Decor?
You should match your faucet finish to your kitchen’s style and existing fixtures. Consider durability, ease of cleaning, and how well it hides water spots.
Popular finishes include chrome, brushed nickel, and matte black.
Can I Install a Touchless Faucet Myself or Should I Hire a Pro?
You can install a touchless faucet yourself if you’re comfortable with basic plumbing and electrical work. If not, hiring a pro guarantees proper setup and avoids costly mistakes.
Trust your skills and decide accordingly.
What Maintenance Tips Extend the Life of My Kitchen Faucet?
Like tending a timeless garden, you’ll want to clean aerators regularly, check for leaks, and avoid harsh chemicals.
Tighten connections gently and wipe down surfaces to keep your faucet shining and lasting through countless meals.
How Do I Troubleshoot Low Water Pressure From My New Faucet?
You should first check the aerator for clogs and clean it. Also, verify the supply valves are fully open.
If pressure’s still low, inspect the cartridge for debris or damage and replace it if necessary.
Conclusion
Now that you’ve followed these steps, your kitchen sink faucet is ready to go—no steam-powered contraptions needed!
Remember, turning off the water first saves you from a flood of trouble. With your new faucet securely installed and leak-free, you’re all set to enjoy a modern, functional kitchen.
Just reattach any accessories, give the area a quick clean, and you’re done. You’ve nailed it—congratulations on your DIY success with your kitchen sink faucet installation!