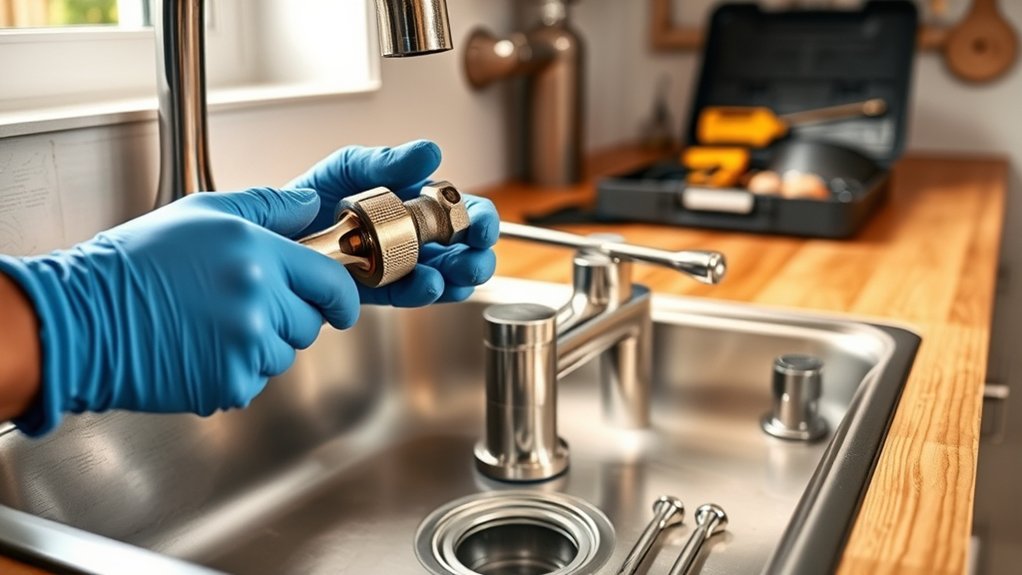
How to Install a Faucet in 7 Easy Steps
To install a faucet in 7 easy steps, start by gathering essential tools such as a basin wrench, adjustable wrench, and plumber’s tape. Having the right tools on hand is crucial for a smooth faucet installation process. These tools will help you remove the old faucet and secure the new one properly.
First, turn off the water supply and open the faucet to drain any remaining water. Next, remove the old faucet and thoroughly clean the sink surface to ensure a good seal.
Align and secure your new faucet with the mounting nuts, tightening them firmly but carefully. Then, connect the water supply lines, making sure there are no kinks to avoid leaks.
Finally, test the faucet for leaks and proper operation. Follow these steps, and you’ll be ready to explore the complete process effortlessly.
Key Takeaways
- Turn off water supply valves and open faucet to drain remaining water before starting installation.
- Use adjustable and basin wrenches to remove the old faucet and disconnect water lines.
- Clean the sink surface thoroughly to ensure a smooth, leak-free installation of the new faucet.
- Align the new faucet with mounting holes, secure with nuts and washers, and check stability.
- Connect supply lines to faucet and shutoff valves, tighten fittings, and test for leaks and proper operation.
Gather Tools and Materials for Faucet Installation
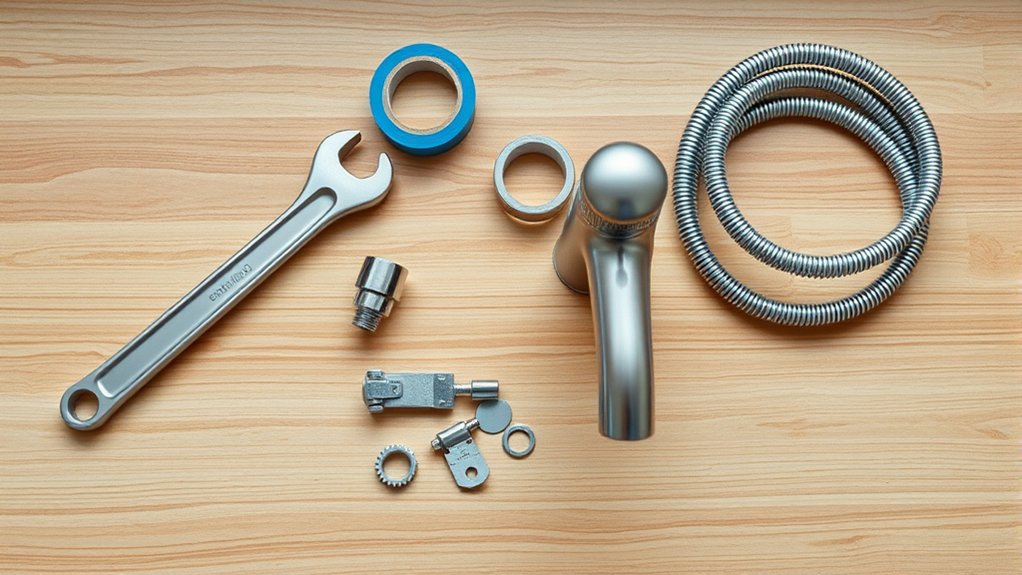
Before you begin installing your faucet, gather all the necessary tools and materials to avoid interruptions. You’ll need a basin wrench to reach tight spaces under the sink, adjustable wrenches for securing nuts, and plumber’s tape to guarantee watertight connections. Have a bucket handy to catch any water drips during the process.
Grab a screwdriver, usually Phillips or flathead, depending on your faucet model, and a flashlight for better visibility in dark cabinet areas. Don’t forget to check if your new faucet includes all parts, like mounting nuts, washers, and supply lines, before starting. Having everything ready upfront makes the installation smoother and saves you from scrambling mid-job.
Preparing well sets you up for success with your faucet replacement or upgrade.
Turn Off the Water Supply for Faucet Installation
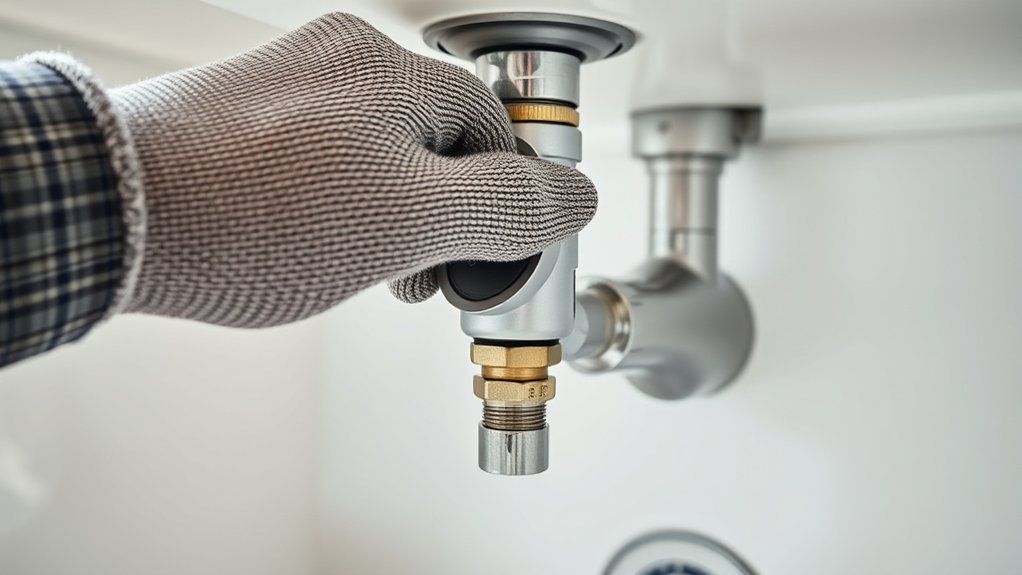
How do you safely stop water from flowing while installing your faucet? First, locate the shutoff valves under your sink—usually, there’s one for hot and one for cold water. Turn both valves clockwise until they’re fully closed.
This stops water from flowing to your faucet without shutting off water to the entire house. If you don’t find individual shutoff valves, you’ll need to turn off the main water supply, which is often near your water meter or where the main pipe enters your home. After turning off the water, open the faucet to drain any remaining water from the lines.
This step prevents leaks and makes installation easier. Now, you’re ready to proceed with installing your new faucet safely and without surprises.
Remove the Old Faucet and Clean the Sink
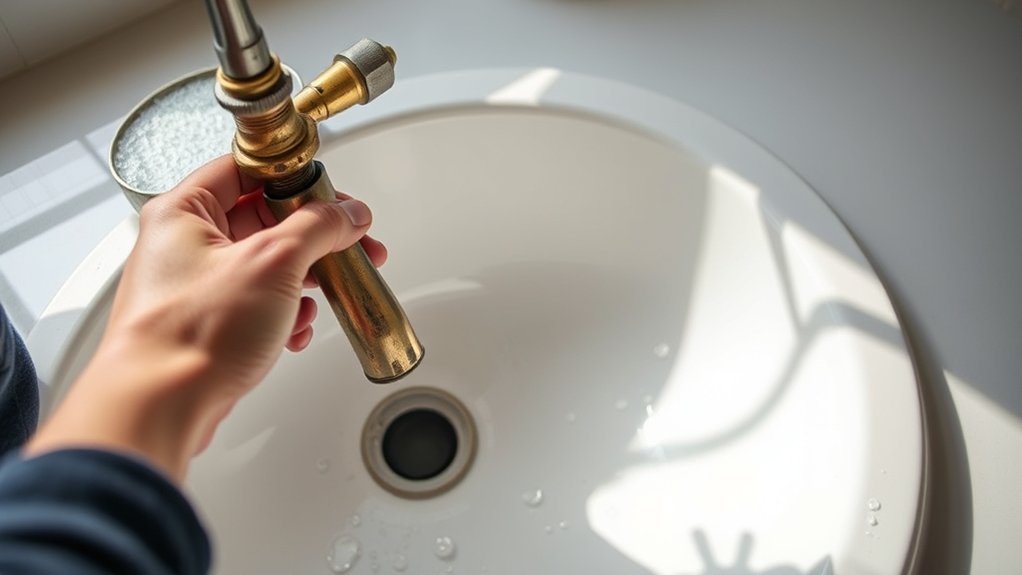
Once the water supply is securely shut off, you can start removing the old faucet by disconnecting the water lines and loosening the mounting nuts underneath the sink. Use an adjustable wrench to avoid damaging fittings. After detaching the faucet, lift it out carefully.
Next, clean the sink surface to remove old putty, grime, and mineral buildup. This ensures a smooth, leak-free installation for your new faucet.
| Step | Tool Needed | Tip |
|---|---|---|
| Disconnect water lines | Adjustable wrench | Turn counterclockwise gently |
| Loosen mounting nuts | Basin wrench | Reach tight spaces easily |
| Clean sink surface | Scraper & cleaner | Remove all residue thoroughly |
Install and Secure Your New Faucet
After preparing the sink, you can position your new faucet by aligning it with the mounting holes. Hold the faucet firmly in place, ensuring it sits evenly and straight. From underneath the sink, thread the mounting nuts onto the faucet shanks.
Use your fingers to tighten them initially, then switch to a basin wrench or adjustable wrench to secure them firmly. Be careful not to overtighten, as this can damage the sink or faucet. Check that the faucet remains properly aligned as you tighten.
Once the mounting nuts are snug, attach any rubber or plastic washers included with your faucet to help prevent leaks. Double-check that the faucet feels stable and doesn’t move when you wiggle it. Now, your faucet is securely installed and ready for the next step.
Connect Water Supply Lines to the Faucet
With your faucet securely in place, you can now connect the water supply lines. First, identify the hot and cold water supply valves under the sink. Attach the flexible supply lines to the faucet’s threaded inlets—hot on the left, cold on the right.
Hand-tighten the connections to avoid cross-threading, then use an adjustable wrench to snug them up securely. Be careful not to overtighten, as this can damage the fittings. Next, connect the other end of each supply line to the corresponding shutoff valve.
Again, hand-tighten first, then carefully finish with the wrench. Verify the lines aren’t kinked or twisted, which can restrict water flow. Once everything’s connected, you’re ready for the next step to test your new setup.
Test Your New Faucet and Check for Leaks
Before turning on the water supply, double-check that all connections are tight and secure to prevent leaks. Slowly open the shutoff valves and let the water flow into your new faucet. Watch closely for any drips or moisture around the base, supply lines, and underneath the sink.
Turn the faucet on and off, switching between hot and cold water to ensure everything functions smoothly. If you spot any leaks, tighten the connections gently with a wrench, but don’t overtighten or you risk damage. Keep an eye out for slow leaks that might appear after a few minutes.
Once you confirm there are no leaks and the faucet operates properly, you’re ready to move on to the final steps. Testing thoroughly now saves you time and hassle later.
Clean Up and Finalize Your Faucet Installation
Now that you’ve tested for leaks, it’s time to clean up any excess sealant around the faucet. Wipe away residue carefully to guarantee a neat finish.
Finally, turn on the water to confirm smooth flow and proper function.
Remove Excess Sealant
Although sealing your faucet properly is crucial, you’ll want to remove any excess sealant to guarantee a clean, professional finish. Start by waiting a few minutes for the sealant to set slightly but not harden completely. Use a plastic scraper or a damp cloth to gently wipe away the extra sealant around the faucet base and connections.
Avoid using sharp tools that might scratch your sink or faucet. If needed, a small amount of rubbing alcohol on a cloth can help dissolve stubborn residue. Be thorough, as leftover sealant can attract dirt or cause water stains.
Taking this simple step ensures your faucet not only functions well but also looks neat and tidy, giving your installation a polished, professional appearance.
Test Water Flow
Once you’ve removed excess sealant, you can turn on the water supply to test the flow and check for leaks. Slowly open both the hot and cold valves, letting water run through the faucet. Watch closely under the sink for any drips or moisture around connections.
If you spot leaks, tighten fittings carefully or reapply plumber’s tape as needed. Next, test the faucet handles to ensure smooth operation and proper temperature control. Let the water run for a minute to clear out any debris and verify steady pressure.
Finally, check that the aerator is working correctly by observing the water stream. Once everything flows smoothly without leaks, you’ve successfully finalized your faucet installation and can clean up the area.
Frequently Asked Questions
What Type of Faucet Is Best for Low Water Pressure?
You’ll want a faucet designed for low water pressure, like a single-handle or pressure-compensating faucet.
These maintain steady flow even with low pressure, so you won’t struggle with weak water streams while using your sink.
How Do I Fix a Dripping Faucet After Installation?
You’ll want to turn off the water, remove the handle, and check the washer or cartridge for damage.
Replace any worn parts, reassemble everything tightly, and test to stop the drip.
Don’t forget to check connections!
Can I Install a Faucet Without a Plumber’s Tape?
You can install a faucet without plumber’s tape, but it’s like building a sandcastle without a bucket—it might not hold well.
Using tape guarantees a tight seal, preventing leaks and saving you hassle later on.
What Materials Are Best for Durable Faucet Supply Lines?
You’ll want stainless steel braided supply lines for durability and flexibility. They resist corrosion and kinks better than rubber or plastic.
Also, look for reinforced nylon tubing for longevity and ease of installation without leaks or bursts.
How Do I Choose the Right Faucet Size for My Sink?
Think of your sink as a stage; choose a faucet size that fits its spotlight perfectly. Measure your sink’s holes and height, then pick a faucet that balances function and style without overpowering or shrinking the scene.
Conclusion
Now that you’ve tackled each step, your new faucet isn’t just installed—it’s a fresh start flowing with promise. Like a conductor leading an orchestra, you’ve harmonized tools, water lines, and patience into a seamless performance. Remember, every drip stopped is a victory earned.
So enjoy the smooth flow of your handiwork, knowing you’ve mastered the art of faucet installation with skill and confidence. Installing a faucet may seem daunting, but with the right tools and careful steps, it becomes a rewarding DIY project. Your sink—and your home—thank you for this upgrade.