How to Fix a Leaky Shower Faucet in 7 Easy Steps
To fix a leaky shower faucet in seven easy steps, start by identifying the cause of the leak. Common issues include worn washers, faulty cartridges, or corrosion inside the faucet. Properly diagnosing the problem ensures you take the right repair steps.
Next, turn off your water supply to prevent any spills or further damage. Remove the faucet handle carefully to access the valve stem. Inspect the internal parts closely for any signs of wear or damage.
Replace any damaged washers or O-rings with exact matches to ensure a proper seal. Reassemble the faucet tightly to avoid future leaks.
Finally, turn the water back on and test the faucet for leaks.
Taking these steps helps prevent water waste and potential damage to your bathroom. Keep reading for useful tips on preventing future leaks and maintaining your faucet’s lifespan.
Key Takeaways
- Turn off the main water supply and open the shower faucet to confirm no water flows.
- Remove the handle by unscrewing hidden screws under decorative caps using a screwdriver or hex wrench.
- Inspect and clean or replace worn washers, O-rings, or cartridges causing the leak.
- Reassemble all faucet parts securely, ensuring tight fittings to prevent future leaks.
- Test the faucet for leaks and perform regular maintenance to prevent mineral buildup and wear.
Find Out Why Your Shower Faucet Is Leaking
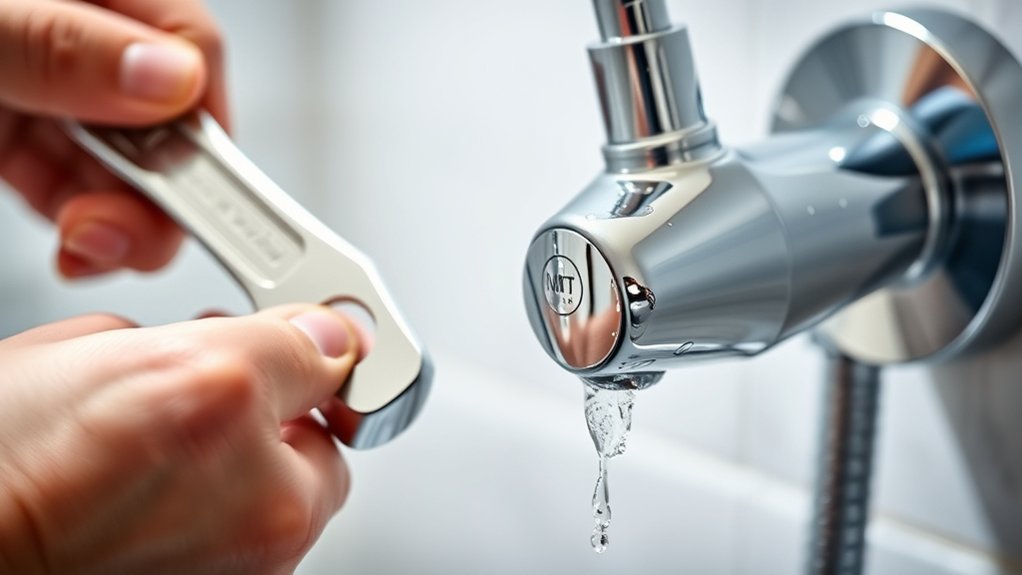
Before you can fix a leaky shower faucet, you need to identify the cause. Most leaks happen because of worn-out washers, damaged cartridges, or corroded valve seats. Start by turning off the water supply and removing the faucet handle to inspect inside.
If you see a cracked or hardened washer, that’s likely the culprit. Cartridges can wear down over time, causing drips even when the faucet is off. Corrosion around the valve seat can also create leaks by preventing a tight seal.
Sometimes, mineral buildup clogs parts, leading to leaks. By carefully examining these components, you’ll pinpoint what’s causing the drip and know exactly what needs replacing or cleaning, making your repair faster and more effective.
Gather Tools and Materials
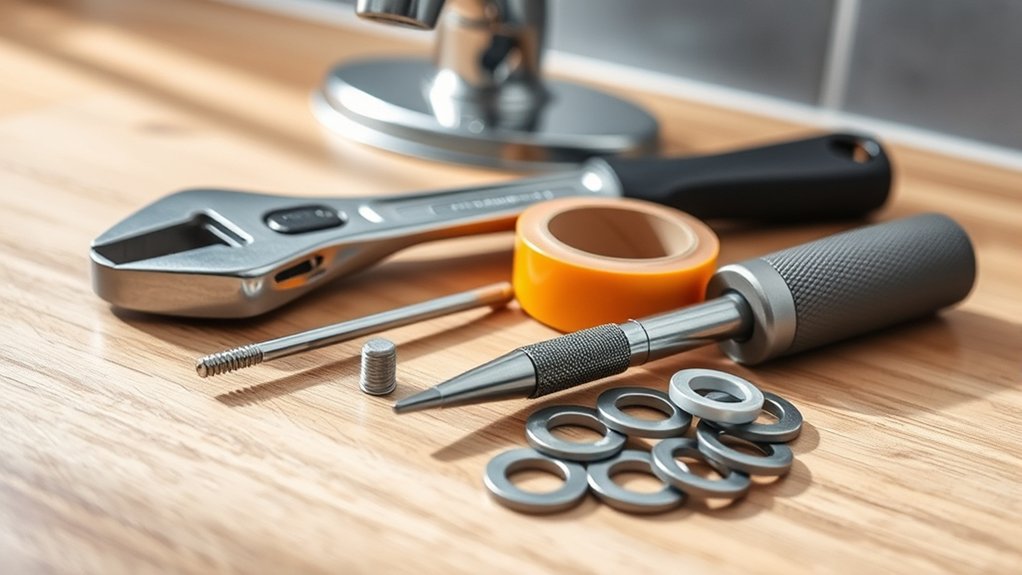
Once you know what’s causing the leak, gather the right tools and materials to fix your shower faucet efficiently. You’ll typically need a screwdriver set, an adjustable wrench, and plumber’s tape. Have replacement parts ready, like washers, O-rings, or cartridges, depending on the faulty component identified earlier.
Keep a cloth or small container nearby to catch screws and prevent losing them. It’s also helpful to have some silicone grease to lubricate seals during reassembly. If you’re unsure about the parts, take the old ones to a hardware store for exact matches.
Preparing everything beforehand saves time and minimizes frustration, making the repair process smoother and more straightforward. With the right tools and materials in hand, you’re ready for the next step.
Turn Off the Water Supply for Your Shower Faucet
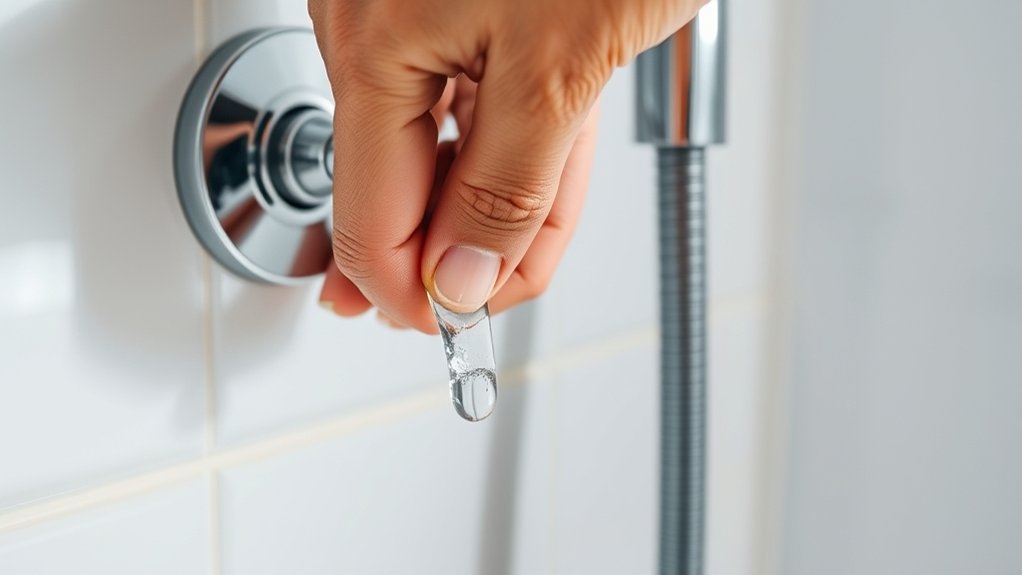
First, find your home’s main water valve and turn it off to stop the water flow to your shower.
Next, open the shower faucet to make sure the water is completely shut off.
This step prevents any unexpected leaks while you’re fixing the faucet.
Locate Main Water Valve
Where do you shut off the water to fix your leaky shower faucet? First, locate your main water valve to prevent water flow while working. It’s usually near the water meter or where the main line enters your home.
Knowing its location guarantees a smooth repair process.
Here’s a quick guide to typical main water valve locations:
| Location | Description |
|---|---|
| Basement | Near the water meter or pipes |
| Crawl Space | Under the house near water lines |
| Exterior Wall | Outside, close to the foundation |
| Utility Room or Garage | Close to where pipes enter |
Once you find the valve, prepare to turn it clockwise to stop water flow before you start fixing your faucet.
Confirm Water Is Off
Before you start working on your shower faucet, make sure the water supply is completely off to avoid any unexpected leaks or water damage. After locating the main water valve, turn it clockwise until it stops. To confirm the water is off, open your shower faucet and check if any water flows out.
If water still trickles, double-check that you’ve fully closed the valve. Sometimes, you might need to turn off a secondary shutoff valve near the shower if your home has one. Once no water comes out of the faucet, you’re safe to proceed.
Confirming the water is off prevents messes and protects your home while you fix the leak. Don’t skip this step—it’s essential for a smooth repair process.
Remove the Faucet Handle and Access the Valve
First, find the screws holding your faucet handle in place—they’re usually hidden under a decorative cap. Grab the right screwdriver or hex wrench to avoid stripping the screws.
Then, carefully remove the handle to expose the valve beneath without damaging any parts.
Locate Handle Screws
Although the handle screws are often hidden, you can usually find them by inspecting the faucet handle closely. Start by looking for a small decorative cap or cover on the front or side of the handle. Once you spot it, gently pry it off with a flat tool to reveal the screw underneath.
Here’s how to locate the screws:
- Check around the base of the handle for a visible screw.
- Look behind any decorative plates or covers.
- Inspect the handle’s sides and back for small indentations or hidden screws.
Use Proper Tools
Once you’ve located and removed the handle screws, you’ll need the right tools to safely take off the faucet handle and access the valve inside. A flathead screwdriver or a putty knife helps gently pry off decorative caps or escutcheons without damaging them. Use a Phillips or Allen wrench, depending on your faucet type, to loosen any additional set screws.
Needle-nose pliers can be handy for gripping and pulling stubborn parts. Be sure to have a towel or small container ready to catch any screws or washers that might fall during the process. Using the proper tools reduces the risk of stripping screws or damaging components, making your repair smoother and protecting your faucet for the next steps.
Taking your time and working carefully will save you frustration down the line.
Safely Remove Handle
Before you remove the faucet handle, make certain the water supply is turned off to prevent any accidental leaks. Next, gather your tools—usually a screwdriver or Allen wrench will do the trick. Then, follow these steps:
- Locate and remove the decorative cap on the handle to expose the screw.
- Use the appropriate tool to unscrew and carefully take off the handle.
- Gently pull the handle away from the valve stem, avoiding any force that might damage the parts.
Once the handle is off, you’ll have clear access to the valve for inspection or replacement. Take your time and keep track of any small pieces to guarantee a smooth reassembly later on.
Inspect and Replace Faulty Washers or O-Rings
When you notice a persistent drip from your shower faucet, faulty washers or O-rings are often the culprits. Start by removing the valve stem to access these parts. Check each washer and O-ring for cracks, flattening, or mineral buildup.
Replace any damaged ones with exact matches to guarantee a proper seal.
| Part | Common Issue | Replacement Tip |
|---|---|---|
| Washer | Cracks or hardening | Use rubber washers |
| O-Ring | Cracks or wear | Choose silicone O-rings |
| Valve Stem | Mineral buildup | Clean before reassembly |
Inspecting and swapping these components stops leaks and extends your faucet’s life.
Reassemble Your Shower Faucet and Test for Leaks
After replacing worn washers and O-rings, carefully reassemble your shower faucet by reversing the removal steps. Start by positioning the valve stem back into the faucet body, ensuring it aligns properly. Next, secure the retaining clip or nut to hold the valve stem in place.
Finally, reattach the handle and tighten the screw firmly.
Once reassembled, turn the water supply back on slowly and watch for leaks around the faucet. Check these key areas:
- Around the handle base for any dripping water.
- Near the valve stem where it enters the faucet.
- At the spout or showerhead connection.
If you see no leaks, you’ve successfully fixed your shower faucet. If leaks persist, double-check your assembly or consider further inspection.
Prevent Future Shower Faucet Leaks
To keep your shower faucet from leaking again, you’ll want to perform regular maintenance and use quality replacement parts. Check your faucet periodically for any signs of wear or mineral buildup, especially around the handles and spout. Clean aerators and showerheads monthly to prevent clogs that can cause pressure buildup and leaks.
When replacing washers or cartridges, always choose parts that match your faucet model to guarantee a proper fit. Avoid using excessive force when turning handles to reduce wear. If you notice any drips, address them promptly before they worsen.
Finally, consider installing a water softener if you have hard water, as it reduces mineral deposits that damage faucet components. These steps will help you prevent leaks and extend your faucet’s lifespan.
Frequently Asked Questions
Can a Leaky Shower Faucet Increase My Water Bill Significantly?
Yes, a leaky shower faucet can increase your water bill noticeably over time. Even small drips waste gallons daily, so fixing it quickly helps you save money and conserves water effectively.
Don’t ignore it!
Is It Safe to Fix a Shower Faucet Without Professional Help?
Sure, safely securing shower seals yourself’s simple, so long as you stop, study steps, and stay smart. Still, stubborn situations signal specialists.
Don’t dive deep without decent DIY knowledge; danger and damage don’t deserve dismissing.
What Types of Shower Faucets Are Most Prone to Leaking?
You’ll find compression faucets and older cartridge models most prone to leaking due to worn washers or seals. Pressure-balance and thermostatic valves leak less but still need maintenance. Regular checks help you catch drips early.
How Can Hard Water Affect Shower Faucet Longevity?
Hard water causes mineral buildup inside your shower faucet, which can clog parts and wear down seals. You’ll notice leaks and reduced function faster, so regular cleaning or a water softener can help extend your faucet’s life.
Mineral deposits can accumulate quickly, making it harder for the faucet to operate smoothly. Over time, this buildup can lead to more frequent repairs or the need for replacement. Taking preventive measures is key to maintaining your shower faucet’s longevity.
Are There Eco-Friendly Alternatives to Traditional Faucet Washers?
Yes, you can choose eco-friendly faucet washers made from natural rubber or silicone, which last longer and reduce waste. These materials resist mineral buildup better, helping you save water and protect the environment while fixing leaks effectively.
Conclusion
Fixing your leaky shower faucet isn’t just about stopping the drip—it’s about reclaiming peace and saving water. Now that you’ve tackled each step with care, your shower will flow smoothly again, like a well-conducted symphony.
Remember, a little maintenance today prevents a flood tomorrow. So, keep an eye on those washers and O-rings, and enjoy the quiet, steady stream you deserve every time you shower. Regular shower faucet repair and maintenance will ensure your bathroom stays efficient and leak-free.