How to Fix a Leaky Outdoor Faucet in 7 Easy Steps
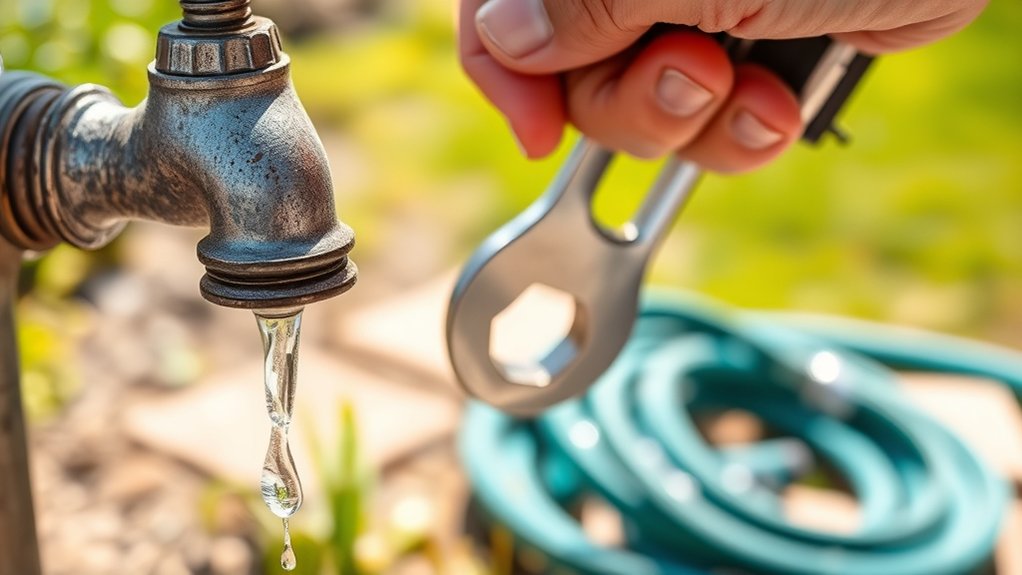
To fix a leaky outdoor faucet, start by turning off your water supply to prevent any water flow during the repair. Draining the faucet completely is essential to avoid spills and make the process smoother. This simple maintenance task can save water and prevent damage to your outdoor plumbing.
Next, remove the handle carefully and inspect for worn washers or O-rings, as these are common causes of leaks. Replace any damaged parts, such as washers or valve seats, to ensure a tight seal. Applying plumber’s grease to new O-rings before reassembling helps maintain flexibility and prevents future leaks.
After reassembling, tighten all connections securely to avoid any loose fittings. Turn the water back on and test the faucet for leaks. If it still drips, check the alignment and fittings carefully to fully resolve the issue.
Key Takeaways
- Shut off the main water supply and drain the outdoor faucet completely before starting repairs.
- Remove the faucet handle and inspect for worn washers, O-rings, or damaged valve seats.
- Replace cracked washers and O-rings, applying plumber’s grease to ensure a proper seal.
- Reassemble the faucet securely, tightening the packing nut and handle screw properly.
- Turn the water back on slowly, check for leaks, and tighten fittings as needed.
Gather Tools for Fixing Your Faucet
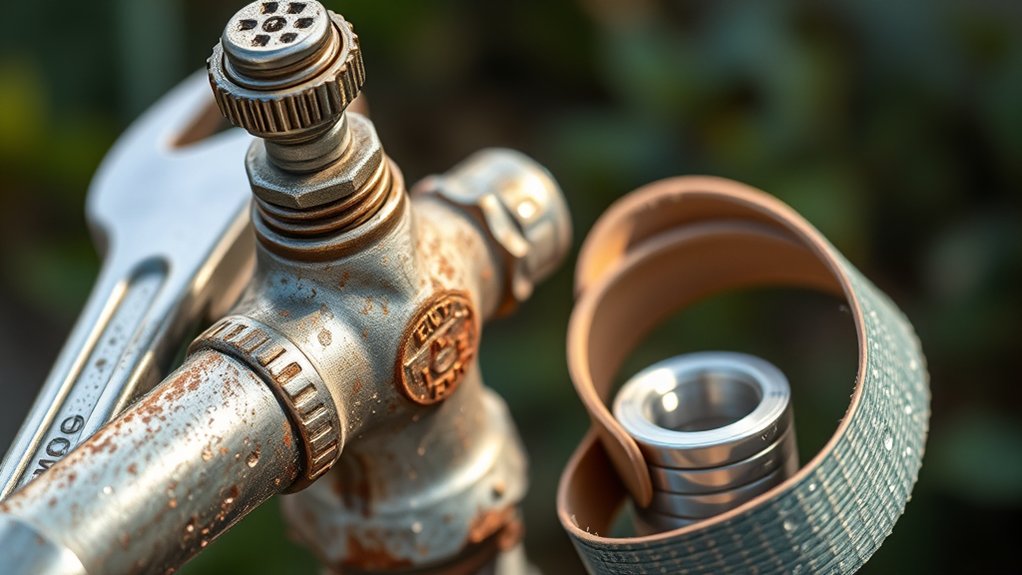
Before you start fixing your leaky outdoor faucet, make sure you have the right tools on hand. You’ll need an adjustable wrench to loosen and tighten nuts and bolts without damaging the fixture. A flathead screwdriver helps you remove screws holding the faucet handle in place.
Have plumber’s tape ready to seal threaded connections and prevent future leaks. Replacement washers or O-rings are essential, since worn-out parts often cause drips. A pair of needle-nose pliers can grip small components securely.
A bucket or towel will catch any water that drips during the repair. Gathering these tools beforehand saves you time and frustration once you begin. With everything prepared, you’ll be ready to tackle the next steps efficiently and fix that leak quickly.
Turn Off Your Water Supply First
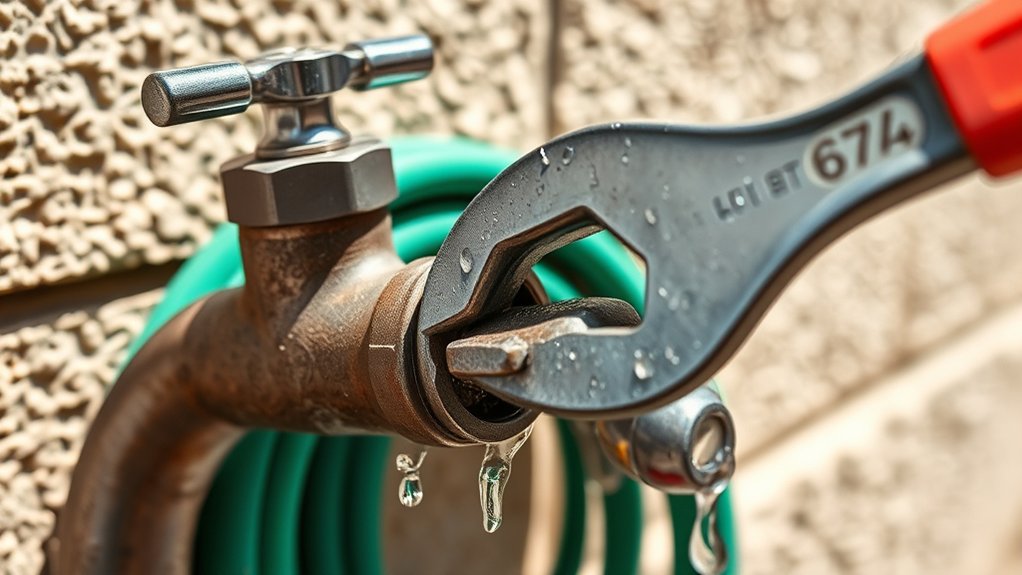
Before you start fixing your leaky outdoor faucet, locate your main water valve and turn it off. Make sure the water is completely shut off by opening the outdoor faucet to check for any flow.
This step helps prevent water damage while you work on the repair.
Locate Main Water Valve
Although it might seem simple, locating your main water valve is essential to safely fix a leaky outdoor faucet. You need to find the valve so you can quickly shut off the water supply before starting any repairs. Typically, the main water valve is near where the water line enters your home, often in the basement, crawl space, or utility room.
Look for a round wheel or a lever attached to a pipe. In warmer climates, it might be outside, near the foundation. If you have a meter box, check inside for the valve.
Once you locate it, make sure it’s easy to access in the future. Knowing exactly where your main water valve is will save you time and prevent water damage during repairs.
Confirm Water Is Off
How can you be sure the water is really off before starting your faucet repair? First, shut off the main water valve completely. Then, open the outdoor faucet to drain any remaining water.
If water still flows, the valve may not be fully closed. Use this quick checklist to confirm your water is off:
| Action | What to Look For |
|---|---|
| Turn off main valve | Valve handle is fully closed |
| Open outdoor faucet | No water should come out |
| Check other faucets | No water flow elsewhere |
If water continues to flow, double-check the main valve or try shutting off the water at the meter. Confirming the water is off prevents messes and ensures a smooth repair process.
Prevent Water Damage
Why risk water damage when you can easily prevent it? Before you start fixing your leaky outdoor faucet, turn off your water supply completely. This simple step stops water from flowing while you work, preventing unexpected flooding and potential damage to your home’s foundation or landscaping.
Locate your main shut-off valve—usually near your water meter or inside your basement—and close it firmly. After shutting it off, open the outdoor faucet to drain any remaining water in the pipes. This reduces pressure and keeps water from spilling when you remove parts.
Taking these precautions saves you time, frustration, and costly repairs. So, always turn off your water supply first—it’s the easiest way to protect your property while fixing your faucet leak.
Remove the Faucet Handle and Inspect Parts
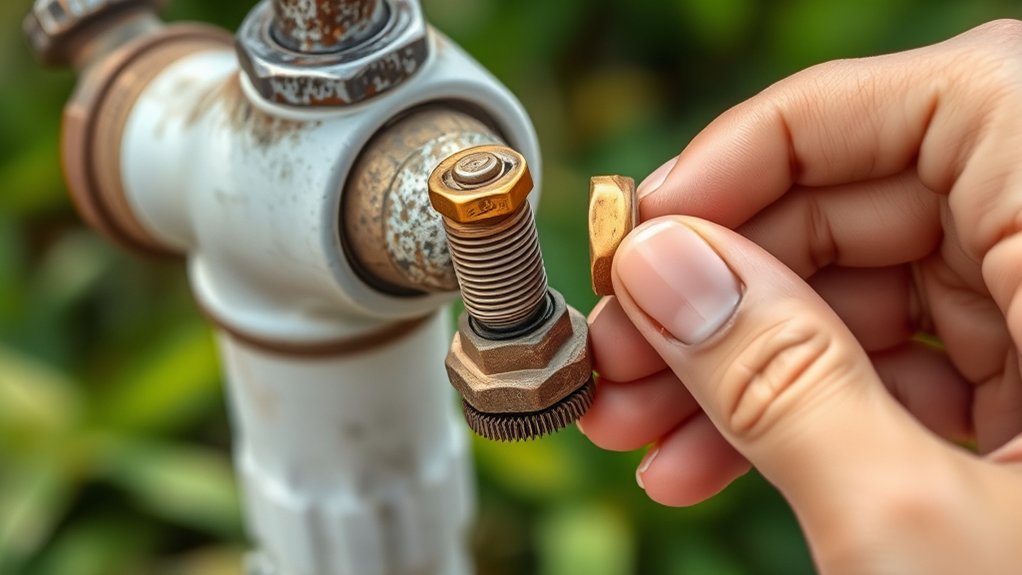
Before you can fix the leak, you’ll need to remove the faucet handle to access the internal parts. Start by turning off the water supply to avoid a mess.
Then, follow these steps:
- Locate the screw holding the handle, usually under a decorative cap or on the side.
- Use a screwdriver to carefully remove the screw and gently pull off the handle.
- Inspect the handle, stem, and packing nut for visible wear, cracks, or corrosion.
- Check for mineral buildup or debris that could interfere with proper sealing.
Replace Washer or O-Ring to Fix Your Leak
Now that you’ve inspected the faucet parts, check the washer for signs of wear like cracks or flattening. If the washer looks damaged, replacing it can often stop the leak.
Don’t forget to also examine and replace the O-ring if it’s cracked or brittle to guarantee a tight seal.
Identifying Washer Wear
Although a dripping faucet might seem minor, worn washers or O-rings are often the main cause behind the leak. To identify washer wear, start by turning off the water supply and removing the faucet handle.
Next, inspect the washer inside the valve seat. Here’s what to look for:
- Cracks or splits in the rubber washer
- Flattened or hardened washers that no longer create a proper seal
- Mineral buildup causing uneven surfaces
- Size mismatch or wear causing the washer to slip out of place
If you spot any of these signs, the washer likely needs replacing. Addressing washer wear promptly guarantees you stop leaks effectively and avoid water waste, saving you money and hassle.
O-Ring Replacement Tips
After checking the washer for damage, the next step is to examine the O-ring, another common culprit behind a leaky outdoor faucet. Locate the O-ring on the faucet stem, usually a small rubber ring near the handle. Turn off the water supply and carefully remove the faucet handle to access the O-ring.
Use a flathead screwdriver or pick to gently pry out the old O-ring without damaging the stem. Clean the area thoroughly to remove debris or corrosion. When replacing, choose an O-ring that matches the size and thickness of the original.
Apply a small amount of plumber’s grease to the new O-ring to ensure a tight seal and smoother operation. Reassemble the faucet, then turn the water back on and check for leaks.
Reassemble the Faucet and Tighten Connections
Before you finish, make sure each part of the faucet fits snugly in place to prevent future leaks. Begin by carefully aligning the faucet handle and stem back onto the valve body. Then, follow these steps to reassemble and tighten connections properly:
- Replace the packing nut and tighten it securely with a wrench, but avoid overtightening.
- Screw the faucet handle back on and secure it with its retaining screw.
- Reattach any decorative caps or covers to conceal the hardware.
- Turn the water supply back on slowly to avoid sudden pressure surges.
Taking your time during reassembly ensures everything seals correctly. Tight connections reduce the risk of leaks, extending your faucet’s life and saving water.
Test the Faucet to Confirm the Leak Is Fixed
Once you’ve reassembled the faucet and tightened all connections, it’s time to test it to make sure the leak is truly fixed. Turn the water supply back on slowly and watch the faucet closely. Look for any drips or moisture around the handle, spout, and connection points.
Open the faucet fully to let water flow freely and check again for leaks while it’s running. If you see no water escaping, your repair was successful. Also, keep an eye on the faucet for a few minutes after turning it off to ensure no slow drips appear.
Testing thoroughly now prevents water waste and potential damage later. If everything stays dry, you can confidently say the leak is fixed.
Fix Common Problems If Your Faucet Still Leaks
If your faucet still leaks despite your initial repair, don’t worry—you can often fix common issues quickly. First, double-check the washer; a worn or misaligned washer is a frequent culprit.
Next, inspect the packing nut; tightening it slightly can stop drips around the handle. Also, examine the valve seat for corrosion or debris, which can prevent a tight seal.
Finally, look for cracks in the faucet body or hose connection that may need replacement.
Here’s a quick checklist to try:
- Replace or reposition the washer
- Tighten the packing nut carefully
- Clean or replace the valve seat
- Check for and fix cracks or damaged parts
These steps usually solve persistent leaks without much hassle.
Frequently Asked Questions
Can a Leaky Outdoor Faucet Cause Water Damage to My Home?
Yes, a leaky outdoor faucet can cause water damage to your home by allowing water to seep into walls, foundations, or soil near your house.
Fix it quickly to prevent costly repairs and mold growth.
How Often Should I Inspect Outdoor Faucets for Leaks?
You should inspect your outdoor faucets at least twice a year—once in spring and once in fall. While it seems frequent, catching leaks early saves you from costly water damage and wasted water later on.
Are There Eco-Friendly Options for Fixing Faucet Leaks?
Yes, you can use eco-friendly options like replacing washers with natural rubber or silicone, using biodegradable plumber’s tape, and fixing leaks promptly to conserve water.
These choices help protect the environment while saving you money.
Can Freezing Temperatures Cause Outdoor Faucet Leaks?
Freezing temperatures can wreck your outdoor faucet like a thousand angry hammers! When water inside freezes, it expands and cracks pipes or seals.
You’ll want to insulate or drain it to prevent those costly leaks.
Should I Hire a Professional Plumber for a Leaky Outdoor Faucet?
You don’t always need a professional plumber for a leaky outdoor faucet. If you’re comfortable with basic tools and repairs, you can fix it yourself.
But if the leak’s severe or persistent, calling a plumber’s wise.
Conclusion
So, there you have it—turn off the water, play faucet surgeon, and swap out washers like a pro. If your faucet’s still leaking, well, maybe it’s auditioning for Niagara Falls.
But don’t worry, with a little elbow grease and these seven steps, you’ll have it behaving like a well-trained butler—no more drips demanding midnight snacks. Now go forth and fix that faucet; your wallet and sanity will thank you!
By following these simple steps to fix a leaky outdoor faucet, you can save water, avoid costly repairs, and keep your home running smoothly. Remember, fixing a leaky outdoor faucet is easier than you think!