Fix a Single-Handle Leaky Faucet in 7 Easy Steps
To fix your single-handle leaky faucet, start by diagnosing the leak carefully. Check common trouble spots like the spout, handle, or base to identify where the water is escaping. Turning off the water supply and draining the faucet is essential before any repairs.
Next, remove the handle using the appropriate tools to access the internal components. Inspect and clean the cartridge thoroughly, and replace any worn seals or O-rings to stop the leak effectively.
After that, reassemble the handle securely, turn the water back on, and test the faucet for any remaining leaks. Follow these steps carefully, and you’ll soon understand exactly how to get your faucet working like new again.
Key Takeaways
- Turn off the main water supply and open the faucet to drain remaining water and pressure.
- Remove the handle by loosening the set screw, using penetrating oil if stuck.
- Inspect the cartridge, O-rings, and washers for wear, cracks, or mineral buildup.
- Clean or replace damaged parts, lubricate seals with plumber’s grease before reassembly.
- Reassemble the handle, turn on water supply, and test the faucet for leaks and proper function.
Diagnose Your Leaky Faucet Problem
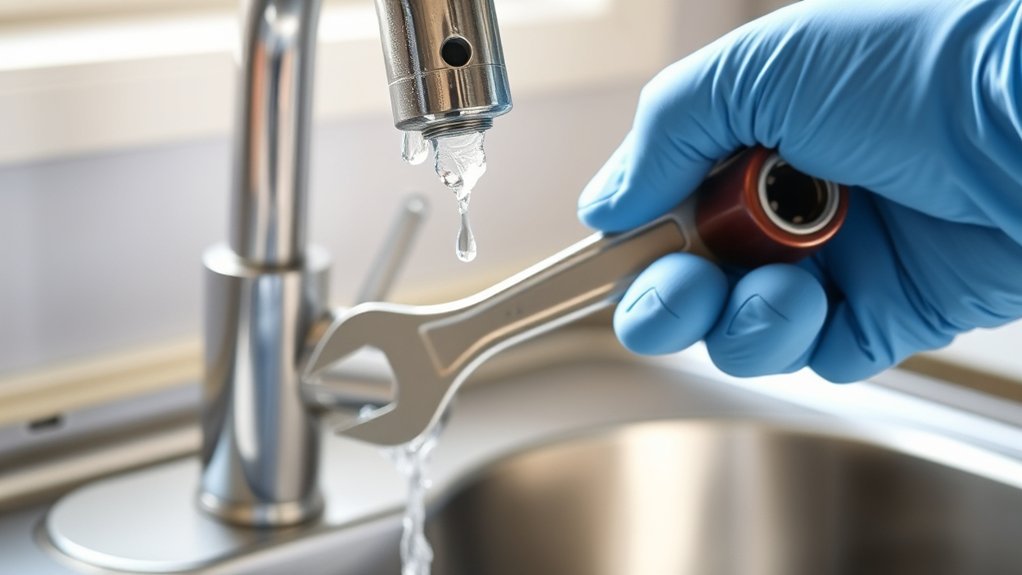
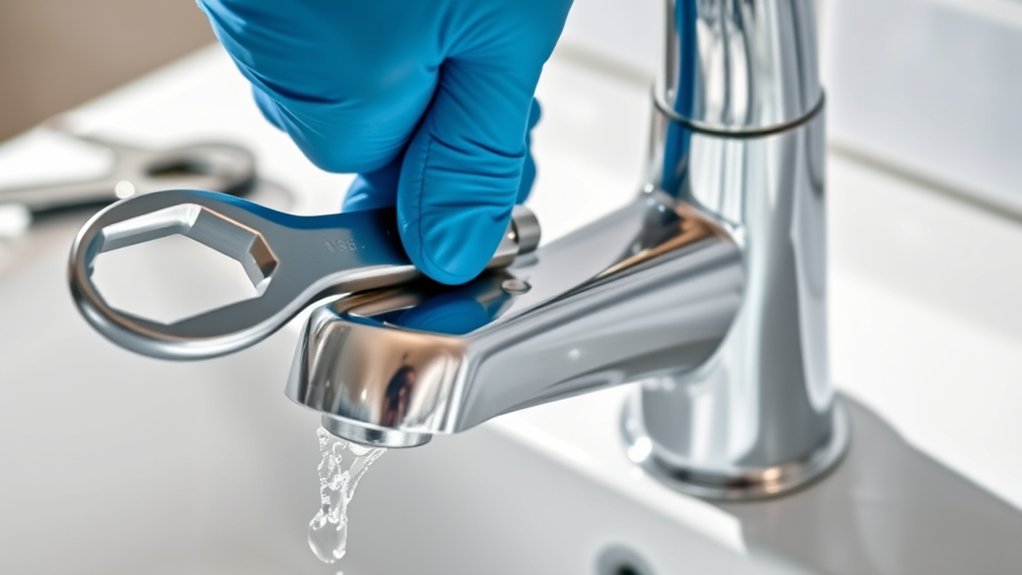
Before you can fix your leaky single-handle faucet, you need to identify what’s causing the drip. First, observe where the water is leaking—whether it’s from the spout, handle, or base.
Next, turn off the water supply and remove the handle to inspect the internal parts. Check the cartridge or valve for wear, cracks, or mineral buildup, as these are common culprits. Sometimes, a damaged O-ring or washer can cause leaks.
If water drips from the spout, the cartridge is likely the issue. If it leaks around the handle, the O-ring might be faulty. Pinpointing the exact problem helps you decide which part to replace or repair, ensuring you won’t waste time or money on unnecessary fixes.
Gather Your Tools

Before you start fixing your leaky faucet, make sure you have all the essential tools on hand. Choosing quality materials will help your repair last longer and prevent future leaks.
Let’s review the tools you’ll need to get the job done right.
Essential Tools Checklist
While fixing a single-handle leaky faucet, you’ll need a few essential tools to make the job easier and more efficient. Having everything ready before you start saves time and prevents frustration.
Here’s a checklist of must-have tools:
- Adjustable wrench: For loosening and tightening nuts.
- Phillips and flathead screwdrivers: To remove screws from the faucet handle and components.
- Allen wrench (hex key): Often needed to remove the handle set screw.
- Needle-nose pliers: Useful for gripping small parts and removing clips.
- Replacement O-rings and seals: To replace worn out parts causing leaks.
Gathering these tools ensures you’re fully prepared to fix the leak quickly and effectively. Keep them handy and organized as you work through each step.
Choosing Quality Materials
Having the right tools on hand makes fixing your leaky faucet smoother, but the materials you choose for replacement parts play an equally important role. Always opt for high-quality washers, O-rings, and cartridges designed specifically for your faucet model. Cheap parts might save money upfront but often wear out quickly, leading to repeated leaks.
Look for durable materials like silicone or EPDM rubber for washers and O-rings—they resist wear and tear better than standard rubber. For cartridges, brass or ceramic options offer longer-lasting reliability. Before purchasing, check product reviews and manufacturer warranties to affirm you’re getting reliable components.
Investing in quality materials not only guarantees a better seal but also saves you time and frustration in the long run. Choose wisely to make your repair effective and lasting.
Turn Off Water and Drain Faucet
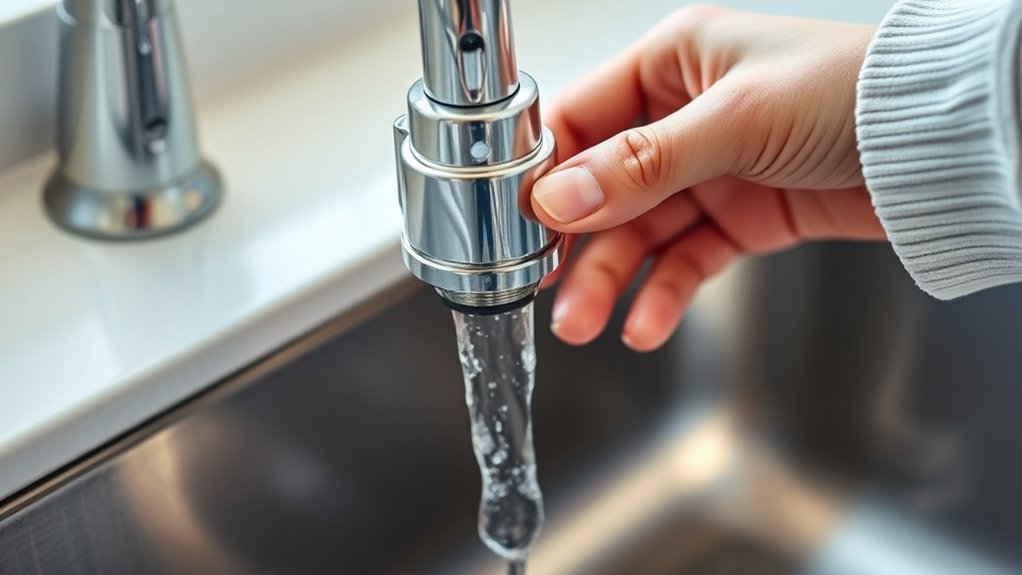
First, find your main water valve and turn it off to stop the water flow.
Next, open the faucet to release any remaining water pressure.
This step guarantees you won’t get wet while fixing the leak.
Locate Main Water Valve
Where can you find the main water valve to stop the flow before fixing your leaky faucet? Locating it is essential to prevent water damage. Typically, the main valve is near where the water line enters your home.
Here are common spots to check:
- Basement or crawl space walls
- Utility or laundry rooms
- Near the water heater
- Outside, close to the foundation
- Inside a covered box on an exterior wall or sidewalk
Once you find the valve, turn it clockwise to shut off the water supply completely. After that, open your faucet to drain any remaining water in the pipes. This step ensures you won’t deal with unexpected leaks while you work on your faucet.
Knowing your valve’s location makes repairs safer and easier.
Release Faucet Water Pressure
Why is releasing the water pressure important before you start? It prevents water from spraying out when you disassemble the faucet, keeping your workspace dry and safe. After turning off the main water valve, open the faucet handle fully to drain any remaining water in the pipes.
This step relieves built-up pressure and ensures no water is trapped inside. Let the water run until it stops completely. If your faucet has a sprayer, open that too to release pressure from all connected lines.
Once the water is fully drained, you’ll have a dry system ready for repair. Taking this simple step saves you from unexpected leaks and makes the repair process smoother and cleaner.
Remove the Faucet Handle
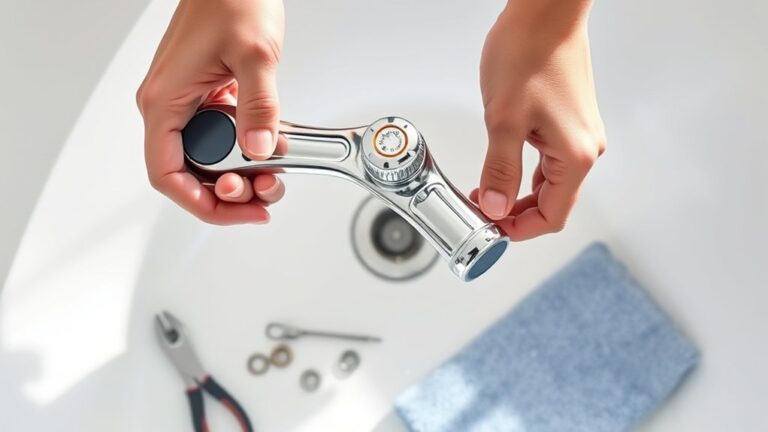
Before you can access the internal parts causing the leak, you’ll need to remove the faucet handle. Start by locating the set screw, which is often hidden under a decorative cap or on the side of the handle. Use a flathead screwdriver or an Allen wrench to loosen it.
If the handle feels stuck, apply a bit of penetrating oil and gently wiggle it to loosen. Here’s how to proceed:
- Pry off any decorative caps carefully.
- Loosen the set screw with the appropriate tool.
- Gently pull the handle straight up to remove it.
- Use a handle puller if it’s stubborn.
- Keep all small parts in a safe place.
This step gives you clear access to the faucet’s inner components.
Inspect and Clean the Cartridge
Now that you’ve removed the handle, you can inspect the cartridge—the component most often responsible for leaks in single-handle faucets. Look closely for mineral buildup, corrosion, or any visible damage. If you spot debris or grime, clean it carefully with a soft brush or cloth.
Avoid harsh tools that might scratch the cartridge. Soak the cartridge in a vinegar solution for about 15 minutes to dissolve mineral deposits, then rinse thoroughly with water. Check the cartridge’s O-rings and seals for wear or cracks; although you won’t replace them here, noting their condition is helpful.
After cleaning, dry the cartridge completely before reassembling the faucet. Proper inspection and cleaning can often restore smooth operation and stop minor leaks without needing a full replacement.
Replace Cartridge or Seals to Fix Leak
If cleaning the cartridge doesn’t stop the leak, you’ll need to replace the cartridge or its seals to restore proper function. Start by turning off the water supply to avoid any spills. Remove the handle and cartridge carefully.
Inspect the seals for cracks or wear; damaged seals often cause leaks. If the cartridge looks worn or damaged, swap it with a new one. Here’s what you should do:
- Purchase the exact replacement cartridge or seals for your faucet model.
- Use pliers or a cartridge puller to remove the old cartridge.
- Lubricate new seals with plumber’s grease before installation.
- Insert the new cartridge, ensuring it fits snugly.
- Reattach the handle securely.
Replacing these parts usually stops leaks and restores smooth operation.
Reassemble Faucet and Test for Leaks
Once you’ve replaced the cartridge or seals, it’s time to put the faucet back together. Start by carefully positioning the cartridge inside the faucet body, making sure it aligns properly with the notches or tabs. Next, reattach the retaining clip or nut to secure the cartridge in place.
Slide the handle back onto the faucet stem, then tighten the set screw with an Allen wrench or screwdriver. Finally, snap the decorative cap over the handle if your model has one.
Turn the water supply back on slowly, then test the faucet by turning the handle on and off while watching closely for any drips or leaks. If you notice any leaks, double-check that all parts are seated correctly and tightened. Once everything is dry and leak-free, you’re done!
Frequently Asked Questions
What Causes a Single-Handle Faucet to Start Leaking?
A single-handle faucet leaks because its cartridge, O-rings, or seals wear out over time. You’ll notice water dripping when these parts degrade, get corroded, or accumulate mineral deposits, causing the faucet to lose its tight seal.
These issues prevent the faucet from closing properly, allowing water to escape. Regular use and exposure to water speed up the wear and tear. Replacing the worn parts can usually fix the leak.
Can Hard Water Damage My Faucet Cartridge?
When it comes to hard water, it can definitely wear down your faucet cartridge over time. You’ll find mineral deposits clogging parts, making it work overtime and causing leaks—
you’ll need to clean or replace it to keep things flowing smoothly.
How Often Should Faucet Cartridges Be Replaced?
You should replace faucet cartridges every 3 to 5 years, or sooner if you notice leaks or reduced water flow.
Regular maintenance helps prevent damage from hard water and keeps your faucet working smoothly.
Are There Eco-Friendly Cartridges to Reduce Water Waste?
Yes, you’ll find eco-friendly cartridges designed to reduce water waste by improving flow control and preventing leaks. Choosing these can help conserve water, save money, and support sustainable living without compromising your faucet’s performance.
Can I Fix a Leaky Faucet Without Turning off the Main Water?
You’d need a miracle to fix a leaky faucet without shutting off the main water! You can’t safely stop leaks otherwise.
Always turn off the main supply first to avoid a mini flood and fix it properly.
Conclusion
Now that you’ve followed these steps, don’t rush to celebrate just yet. There’s one final moment that can make or break your fix—the test.
As you turn the water back on, watch closely. Will your single-handle leaky faucet hold steady, or will that stubborn drip return to haunt you?
If you’ve done everything right, silence will be your reward. But if not, don’t worry—this guide to fixing a single-handle leaky faucet will be here when you need it again.