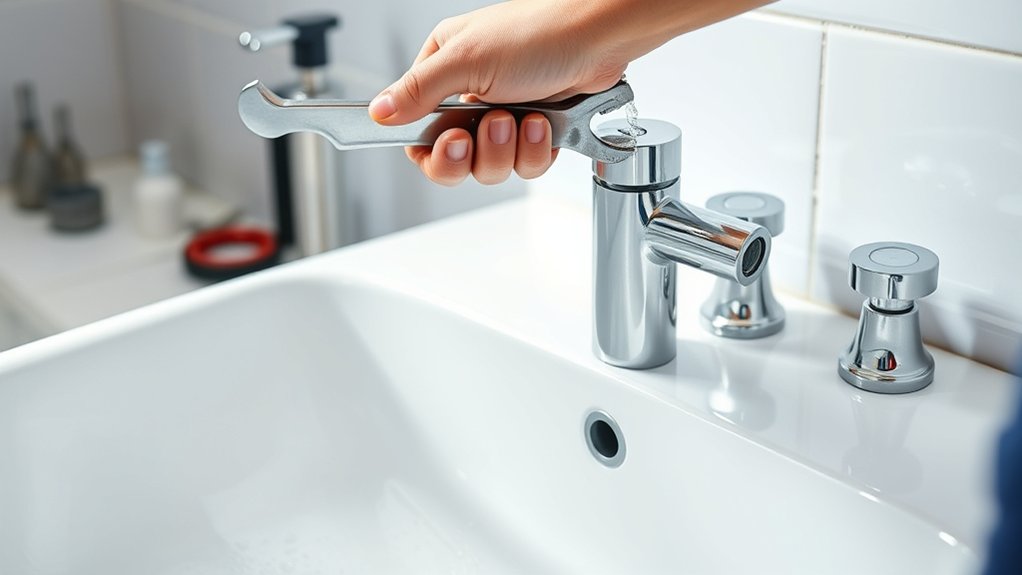
How to Replace a Bathroom Faucet in 7 Easy Steps
To replace your bathroom faucet in seven easy steps, start by gathering all the necessary tools and materials for a smooth installation. Replacing a bathroom faucet can seem daunting, but with the right preparation and clear instructions, it becomes manageable for any DIY enthusiast.
Turning off the water supply and clearing the workspace are essential first steps to avoid mess and ensure safety.
Next, carefully remove the old faucet and clean the sink area thoroughly to prepare for the new fixture.
Position your new faucet correctly, making sure it fits well and aligns with the sink holes.
Secure the faucet in place and connect the water lines tightly to prevent leaks.
Finally, turn the water supply back on and check for any leaks around the connections.
Follow these steps closely, and you’ll soon discover helpful tips that guarantee a smooth, leak-free bathroom faucet replacement.
Key Takeaways
- Turn off the water supply and open the faucet to drain remaining water before starting the replacement.
- Use a wrench to disconnect supply lines and remove mounting nuts to take out the old faucet.
- Clean and sanitize the sink surface thoroughly to ensure a proper seal for the new faucet.
- Position the new faucet, apply plumber’s putty or gasket, and secure it with mounting nuts.
- Reconnect water supply lines, turn on water, and check for leaks to confirm proper installation.
Gather Your Tools and Materials for Bathroom Faucet Replacement
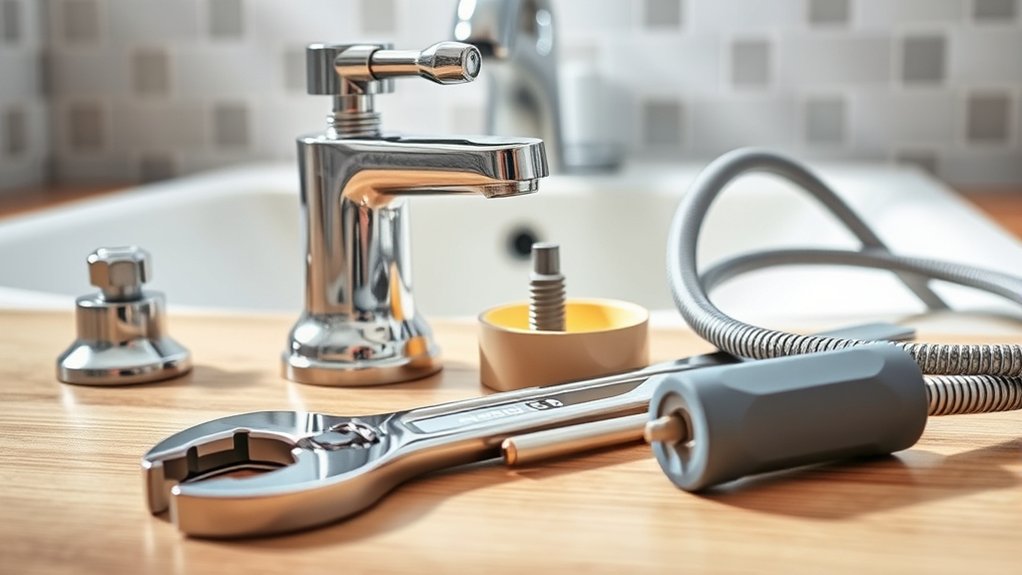
Before you begin replacing your bathroom faucet, make sure you have all the necessary tools and materials on hand. You’ll need an adjustable wrench, basin wrench, screwdriver set, plumber’s tape, and a bucket or towel for any water spills. Also, grab a new faucet that fits your sink’s specifications.
Don’t forget to have some plumber’s putty or silicone sealant ready to guarantee a watertight seal. Having a flashlight handy can help you see under the sink more clearly, and a rag will keep the area clean.
Turn Off Water and Prepare Your Workspace
Since water can cause damage and create a mess, you’ll want to turn off the water supply to your bathroom sink before starting the replacement. Locate the shut-off valves under the sink and turn them clockwise until they’re fully closed. If there are no individual valves, switch off the main water supply for your home.
Before replacing your bathroom faucet, turn off the water supply to prevent leaks and messes.
Next, open the faucet to drain any remaining water from the lines.
Now, clear the area around your sink to give yourself plenty of room to work. Lay down a towel or small bucket underneath the plumbing to catch any drips. Organize your tools and materials nearby for easy access.
Taking these steps guarantees a smooth, mess-free faucet replacement process.
Remove the Old Bathroom Faucet Carefully
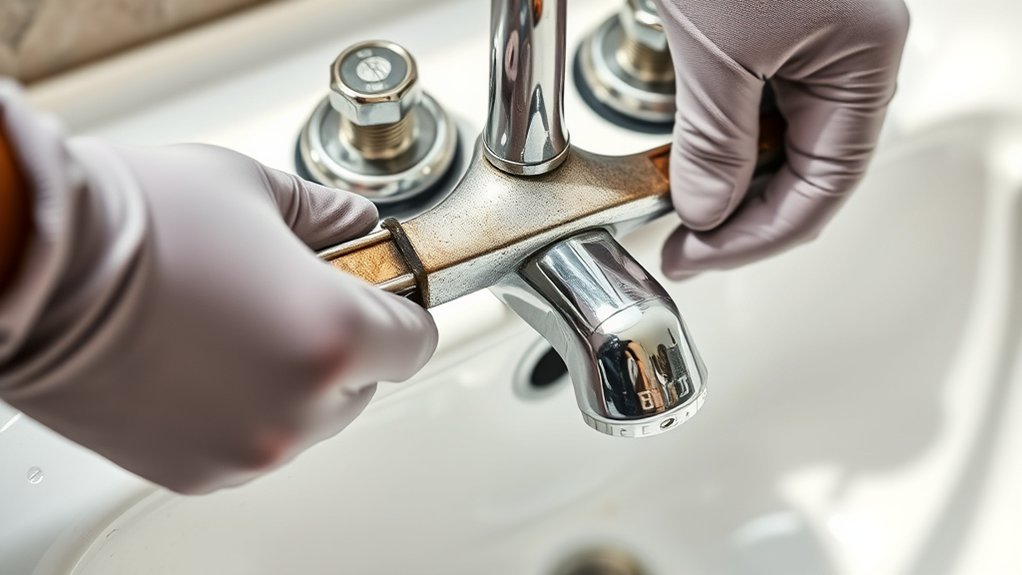
Before you start, make sure the water supply is completely turned off to avoid any leaks.
Next, carefully loosen the faucet connections using the right tools.
Take your time to prevent damaging the plumbing or countertop.
Turn Off Water Supply
To avoid water damage and make the replacement process smoother, you’ll need to turn off the water supply to your bathroom faucet first. This step is essential to prevent leaks or flooding while working on your faucet. Here’s how to do it efficiently:
- Locate the shut-off valves under the sink.
- Turn both the hot and cold water valves clockwise until they stop.
- Open the faucet to release any remaining water in the lines.
- Check for drips to confirm the water is fully off.
- If there are no shut-off valves, turn off the main water supply to your home.
Taking these precautions guarantees a dry workspace and protects your bathroom from unexpected water damage during the replacement.
Loosen Faucet Connections
Once you’ve made certain the water supply is fully shut off, you can start loosening the faucet connections. First, use an adjustable wrench or basin wrench to carefully loosen the nuts securing the supply lines to the faucet. Turn the wrench counterclockwise, applying steady pressure to avoid damaging the fittings.
If the nuts are stuck, spray a little penetrating oil and wait a few minutes before trying again. Next, disconnect the supply lines from the shutoff valves. Keep a bucket or towel handy to catch any residual water.
Finally, remove any mounting nuts or clips holding the faucet to the sink’s underside. Once all connections are loose, you can safely lift the old faucet out. Take your time to avoid scratching the sink or damaging plumbing.
Clean the Sink Area Before Installing Your New Faucet
Before installing your new faucet, make sure to remove all debris from the sink area. You’ll want to sanitize the surface thoroughly to prevent any buildup or contamination.
A clean workspace guarantees a smooth and secure installation.
Remove Debris Thoroughly
Why should you remove every bit of debris from the sink area before installing your new faucet? Debris can interfere with the faucet’s seal, leading to leaks or improper fitting. It also creates an uneven surface, making installation tricky and potentially damaging your new fixture.
To guarantee a smooth installation, thoroughly clear the area.
Here’s what you should remove:
- Old putty or plumber’s tape remnants
- Mineral deposits or hard water stains
- Soap scum and dirt buildup
- Loose rust flakes or corrosion
- Tiny grit or particles around mounting holes
Taking these steps ensures your new faucet sits perfectly, preventing future leaks and giving your bathroom a clean, polished look right from the start.
Sanitize Sink Surface
Even if the sink looks clean, you’ll want to sanitize the surface thoroughly to eliminate bacteria and guarantee a hygienic installation. Start by wiping down the sink area with a damp cloth to remove any dust or residue.
Then, apply a disinfectant cleaner or a mixture of water and white vinegar to the entire surface where the new faucet will sit. Use a clean sponge or cloth to scrub gently, focusing on spots where grime may have built up.
After scrubbing, rinse the area with water to remove any leftover cleaner, and dry it with a lint-free cloth to prevent water spots. Taking these steps ensures a clean, safe base for your new faucet and helps it last longer.
Install the New Bathroom Faucet Properly
Once you’ve gathered all the necessary tools and parts, you can begin installing your new bathroom faucet by carefully positioning it onto the sink holes. Make sure the faucet sits flush and aligns with the holes perfectly. Secure it from underneath using the provided mounting hardware, tightening nuts or washers by hand before using a wrench to avoid overtightening.
Check that any included rubber gaskets or plumber’s putty are in place to prevent water damage. Finally, confirm the faucet handles move smoothly and the spout is properly aligned.
- Position faucet carefully onto sink holes
- Insert rubber gasket or apply plumber’s putty
- Hand-tighten mounting nuts underneath
- Use wrench to secure nuts firmly
- Test handle and spout alignment before proceeding
Connect Water Supply Lines and Check for Leaks
Before turning on the water supply, connect the water lines to the faucet’s hot and cold inlets, making sure the fittings are tight and properly seated. Hand-tighten the connections first, then use an adjustable wrench to snug them up—don’t overtighten, as that can damage the fittings.
Once connected, turn on the main water valve slowly and watch closely for leaks around each connection. If you spot any drips, tighten the fittings a bit more. Also, open both faucet handles to let water flow through and verify there’s no leakage underneath.
If everything stays dry, you’ve successfully connected the supply lines. This step is vital to avoid water damage and confirm your new faucet works smoothly before moving on to testing and troubleshooting.
Test Your New Faucet and Troubleshoot Common Issues
After connecting the water supply lines, you’ll want to turn on your new faucet to make sure it operates correctly. Start by opening both the hot and cold water valves slowly to avoid pressure surges. Watch for any leaks around the base or connections and tighten fittings if needed.
Open hot and cold valves slowly after connecting water lines, checking for leaks and tightening fittings as needed.
Check the water flow and temperature control to ensure smooth operation.
If you encounter issues, here are common troubleshooting tips:
- No water flow: Confirm water valves are fully open.
- Low water pressure: Clear aerator debris by unscrewing it.
- Leaks: Tighten connections or replace worn washers.
- Dripping faucet: Replace faulty cartridge or seals.
- Handle stiffness: Lubricate or adjust mounting nuts.
Testing carefully guarantees your faucet works perfectly.
Frequently Asked Questions
What Type of Faucet Is Best for Water Conservation?
You’ll want a faucet with a WaterSense label or low-flow aerators to save water. These faucets reduce flow without sacrificing pressure, helping you conserve water and lower your utility bills effectively.
How Often Should Bathroom Faucets Be Replaced?
You don’t want to wait until your faucet floods your whole house! Replace bathroom faucets every 10-15 years or sooner if you notice leaks, corrosion, or reduced water flow.
Don’t risk a disaster!
Can I Replace a Faucet Myself Without Plumbing Experience?
Yes, you can replace a faucet yourself without plumbing experience. Just follow clear instructions, use basic tools, and take your time.
If you run into trouble, plenty of online tutorials can guide you through each step confidently.
What Should I Do if Water Pressure Drops After Installation?
If water pressure drops after installation, check for clogged aerators or supply lines. Tighten connections and make sure valves are fully open.
If issues persist, flush the lines or consult a plumber to avoid damage or leaks.
Are There Specific Faucets Better Suited for Hard Water Areas?
Yes, you’ll want faucets made from corrosion-resistant materials like brass or stainless steel in hard water areas. Look for models with ceramic disc valves to reduce mineral buildup and guarantee long-lasting performance with less maintenance.
These materials help withstand the harsh effects of minerals in hard water. Choosing the right faucet ensures durability and fewer repairs over time. It’s a smart investment for homes with hard water challenges.
Conclusion
Now that you’ve gathered your tools, turned off the water, removed the old faucet, cleaned the area, installed the new fixture, connected the supply lines, and tested for leaks, you’re ready to enjoy your refreshed bathroom.
You’ve worked smart, worked carefully, and worked confidently. Replacing a bathroom faucet isn’t just a task—it’s a way to improve your space, save money, and build your DIY skills all at once.
By following these simple steps, you’ve successfully completed a bathroom faucet replacement that enhances both function and style. You’ve got this!