How to Replace an Outdoor Faucet in 7 Easy Steps
To replace an outdoor faucet in 7 easy steps, start by gathering all the necessary tools and materials. Replacing an outdoor faucet is a simple plumbing task that can save you time and money.
Begin by shutting off the water supply and draining the faucet to prevent any water spills.
Next, carefully remove the old outdoor faucet. Clean and prepare the pipe by removing any debris and corrosion to ensure a proper fit for the new faucet.
Apply plumber’s tape to the threads of the new faucet for a secure and leak-free installation. Tighten the faucet carefully to avoid damaging the fittings.
Once installed, turn the water back on and test for leaks.
If you notice any leaks, tighten the connections as needed.
Follow simple maintenance tips to keep your outdoor faucet working smoothly for years to come. You’ll find detailed guidance to make the process even easier.
Key Takeaways
- Shut off the main water supply and open the outdoor faucet to drain residual water safely.
- Use a wrench to loosen and remove the old outdoor faucet carefully.
- Clean and prepare the pipe threads by removing old tape, corrosion, and drying thoroughly.
- Apply plumber’s tape on pipe threads before hand-screwing and tightening the new faucet.
- Turn water back on, test the new faucet for leaks, and tighten connections as needed.
Gather Tools and Materials for Outdoor Faucet Replacement
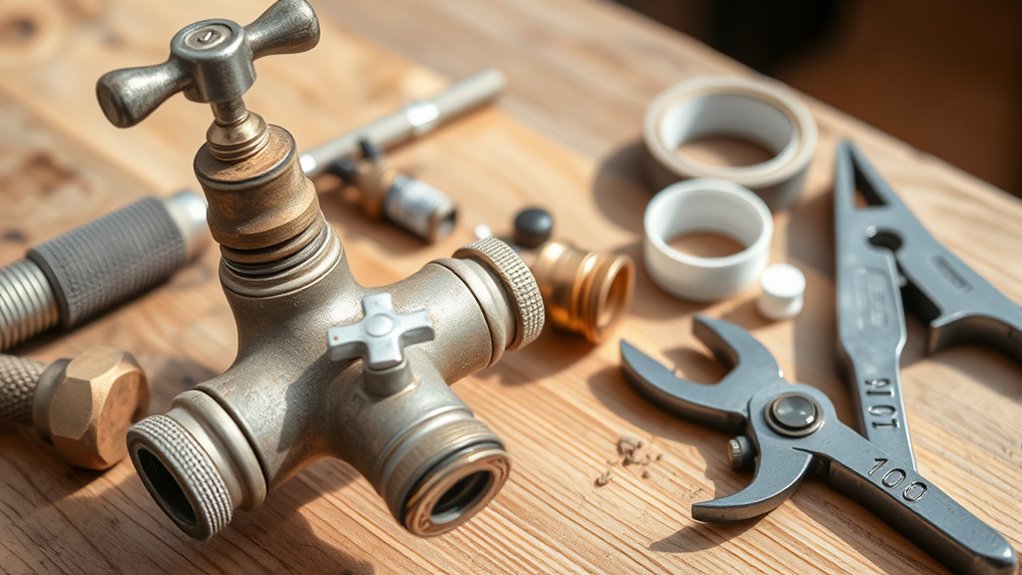
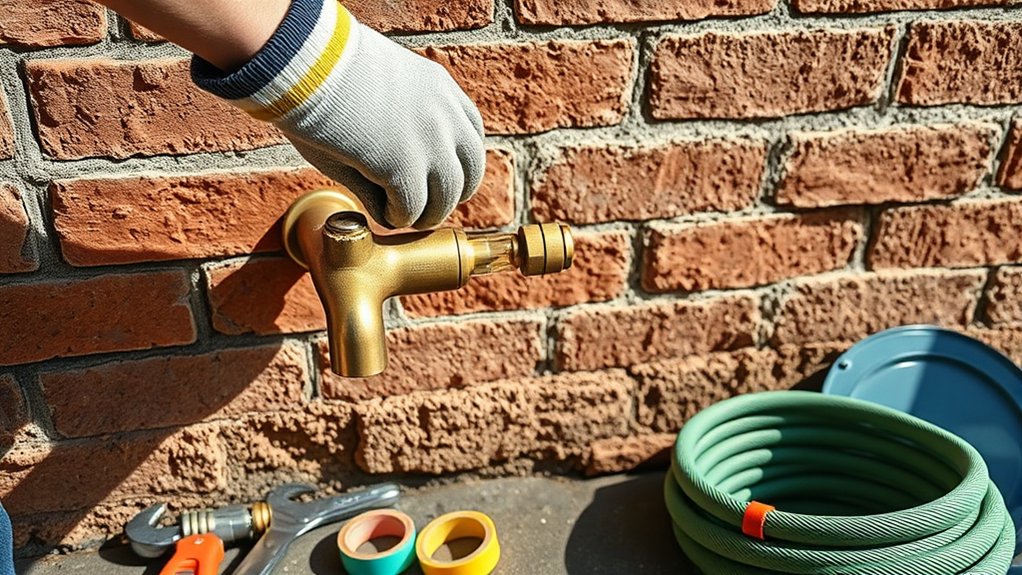
Before you begin replacing your outdoor faucet, make sure you have all the necessary tools and materials on hand. You’ll need a replacement faucet that matches your current setup, a pipe wrench or adjustable wrench, plumber’s tape (Teflon tape), and a bucket or towel for any residual water.
It’s smart to grab some penetrating oil in case the old faucet is stuck. You might also want a pipe cutter or hacksaw if you need to remove damaged pipe sections. Gloves and safety glasses will protect you during the process.
Having these ready saves time and prevents interruptions. Double-check the faucet type—compression or frost-free—to ensure compatibility. Preparing properly sets you up for a smooth, efficient faucet replacement without unexpected delays.
Shut Off Water and Drain the Faucet
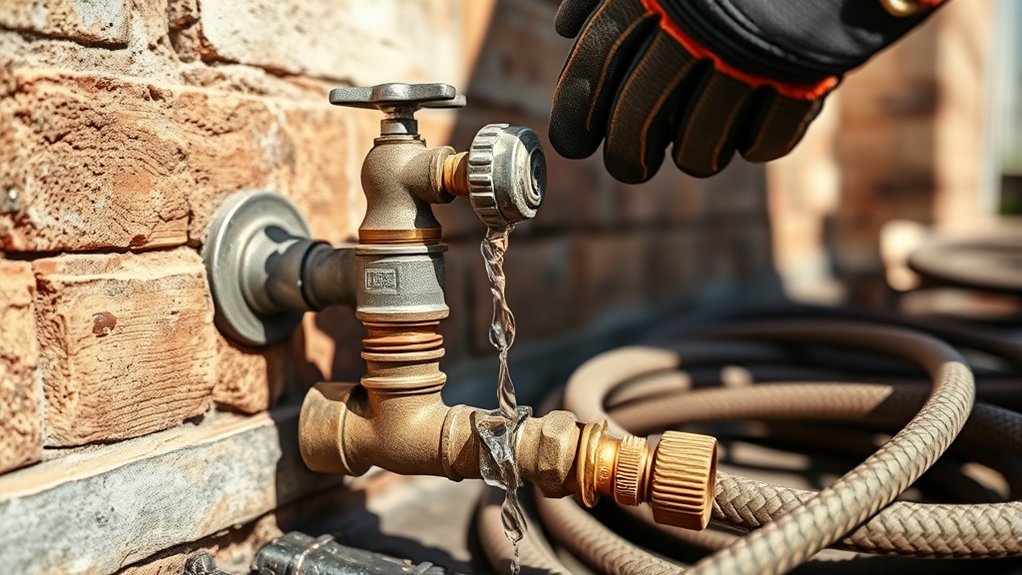
Once you have all your tools and materials ready, the next step is to shut off the water supply to the outdoor faucet. Locate the main shut-off valve for your home’s water system, often found near the water meter or where the main line enters your house. Turn the valve clockwise to stop the water flow.
Next, open the outdoor faucet to drain any remaining water in the line. Let it run until the water stops flowing, which helps prevent leaks or water damage during replacement. If your outdoor faucet has a separate shut-off valve inside the house, close that instead.
Draining the faucet ensures a smoother, safer replacement process by minimizing water spillage and pressure.
Remove the Old Outdoor Faucet Safely
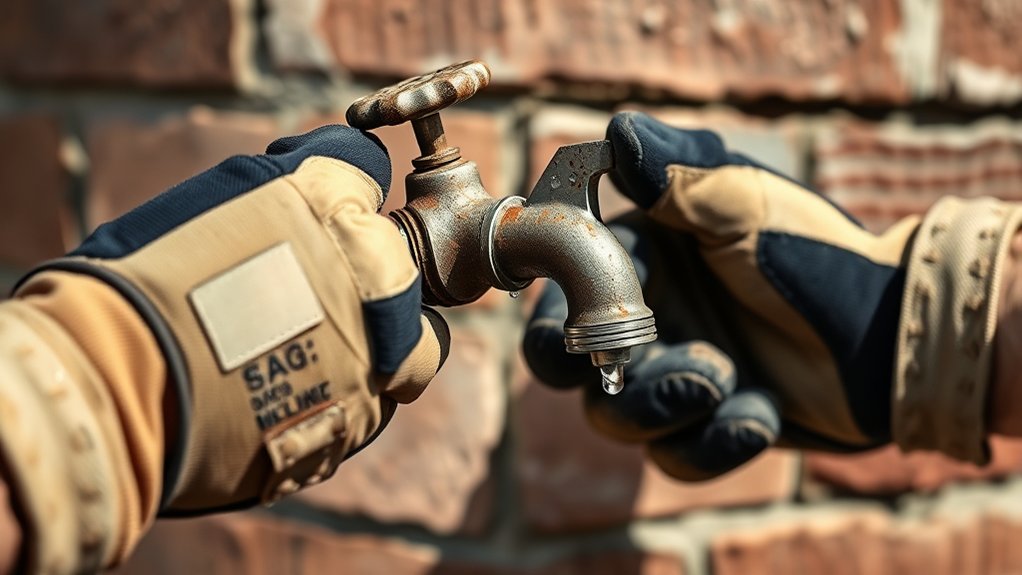
Before removing the old outdoor faucet, make sure the water supply is completely shut off. Gather the necessary tools like a wrench and pliers to make the process smoother.
Also, drain any remaining water from the faucet to avoid spills and mess.
Shut Off Water Supply
How do you guarantee a safe and smooth faucet replacement? First, shut off the water supply to prevent leaks and water damage. Locate the main shut-off valve, usually found near your water meter or inside the house where the main water line enters.
Turn it off completely. Then, open the outdoor faucet to drain any remaining water in the pipes. This reduces pressure and stops water from spilling when you remove the old faucet.
Keep these steps in mind:
- Find and turn off the main water shut-off valve.
- Open the outdoor faucet to release pressure.
- Use a towel or bucket to catch residual water.
- Double-check that no water flows before proceeding.
Following these steps helps ensure safety and prevents messes during replacement.
Gather Necessary Tools
After ensuring the water supply is completely shut off and the faucet is drained, gather the tools you’ll need to remove the old outdoor faucet safely. You’ll want an adjustable wrench or a pair of channel-lock pliers to loosen the faucet’s mounting nuts. A pipe wrench might be necessary if the faucet is stuck or corroded.
Have a screwdriver on hand if your faucet is secured with screws. Keep a bucket or towels nearby to catch any residual water. Wearing gloves will protect your hands from sharp edges and debris.
Also, consider using penetrating oil if the faucet is rusted in place. Having these tools ready will make the removal process smoother and reduce the risk of damaging the water supply lines or surrounding surfaces.
Drain Remaining Water
Where does the water go once you shut off the supply? It’s essential to drain any remaining water from the outdoor faucet to avoid leaks or water damage when removing it. Start by opening the faucet fully to let the water inside the pipe drain out.
You want to clear any trapped water before disconnecting the old faucet.
Here’s how to drain the remaining water safely:
- Open the faucet handle completely to release pressure.
- Use a bucket to catch any dripping water.
- Tilt or gently shake the faucet to help drain stubborn water.
- Wait a few minutes until no more water flows out.
Draining the water prevents spills and protects your pipes during the replacement.
Clean and Prepare the Pipe for Installation
Before installing the new faucet, you’ll need to thoroughly clean the pipe to guarantee a secure fit and prevent leaks. Start by removing any old plumber’s tape, debris, or corrosion from the threaded end using a wire brush. This helps verify a tight seal.
Next, wipe the pipe threads with a clean cloth to remove dust and moisture. If there’s any buildup inside the pipe, flush it out with water to clear dirt and sediment. Dry the area completely to avoid trapping moisture under the new faucet.
Taking these steps will prepare the pipe for a smooth installation and long-lasting connection. Avoid rushing this step, as a clean and well-prepared pipe is vital for preventing leaks and ensuring your faucet works properly.
Install the New Outdoor Faucet
Once you’ve prepped the pipe, screw the new outdoor faucet onto the threads by hand, turning it clockwise to guarantee a snug fit. Then, use a wrench to tighten the faucet securely without over-tightening, which could damage the threads. Make sure the faucet’s handle faces outward for easy access.
If your faucet has a hose bib, ensure it’s aligned properly to connect hoses smoothly.
Keep these tips in mind while installing:
- Apply plumber’s tape on pipe threads before screwing on the faucet
- Avoid forcing the faucet to prevent stripping threads
- Check that the faucet sits flush against the wall or mounting surface
- Confirm the faucet handle operates smoothly before finishing
Following these steps sets you up for a reliable, leak-free outdoor faucet.
Test the New Outdoor Faucet for Leaks
Although you’ve tightened the faucet securely, you’ll want to test it for leaks to make sure everything is sealed properly. Turn on your main water supply slowly and watch the new outdoor faucet closely. Check all connections, including where the faucet meets the pipe, for any drips or moisture.
If you see water escaping, tighten the connections gently but firmly to avoid over-tightening, which could cause damage. Also, open the faucet handle and let water run for a few moments to confirm steady flow without leaks. If leaks persist, you might need to apply additional plumber’s tape or reseal the joints.
Once you’re confident there are no leaks, you can consider the installation complete and move on to using your new faucet.
Keep Your Faucet Working With Easy Maintenance
To keep your outdoor faucet functioning smoothly, you’ll want to perform simple maintenance regularly. This helps prevent leaks, freezes, and costly repairs. Start by checking the faucet for drips or corrosion, then clean any debris around the handle and spout.
You should also drain the faucet before winter to avoid frozen pipes.
Here are some easy maintenance tips to keep in mind:
- Inspect and tighten any loose connections or washers
- Lubricate the handle with plumber’s grease for smooth operation
- Clear out mineral deposits with vinegar or a commercial cleaner
- Cover the faucet with an insulated cover during cold months
Taking these steps ensures your faucet lasts longer and works efficiently year-round.
Frequently Asked Questions
Can I Replace an Outdoor Faucet Myself Without Plumbing Experience?
Yes, you can replace an outdoor faucet yourself without plumbing experience. Just turn off the water, gather basic tools, follow clear instructions or videos, and take your time.
If unsure, don’t hesitate to ask for help.
What Type of Outdoor Faucet Is Best for Cold Climates?
You’ll want a frost-free faucet, a guardian against winter’s icy grip. It drains water away, preventing bursts. Choosing this symbol of resilience guarantees your outdoor faucet won’t crack under cold’s relentless pressure.
You’ll thank yourself later.
How Do I Winterize My Outdoor Faucet to Prevent Freezing?
You’ll want to shut off the water supply to the outdoor faucet, drain any remaining water, and install an insulated cover.
This prevents freezing and pipe bursts during winter’s coldest days.
What Causes an Outdoor Faucet to Leak Repeatedly?
Imagine a dripping faucet like a tired clock stuck on repeat; your outdoor faucet leaks often because worn washers, damaged valves, or loose connections let water sneak out, just like that clock endlessly ticking without moving forward.
These issues cause water to escape slowly but persistently.
Fixing or replacing these parts can stop the leak and restore proper function.
Are There Water-Saving Outdoor Faucet Options Available?
Yes, you can find water-saving outdoor faucets with built-in flow restrictors or automatic shut-off valves. These options help reduce water waste, so you’ll save water and lower your utility bills while keeping your garden healthy.
Conclusion
Replacing your outdoor faucet might seem tricky, but with these simple steps, you’ve got this! You’ve gathered your tools, shut off the water, removed the old faucet, and installed the new one.
Now, why risk leaks or water damage by skipping the test? Regular maintenance keeps your faucet working smoothly for years. So, aren’t you glad it’s easier than you thought to tackle this handy home repair yourself?
By following this outdoor faucet replacement guide, you ensure a leak-free installation and extend the life of your plumbing. Proper outdoor faucet maintenance is key to preventing costly repairs. Enjoy the confidence that comes with mastering this essential home improvement task!