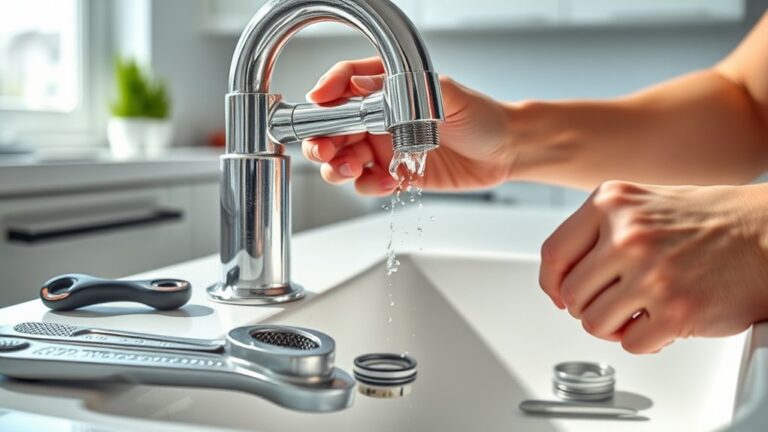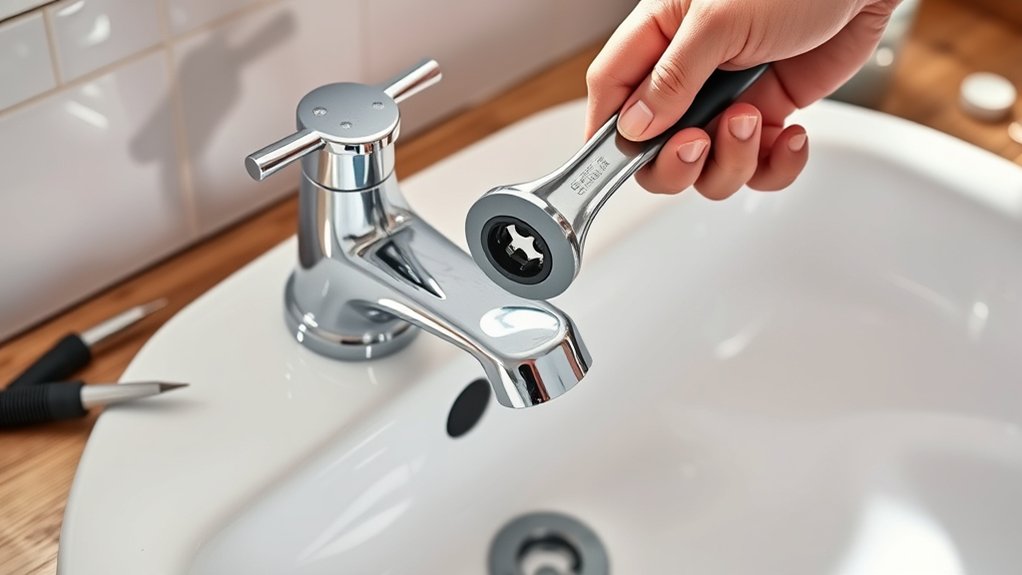
How to Remove a Bathroom Faucet in 10 Easy Steps
To remove your bathroom faucet, start by gathering essential tools like an adjustable wrench and basin wrench. Clearing the area under the sink will give you enough space to work comfortably.
Next, turn off the water valves to prevent any leaks and open the faucet to drain remaining water. Disconnect the supply lines carefully.
Then, loosen the mounting nuts that hold the faucet in place. Lift the faucet out gently and clean the sink surface thoroughly.
Inspect any worn or damaged parts for replacement. If you encounter stubborn fittings or want tips for a smooth reinstall, helpful advice is provided ahead.
Key Takeaways
- Turn off the water supply valves under the sink and open the faucet to drain remaining water.
- Use an adjustable or basin wrench to loosen and disconnect water supply lines and mounting nuts.
- Clear and prepare the workspace by removing stored items and placing towels or buckets to catch drips.
- Clean and dry the sink surface, and inspect or replace worn washers, O-rings, or seals before removal.
- Apply penetrating oil and gently tap fittings if stuck, ensuring all fasteners are located before removing the faucet.
Gather the Tools You’ll Need to Remove a Bathroom Faucet
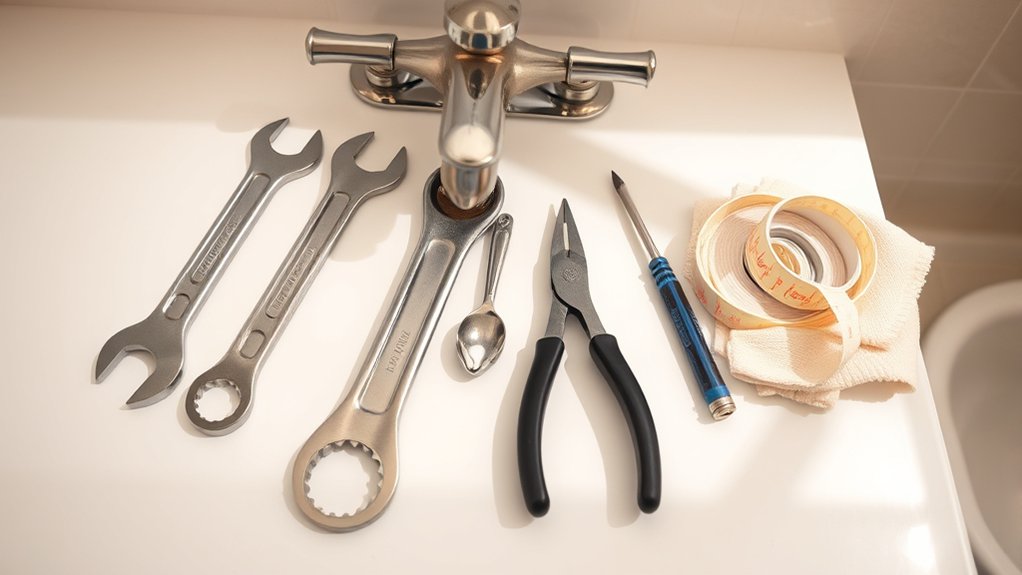
Before you begin removing your bathroom faucet, make sure you have all the necessary tools on hand. You’ll need an adjustable wrench to loosen nuts and bolts without damaging them. A basin wrench is especially helpful for hard-to-reach areas under the sink.
Keep a pair of pliers nearby for gripping and turning small parts. A screwdriver—either flathead or Phillips—will be necessary for removing screws securing the faucet or handles. Don’t forget a bucket or bowl to catch any leftover water when disconnecting supply lines.
It’s also smart to have some towels or rags ready to clean up spills. Having these tools within reach will make the removal process quicker and less frustrating, so you can tackle the job confidently and efficiently.
Clear the Area Under the Sink for Easy Access
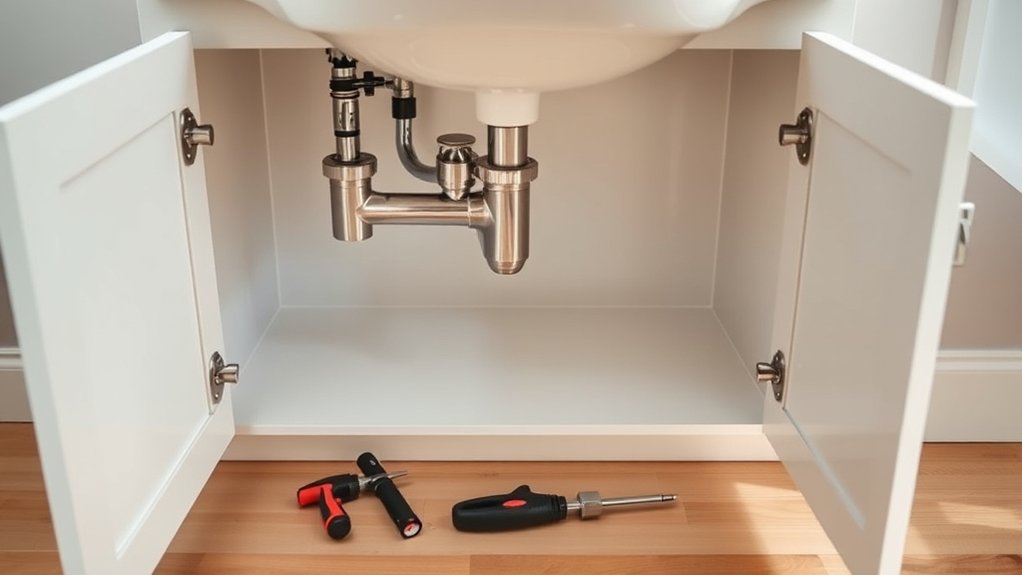
Where can you work most comfortably when removing your bathroom faucet? The answer is right under your sink, but only if that space is clear. Start by removing any items stored beneath the sink—cleaning supplies, toiletries, or trash bins.
This gives you room to move freely and prevents accidents. Next, wipe down the area to avoid slipping on wet surfaces or knocking over objects. Make sure lighting is adequate; use a portable light if needed.
Clearing this space lets you reach plumbing connections without strain and keeps your tools within easy reach. A tidy workspace speeds up the faucet removal process and reduces frustration, so take this step seriously before moving on to disconnecting water lines or loosening fittings.
Turn Off the Water Supply and Drain the Lines
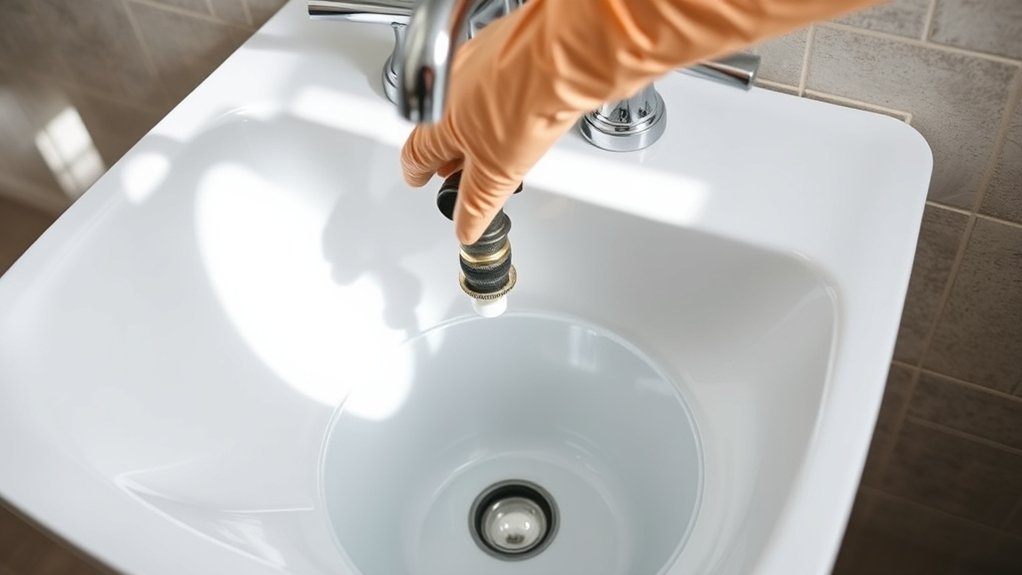
With your workspace clear and well-lit, you’re ready to stop the water flow to your faucet. Turning off the water supply prevents leaks and water damage while you work. Here’s how to do it efficiently:
- Locate the shutoff valves under the sink—usually two, one for hot and one for cold water.
- Turn each valve clockwise until it stops to close them fully.
- Open the faucet handles to release any remaining water in the lines.
- Keep a small bucket or towel handy to catch drips as the water drains.
Following these steps guarantees the water supply is safely off, and the lines are drained, making the next phase of faucet removal easier and cleaner.
Disconnect the Water Supply Lines From the Bathroom Faucet
Now that the water is off, go ahead and shut off the individual water valves under the sink.
Next, use a wrench to carefully loosen the nuts connecting the supply lines to the faucet. Make sure to have a towel handy to catch any leftover water that might drip out.
Shut Off Water Valves
Before you start disconnecting the water supply lines, locate the shut-off valves under the sink and turn them clockwise to stop the water flow. These valves control the water supply to your faucet, preventing leaks and water damage during removal.
Here’s what to do next:
- Check if both hot and cold water valves are fully turned off.
- Turn on the faucet to release any remaining water in the lines.
- Place a bucket or towel under the valves to catch drips.
- Inspect valves for any leaks or damage before proceeding.
Loosen Supply Line Nuts
Once you’ve confirmed the water supply is completely shut off, you can start loosening the supply line nuts that connect the water lines to your faucet. Grab an adjustable wrench or a pair of pliers, depending on the size and type of nuts. Turn the nuts counterclockwise to loosen them, but be careful not to apply too much force, which could damage the fittings.
If the nuts feel stuck, try applying a little penetrating oil and let it sit for a few minutes before trying again. Once loosened, gently disconnect the supply lines from the faucet. Keep a small bucket or towel handy to catch any residual water that might drip out.
After disconnecting both hot and cold lines, you’re ready to move on to removing the faucet itself.
Loosen and Remove the Faucet Mounting Nuts
Now that the water supply lines are disconnected, locate the mounting nuts securing the faucet underneath the sink. Grab the right tools, like a basin wrench, to reach and loosen these nuts safely.
Take your time to avoid damaging any parts as you remove them.
Identify Mounting Nut Location
Where exactly are the mounting nuts holding your bathroom faucet in place? Finding them is key before you start loosening anything. Typically, these nuts secure the faucet to the sink from underneath, so you’ll need to look beneath the basin.
Here’s how to identify their location:
- Slide under the sink with a flashlight to get a clear view.
- Look for metal or plastic nuts attached to threaded rods extending from the faucet.
- Check near the base of the faucet where it meets the sink surface.
- Spot any washers or brackets that hold the nuts in place.
Once you pinpoint these nuts, you’ll be ready to move on to loosening and removing them safely.
Use Proper Tools
Before you start loosening the mounting nuts, make sure you have the right tools on hand to avoid stripping or damaging them. Typically, you’ll need an adjustable wrench or a basin wrench designed for tight spaces under the sink. A basin wrench’s long handle and pivoting head make it easier to reach nuts in cramped areas.
Avoid using pliers, as they can round off the nuts, making removal much harder. Also, check if your faucet uses hex nuts; if so, a socket wrench with the correct size socket will work best. Having these tools ready ensures a smooth removal process and prevents damage to your faucet or plumbing.
Proper tools save you time and frustration.
Loosen Nuts Safely
How do you safely loosen the mounting nuts without damaging your faucet or plumbing? First, ensure the water supply is off to prevent any leaks. Use the right-sized wrench to avoid stripping the nuts.
Apply steady, controlled pressure rather than sudden force. If the nuts are stuck, apply a penetrating lubricant and let it sit for a few minutes before trying again.
Follow these steps:
- Turn off the water supply valves under the sink.
- Use an adjustable wrench or basin wrench to fit the nut securely.
- Turn the wrench counterclockwise with steady pressure.
- Apply penetrating oil if the nut resists, wait, then try again.
This approach protects your plumbing and makes removal easier.
Carefully Remove the Bathroom Faucet From the Sink
Why start by loosening the mounting nuts beneath the sink? These nuts secure the faucet to the sink, so loosening them first lets you free the faucet without resistance. Once the nuts are loose, gently lift the faucet upward from the sink surface.
If it feels stuck, wiggle it slightly to break the seal created by old plumber’s putty or caulk. Avoid using excessive force to prevent damaging the sink or faucet. Pay attention to any attached water supply lines; you may need to disconnect them fully before removing the faucet.
Keep a towel handy to catch any residual water. After lifting the faucet free, set it aside carefully. You’ve now successfully removed the faucet and can proceed with your next steps.
Clean the Sink Surface Before Installing a New Faucet
Before you install the new faucet, make sure to remove all debris from the sink surface. Use the right cleaning products to get rid of grime and buildup effectively.
Finally, dry the area completely to guarantee a secure and leak-free installation.
Remove Debris Thoroughly
Once you’ve removed the old faucet, you’ll want to clear away any debris from the sink surface to guarantee a smooth installation of the new fixture. Leftover grime, old putty, or mineral deposits can interfere with the seal and cause leaks. Be thorough to avoid future issues.
Follow these steps to remove debris effectively:
- Scrape off any old putty or plumber’s tape gently with a plastic scraper.
- Wipe down the area with a damp cloth to remove loose dirt and dust.
- Use a toothbrush or small brush to clean tight corners and crevices.
- Dry the surface completely to verify the new faucet will adhere properly.
Taking these steps ensures your new faucet will fit perfectly and function without leaks.
Use Appropriate Cleaning Products
After clearing away debris, the next step is to clean the sink surface using the right products. You want to remove any grime, soap scum, or mineral deposits to guarantee the new faucet seals properly. Choose a cleaner that’s effective but won’t damage your sink’s finish.
Avoid harsh abrasives that might scratch the surface.
Here’s a quick guide to suitable cleaning products:
| Surface Type | Recommended Cleaner |
|---|---|
| Porcelain | Mild dish soap + water |
| Stainless Steel | Vinegar solution |
| Granite | pH-neutral stone cleaner |
| Acrylic | Non-abrasive cleaner |
| Chrome Fixtures | Glass cleaner |
Use a soft cloth or sponge to apply the cleaner, then rinse thoroughly. This preps your sink well for the new faucet installation.
Dry Surface Completely
Though cleaning removes most residues, you’ll want to dry the sink surface completely to assure a tight seal for your new faucet. Moisture can prevent the gasket or plumber’s putty from adhering properly, leading to leaks. To guarantee a dry surface, follow these steps:
- Use a clean, dry cloth or towel to wipe down the entire sink area where the faucet will sit.
- Pay special attention to crevices and around mounting holes to remove trapped water.
- For stubborn moisture, use a hairdryer on a low setting to quickly evaporate any dampness.
- Double-check the surface for any remaining wet spots before proceeding with installation.
Taking these steps helps create a secure, leak-free connection for your new bathroom faucet.
Inspect and Replace Old Faucet Parts If Needed
Before reinstalling your bathroom faucet, carefully inspect all the old parts for wear or damage to guarantee everything functions properly. Look at washers, O-rings, and seals closely—cracks or stiffness mean it’s time to replace them. Don’t risk leaks or poor water flow by reusing faulty parts.
Grab replacements matching your faucet brand and model for a perfect fit. Taking this step saves frustration and future repair costs.
| Part | Condition to Check | Emotion Felt |
|---|---|---|
| Washer | Cracks or flattening | Relief if replaced |
| O-ring | Brittleness or tears | Confidence in repair |
| Seal | Hardness or damage | Satisfaction |
Replacing worn parts ensures your faucet works smoothly and lasts longer.
Troubleshoot Common Problems When Removing a Stubborn Faucet
When you encounter a stubborn faucet that won’t budge, don’t let frustration take over—you can troubleshoot the issue effectively with the right approach. First, apply penetrating oil to loosen rusted or corroded parts. Give it time to work before trying again.
Next, use a basin wrench or adjustable wrench to get a better grip in tight spaces. If the faucet still won’t move, try gently tapping the fittings with a rubber mallet to break any mineral deposits. Finally, check for hidden screws or fasteners you might have missed—they can prevent removal.
Follow these steps to avoid damage and remove the faucet safely.
- Apply penetrating oil and wait
- Use a basin or adjustable wrench
- Tap fittings gently with a rubber mallet
- Check for hidden screws or fasteners
Check the Sink and Faucet for Installation Readiness
Since a smooth installation depends on proper preparation, you’ll want to carefully inspect both the sink and faucet before starting. First, check the sink’s mounting holes to verify they match your new faucet’s configuration—whether single-hole, centerset, or widespread. Confirm the holes are free of debris and damage that might affect sealing.
Next, examine the faucet itself for any missing parts or defects, especially the rubber gaskets and mounting hardware. Ensure the supply lines align with your plumbing connections and aren’t kinked or worn. If your faucet includes a deck plate, make sure it fits your sink’s surface properly.
Taking these steps now prevents surprises during installation, saving you time and frustration later on.
Frequently Asked Questions
What Types of Bathroom Faucets Are Easiest to Remove?
Single-handle faucets are usually the easiest to remove because they have fewer connections and parts. You’ll find that simple designs with accessible mounting nuts make your job quicker and less frustrating than complex, multi-handle models.
How Do I Prevent Scratches on My Sink During Removal?
You can prevent scratches by placing a soft cloth or painter’s tape around the sink edges before removal. Also, use tools carefully and avoid dragging metal parts directly on the sink surface to keep it scratch-free.
Handle all equipment gently to minimize the risk of damage. Taking your time during the removal process helps maintain the sink’s finish.
If possible, have an extra pair of hands to assist you, ensuring better control and stability. This teamwork can further protect your sink from accidental scratches.
Can I Remove a Faucet Without Turning off the Main Water Supply?
Removing a faucet without turning off the main water supply is like dancing on thin ice—you risk a flood. Always shut off the water first to avoid unexpected leaks and keep your workspace dry and safe.
What Should I Do if the Faucet Is Leaking After Removal?
If the faucet leaks after removal, you should check for damaged washers or seals and replace them. Tighten connections properly, and if leaks persist, consider consulting a plumber.
This will help avoid water damage and guarantee a secure fit.
How Long Does It Typically Take to Remove a Bathroom Faucet?
It typically takes you about 30 minutes to an hour to remove a bathroom faucet, depending on your experience and tools.
If you’re prepared and careful, you’ll finish faster without damaging any parts or plumbing connections.
Conclusion
Removing your bathroom faucet is more than just a task—it’s like clearing away old barriers to let fresh water flow freely. By following these steps, you’re not only fixing a fixture but opening the door to renewal and ease in your daily routine. Each nut you loosen symbolizes progress, each disconnected line a step toward clarity.
Embrace the process, and soon, your refreshed sink will be a symbol of your hands-on care and new beginnings. Proper bathroom faucet removal ensures a smooth replacement and prevents leaks. With these 10 easy steps, you’ll master the art of removing your bathroom faucet confidently and efficiently.