How to Change a Shower Faucet in 10 Easy Steps
To change your shower faucet in 10 easy steps, start by gathering all essential tools and turning off the main water supply. This step is crucial to avoid any water damage or leaks during the replacement process.
Carefully removing the old handle, trim, and valve allows you to inspect the pipes for any signs of damage or wear.
Next, install the new valve securely to ensure proper function and durability. Attach the new handle and trim, making sure everything fits snugly and looks neat.
Slowly turn the water back on to check for leaks and ensure the water flow is correct.
If you notice any leaks or issues, tighten the fittings or make necessary adjustments.
Following these simple steps will make your shower faucet replacement smooth and hassle-free. Keep reading for a detailed guide to help you complete your project with confidence.
Key Takeaways
- Turn off the main water valve and confirm no water flows from the shower faucet.
- Remove the old faucet handle, trim plate, and valve, inspecting pipes for damage or corrosion.
- Wrap new valve threads with plumber’s tape, position, and secure the valve aligned with plumbing lines.
- Reattach the trim kit and handle, ensuring all fittings are tight but not over-tightened.
- Slowly restore water supply, check for leaks, and test hot and cold water flow and temperature control.
Gather the Essential Tools and Materials
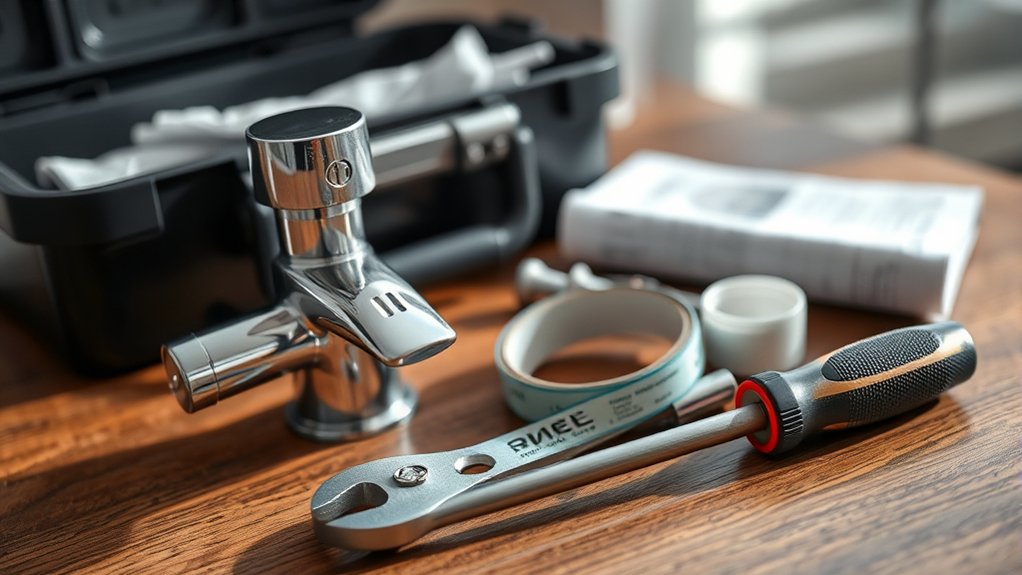
Before you begin replacing your shower faucet, gather all the essential tools and materials to guarantee a smooth process. You’ll need a new shower faucet kit compatible with your plumbing system. Grab an adjustable wrench, a screwdriver set, plumber’s tape, and a utility knife.
Have a bucket or container ready to catch any leftover water. It’s helpful to keep a cloth or rag nearby to wipe up spills. Don’t forget safety gear like gloves and safety glasses to protect yourself.
Double-check that the new faucet includes all necessary parts like screws, washers, and seals. Having everything ready saves time and prevents frustration, letting you focus on installing your new shower faucet efficiently and correctly.
Turn Off the Shower Faucet Water Supply
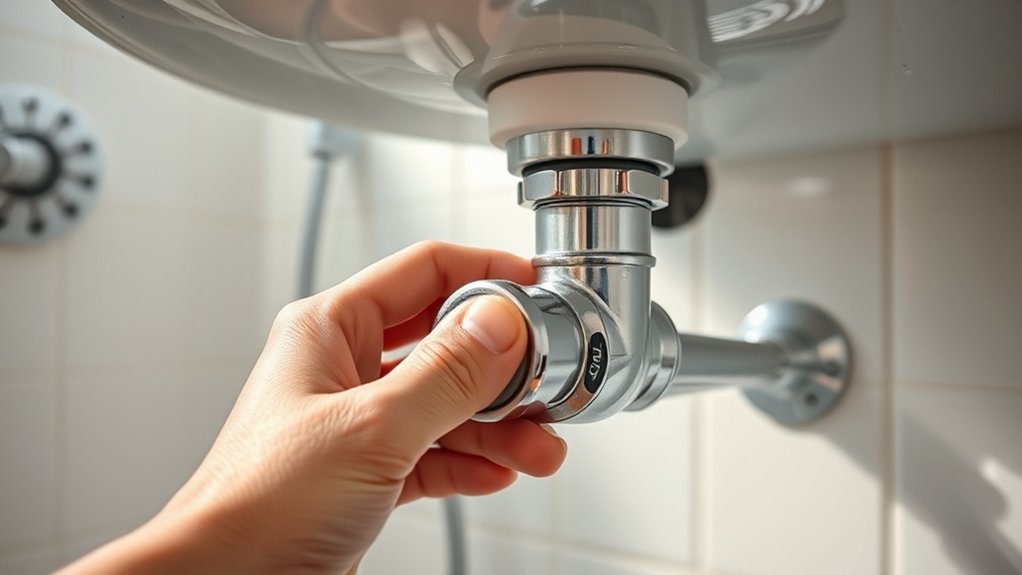
First, locate your home’s main water valve and turn it off to stop the water flow to the shower. Next, confirm the water is completely off by turning on the shower handle and checking for any remaining flow.
Finally, drain any leftover water from the pipes by leaving the shower open before you begin the faucet replacement.
Locate Main Water Valve
Where exactly do you shut off the water to your shower faucet? Typically, you’ll find the main water valve near where the water line enters your home—often in the basement, garage, or outside by the foundation. It’s usually a round wheel or a lever.
If you live in an apartment, the valve might be inside a utility closet or under the sink. Before starting, locate this valve so you can quickly stop water flow. Turn the valve clockwise to close it and stop water from reaching your shower.
If you can’t find the main valve, check for a local shutoff valve near the shower pipes, but shutting off the main valve ensures no water pressure in the entire home while you work.
Confirm Water Is Off
Even after shutting off the main water valve, you should turn on the shower faucet to confirm the water supply is completely off. This simple step guarantees no water pressure remains, preventing leaks during your repair.
If water flows, double-check the valve or consider shutting off the water at the street.
Use the table below to track your confirmation process:
| Step Number | Action | Expected Result |
|---|---|---|
| 1 | Turn main water valve off | Water flow stops |
| 2 | Turn on shower faucet | No water comes out |
| 3 | Check other faucets (optional) | No water flow anywhere |
| 4 | Re-check main valve if needed | Valve fully closed |
Confirming the water is off keeps your workspace dry and safe.
Drain Remaining Water
Why wait to drain the remaining water after shutting off the main supply? If you skip this step, water trapped in the pipes can spill out when you remove the faucet, creating a mess and possibly damaging your bathroom.
To avoid this, turn the shower faucet on after confirming the main water supply is off. Let the water drain completely. This releases pressure and clears out any leftover water in the lines.
You might want to keep a towel or small bucket handy to catch drips. Once the water stops flowing, you can proceed with removing the old faucet safely and cleanly. Taking this simple step protects your workspace and makes the entire faucet replacement process smoother.
Select the Right Replacement Shower Faucet
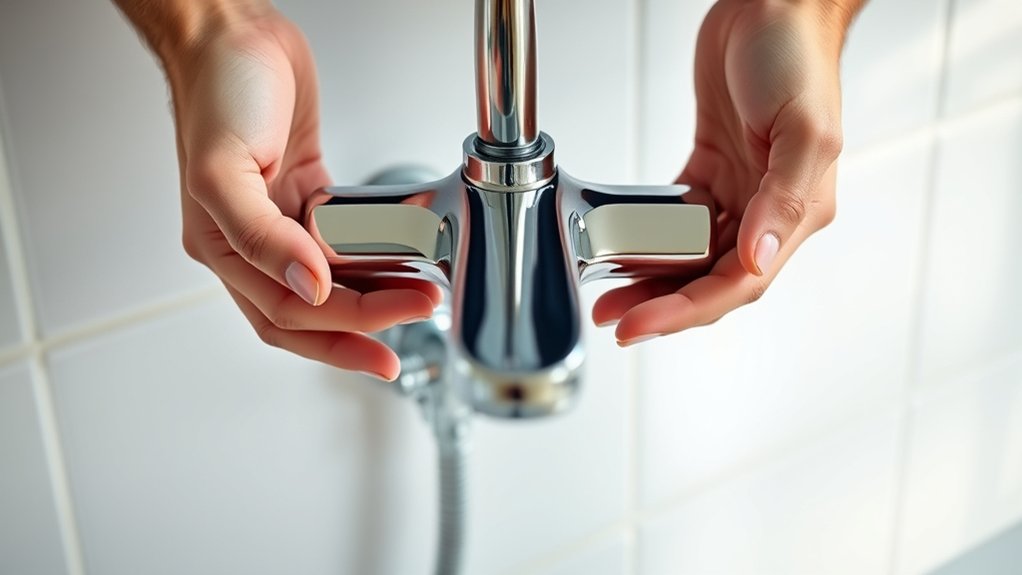
How do you choose the right replacement shower faucet for your bathroom? First, consider your existing plumbing setup; check if your current faucet uses a single or multiple handles and the type of valve it connects to. Measure the distance between the mounting holes to ensure compatibility.
Next, decide on the style and finish that matches your bathroom décor, whether modern chrome or classic brushed nickel. Don’t forget to verify water pressure requirements and look for water-efficient models to save on bills.
Ultimately, pick a faucet from a reputable brand offering good warranties and easy-to-find replacement parts. Taking these steps will help you select a faucet that fits perfectly and functions reliably without surprises during installation.
Remove the Old Shower Faucet Handle and Trim
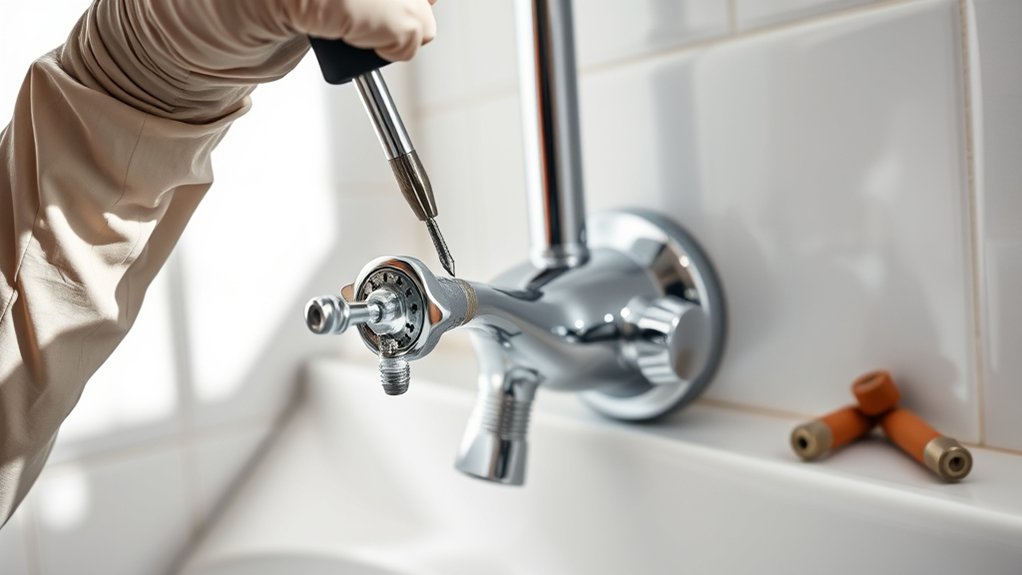
Before you install your new shower faucet, you’ll need to remove the old handle and trim carefully. Start by locating the screw that holds the handle in place—usually hidden under a decorative cap. Pry off the cap gently with a flathead screwdriver.
Once exposed, unscrew the handle and pull it off. Next, remove the trim plate by loosening the screws securing it to the wall. If caulk or grout seals the trim plate, use a utility knife to cut through it carefully.
After the trim plate is loose, pull it away from the wall. Take your time to avoid damaging the surrounding tile or wall surface. With the handle and trim removed, you’re ready to move on to the valve removal step.
Remove the Old Shower Faucet Valve From the Wall
With the handle and trim plate removed, you can access the shower valve inside the wall. Before you start, make sure the water supply is completely shut off. Use a wrench or adjustable pliers to loosen and remove the valve’s retaining nuts or screws.
If your valve is soldered or glued, you might need special tools or cutting equipment to detach it carefully. Gently pull the valve straight out from the plumbing to avoid damaging pipes or fittings behind the wall. Keep a towel nearby to catch any residual water.
Inspect the valve and surrounding area for corrosion or buildup. Removing the old valve cleanly sets you up for a smooth installation of the new valve without leaks or complications.
Check and Prep Your Plumbing for the New Faucet
Once you’ve removed the old valve, inspect the pipes for any signs of damage, corrosion, or mineral buildup that could affect the new faucet’s performance. Addressing these issues now prevents leaks and guarantees smooth operation.
Follow these steps to prep your plumbing:
- Clean the pipe ends thoroughly with a wire brush to remove rust and buildup.
- Check for leaks or cracks; replace any damaged sections before proceeding.
- Ensure the pipe threads are intact and free of debris for a tight seal.
- Wrap the threaded ends with plumber’s tape to prevent leaks once the new valve is installed.
Taking these precautions helps you avoid future problems and guarantees your new shower faucet works perfectly.
Install the New Shower Faucet Valve and Secure It
Although installing the new shower faucet valve requires careful alignment, you’ll find the process straightforward if you follow the manufacturer’s instructions closely. Begin by positioning the valve in the wall opening, ensuring the hot and cold inlets align with your plumbing lines. Use a level to keep the valve straight and even.
Secure the valve by tightening the mounting brackets or screws provided, making sure it’s firmly held in place without over-tightening. Double-check that the valve stem is properly oriented for your handle installation later. Once secured, reconnect the water supply lines to the valve inlets, using plumber’s tape on threaded connections to prevent leaks.
Finally, turn on the water supply briefly to test for any leaks around the valve before closing the wall.
Attach the New Faucet Handle and Trim Kit
After confirming there are no leaks and the valve is securely in place, you can move on to attaching the new faucet handle and trim kit. This step completes the look and functionality of your shower fixture.
Follow these steps:
- Align the trim plate over the valve body, ensuring the screw holes match up.
- Secure the trim plate with screws, tightening them evenly to avoid warping.
- Slide the faucet handle onto the valve stem, making sure it fits snugly.
- Fasten the handle with its set screw, usually located on the side or under a decorative cap.
Turn the Water Back On and Test for Leaks
Now that your new faucet is in place, turn the water supply back on slowly. Watch closely for any drips or wet spots around the connections. Catching leaks early will save you time and prevent water damage.
Restoring Water Supply
How do you guarantee everything works smoothly once your new shower faucet is in place? The key is carefully restoring the water supply and checking your work step-by-step.
Follow these actions to assure a proper setup:
- Slowly turn the main water valve back on to avoid pressure shocks.
- Open the shower faucet handles to allow air to escape and water to flow freely.
- Observe the connections closely for any immediate signs of dripping.
- Run both hot and cold water separately to confirm temperature control and steady flow.
Leak Detection Techniques
Where should you focus your attention when turning the water back on to test for leaks? Start by carefully inspecting all connections around the new faucet, including the handles, spout, and visible pipe fittings. Slowly open the water supply valve and watch for any drips or moisture forming.
Don’t forget to check behind the wall access panel if you have one. Run the water for a few minutes to ensure consistent pressure and observe for leaks that might appear under pressure. If you spot any water, tighten the connections slightly or reseal with plumber’s tape.
Finally, dry the area and monitor it again after a short period. Catching leaks early prevents water damage and guarantees your new shower faucet functions perfectly.
Fix Common Problems After Installation
Although you’ve finished installing your shower faucet, you might still encounter a few common issues like leaks, low water pressure, or temperature fluctuations. Don’t worry; you can fix these problems with a few quick checks and adjustments.
Even after installation, common shower faucet issues like leaks and pressure drops can be easily fixed.
- Tighten connections: Inspect all fittings and tighten any loose nuts or screws to stop leaks.
- Replace washers or O-rings: Worn out seals often cause dripping faucets. Swap them out for new ones.
- Clear debris: Low water pressure often results from mineral buildup inside the valve or aerator—clean these parts thoroughly.
- Adjust the temperature control: If water temperature fluctuates, recalibrate the mixing valve per the manufacturer’s instructions.
Frequently Asked Questions
How Do I Know if My Water Pressure Is Too High for the New Faucet?
You’ll know your water pressure is too high if your new faucet leaks, sprays unevenly, or makes loud noises.
Use a pressure gauge to check; anything above 80 psi usually means you need a pressure regulator installed.
Can I Upgrade to a Thermostatic Shower Valve During Installation?
Absolutely, you can upgrade to a thermostatic shower valve during installation. It’ll give you precise temperature control, like having a personal weather station in your shower, making your daily routine safer and more comfortable.
What Should I Do if My Shower Valve Is Located Behind Tile?
You’ll need to carefully remove the surrounding tile to access the shower valve. Use a utility knife and chisel gently to avoid damage.
Consider cutting a small access panel behind the wall for future maintenance.
Are There Any Maintenance Tips to Prolong the Faucet’s Lifespan?
Think of your faucet as a garden—clean its aerator regularly, fix leaks quickly, and avoid harsh cleaners.
How Can I Prevent Mold and Mildew Around the Shower Faucet Area?
You can prevent mold and mildew by keeping the area dry, wiping down surfaces after showers, and using a squeegee.
Ensuring proper ventilation is also important. Applying a mildew-resistant sealant around the faucet helps block moisture buildup effectively.
Conclusion
Changing your shower faucet doesn’t have to feel like diving into the unknown. With the right tools and these simple steps, you’ll conquer the task like a plumbing pro. Just like mastering a new recipe, patience and precision lead to success.
Once you turn the water back on and see everything working perfectly, you’ll know you’ve earned your place in the DIY hall of fame. So go ahead—make that shower shine! Following these easy steps will ensure a smooth shower faucet replacement and a refreshing upgrade to your bathroom.