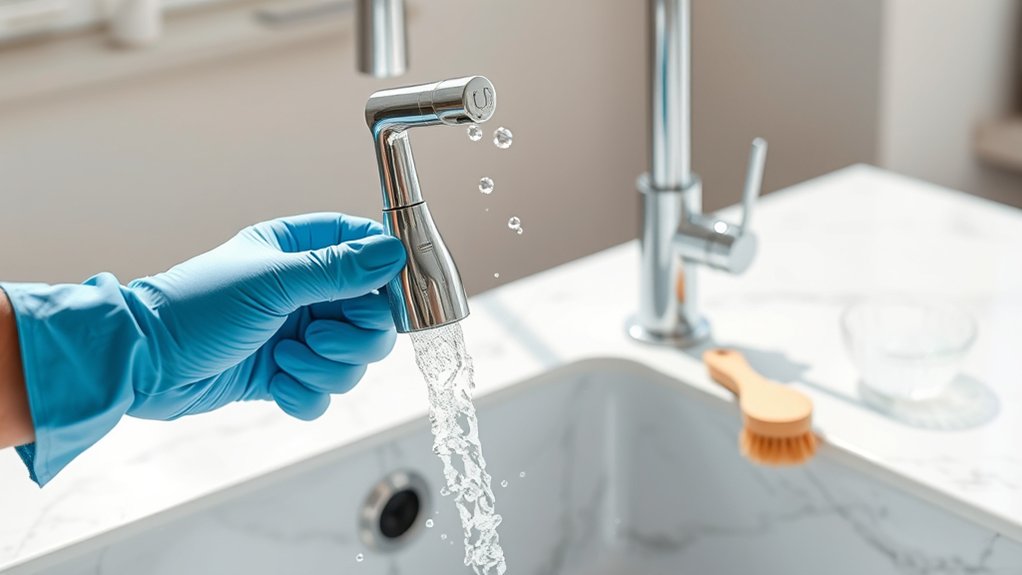
How to Clean a Faucet Head in 7 Easy Steps
To clean your faucet head effectively, follow these seven easy steps using common household items like vinegar, baking soda, and a soft brush. Regular faucet cleaning helps remove mineral buildup and ensures smooth water flow.
Keeping your faucet head clean not only improves water quality but also extends the life of your fixture.
First, turn off the water supply to prevent any spills. Carefully remove the faucet head, taking care to protect its finish from scratches or damage.
Soak the faucet head in vinegar or a chosen cleaning solution for up to an hour to loosen stubborn buildup.
Next, scrub the aerator screen thoroughly with a soft brush to remove debris. Rinse all parts well under running water before reassembling them.
Finally, test the water flow and repeat the process if necessary.
Inspecting your faucet regularly will help you tackle common issues effectively and maintain optimal performance.
Key Takeaways
- Remove the faucet head by turning it counterclockwise after turning off the water supply and protecting the finish with a cloth.
- Soak the faucet head in a vinegar solution for 30 minutes to loosen mineral deposits and buildup.
- Use a soft brush or old toothbrush dipped in vinegar-water to scrub the aerator screen and remove debris.
- Rinse all parts thoroughly under warm water and reassemble the faucet head securely.
- Turn on the water to test flow, check for leaks, and tighten any loose components if needed.
Gather Tools and Ingredients
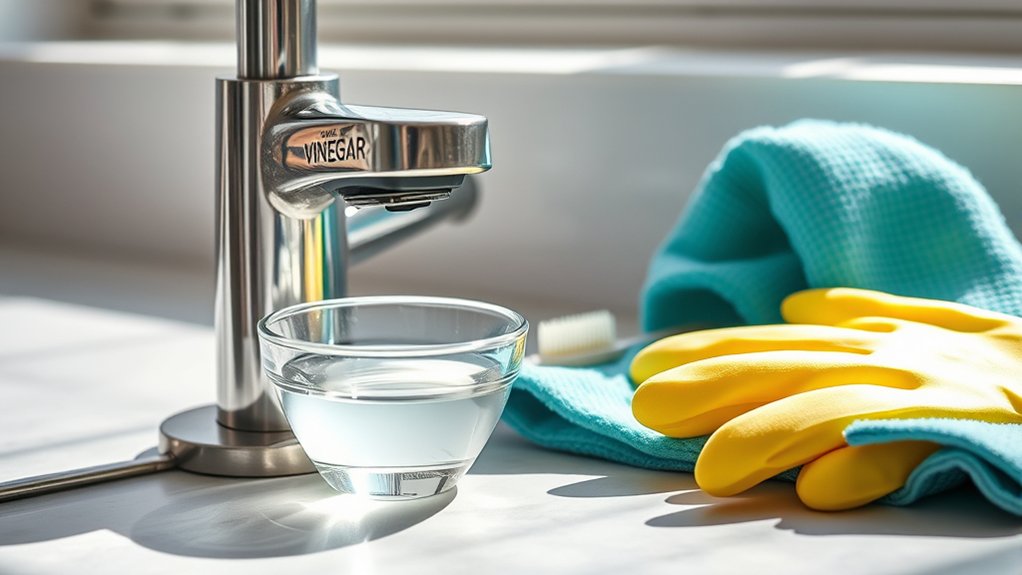
Before you begin cleaning your faucet head, gather all the necessary tools and ingredients to make the process smooth and efficient. You’ll need a few common household items: white vinegar, baking soda, a soft cloth, an old toothbrush, and a plastic bag. Having a small bowl or container handy helps if you want to soak the faucet head separately.
You might also want a rubber band or twist tie to secure the plastic bag around the faucet. If your faucet head has stubborn mineral buildup, a mild dish soap can boost cleaning power. Avoid harsh chemicals, as they can damage your faucet’s finish.
Once you have everything ready, you’ll save time and avoid interruptions during the cleaning process.
Remove Your Faucet Head Safely
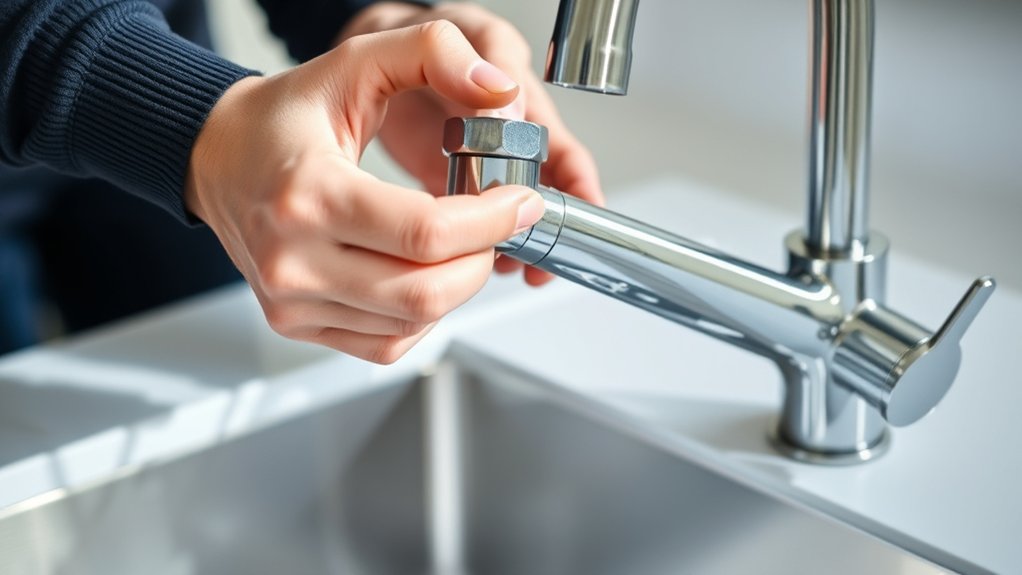
Once you’ve gathered your tools and ingredients, the next step is to remove the faucet head carefully. Start by turning off the water supply to avoid any unexpected sprays. Use a cloth or rag to wrap around the faucet head to protect its finish from scratches.
Then, grip the faucet head firmly and twist it counterclockwise. If it’s stuck, use an adjustable wrench, but place a cloth between the wrench and faucet to prevent damage. Avoid applying too much force; if it doesn’t budge, double-check for any hidden screws or clips.
Once loosened, gently pull the faucet head off. Keep all small parts like washers or aerators safe, as you’ll need them later. Now, you’re ready to move on to the next cleaning step.
Soak Faucet Head to Loosen Buildup
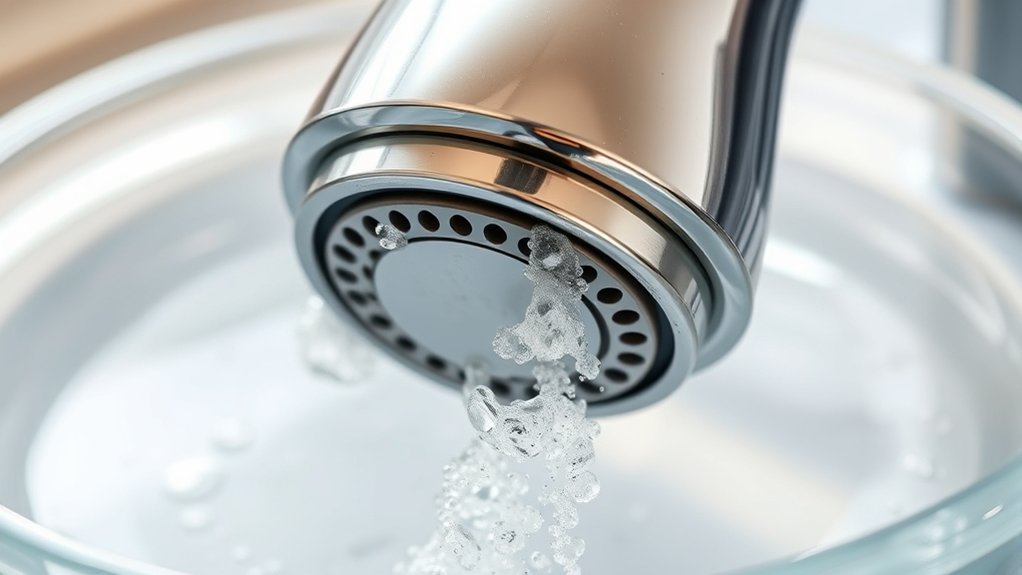
You’ll want to pick the right cleaning solution, like vinegar or a mild detergent, to soak your faucet head effectively. Let it soak long enough—usually 30 minutes to an hour—to break down mineral buildup without damaging the finish.
Keep an eye on it to avoid over-soaking and guarantee the best results.
Choosing the Right Solution
How do you choose the best solution to soak your faucet head and break down stubborn buildup? Picking the right one depends on the type of deposits and your faucet’s material. You’ll want something effective yet gentle enough to avoid damage.
Consider these options:
- White vinegar: Great for mineral deposits and safe on most finishes
- Baking soda paste: Mild abrasive for gentle scrubbing combined with soaking
- Lemon juice: Natural acid that helps dissolve limescale
- Commercial descaling products: Designed specifically for tough buildup
- Mild dish soap: For general grime and light buildup
Test any solution on a small, hidden area first to ensure it won’t harm the finish. This way, you’ll safely loosen buildup and keep your faucet looking great.
Soaking Duration Tips
Although soaking time varies depending on the type of buildup and cleaning solution, allowing your faucet head to sit long enough is key to effectively loosening deposits. If you rush, the grime won’t break down properly, making cleaning harder.
Here’s a quick guide to soaking durations based on common buildup types:
| Buildup Type | Soaking Time |
|---|---|
| Mineral deposits | 30 minutes to 1 hour |
| Soap scum | 15 to 30 minutes |
| Mold or mildew | 20 to 40 minutes |
Use vinegar or a commercial cleaner during soaking to maximize results. After soaking, gently scrub to remove loosened debris. If deposits persist, repeat soaking for better results.
This approach saves you effort and restores your faucet’s shine with minimal hassle.
Scrub the Faucet Head and Aerator Screen
Before reattaching the faucet head, scrub it thoroughly to remove any buildup or debris. Focus on both the exterior and the aerator screen to maximize water flow. Use a soft brush or an old toothbrush to gently clean without damaging delicate parts.
Here’s what to do:
- Dip the brush in a mixture of vinegar and water for better cleaning power.
- Scrub all visible mineral deposits and grime off the faucet head surface.
- Pay close attention to the aerator screen, removing trapped particles.
- Use toothpicks or a needle carefully to unclog tiny holes in the screen.
- Rinse the brush frequently to avoid spreading dirt back onto the parts.
This step helps maintain water pressure and prevents future clogging.
Rinse and Reassemble Your Faucet Head
Once you’ve thoroughly scrubbed the faucet head and cleared the aerator screen, it’s time to rinse off any remaining cleaning solution and debris. Hold the faucet head under warm running water, making sure to flush out every nook and cranny. Use your fingers or a soft brush to dislodge any stubborn particles during rinsing.
After rinsing, gently shake off excess water and inspect the parts to verify they’re clean. Now, carefully reassemble the faucet head by putting the aerator screen back into place, followed by any washers or seals you removed earlier. Screw the faucet head back onto the spout, tightening it by hand to avoid over-tightening.
Once reassembled, wipe the exterior with a dry cloth to remove water spots. Your faucet head is now ready for use.
Test Water Flow and Repeat if Needed
After reassembling your faucet head, turn on the water to check the flow and pressure. Watch closely to see if the water streams evenly and at the right strength. If the flow seems weak or uneven, don’t worry—you might need to repeat the cleaning process.
After reassembling, test your faucet’s flow and pressure to ensure even, strong water streams.
Here’s what to look for:
- Steady, full water stream without splattering
- Consistent pressure matching your usual faucet performance
- No visible debris or discoloration in the water
- Water flowing through all spray holes evenly
- Absence of drips or leaks around the faucet head
If any issues persist, repeat the cleaning steps to clear remaining buildup. Testing now guarantees you from future clogs and ensures your faucet works smoothly every time.
Troubleshoot Common Faucet Head Problems
If your faucet head isn’t working right, you’ll want to identify any water flow issues first. Mineral buildup can often block the flow, so removing it is key. You’ll also need to fix leaks or drips to keep everything running smoothly.
Identifying Water Flow Issues
How can you tell when your faucet head needs attention? You’ll notice changes in water flow that signal a problem. Pay attention to these signs:
- Water sprays unevenly or in multiple directions
- Flow is weaker than usual, even with full water pressure
- Water drips continuously after turning off the tap
- Strange noises like sputtering or whistling occur during use
- Water pressure fluctuates unexpectedly
These issues often indicate that your faucet head isn’t functioning properly. Catching them early helps you avoid bigger problems and ensures your water runs smoothly.
Once you identify these symptoms, you can move on to cleaning or repairing the faucet head to restore proper flow.
Removing Mineral Buildup
Noticing changes in your faucet’s water flow often points to mineral buildup inside the faucet head. To tackle this, first remove the faucet head carefully. Soak it in a mixture of equal parts white vinegar and water for about 30 minutes.
Vinegar dissolves mineral deposits effectively without causing damage. After soaking, use an old toothbrush or a small brush to scrub away loosened buildup gently. Rinse the faucet head thoroughly with water to remove any remaining residue.
If buildup persists, repeat the soaking process or use a toothpick to clear tiny holes in the aerator. Once clean, reattach the faucet head and test the water flow. Regularly removing mineral deposits helps maintain ideal performance and prevents clogging problems over time.
Fixing Leaks and Drips
Why does your faucet keep dripping even after cleaning? It’s often due to worn-out washers, damaged seals, or loose parts inside the faucet head. To fix leaks and drips, you need to troubleshoot carefully.
Here’s what you should check:
- Tighten any loose screws or connections.
- Inspect and replace worn washers or O-rings.
- Clean or replace the aerator if clogged.
- Check the cartridge for damage and replace if needed.
- Make sure the faucet handle moves smoothly without resistance.
Frequently Asked Questions
Can I Use Vinegar on All Faucet Materials?
You can use vinegar on most faucet materials, but avoid it on natural stone, brass, or antique finishes. Always test a small area first to prevent damage, and rinse thoroughly after cleaning to protect your faucet.
How Often Should I Clean My Faucet Head?
You should clean your faucet head every one to three months to prevent buildup and maintain water flow.
If you notice reduced pressure or mineral deposits, clean it more often to keep it working smoothly.
Will Cleaning Improve Water Pressure Permanently?
No, cleaning your faucet head won’t permanently improve water pressure. It removes mineral buildup that temporarily restores flow, but underlying plumbing issues can still affect pressure.
Regular cleaning helps maintain ideal performance over time.
Can I Clean a Faucet Head Without Removing It?
Yes, you can clean your faucet head without removing it by soaking a plastic bag filled with vinegar around the head. Secure it with a rubber band, and let it sit to dissolve mineral buildup effectively.
This method is simple and convenient, allowing you to maintain your faucet without disassembly. The vinegar helps break down deposits, improving water flow.
After soaking, you can remove the bag and rinse the faucet head to finish the cleaning process.
What Causes Faucet Heads to Clog Quickly?
Mineral deposits, especially hard water, cause your faucet head to clog quickly. Don’t worry if you think it’s complicated; regular cleaning prevents buildup, keeping water flow smooth and saving you from costly replacements.
Conclusion
You’ve just mastered the ancient art of faucet head cleaning—because apparently, your faucet loves collecting every mineral and mystery gunk known to mankind. Who knew scrubbing a tiny screen could feel like defusing a bomb?
But hey, with your new skills, you’ll have water flowing like a mountain spring again. Next time your faucet acts up, you won’t panic—you’ll just roll up your sleeves and show that stubborn drip who’s boss.
Clean faucet, happy life! Regular faucet head cleaning not only improves water flow but also extends the life of your faucet. Keep up with these easy steps to maintain a sparkling clean and efficient faucet head every time.