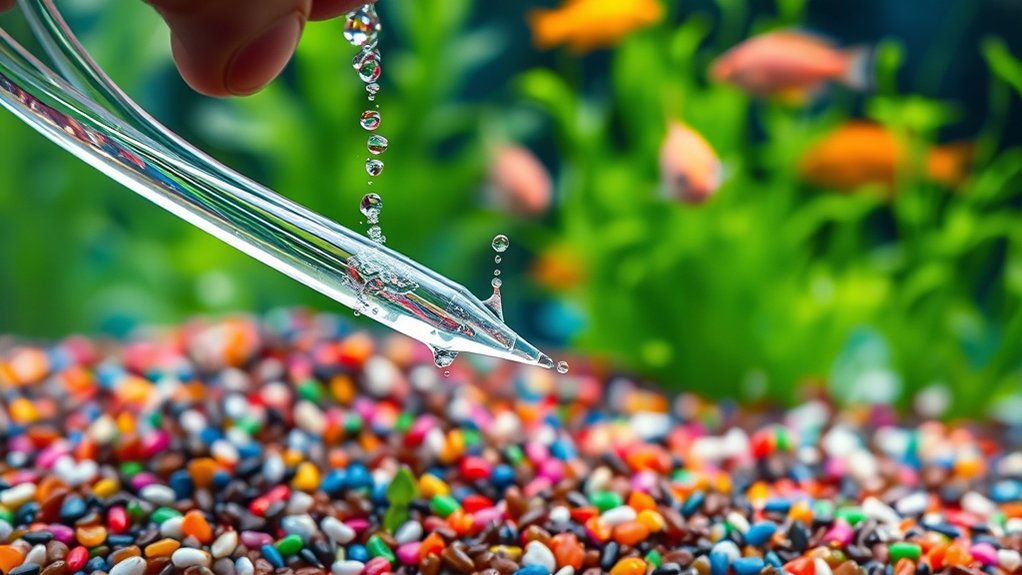
How to Vacuum Aquarium Gravel in 7 Easy Steps
Choose a gravel vacuum that fits your tank size, ensuring it has adjustable flow to protect your fish and plants. Proper aquarium maintenance is essential, and vacuuming aquarium gravel is a key step in keeping your tank clean and healthy.
By regularly cleaning the gravel, you remove debris and waste that can harm your aquatic environment.
Unplug devices and clear decorations before starting. Move slowly, beginning in a corner to avoid alarming your fish. Press the vacuum gently into gravel to loosen debris while siphoning about 20-30% of water.
Stop before water nears equipment, then refill with treated water matching tank conditions. Keep gravel clean regularly to maintain a healthy tank environment. Learn tips to make the process even easier.
Key Takeaways
- Unplug all electrical devices and prepare a clean bucket for dirty water before starting the vacuuming process.
- Submerge the vacuum tube gently into the gravel, pushing down slightly to loosen debris without disturbing fish.
- Move the vacuum slowly across sections, allowing debris to be siphoned while avoiding excessive substrate removal.
- Remove about 20-30% of water during vacuuming and stop if water nears heater or pump parts to protect equipment.
- Refill the tank slowly with temperature- and pH-matched water, use a conditioner, and aerate gently to restore oxygen.
Choose the Best Gravel Vacuum for Your Aquarium
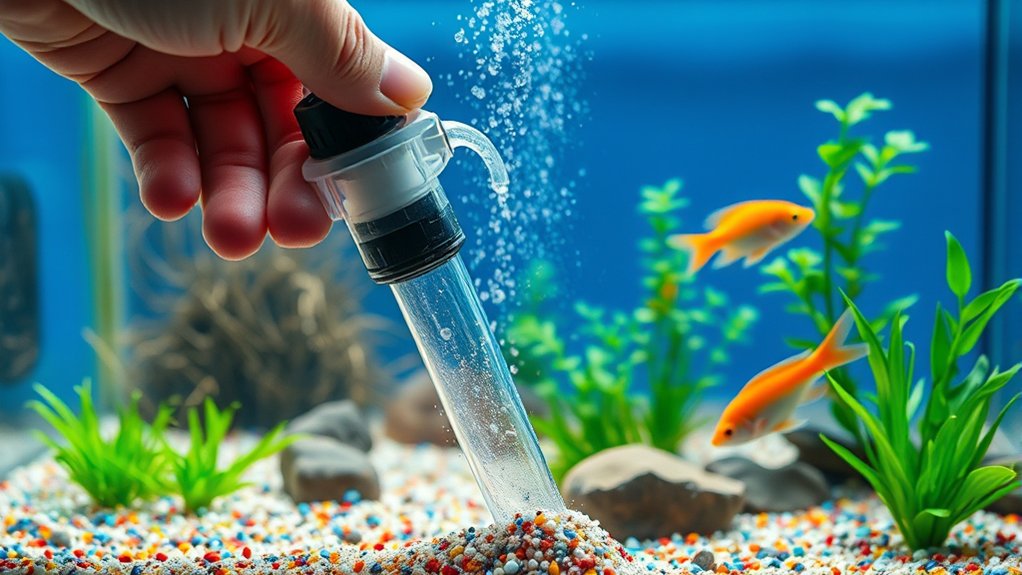
Before you begin cleaning, you’ll want to pick the right gravel vacuum for your aquarium. Consider the size of your tank first—smaller tanks need compact vacuums, while larger ones require models with longer hoses and greater suction. Look for vacuums with adjustable flow control to avoid disturbing your fish or plants.
Manual gravel vacuums are budget-friendly and give you control, but electric ones save time and effort. Also, check the vacuum’s tip size; it should fit comfortably into your gravel without pulling up too much substrate. Durable materials like sturdy plastic or reinforced tubing ensure longevity.
Select the right vacuum makes the entire cleaning process smoother, protecting your aquatic environment while making debris removal efficient and hassle-free.
Prepare Your Aquarium and Equipment for Vacuuming
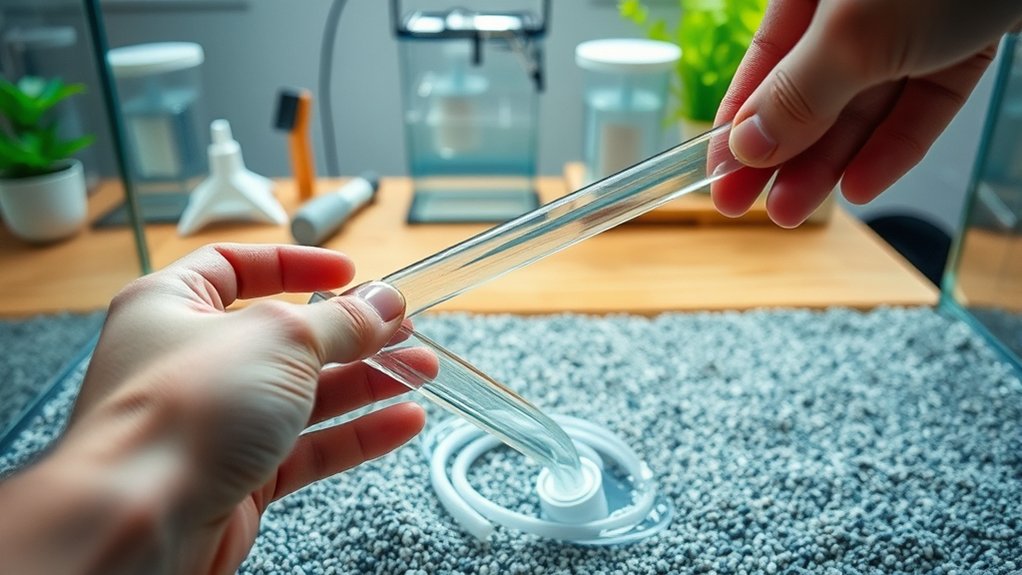
Once you’ve chosen the right gravel vacuum, it’s time to get your aquarium and equipment ready for cleaning. First, unplug any electrical devices near the tank to avoid accidents. Make sure you have a clean bucket designated solely for aquarium use to collect dirty water.
Check your gravel vacuum for any blockages or damage, and assemble it according to the instructions. Remove any decorations or plants that might obstruct access to the gravel, placing them in a temporary container with some tank water to keep your fish comfortable. Finally, confirm the room is well-lit so you can see all debris clearly.
Preparing these steps beforehand will make the vacuuming process smoother and help maintain a healthy environment for your aquatic pets.
Start Vacuuming Gravel Without Scaring Your Fish
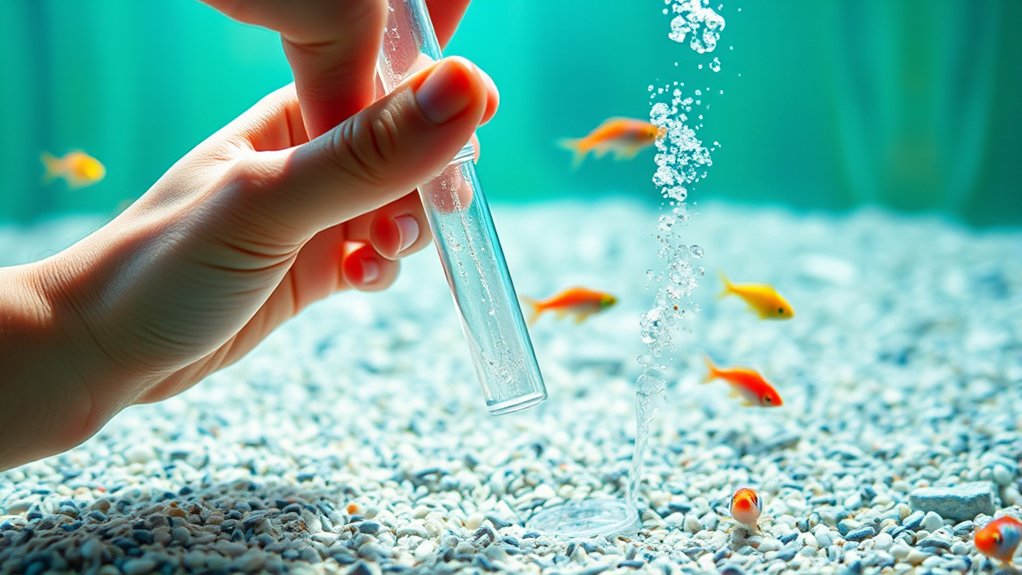
Although vacuuming gravel is essential for a clean aquarium, you’ll want to do it gently to keep your fish calm. Sudden movements or loud noises can stress them out, so approach the task with care.
Here’s how to start vacuuming without scaring your fish:
- Move slowly and steadily to avoid startling splashes
- Keep your voice soft if you talk to your fish—they do recognize your presence
- Avoid sudden bright lights or shadows over the tank
- Start vacuuming in a corner, allowing fish to swim away calmly
- Pause if you notice signs of stress and resume once they settle
Vacuum the Gravel Thoroughly in Simple Steps
Before you start, make sure your vacuum equipment is set up correctly. Use the proper technique to clean the gravel without disturbing your fish too much.
This will help keep your water clear and healthy for your aquarium inhabitants.
Preparing Your Vacuum Equipment
To vacuum your aquarium gravel effectively, you’ll need to assemble the right equipment and make certain everything is clean and functioning properly. Start by gathering your gravel vacuum or siphon, a bucket for dirty water, and a hose if necessary. Check that the vacuum tube is clear of clogs and that all connections are tight to avoid leaks.
Rinse the equipment with warm water to remove dust or residues that could harm your fish. Finally, prepare a comfortable workspace near your aquarium to make the process smooth and stress-free.
- Feel confident handling your tools
- Enjoy peace of mind with clean, safe equipment
- Avoid surprises with pre-checks
- Create a calm environment for your fish
- Look forward to a sparkling aquarium floor
Proper Gravel Cleaning Technique
When you start vacuuming your aquarium gravel, focus on gentle, deliberate movements to prevent disturbing your fish or stirring up too much debris at once. Submerge the vacuum tube into the gravel, then push it down slightly to loosen dirt and waste trapped between stones. Move the vacuum slowly across the substrate, working in sections to make certain of thorough cleaning.
Avoid lifting the tube too high, which can release debris back into the water. Use a siphon to draw out dirty water as you clean, being careful not to remove too much at once. Repeat this process until the gravel looks clean and most waste is removed.
This technique keeps the gravel healthy without disrupting your aquarium’s ecosystem.
Maintaining Water Quality
Keeping your aquarium gravel clean is a key part of maintaining water quality, which directly affects the health of your fish and plants. When you vacuum the gravel thoroughly, you remove debris, uneaten food, and harmful waste that cloud the water and stress your aquatic life.
To keep your water pristine, follow these simple steps:
- Vacuum in small sections to avoid disturbing beneficial bacteria
- Use a siphon gravel cleaner to reach deep layers effortlessly
- Change about 20-30% of the water during each cleaning
- Avoid stirring up too much debris that can cloud the water
- Regularly monitor water parameters to catch issues early
Avoid Over-Draining: Manage Water Removal Safely
When vacuuming your aquarium gravel, keep a close eye on the water level to avoid removing too much. Stick to partial water changes to maintain a healthy environment for your fish.
This way, you’ll clean effectively without stressing your aquatic pets.
Monitor Water Levels
How much water should you remove during gravel vacuuming? Keeping a close eye on your aquarium’s water level is essential to avoid stressing your fish or damaging equipment. You want to remove enough to clean effectively but not so much that the tank environment becomes unstable.
To monitor water levels safely, remember to:
- Check the water line frequently during vacuuming
- Use a marked container to measure removed water
- Keep the filter intake above the water surface
- Stop if the water level drops near heater or pump parts
- Adjust vacuum speed to control water removal
Use Partial Water Changes
Although gravel vacuuming can remove a significant amount of debris, you shouldn’t drain too much water at once. Partial water changes are key to maintaining a healthy aquarium environment while cleaning. Aim to remove about 20-30% of the water during each vacuuming session.
This approach prevents stressing your fish and preserves beneficial bacteria essential for water quality. After siphoning out the dirty water, replace it with fresh, dechlorinated water matching the tank’s temperature. Doing this regularly keeps toxins in check without shocking the ecosystem.
Refill Your Tank and Restore Water Conditions
After vacuuming your aquarium gravel, you’ll want to carefully refill the tank with water that matches the original temperature and pH to prevent stressing your fish. Pour the water slowly to avoid disturbing the gravel or plants. Use a water conditioner to remove chlorine and chloramines, creating a safe environment.
Check the temperature again before adding water to maintain stability. Finally, gently aerate the water to restore oxygen levels.
Remember, this step is essential because:
- Your fish rely on stable water conditions for health
- Sudden changes can cause shock or illness
- Proper refilling maintains beneficial bacteria balance
- Clean water promotes vibrant, active aquatic life
- Taking care here shows your dedication as an aquarium keeper
Refill thoughtfully to keep your tank thriving after cleaning.
Keep Gravel Clean Between Vacuuming Sessions
Maintaining clean gravel between vacuuming sessions helps reduce the buildup of waste and keeps your tank healthier for longer. You can do this by stirring the gravel gently with a small aquarium-safe tool or your fingers during regular water changes. This loosens debris, allowing the filter to catch more particles.
Another simple method is to use a fine-mesh net to skim floating debris that settles on the gravel surface. Avoid overfeeding your fish, as excess food contributes to waste accumulation in the substrate. Adding live plants also helps absorb nutrients and reduce organic buildup.
Frequently Asked Questions
How Often Should I Replace Aquarium Gravel Completely?
You should replace your aquarium gravel completely every 1 to 2 years, depending on buildup and algae. Regular cleaning helps, but if it smells bad or looks damaged, it’s time to swap it out for fresh gravel.
Can Vacuuming Gravel Harm Beneficial Bacteria?
No, vacuuming gravel won’t harm beneficial bacteria if you do it gently. You should avoid cleaning all the gravel at once to preserve bacteria that help keep your aquarium healthy and balanced.
What Types of Gravel Are Safest for Aquatic Plants?
Imagine a soft forest floor where roots breathe freely; you’ll want fine, smooth gravel or sand for your aquatic plants. These types let roots anchor gently and absorb nutrients without damage, helping your underwater garden thrive beautifully.
How Do I Remove Algae Without Vacuuming Gravel?
You can remove algae by scrubbing tank walls with an algae scraper, using algae-eating fish or snails, adjusting light exposure, and performing regular water changes.
Avoid vacuuming gravel to protect beneficial bacteria and plants.
Are There Alternatives to Gravel Vacuuming for Tank Maintenance?
Oh, sure, just let magical fish fairies clean your tank! But seriously, you can use algae-eating critters or water changes to help.
Still, gravel vacuuming’s the best way to keep your tank sparkling without the fantasy.
Conclusion
Vacuuming your aquarium gravel isn’t just a chore; it’s an essential task that keeps your aquatic environment clean and clear. By choosing the correct cleaner, carefully controlling your cleaning, and consistently caring for your gravel, you create a healthier habitat for your fish.
Remember, regular routines reduce residue, revitalize your water, and restore your tank’s tranquility. So, stay steady, stay smart, and see the shimmering sparkle in your serene underwater space! Maintaining clean aquarium gravel helps promote fish health and enhances the overall beauty of your tank.