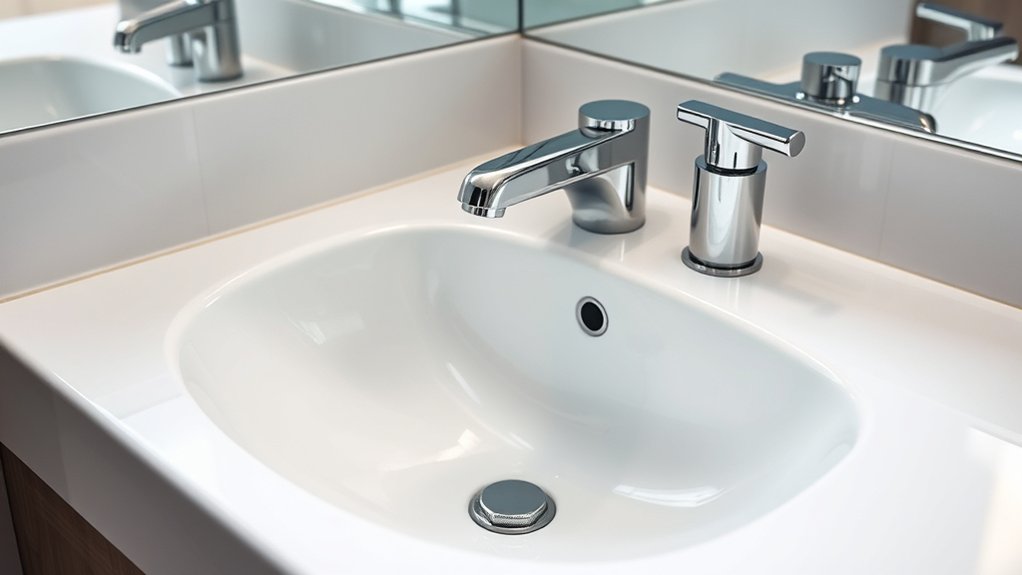
Change Bathroom Sink Faucet in 7 Easy Steps
To change your bathroom sink faucet in seven easy steps, start by gathering all necessary tools and turning off the water supply. This essential bathroom sink faucet replacement process ensures a smooth and hassle-free experience.
Clearing the area under the sink will give you better access and prevent any mess during the job.
Next, carefully disconnect the old faucet and remove it from the sink. Take time to clean the sink surface thoroughly before installing the new faucet.
Make sure all seals and connections are secure to avoid leaks.
Attach the supply lines and slowly turn the water back on, checking carefully for any leaks.
Finally, test the faucet’s operation to confirm proper water flow and drainage.
Keep going to uncover helpful tips and details.
Key Takeaways
- Turn off water supply valves and open faucet to drain remaining water before starting the removal process.
- Disconnect old faucet’s water lines and mounting hardware carefully using appropriate wrenches.
- Clean sink surface and remove old putty or caulk to ensure a smooth installation of the new faucet.
- Position and secure the new faucet with proper gasket placement, then attach water supply lines tightly.
- Slowly turn on water supply, check for leaks, test faucet operation, and clean up the workspace.
Gather Tools and Materials for Bathroom Faucet Replacement
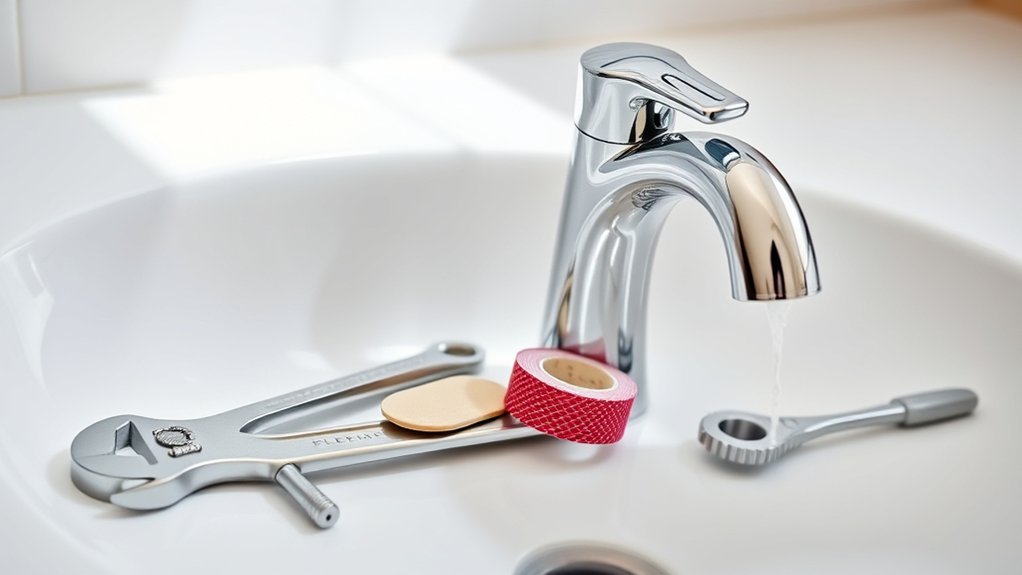
Before you begin replacing your bathroom faucet, gather all the necessary tools and materials to guarantee a smooth process. You’ll need an adjustable wrench to loosen and tighten nuts, a basin wrench to reach tight spots under the sink, and a screwdriver for any screws holding the faucet or handles in place.
Have some plumber’s tape on hand to ensure leak-proof connections. Keep a bucket nearby to catch any leftover water when disconnecting supply lines. You’ll also want a new faucet that fits your sink’s configuration, along with new water supply lines if the old ones are worn.
Finally, grab a flashlight to illuminate dark areas under the sink and some cleaning supplies to tidy up once the job’s done. Ready your workspace so everything’s within easy reach.
Turn Off Water and Clear the Area
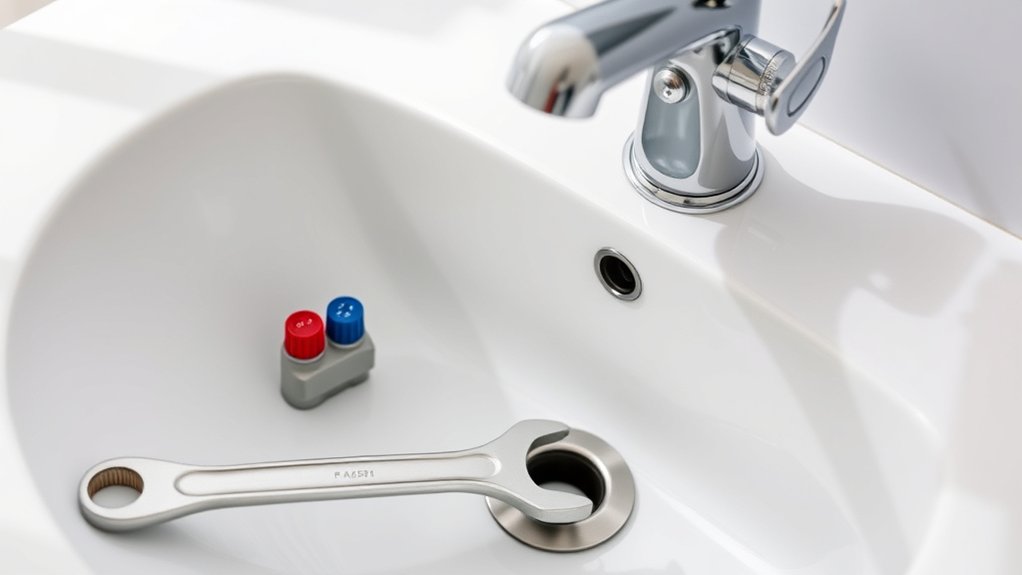
Once you’ve gathered all your tools, turn off the water supply to prevent any leaks or spills during the faucet replacement. Locate the shutoff valves under the sink and twist them clockwise until they’re fully closed. If there aren’t individual shutoff valves, you’ll need to turn off the main water supply for your home.
After shutting off the water, open the faucet to drain any remaining water in the lines. Next, clear the area around and under the sink. Remove any items from the cabinet to give yourself plenty of workspace and avoid damage.
Lay down a towel or small bucket under the sink to catch any water that might drip during the process. With the water off and workspace clear, you’re ready for the next step.
Remove the Old Bathroom Faucet Safely
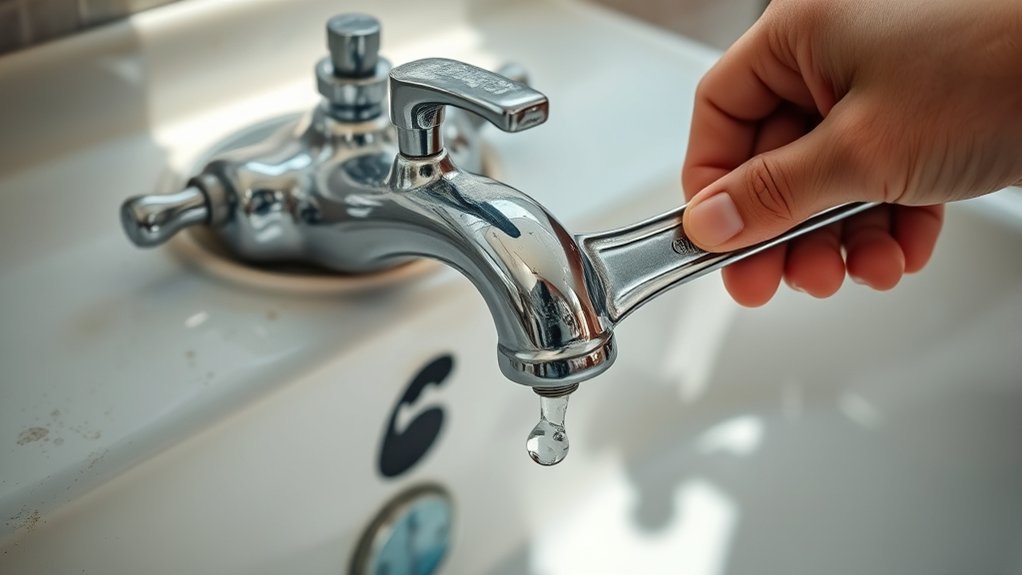
Now that the water is off and the area is clear, you’ll want to disconnect the water lines carefully to avoid any leaks.
Next, loosen and remove the mounting hardware that holds the faucet in place.
Taking these steps carefully will help you remove the old faucet safely and prepare for the new installation.
Turn Off Water Supply
How do you guarantee a safe and smooth faucet replacement? First, you need to turn off the water supply completely to avoid leaks and water damage. Locate the shutoff valves under the sink—these control the flow of water to your faucet.
If there aren’t any, you’ll have to turn off the main water supply to your home.
Follow these steps to turn off the water supply:
- Turn the valves clockwise until they stop to shut off water flow.
- Open the faucet to drain any remaining water from the lines.
- Place a towel or bucket under the sink to catch any drips when you disconnect the faucet later.
Once the water’s off, you’re ready to safely proceed with removing the old bathroom faucet.
Disconnect Water Lines
With the water supply securely turned off and any remaining water drained, you can safely disconnect the water lines from your old bathroom faucet. Begin by placing a bucket or towel under the connections to catch any leftover drips. Use an adjustable wrench to loosen the nuts attaching the supply lines to the faucet.
Turn the nuts counterclockwise until they’re fully detached. If the lines seem stuck, apply a little penetrating oil and wait a few minutes before trying again. Once the water lines are free, carefully pull them away from the faucet.
Keep the supply lines intact if you plan to reuse them, but consider replacing old, worn lines for better performance. Disconnecting the water lines properly will make the next steps easier and prevent water damage.
Remove Mounting Hardware
Before you can lift out the old faucet, you’ll need to remove the mounting hardware that secures it to the sink. This step is essential to avoid damaging the sink or faucet. Start by locating the nuts or screws underneath the sink that hold the faucet in place.
Use the appropriate tools, such as a basin wrench or adjustable pliers, to loosen them. Keep these tips in mind:
- Work in a well-lit area to see the hardware clearly.
- Hold the faucet firmly from above to prevent it from shifting.
- Take care not to scratch the sink surface with your tools.
Once the mounting hardware is removed, gently lift the faucet away from the sink. You’re now ready for the next step in your faucet replacement.
Clean and Prepare the Sink for Installation
Since a clean surface guarantees a secure fit, you’ll want to thoroughly clean the sink area before installing the new faucet. Start by wiping down the sink with a mild cleaner or a mixture of water and vinegar to remove any dirt, grime, or old plumber’s putty. Pay close attention to the faucet holes and surrounding edges to make certain no debris remains.
After cleaning, dry the area completely with a lint-free cloth to prevent moisture from interfering with the seal. If you notice any old putty or caulk residue, scrape it off gently with a plastic scraper to avoid scratching the sink. Taking these steps guarantees your new faucet will sit flush and seal properly, preventing leaks and assures a smooth installation process.
Install the New Bathroom Faucet
Now, place the new faucet carefully onto the sink, making certain it aligns with the holes.
Tighten all connections securely to prevent leaks, but don’t overtighten and risk damage.
Taking your time here guarantees a solid, leak-free installation.
Positioning The Faucet
When you position the faucet, make sure the holes in the sink line up perfectly with the faucet’s mounting hardware. This guarantees a snug fit and prevents leaks later. Place the faucet carefully, checking that it sits flush against the sink surface without gaps.
Before tightening anything, confirm the faucet is centered and straight.
Keep these tips in mind:
- Align the faucet base evenly over the holes.
- Avoid forcing the faucet; it should slide in smoothly.
- Check that any gaskets or seals are properly positioned to avoid water damage.
Taking the time to position the faucet correctly now will save you from adjustments later, helping your new bathroom faucet look professional and work flawlessly.
Securing Connections Properly
After positioning the faucet correctly, the next step is to secure all connections firmly to prevent leaks and guarantee stability. Start by tightening the mounting nuts underneath the sink. Use a basin wrench to reach tight spots and avoid overtightening, which can damage components.
Next, connect the water supply lines to the faucet’s inlet valves. Hand-tighten the connections, then give them a quarter turn with a wrench for a secure fit. Before fully tightening, verify the faucet stays aligned properly.
Finally, attach the drain assembly if included, following the manufacturer’s instructions. Once everything’s connected, turn on the water supply and check for leaks. If you spot any drips, tighten the connections slightly.
Properly securing connections assures your new faucet works flawlessly and lasts.
Connect Water Supply Lines and Check for Leaks
Since the faucet is securely installed, you can connect the water supply lines to the corresponding hot and cold valves. Start by hand-tightening the connections to avoid cross-threading, then use an adjustable wrench to snug them up without over-tightening.
Once connected, turn the water supply valves on slowly to pressurize the lines.
Check for leaks by:
- Inspecting all connections for drips or moisture
- Feeling under the sink for any wet spots
- Using a paper towel to detect slow leaks around fittings
If you spot a leak, tighten the connection slightly or reseat the supply line. Ensuring a leak-free setup now saves you from potential water damage later.
Test the New Faucet for Proper Function
Although the faucet looks properly installed, you’ll want to test it thoroughly to make certain everything functions smoothly. Begin by turning on both the hot and cold water handles, checking for steady water flow without sputtering or irregular pressure. Look underneath the sink for any signs of leaks around the supply lines and connections.
Make sure the water temperature adjusts correctly when you switch between hot and cold. Test the faucet’s aerator by running water for a minute to clear out any debris. Also, operate the handle to ensure it moves easily without sticking or resistance.
Finally, check that the faucet drains properly without any leaks or water pooling. If everything works as expected, you’ve successfully installed your new bathroom sink faucet.
Frequently Asked Questions
How Do I Choose the Right Faucet Style for My Bathroom?
You’ll want to match your faucet style to your bathroom’s overall design, consider functionality, and choose finishes that complement your fixtures.
Don’t forget to think about your budget and how easy it’ll be to clean and maintain.
Can I Replace a Bathroom Faucet Without Professional Help?
You can definitely replace your bathroom faucet without professional help. Picture yourself confidently twisting off old fixtures, feeling the cool metal in your hands as you snap the new faucet into place, saving time and money effortlessly.
What Are Common Signs My Faucet Needs Replacement?
You’ll know your faucet needs replacing if it leaks constantly, has low water pressure, shows rust or corrosion.
It makes strange noises, or the handles become hard to turn. Don’t wait—fixing it saves water and hassle.
How Long Does a Typical Bathroom Faucet Replacement Take?
Replacing your bathroom faucet usually takes about one to two hours—like planting a new tree in your garden. With patience and the right tools, you’ll enjoy fresh, flowing water and a renewed space in no time.
Are There Water-Saving Faucets Suitable for Bathrooms?
Yes, you can find water-saving faucets designed for bathrooms. They reduce water flow without sacrificing pressure, helping you save on bills and conserve water.
Look for models labeled “WaterSense” for efficient options that work well.
Conclusion
Now that you’ve swapped out your old bathroom faucet, you’ll enjoy the fresh look and improved function. While some believe faucet replacement requires a pro’s touch, you’ve just proven it’s a manageable DIY. The key is preparation and careful steps—not just luck.
By following these steps, you not only save money but gain confidence in home repairs. So, don’t hesitate; your bathroom upgrade is well within your reach! Changing a bathroom sink faucet yourself is easier than you think and a great way to enhance your space.