How to Replace a Faucet in 7 Easy Steps
To replace a faucet in 7 easy steps, start by gathering all the necessary tools and materials for the job. Shutting off the water supply is crucial to avoid any spills or water damage during the process. Clearing the area around the sink will give you enough space to work comfortably and safely.
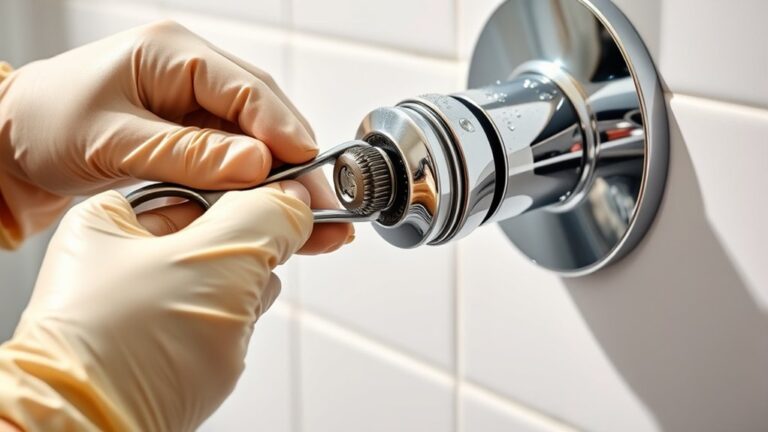
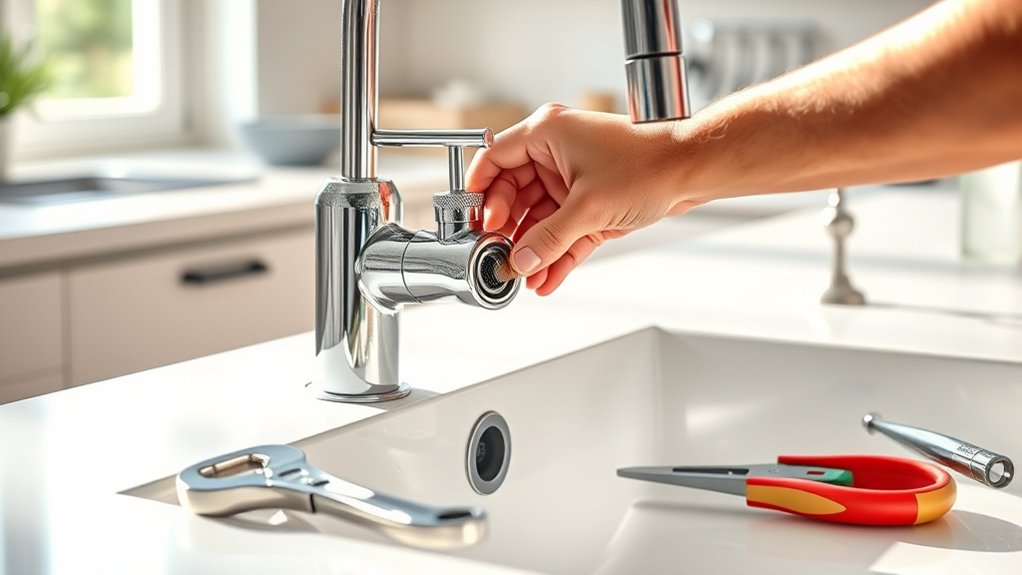
Next, carefully remove the old faucet using the right wrenches and tools to prevent any damage.
Clean the sink thoroughly and inspect for any signs of wear or damage that might need attention. This preparation ensures your new faucet will fit and function properly.
Then, install your new faucet by securing it firmly and connecting the water lines properly.
Turn the water supply back on and test for leaks or any issues.
Following these steps will help you master faucet replacement for a smooth and confident installation.
Key Takeaways
- Turn off the main water supply and clear the sink area to prepare for faucet removal.
- Use a basin wrench to loosen and remove the old faucet and disconnect supply lines carefully.
- Clean the sink surface and inspect mounting holes for damage before installing the new faucet.
- Secure the new faucet with mounting nuts, align it properly, and connect supply lines using plumber’s tape if needed.
- Turn on water valves, check for leaks, and troubleshoot by tightening connections or clearing aerators if necessary.
Tools and Materials Needed to Replace a Faucet
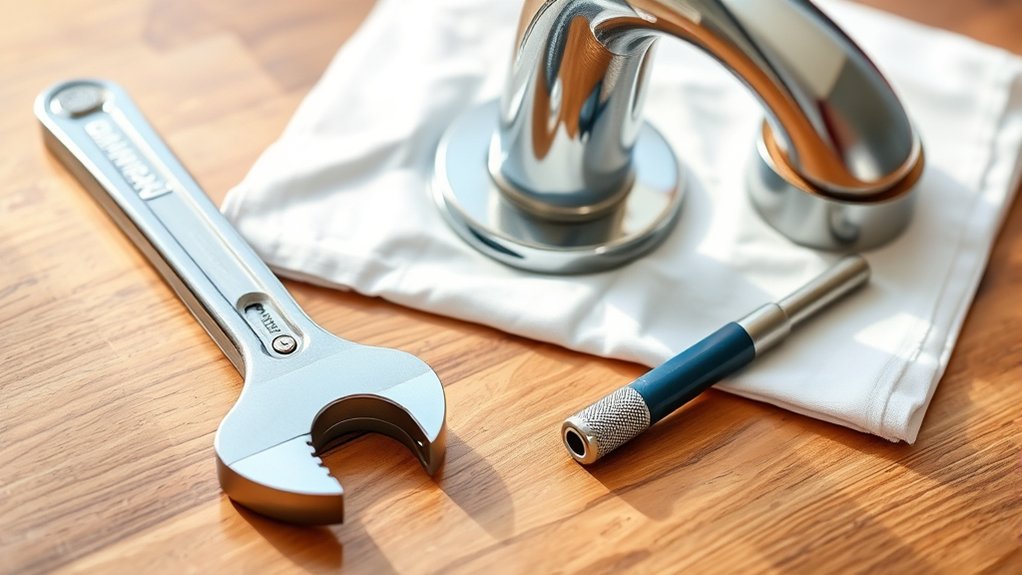
Before you begin replacing your faucet, gather all the necessary tools and materials to guarantee a smooth process. You’ll need an adjustable wrench, a basin wrench, and a screwdriver—these are essential for loosening and tightening connections. Have plumber’s tape on hand to ensure watertight seals on threaded parts.
A bucket and towels will help catch any water spills. Don’t forget new supply lines if your old ones are worn or damaged. Depending on your faucet type, you might also need an Allen wrench or a pair of pliers.
Ultimately, keep the new faucet and any included hardware nearby so you can easily access them during installation. Being well-prepared saves time and prevents frustration while swapping out your faucet.
Turn Off the Water and Prepare the Area
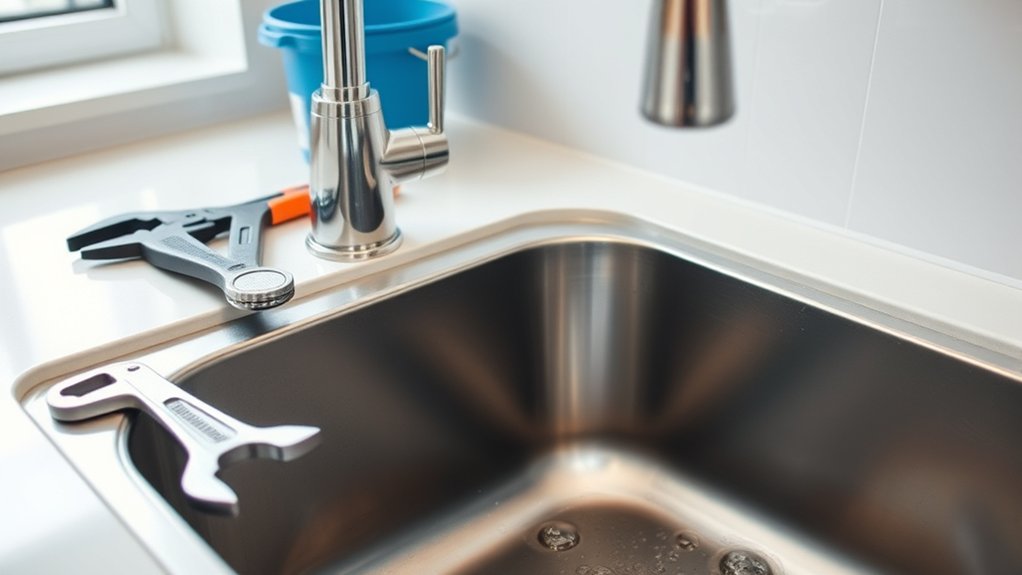
Before you start, locate the main water valve and shut it off to prevent any leaks. Next, clear the area around your sink completely to give yourself plenty of room to work. A tidy workspace helps you stay organized and avoid any accidents.
Locate Main Water Valve
Although it might seem simple, locating and turning off the main water valve is essential to prevent any water damage while replacing your faucet. You’ll want to find the valve quickly to stop water flow effectively. Usually, it’s near the water meter or where the main pipe enters your home.
Here’s a quick guide to help you find it:
| Location | Description |
|---|---|
| Basement or Utility Room | Near water heater or pipes |
| Crawl Space | Close to the main water line |
| Outside Near the Street | By the water meter |
| Garage or Laundry Area | Along main plumbing lines |
Once located, turn the valve clockwise to close it. This step guarantees a dry workspace for your faucet replacement.
Clear Workspace Thoroughly
Since you’ve already turned off the main water valve, you’ll want to clear the area around your sink completely. Remove any items like soap dishes, sponges, or cleaning supplies that might get in your way. Pull out the cabinet contents beneath the sink so you have easy access to the plumbing.
Lay down a towel or bucket to catch any dripping water when you disconnect pipes. Make sure the surface is dry to prevent slips or damage to tools. Having a clean, open workspace helps you move freely and reduces the chance of knocking things over.
Preparing this area carefully will save you time and frustration once you start loosening connections and removing the old faucet. Keep a flashlight handy for better visibility in tight spots.
Remove the Old Faucet Carefully
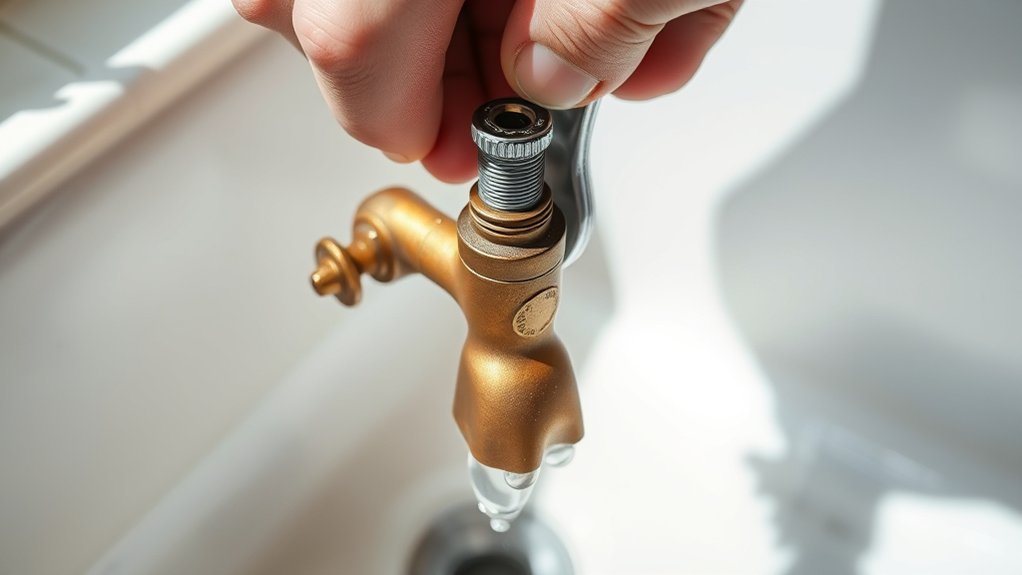
When you remove the old faucet, take your time to avoid damaging the sink or plumbing. First, make sure the water supply is off and the area is dry. Use a basin wrench to loosen the nuts holding the faucet in place.
Turn off the water, dry the area, and use a basin wrench to carefully loosen the faucet nuts.
Gently wiggle the faucet to free it from the sink. Be ready for any residual water to drip out. Carefully detach the supply lines without bending or breaking them.
- A basin wrench gripping a tight nut beneath the sink
- Water droplets falling as the faucet loosens
- Your hands steady while twisting supply line connectors
- The faucet slowly lifting away from the sink surface
- A clean, clear workspace ready for the next step
Clean the Sink and Inspect for Installation Issues
After you’ve removed the old faucet, take a moment to clean the sink surface thoroughly. Use a gentle cleaner to remove grime and old sealant. This guarantees a smooth, secure fit for your new faucet.
Next, inspect the sink for any damage or irregularities that could affect installation. Look for cracks, rust, or loose mounting holes. Addressing these early prevents leaks or instability later on.
| Inspection Area | What to Check |
|---|---|
| Sink Surface | Cleanliness and smoothness |
| Mounting Holes | Alignment and condition |
| Drain Area | No damage or corrosion |
| Water Supply Lines | Check for leaks or wear |
Make sure everything’s in good shape before moving on.
Install the New Faucet Step-by-Step
Although installing a new faucet may seem intimidating, you can complete it efficiently by following clear steps. First, place the gasket or putty on the sink’s faucet hole to prevent leaks. Next, position the faucet properly on the sink, aligning it with the holes.
Then, secure the faucet underneath the sink using mounting nuts or brackets, tightening them firmly but carefully. After that, verify the faucet is level and adjust if necessary. Finally, double-check that all parts are snug and the faucet sits securely without wobbling.
- Spread plumber’s putty or gasket on the sink
- Align faucet with sink holes
- Tighten mounting nuts underneath
- Adjust faucet for level installation
- Confirm secure, stable placement
Securely Connect the Water Supply Lines
Because a secure connection prevents leaks and guarantees proper water flow, you’ll want to carefully attach the supply lines to the faucet and shutoff valves. First, hand-tighten the connections, then use an adjustable wrench to snug them—don’t overtighten, or you risk damaging the fittings.
Check that the hot and cold lines match the correct valves. Use plumber’s tape on threaded connections to improve the seal.
Here’s a quick guide to connecting supply lines securely:
| Step | Tip |
|---|---|
| Hand-tighten first | Prevents cross-threading |
| Use wrench carefully | Avoid overtightening |
| Match hot/cold lines | Ensures correct water flow |
Following these steps helps you avoid leaks and ensures your faucet functions properly.
Test the Faucet and Troubleshoot Common Problems
Once you’ve securely connected the water supply lines, you can turn on the valves and test your faucet for proper operation. Check for steady water flow and inspect all joints for leaks. If you notice any issues, don’t worry—you can troubleshoot common problems quickly.
After connecting water lines, turn valves on and check for steady flow and leaks before troubleshooting.
Look out for:
- Dripping water from the spout when off
- Low water pressure or uneven flow
- Leaks under the sink or around connections
- Handles that feel loose or hard to turn
- Strange noises like squealing or banging
If you find leaks, tighten connections or replace faulty washers. For low pressure, clear aerators or check supply valves. Loose handles usually need a simple screw adjustment.
With a little patience, you’ll have your faucet running smoothly in no time.
Frequently Asked Questions
Can I Replace a Faucet Without Shutting off the Main Water Supply?
You can’t replace a faucet without shutting off the main water supply or the local shutoff valves. If you don’t, water will gush out, causing a mess and potential damage.
Always turn off the water first.
How Do I Choose the Right Faucet Style for My Kitchen or Bathroom?
You choose the right faucet style by considering your kitchen or bathroom’s design, functionality, and finish preferences. Match it with your sink type, check water flow needs, and pick a style that complements your space’s overall look.
What Should I Do if the New Faucet Leaks After Installation?
If your new faucet decides to be a bit too friendly with water, don’t worry. You should double-check all connections, tighten any loose parts, and make sure the washers sit perfectly to stop those sneaky drips.
Are There Eco-Friendly Faucets That Save Water?
Yes, you’ll find eco-friendly faucets designed to save water by using aerators or flow restrictors. They reduce water usage without sacrificing pressure, helping you conserve water and lower your utility bills effortlessly.
Can a Damaged Sink Affect Faucet Installation?
Yes, a damaged sink can complicate your faucet installation. Cracks or rust might cause leaks or unstable mounting.
You’ll want to fix or replace the sink first to guarantee a secure, long-lasting faucet setup.
Conclusion
You’d think replacing a faucet would require a plumber’s degree, but here you are, ready to conquer it yourself. With just a few tools and these simple steps, you’ve turned a dreaded chore into a quick win.
So next time your faucet leaks, don’t panic or call for backup—grab your wrench and show that drip who’s boss. Who knew fixing plumbing could be this satisfying and straightforward?
By following these easy steps to replace a faucet, you save money and gain confidence in home repair. Remember, faucet replacement doesn’t have to be complicated when you have the right guide. Now, enjoy your leak-free sink and the pride of a job well done!