Fix a Leaky Faucet in 7 Easy Steps
To fix a leaky faucet in 7 easy steps, start by identifying your faucet type and pinpointing the leak’s cause. Knowing whether your faucet is compression, cartridge, ball, or ceramic disc is key to effective repair.
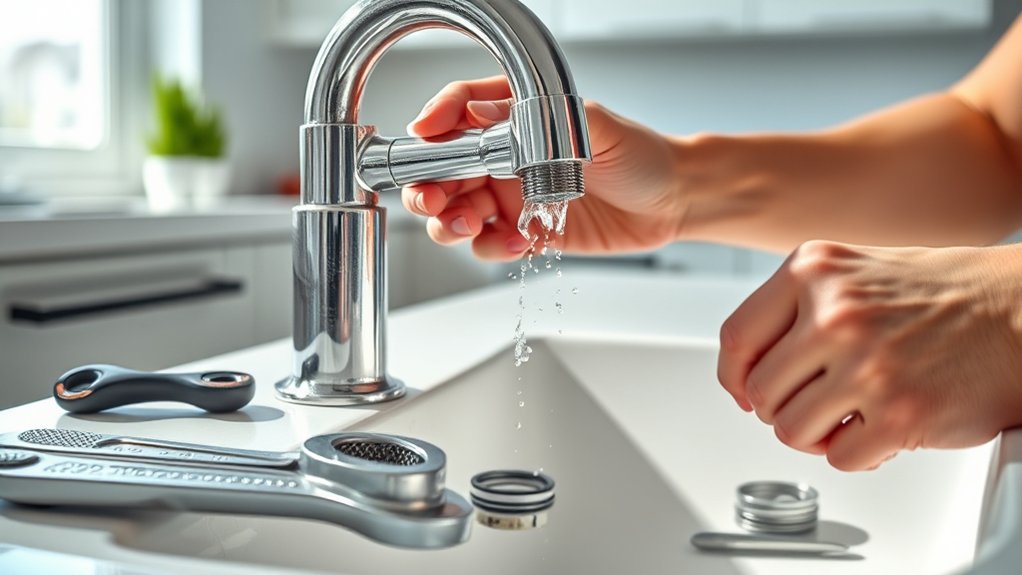
Gather essential tools like a wrench, screwdriver, and replacement washers or O-rings before you begin.
Next, turn off your water supply to prevent any mess.
Carefully disassemble the faucet, keeping track of all parts.
Inspect each component for wear or damage, especially washers and seals.
Replace any worn parts with new ones and reassemble the faucet tightly.
Turn the water supply back on and test for leaks.
Finally, maintain your faucet regularly by cleaning and checking for early signs of wear to prevent future drips.
Following this simple guide will help you confidently handle any faucet issue.
Key Takeaways
- Identify the faucet type and leak cause by inspecting drip location and handle operation before starting repair.
- Turn off the water supply and close the drain to prevent water flow and loss of small parts.
- Gather necessary tools like wrenches, screwdrivers, and replacement washers or O-rings matching your faucet type.
- Disassemble the faucet carefully, inspect and replace worn washers or O-rings, then reassemble all parts securely.
- Turn on the water supply, test for leaks, and ensure the faucet operates properly after reassembly.
Identify Your Leaky Faucet Type and Leak Cause
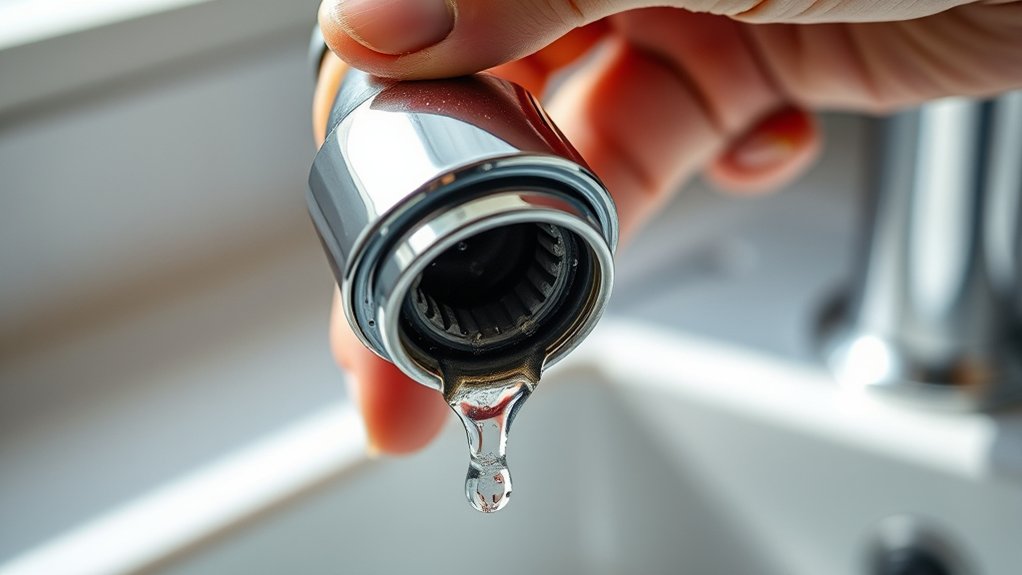
Before you can fix your leaky faucet, you need to figure out what type it is and what’s causing the drip. Faucets come in several common types: compression, cartridge, ball, and ceramic disc. Each has a unique mechanism, so identifying yours helps pinpoint the problem.
Next, check where the leak comes from. Is water dripping from the spout, around the handle, or beneath the sink? A drip from the spout often means worn-out washers or seals.
Leaks near handles might signal damaged O-rings or loose parts. Also, consider if the leak happens when the faucet is off or only when it’s running. Knowing these details narrows down the cause and prepares you for an efficient repair process.
Gather Tools and Parts for Your Leaky Faucet Repair
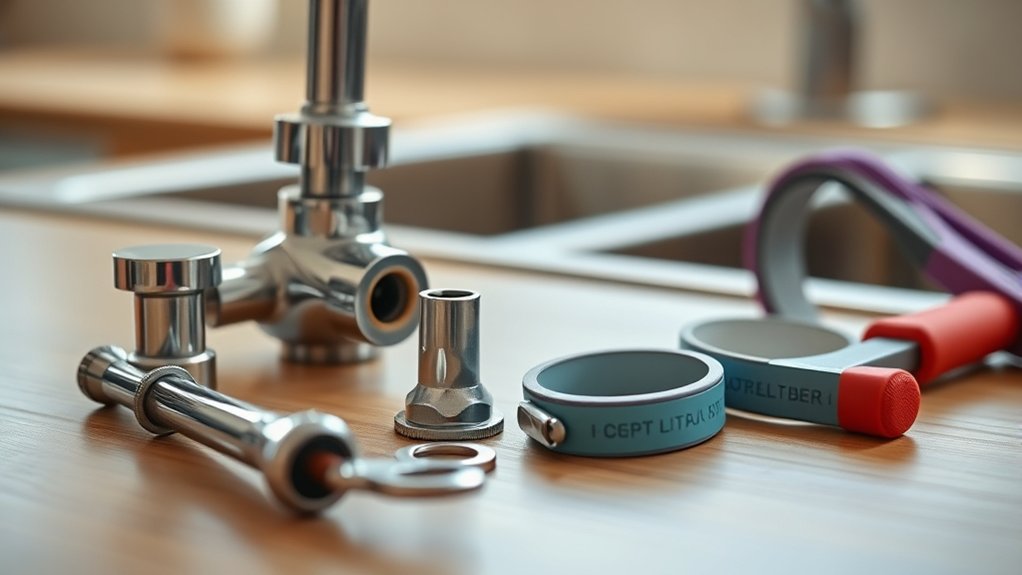
Before you start fixing your faucet, make sure you have the right tools on hand, like a wrench and screwdriver.
Pick out the exact replacement parts you’ll need based on your faucet type.
Finally, clear and organize your work area to keep everything within reach and avoid any mess.
Identify Needed Tools
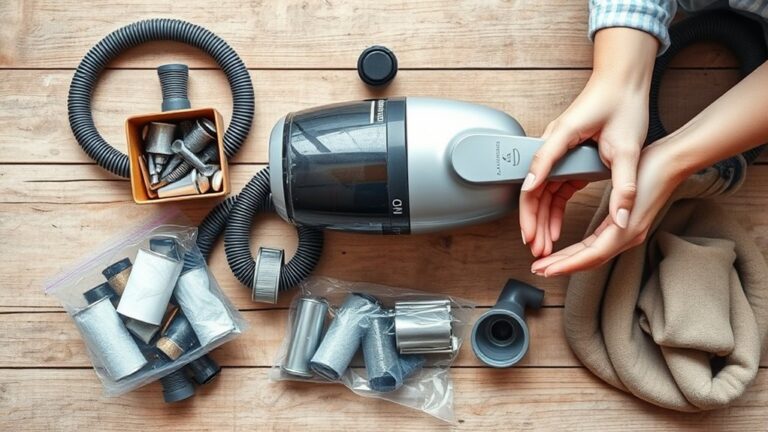
Although fixing a leaky faucet might seem straightforward, gathering the right tools and parts is vital to avoid frustration and wasted time. Start by identifying the basic tools you’ll need: an adjustable wrench, a screwdriver set (both flathead and Phillips), and pliers. A flashlight can help you see inside tight spaces, while a small container or magnetic tray keeps screws and small parts organized.
You might also want some plumber’s tape to guarantee a tight seal when reassembling. Having these tools on hand before you begin saves you from stopping mid-repair to search for them. Once you’ve assembled your toolkit, you’ll be ready to tackle the next step confidently, making your leaky faucet repair smoother and more efficient.
Select Replacement Parts
How do you know which replacement parts will fix your leaky faucet? Start by identifying your faucet type—compression, cartridge, ball, or ceramic disk. Check the manufacturer’s model number, usually found on the faucet or in its manual.
Take the old parts, like washers or cartridges, to a hardware store to find exact matches. If you can’t locate the model, bring photos and measurements to help staff assist you. Always choose parts made from durable materials like brass or stainless steel for longevity.
Avoid cheap plastic components, as they wear out quickly. Having the right parts ready before you start will save you time and frustration during the repair. Double-check everything to guarantee a smooth, successful fix.
Organize Work Area
Where should you set up to fix your leaky faucet efficiently? Choose a well-lit spot near the sink with enough space to spread out your tools and parts. Clear off the countertop or sink area to avoid losing small components.
Lay down a towel or a small tray to catch drips and keep parts from rolling away. Gather all necessary tools—like a wrench, screwdriver, and pliers—plus the replacement parts you selected earlier. Having everything within arm’s reach saves time and prevents frustration.
Organizing your workspace this way helps you stay focused and work smoothly, reducing the chance of mistakes or lost parts. Taking these simple steps sets you up for a quick, successful faucet repair.
How to Safely Turn Off Your Water Supply
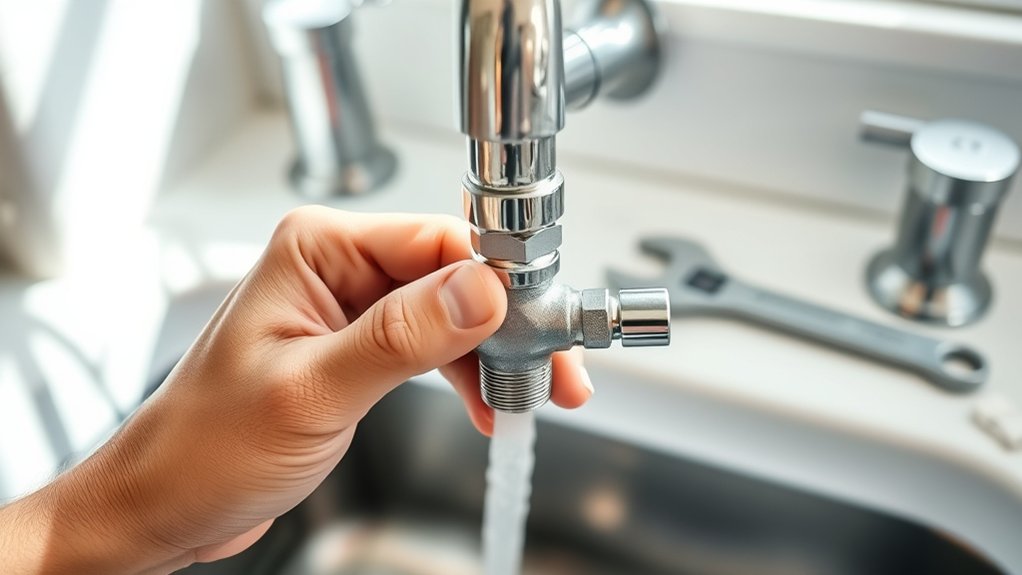
First, find your main water valve to stop the flow safely. Use the right tools to turn it off without causing damage.
Finally, double-check that the water is fully shut off before you start your repair.
Locate Main Water Valve
To safely turn off your water supply before fixing a leaky faucet, locate the main water valve in your home. This valve controls the entire water flow, so shutting it off prevents water damage while you work. Here’s how to find it quickly:
- Check near your water meter, usually outside your house or in the basement.
- Look for a valve with a round wheel or a lever handle.
- In warmer climates, it might be near an exterior wall or underground in a box.
- In apartments, the main valve might be inside a utility closet or behind a panel.
Once you find the valve, turn it clockwise to close it fully. This step ensures no water runs while you fix the leak.
Use Proper Tools
Before you turn off your water supply, make sure you have the right tools ready. You’ll need an adjustable wrench or pliers to turn the main valve or shut-off valves smoothly without damaging them. A flashlight is helpful if your valve is in a dark or cramped space.
Keep a bucket or towel nearby to catch any drips when you open the valve later. Avoid using excessive force; if the valve is stuck, use gentle, steady pressure to prevent breakage. Having gloves can protect your hands from rough surfaces or dirt.
Preparing these tools beforehand guarantees you can safely and efficiently stop the water flow, making the next steps of fixing your leaky faucet much easier and preventing any accidental water damage.
Verify Water Is Off
Once you’ve prepared your tools, double-check that the water supply is completely shut off to prevent any unexpected flooding. Start by locating the main water shutoff valve, usually found near your water meter or where the main line enters your home. Turn the valve clockwise until it stops.
Then, open the faucet you plan to fix to release any trapped water in the pipes. This helps reduce pressure and prevents drips while you work. Finally, test the faucet to confirm no water is flowing.
Here’s a quick checklist to verify the water is off:
- Locate the main shutoff valve.
- Turn the valve fully clockwise.
- Open the faucet to drain remaining water.
- Confirm no water flows from the faucet.
Disassemble Your Leaky Faucet Carefully
Although disassembling your faucet might seem intimidating, taking it apart carefully is essential to identify the source of the leak. Start by removing the decorative cap, if there is one, to expose the screw holding the handle. Use a screwdriver to unscrew it, then gently pull the handle off.
Avoid forcing parts, as you might damage them. Next, use an adjustable wrench to loosen the packing nut and remove the stem or cartridge, depending on your faucet type. Keep track of all parts and their order for easier reassembly.
Lay everything out on a clean surface to prevent losing small pieces. Taking your time and working methodically will help you pinpoint the problem and prepare for repairs without causing further damage.
Inspect and Replace Worn Washers and O-Rings
Since washers and O-rings wear out over time, you’ll need to inspect them closely for cracks, flattening, or other damage that causes leaks. Carefully remove each washer and O-ring from the faucet parts and examine them under good lighting. If you spot any signs of wear, it’s best to replace them with exact matches to guarantee a tight seal.
Keep these tips in mind:
- Use a magnifying glass for a detailed inspection
- Note the size and type before buying replacements
- Choose durable materials like rubber or silicone
- Replace washers and O-rings even if damage isn’t obvious to prevent future leaks
Reassemble and Test Your Leaky Faucet for Leaks
After replacing the washers and O-rings, you’ll want to carefully reassemble your faucet to make certain every component fits snugly and functions properly. Start by aligning the stem back into the faucet body, ensuring it sits correctly without forcing it. Tighten any screws or nuts you removed, but avoid over-tightening to prevent damage.
Next, reattach the handle and secure it with its screw. Once everything is back in place, turn the water supply back on slowly to avoid sudden pressure. Test your faucet by turning it on and watching closely for any drips or leaks.
If you notice any leaks, double-check connections and tighten as needed. When no leaks appear, your faucet is successfully fixed and ready for use.
Maintain Your Faucet to Prevent Future Leaks
To keep your faucet working smoothly and prevent leaks from returning, you need to perform regular maintenance. This helps you catch small issues before they turn into costly repairs. Make it a habit to inspect your faucet monthly, clean it thoroughly, and address any signs of wear promptly.
Here are some practical tips to maintain your faucet:
- Tighten loose handles and connections to avoid drips.
- Clean aerators regularly to prevent mineral buildup.
- Replace worn-out washers and O-rings as soon as you notice leaks.
- Avoid using harsh chemicals that can damage faucet components.
Frequently Asked Questions
Can a Leaky Faucet Increase My Water Bill Significantly?
Yes, a leaky faucet can increase your water bill considerably over time. Even small drips waste gallons daily, so fixing it quickly helps you save money and conserve water efficiently.
Don’t ignore the drip!
How Long Does a Typical Faucet Repair Take?
A typical faucet repair usually takes about 30 minutes to an hour. You can handle it quickly if you have the right tools and parts handy, but more complex issues might take longer.
Are There Eco-Friendly Faucet Repair Parts Available?
Yes, you’ll find eco-friendly faucet fixings like biodegradable washers and water-saving aerators. These parts promote planet protection while preventing pesky drips, helping you save water and reduce waste without sacrificing faucet function or flow.
Can I Use Tape to Temporarily Stop a Faucet Leak?
Yes, you can use plumber’s tape temporarily to stop a faucet leak, but it’s just a short-term fix.
You’ll want to replace damaged parts or call a plumber soon to avoid water waste and damage.
When Should I Call a Professional Plumber Instead?
You should call a professional plumber if the leak persists after your fixes, if you notice water damage, or if the problem involves complex pipes or valves.
Don’t wait too long—early help prevents bigger issues.
Conclusion
Fixing your leaky faucet is like tending a small garden—each step you take prunes away the drip, nurturing a steady flow. By identifying the type, gathering tools, turning off water, and replacing worn parts, you restore harmony to your sink’s rhythm.
Reassemble with care, test for peace, and maintain regularly. Just as a well-tended garden blooms, your faucet will stay leak-free, saving water and bringing calm to your home’s heart.
By following these simple steps to fix a leaky faucet, you not only conserve water but also extend the life of your plumbing. Regular maintenance and proper repair keep your faucet functioning smoothly and efficiently. Take action today to enjoy a leak-free faucet and a more sustainable home.