How to Remove a Shower Faucet in 7 Easy Steps
To remove your shower faucet safely and efficiently, start by gathering essential tools such as screwdrivers, an adjustable wrench, and a utility knife. Turning off both the main and local water valves is crucial to prevent any water flow during the process. Testing to ensure no water comes out will help avoid any unexpected leaks.
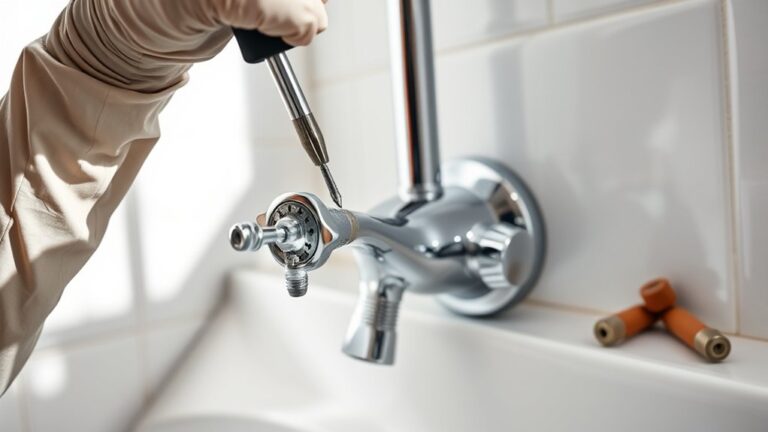
Next, carefully pry off the handle’s decorative cap, then loosen the set screws and remove the handle. Afterward, unscrew and cut through the caulk to detach the escutcheon plate and trim.
Extract the valve stem with care, keeping all parts organized for easy reassembly.
Finally, clean the surrounding area thoroughly. Following these steps sets you up for a smooth repair or replacement process, making your shower faucet removal straightforward and hassle-free.
Key Takeaways
- Turn off the main and local water supply valves and open the shower faucet to drain any remaining water.
- Pry off decorative caps and loosen handle set screws using the appropriate screwdriver or Allen wrench.
- Remove the faucet handle by gently wiggling and pulling it straight off, applying penetrating oil if stuck.
- Unscrew and carefully detach the escutcheon plate and trim, cutting through any caulk with a utility knife.
- Extract the valve stem after removing retaining screws and nuts, keeping all parts organized for reassembly.
Gather the Tools to Remove Your Shower Faucet
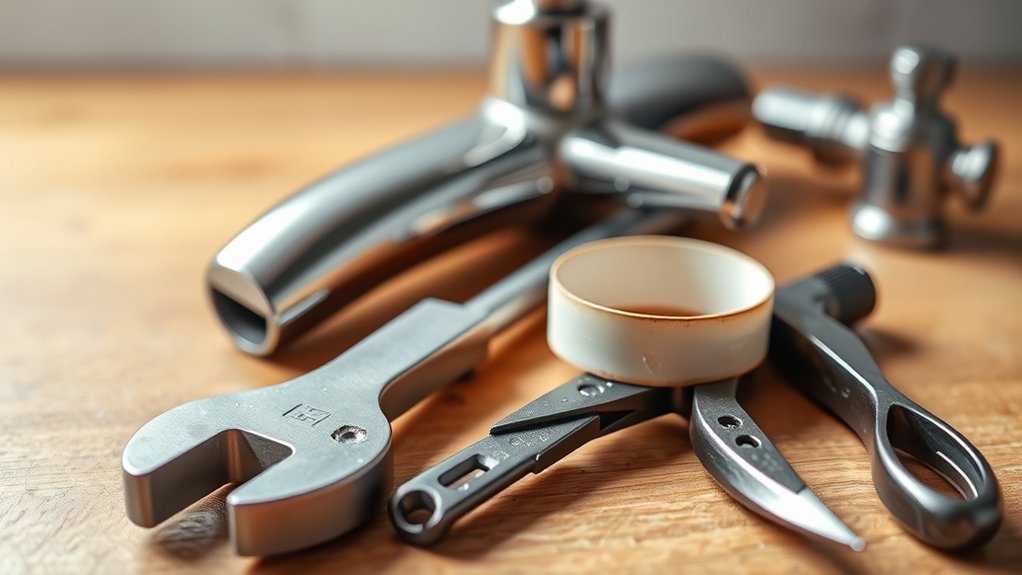
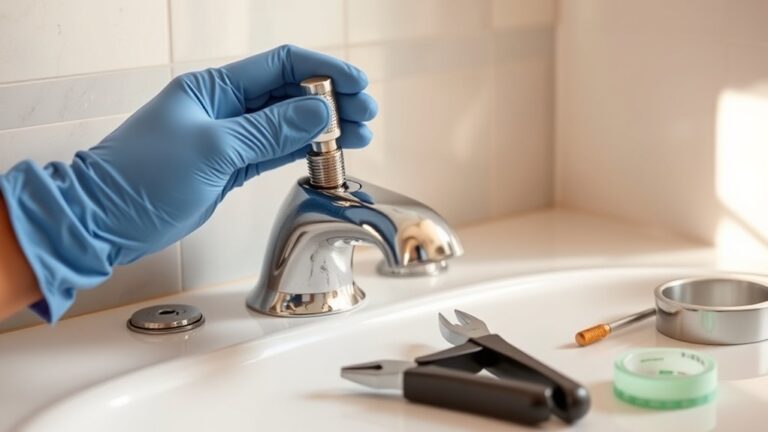
Before you begin removing your shower faucet, make sure you have all the necessary tools on hand. You’ll need a flathead screwdriver and a Phillips screwdriver to remove screws securing the faucet handle. An adjustable wrench or a set of pliers will help you loosen nuts and bolts.
Having a utility knife handy is useful for cutting through any caulk or sealant around the faucet trim. Don’t forget a rag or towel to catch drips and protect surfaces. It’s also smart to have a small container to keep screws and parts safe so you don’t lose them.
Gathering these tools before starting will make the process smoother, saving you time and frustration once you begin removing the shower faucet.
Turn Off the Shower Faucet Water Supply Safely
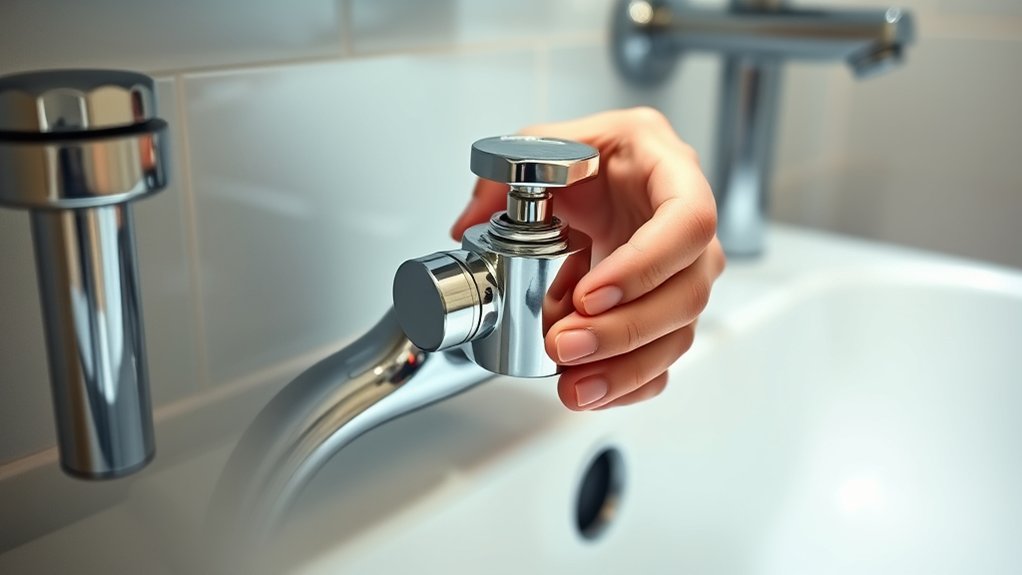
Before you start, find your home’s main water valve and turn it off to stop the water supply to your shower. Make sure to shut the valve completely to prevent any leaks while you work.
Finally, test the faucet to confirm the water is fully off before proceeding.
Locate Main Water Valve
Where do you find the main water valve to shut off your shower’s water supply? Typically, it’s near where the water line enters your home—often in the basement, crawlspace, or utility room. In warmer climates, it might be outside, close to the foundation.
Look for a round wheel handle or a lever attached to a pipe. If you have a newer home, the valve might be a ball valve with a simple handle. Knowing its location is essential before you start any faucet removal.
If you can’t locate the main valve, check your water meter box outside; the valve is usually nearby. Keep a flashlight handy for dim areas, and make sure the valve is fully accessible for when you need to shut off the water safely.
Shut Off Water Supply
How do you guarantee no water spills while removing your shower faucet? First, shut off the water supply to the shower to prevent any leaks or flooding. If you’ve located your home’s main water valve, turn it clockwise to close it fully.
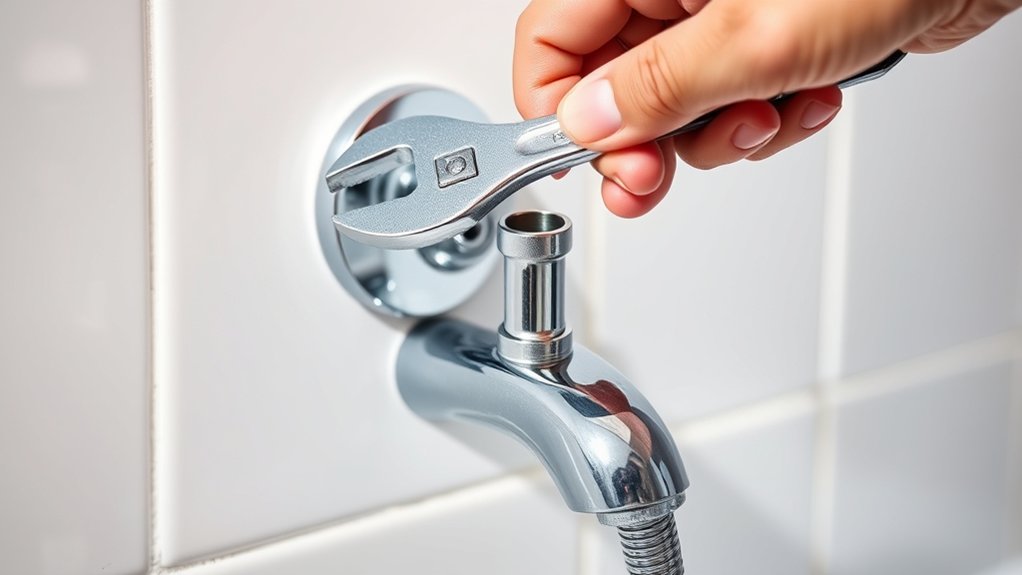
For added safety, also turn off the local shutoff valve if your shower has one—usually found near the fixture or in the basement. Use a wrench if needed, but avoid forcing the valve to prevent damage. After closing the valves, open the shower faucet briefly to relieve any remaining pressure and drain water from the pipes.
This step ensures a dry workspace and makes removing the faucet easier and safer. Always work carefully to avoid accidental water damage.
Verify Water Is Off
Even after shutting off the main and local valves, you should verify that the water is completely off to avoid surprises during removal. Start by turning on the shower faucet handles to release any trapped water and relieve pressure in the pipes. Watch closely to confirm no water flows out.
If you still see water, double-check that the valves are fully closed. You can also test other fixtures nearby, like a sink or bathtub, to ensure their water is off too. If water continues running, you may need to shut off the main supply again or contact a professional.
Taking these steps guarantees a dry work area and prevents leaks or water damage while removing your shower faucet. Always prioritize safety before proceeding.
Remove the Faucet Handle Without Causing Damage
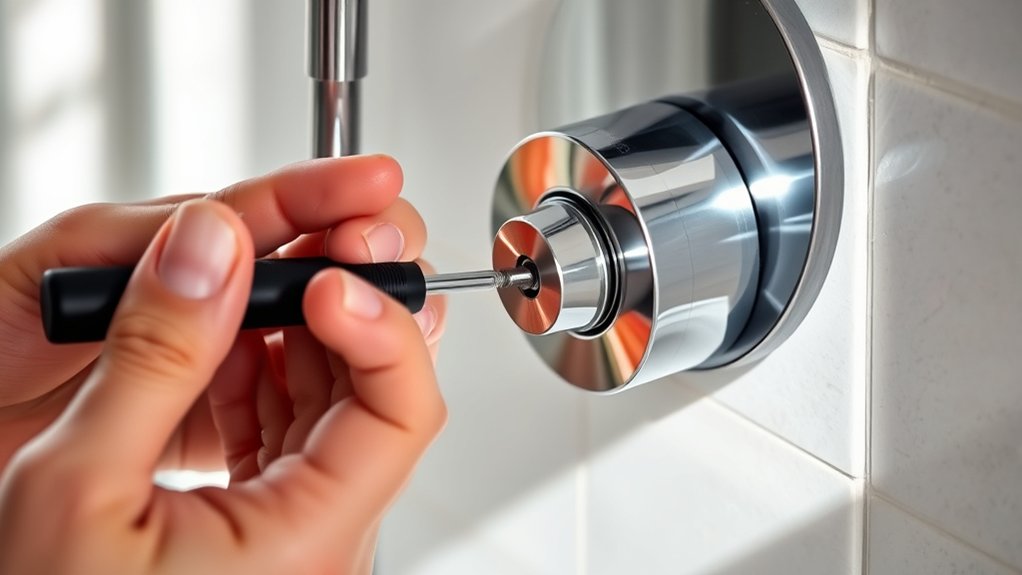
Before you start removing the faucet handle, make sure to turn off the water supply to prevent any leaks or water damage. Next, look for a set screw, usually hidden under a decorative cap or on the side of the handle. Use a flathead screwdriver or a small tool to carefully pry off the cap without scratching the surface.
Then, use the appropriate Allen wrench or screwdriver to loosen the set screw. Gently wiggle the handle back and forth while pulling it straight off the valve stem. Avoid using excessive force or prying tools that can damage the handle or surrounding finish.
If the handle feels stuck, apply a little penetrating oil and wait a few minutes before trying again. This method guarantees a clean removal without causing damage.
Take Off the Escutcheon Plate and Trim
Once you’ve carefully removed the faucet handle, you can move on to taking off the escutcheon plate and trim. The escutcheon plate covers the plumbing behind the wall and is usually secured with screws or caulk. Here’s how to remove it smoothly:
- Locate and unscrew any visible screws holding the plate in place.
- If caulk seals the edges, gently cut through it with a utility knife.
- Carefully pry the escutcheon plate away from the wall, using a putty knife if needed.
- Remove any decorative trim pieces by loosening clips or small screws.
Take your time to avoid damaging the wall or tile. Once the escutcheon plate and trim are off, you’ll have clear access to the valve for the next steps.
Remove the Shower Valve Stem
How do you access the shower valve stem to remove it safely? Once the escutcheon plate and trim are off, you’ll see the valve stem secured inside the valve body. First, use a screwdriver or Allen wrench to remove the retaining screw holding the handle in place.
Carefully pull the handle off. Next, locate the valve stem retaining nut or clip and remove it with pliers or a wrench. Now, grip the valve stem firmly and pull it straight out.
If it’s stuck, gently wiggle or twist it while pulling to loosen it. Avoid forcing it too hard to prevent damage. Removing the valve stem gives you access to the internal parts, preparing you for any necessary repairs or replacements.
Inspect and Clean Shower Faucet Components
Why does inspecting and cleaning your shower faucet components matter? It helps prevent leaks, guarantees smooth operation, and extends your faucet’s lifespan.
Once you’ve removed the faucet parts, take time to check each piece carefully. Look for buildup, corrosion, or damage that might affect performance.
To clean effectively, follow these steps:
- Soak metal parts in vinegar to dissolve mineral deposits.
- Scrub gently with a soft brush to remove grime.
- Inspect rubber washers and O-rings for cracks or wear.
- Replace any damaged components before reassembling.
Prepare the Faucet Area for New Installation
Before you install the new faucet, clear the surrounding work area to give yourself plenty of space. Gather all the necessary tools like a wrench, screwdriver, and plumber’s tape.
Having everything ready will make the installation smoother and faster.
Clear Surrounding Work Area
Although you’ve removed the old shower faucet, you’ll want to clear the surrounding area completely to guarantee a smooth installation of the new one. A tidy workspace helps prevent accidents and makes it easier to access plumbing connections. Start by removing any debris, old sealant, or loose materials around the faucet opening.
Wipe down surfaces to ensure they’re clean and dry. Also, move any personal items, towels, or bath mats away from the area. Here’s a quick checklist to clear your work area:
- Remove old caulk or plumber’s putty residues
- Clear away tools and hardware from previous work
- Clean the wall surface around the faucet opening
- Keep the floor dry and free of clutter
This preparation keeps your workspace safe and ready for the next steps.
Gather Necessary Installation Tools
To get started, gather at least five essential tools that will make installing your new shower faucet easier and more efficient. Having the right tools at hand saves time and prevents frustration during installation.
You’ll need tools for loosening old fittings, tightening new ones, and ensuring everything fits securely.
| Tool | Purpose | Tip |
|---|---|---|
| Adjustable Wrench | Remove/install nuts | Use a smooth jaw to avoid damage |
| Screwdriver | Remove screws on handle/plate | Choose the right head type |
| Plumber’s Tape | Seal threaded joints | Wrap threads clockwise |
| Allen Wrench | Handle set screws | Keep various sizes handy |
Make sure all tools are in good condition before you begin to ensure a smooth installation process.
Frequently Asked Questions
What Type of Shower Faucet Is Best for Water Conservation?
You’ll want a low-flow shower faucet with a flow rate of 2.0 gallons per minute or less. These faucets conserve water without sacrificing pressure, helping you save on bills and reduce environmental impact effortlessly.
How Often Should I Replace My Shower Faucet?
You should replace your shower faucet every 10-15 years or sooner if you notice leaks, corrosion, or reduced water flow. Regular maintenance helps, but upgrading improves efficiency and style, saving water and enhancing your shower experience.
Can I Upgrade to a Thermostatic Shower Valve?
Absolutely, you can upgrade to a thermostatic shower valve! It’s like giving your shower a brain, controlling temperature precisely.
Just guarantee compatibility with your plumbing and consider professional installation for the best, safest results.
What Are Common Signs of a Faulty Shower Valve?
You’ll notice inconsistent water temperature, leaks around the valve, low water pressure, or difficulty turning the handle.
If your shower suddenly sputters or makes strange noises, it’s a strong sign your valve needs attention or replacement.
Are There Eco-Friendly Materials for Shower Faucets?
Yes, you can choose eco-friendly shower faucets made from recycled brass, stainless steel, or bamboo. These materials reduce environmental impact, last longer, and often come with water-saving features that help you conserve water efficiently.
Conclusion
Removing your shower faucet is simpler than you might think—just follow these seven easy steps. Did you know that nearly 70% of homeowners tackle minor plumbing repairs themselves to save money? By gathering the right tools, turning off the water, and carefully removing each part, you’ll be ready for a smooth replacement or upgrade.
With a little patience, you’ll have your shower faucet working perfectly again in no time! Remember, proper preparation and following the correct procedure are key to a successful shower faucet removal. These steps will help you avoid common mistakes and ensure a hassle-free experience.