How to Wash a Vacuum Filter in 7 Easy Steps
To wash your vacuum filter in 7 easy steps, start by unplugging your vacuum and removing the filter carefully to avoid dust spread. Proper vacuum filter cleaning is essential for maintaining strong suction and prolonging your vacuum’s life.
Tap off loose dirt, then rinse it gently with lukewarm water—don’t use hot water or harsh detergents.
Let the filter air dry completely for 12-24 hours. This ensures it is fully dry and prevents damage to your vacuum.
Once dry, reinstall the filter properly, check for a secure fit, and test suction.
Keep going to discover tips for maintaining your filter longer and improving vacuum performance. Regular vacuum filter washing will help you keep your home cleaner and your machine running efficiently.
Key Takeaways
- Unplug the vacuum and carefully remove the filter from its compartment over a trash bin.
- Tap the filter lightly to remove loose dust before rinsing it with lukewarm water.
- Rinse the filter gently using fingers to dislodge debris, avoiding brushes or harsh detergents.
- Air dry the filter completely in a shaded, well-ventilated area for 12 to 24 hours.
- Reinstall the dry filter securely, ensuring proper alignment, then test vacuum suction and operation.
Why and When to Wash Your Vacuum Filter
Although vacuum filters trap dust and debris, they eventually clog and reduce your vacuum’s efficiency. When this happens, you’ll notice weaker suction and longer cleaning times. If you don’t clean the filter regularly, your vacuum motor could overheat and wear out faster.
You should wash your vacuum filter every one to three months, depending on how often you clean and the amount of dirt it collects. If you have pets or allergies, consider cleaning it more frequently to maintain ideal air quality. Also, if your vacuum starts making unusual noises or smells, it’s a clear sign the filter needs attention.
Staying on top of filter maintenance ensures your vacuum runs smoothly and lasts longer, saving you time and money in the long run.
What Supplies You Need to Clean Your Vacuum Filter
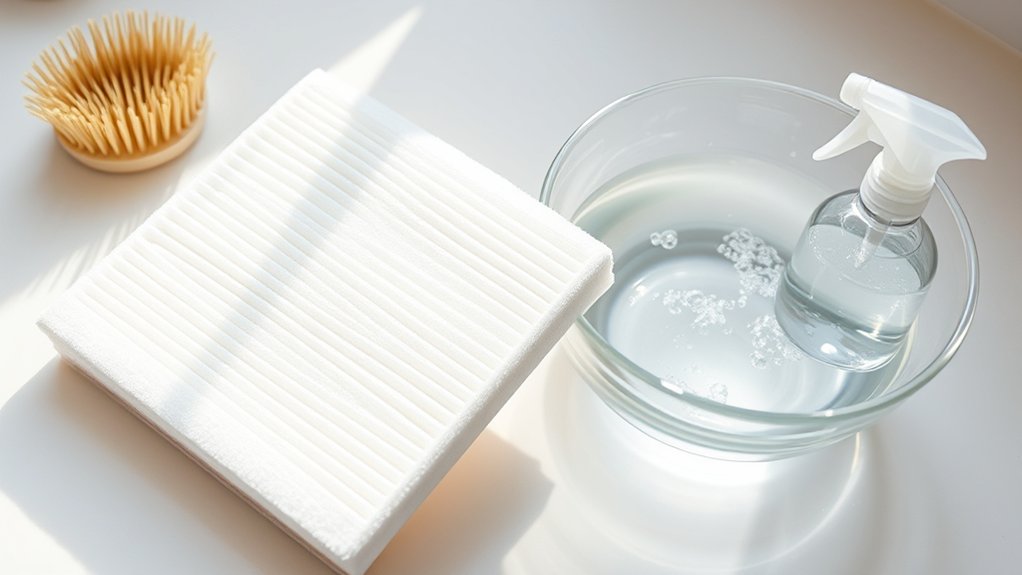
Before you start cleaning your vacuum filter, gather the right supplies to make the process quick and effective. You’ll need a soft brush or an old toothbrush to gently remove loose dirt from the filter’s surface. Have a basin or sink nearby filled with warm water mixed with a few drops of mild dish soap.
Avoid harsh chemicals that could damage the filter. Keep a clean towel or microfiber cloth on hand to pat the filter dry after rinsing. You might also want a pair of gloves to keep your hands clean.
Finally, having a well-ventilated space ready to air-dry the filter will help speed up the drying process and prevent mold growth. With these supplies, you’ll be set for a smooth cleaning session.
How to Remove Your Vacuum Filter Safely
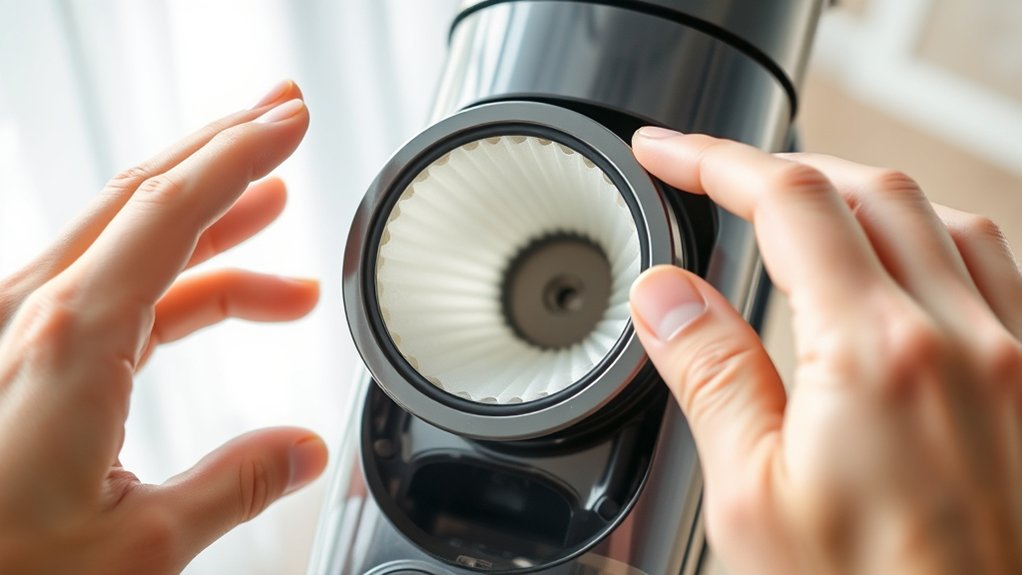
How do you safely remove your vacuum filter without causing damage or making a mess? First, unplug your vacuum to prevent accidents. Then, locate the filter compartment—usually behind a latch or panel.
Open it gently to avoid breaking clips. Carefully pull out the filter, holding it over a trash bin to catch any dust or debris. Avoid shaking vigorously to prevent spreading dust.
| Step | Action |
|---|---|
| 1 | Unplug the vacuum |
| 2 | Find the filter compartment |
| 3 | Open it gently |
| 4 | Remove the filter carefully |
| 5 | Hold over trash to avoid dust spread |
Following these steps helps keep your vacuum in good shape and your space clean.
How to Wash Your Vacuum Filter Without Damage
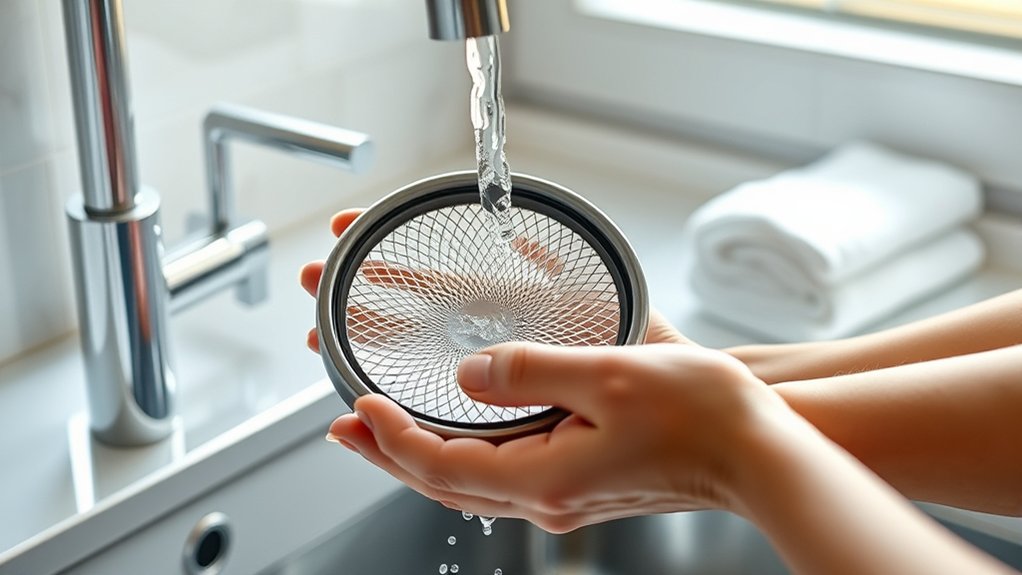
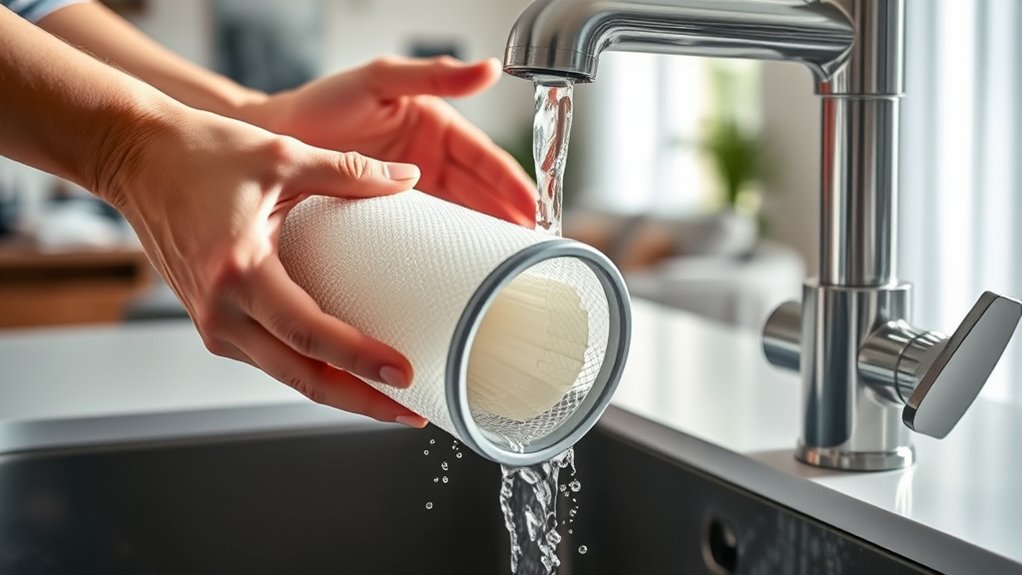
When you wash your vacuum filter, you want to be gentle to avoid damaging its delicate materials. Start by tapping the filter lightly to remove loose dust and debris. Use lukewarm water instead of hot, as high temperatures can warp or weaken the filter.
Avoid using any harsh detergents or cleaning agents; plain water usually does the job. Gently rinse the filter by holding it under the water stream, letting gravity help wash away dirt instead of scrubbing vigorously. If necessary, use your fingers to softly dislodge stubborn particles, but don’t use brushes or sponges.
Handle the filter carefully throughout the process to maintain its shape and effectiveness. Following these steps guarantees your vacuum filter stays intact and performs well over time.
How to Dry Your Vacuum Filter Properly
Since a wet vacuum filter can trap moisture and promote mold growth, you’ll want to dry it thoroughly before reinstalling. Start by gently shaking off excess water and then pat the filter with a dry towel. Avoid using direct heat like a hairdryer, which can damage the filter material.
Instead, air dry it in a well-ventilated area, preferably in sunlight if the filter type allows.
Here’s a quick drying guide:
| Step | Action | Tip |
|---|---|---|
| 1 | Shake off excess water | Do it gently |
| 2 | Pat with a dry towel | Avoid rubbing |
| 3 | Air dry in shade or sunlight | Check filter type first |
| 4 | Ensure completely dry | Takes 12-24 hours typically |
Reinstall Your Filter and Check Your Vacuum
Now that your filter is completely dry, make sure you align it properly before placing it back into your vacuum. Secure the filter firmly to prevent any gaps or movement during use.
Once reinstalled, turn on your vacuum to check that it’s working smoothly and efficiently.
Proper Filter Alignment
How do you guarantee your vacuum filter works effectively after cleaning? Proper filter alignment is key. When you reinstall your filter, ensure it fits perfectly to maintain optimal suction and prevent dust leaks.
Misalignment can reduce performance or even damage the vacuum. To align your filter correctly, keep these points in mind:
- Check the filter’s shape and match it to the designated slot.
- Align any tabs or notches with their corresponding grooves.
Avoid forcing the filter; it should slide in smoothly and sit flush. After aligning the filter, power on your vacuum briefly to confirm it runs smoothly. If you notice unusual noises or reduced suction, double-check the alignment before securing it fully.
Proper alignment helps your vacuum work efficiently and extends its lifespan.
Secure Filter Placement
After aligning your vacuum filter properly, you’ll want to secure it firmly in place to prevent any movement during use. Carefully slide or snap the filter back into its designated slot, making sure it fits snugly without forcing it. Check any clips, latches, or covers that hold the filter; engage them fully to lock the filter securely.
A loose filter can reduce suction and allow dust to bypass the filter, which might damage your vacuum or affect air quality. Once the filter is in place, close the vacuum’s access panel or cover tightly. Take a moment to inspect the vacuum for any remaining gaps or misalignments around the filter area.
Ensuring a secure fit keeps your vacuum working efficiently and prolongs its lifespan.
Test Vacuum Functionality
Why should you test your vacuum right after reinstalling the filter? Testing ensures the filter is correctly placed and your vacuum operates efficiently. If the filter isn’t seated properly, the vacuum might lose suction or even damage the motor.
Once you’ve secured the filter, plug in your vacuum and turn it on. Listen for any unusual sounds and check if the suction feels strong. Here are three key checks to perform:
- Verify consistent suction power without drops
- Listen for any rattling or strange noises
- Ensure the vacuum runs smoothly without shutting off
If everything sounds and feels right, you’re good to go. If not, turn off the vacuum and recheck the filter’s positioning before trying again.
Tips to Keep Your Vacuum Filter Clean Longer
To keep your vacuum filter clean longer, you should regularly tap out dust and debris before washing it. Doing this prevents buildup and extends the time between washes. Avoid vacuuming large debris or liquids that can clog and damage your filter.
Use your vacuum on appropriate surfaces to reduce excessive dirt intake. Store your vacuum in a dry, dust-free area to avoid contamination. Replace filters according to the manufacturer’s recommendations, even if they look clean, since worn filters lose efficiency.
Consider using pre-filters or protective covers if your model supports them. Finally, maintain your vacuum’s overall cleanliness—empty the dustbin or bag frequently and clean brush rolls—to reduce strain on the filter and keep your vacuum running smoothly longer.
Frequently Asked Questions
Can I Use a Dishwasher to Clean My Vacuum Filter?
You shouldn’t use a dishwasher to clean your vacuum filter because the heat and detergent can damage it.
Instead, rinse it gently with water and let it air dry completely before putting it back in your vacuum.
How Often Should I Replace My Vacuum Filter Completely?
You should replace your vacuum filter every 3 to 6 months, depending on use. Don’t let it become a ticking time bomb of dust—changing it keeps your vacuum running smoothly and your air fresh and clean.
Are Washable Filters Compatible With All Vacuum Brands?
No, washable filters aren’t compatible with all vacuum brands. You’ll need to check your vacuum’s manual or manufacturer’s website to confirm if your model supports washable filters before washing or replacing them.
This helps avoid damage or reduced performance.
What if My Vacuum Filter Has a Bad Odor After Washing?
If your vacuum filter smells bad after washing, you should soak it in a mixture of water and vinegar for an hour, then rinse thoroughly and let it dry completely.
This helps eliminate odors effectively.
Can Vacuum Filters Be Cleaned With Compressed Air?
Yes, you can clean vacuum filters with compressed air, but be careful. Use short bursts from a safe distance to avoid damaging the filter.
It’s a quick way to remove dust without washing or drying.
Conclusion
Keeping your vacuum filter fresh and functional is a simple, satisfying step to safeguard your space. By washing with care, drying diligently, and reinstalling right, you’ll reap reliable results and reduce dust buildup.
Remember, regular rinsing revives your vacuum’s vigor and prolongs its performance. With these easy efforts, you’ll maintain a cleaner, cozier corner of your home, cutting clutter and calming air quality concerns.
Stay smart, stay spotless! Proper vacuum filter maintenance not only improves cleaning efficiency but also enhances indoor air quality and extends the life of your vacuum cleaner.