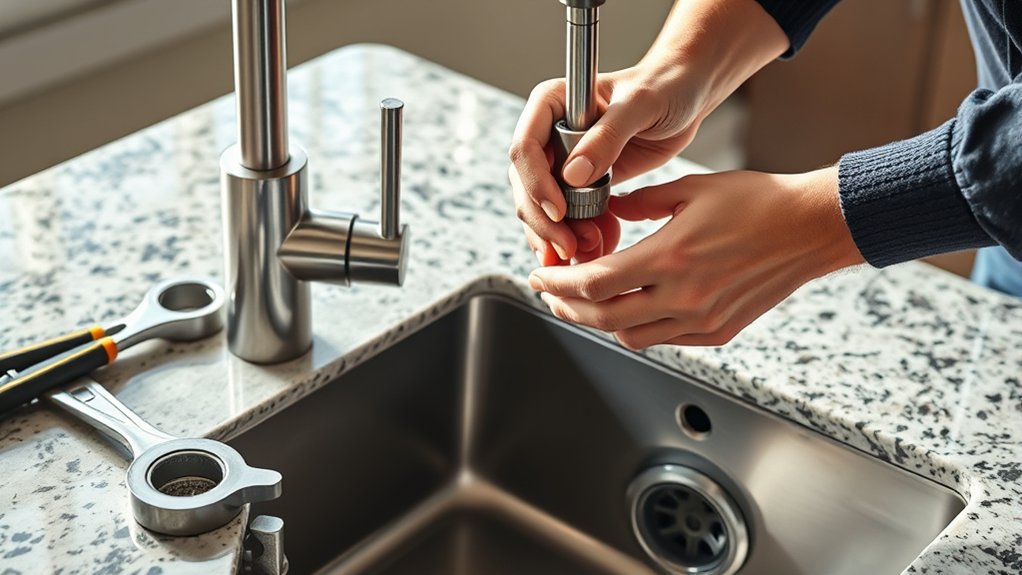
How to Put a Kitchen Faucet in 7 Easy Steps
First, gather your tools and clear the space under your sink. Installing a kitchen faucet is a straightforward project that can refresh your kitchen’s look and improve functionality. Turn off the water valves and open the faucet to drain any leftover water.
Remove the old faucet and clean the area thoroughly.
Position and secure the new faucet base, then connect the supply lines tightly. Make sure all connections are snug to prevent leaks.
Turn the water back on, check for leaks, and tighten any loose fittings.
Test the faucet to guarantee it works properly. Keep following along to master every detail for a flawless installation.
Key Takeaways
- Turn off water supply valves and drain residual water by opening the old faucet before removal.
- Remove the old faucet by loosening mounting nuts and disconnecting supply lines carefully.
- Position and secure the new faucet on the sink, ensuring proper alignment and a watertight seal.
- Connect hot and cold water supply lines to the faucet and shutoff valves, tightening all fittings securely.
- Turn on water, check for leaks, test faucet operation, and seal the base to prevent water seepage.
Get Your Tools Ready and Clear the Workspace
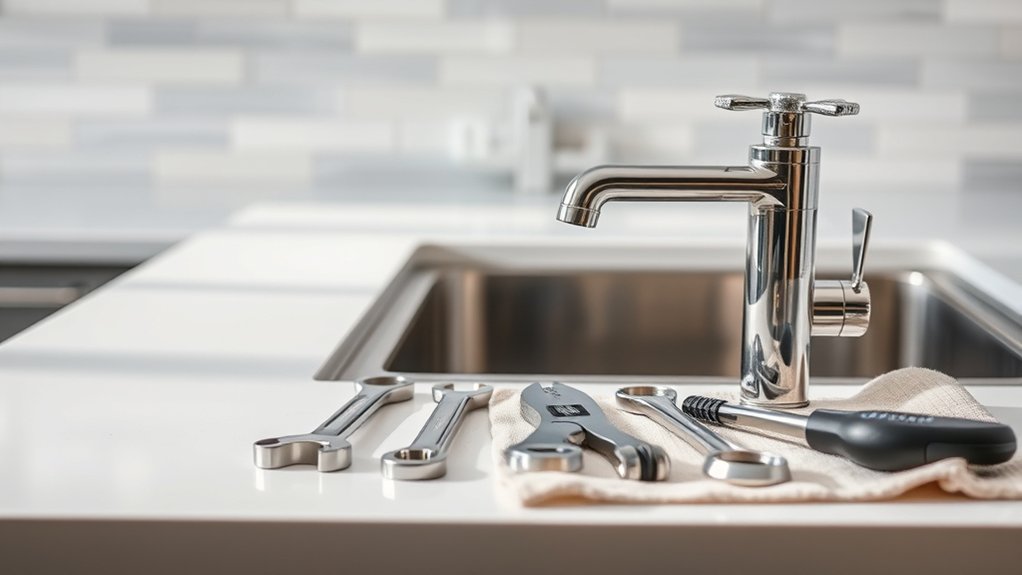
Where should you begin when installing a kitchen faucet? Start by gathering all the necessary tools and clearing your workspace. You’ll need a basin wrench, adjustable wrench, plumber’s tape, and a screwdriver.
Having these tools ready prevents you from interruptions later. Next, clear the area under your sink and around the faucet to make sure you have enough room to work comfortably. Remove any cleaning supplies or items that might get in the way.
This step helps you avoid accidents and makes the installation smoother. Preparing your workspace and tools now sets you up for success in the following steps. Once everything is organized and accessible, you’ll be ready to move on confidently with the faucet installation.
Turn Off Water Supply and Drain Remaining Water
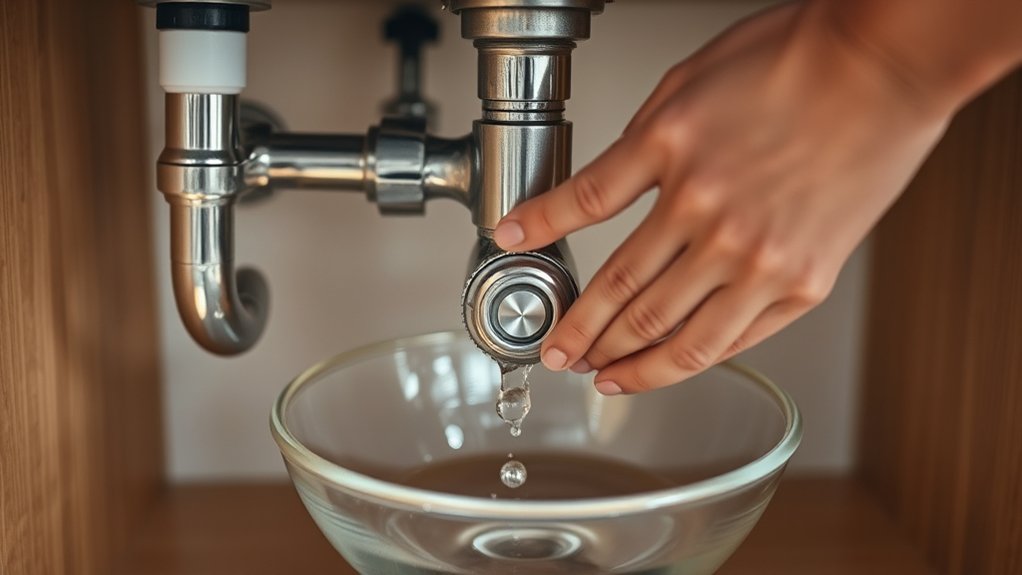
Before you start removing the old faucet, make sure to turn off the water supply valves under the sink to prevent any leaks or spills. These valves are usually located on the pipes beneath the sink, one for hot water and one for cold. Turn each valve clockwise until it stops.
Once the water is off, open the faucet to release any remaining water in the lines. This step helps reduce mess and pressure when you disconnect the faucet. Keep a towel or small bucket handy to catch any drips.
Draining the water ensures a cleaner, safer work area and prevents accidental water damage. After draining, double-check that no water flows when you turn the faucet handle. Now, you’re ready to move on to removing the old faucet.
Remove the Old Faucet and Clean the Sink Area
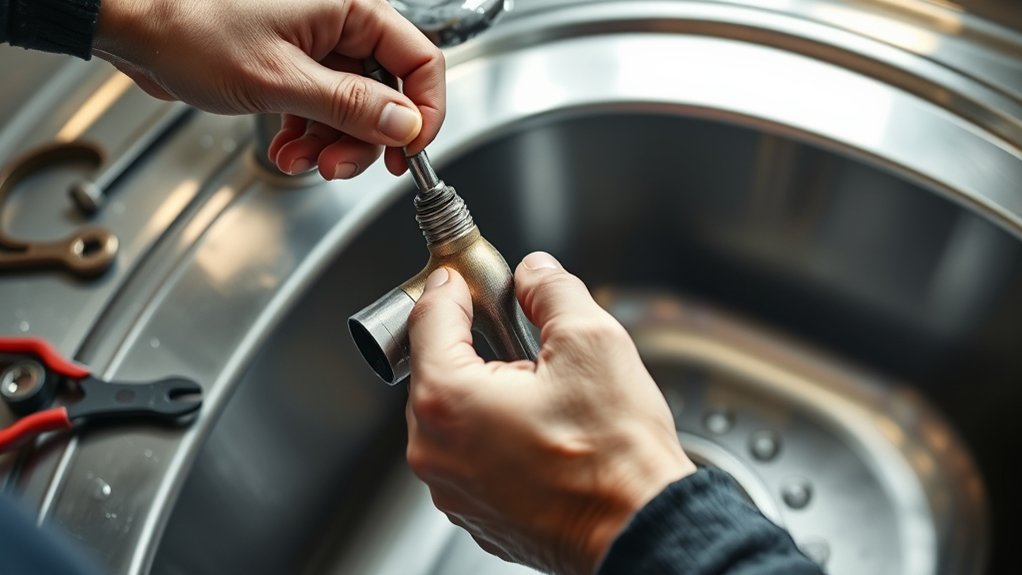
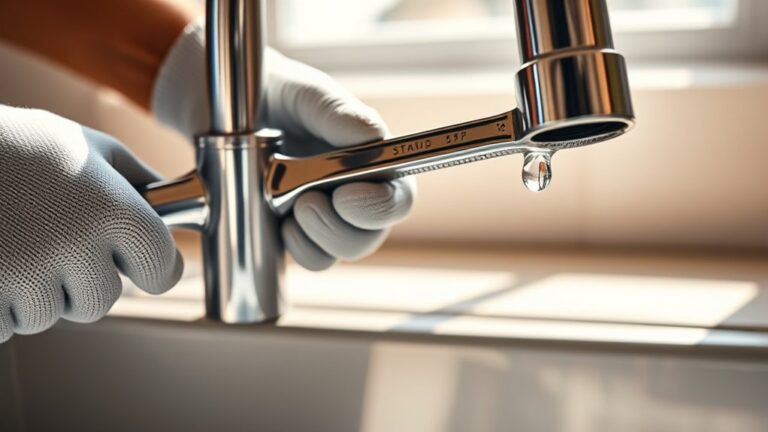
Once the water is fully shut off and drained, you can start removing the old faucet by loosening the mounting nuts underneath the sink. Use a basin wrench for tight spaces. After detaching the faucet, lift it out carefully.
Next, clean the sink area thoroughly to remove any grime, old plumber’s putty, or mineral deposits. This ensures a smooth surface for the new faucet installation.
| Step | Tool Needed | Tip |
|---|---|---|
| Loosen mounting nuts | Basin wrench | Work carefully to avoid damage |
| Detach supply lines | Adjustable wrench | Have a towel ready for drips |
| Remove old faucet | Hands | Lift steadily |
| Clean sink surface | Scrub brush | Use mild cleaner |
Install and Secure the New Kitchen Faucet Base
Start by positioning the new faucet base over the sink holes, making sure it sits flush and aligned. Once it’s in place, tighten the mounting hardware underneath to secure the base firmly.
Don’t overtighten, but guarantee it’s stable enough to prevent any movement.
Positioning The Faucet Base
Although it might seem straightforward, positioning the faucet base correctly is essential for a secure and leak-free installation. First, align the base over the mounting holes on your sink or countertop. Make sure the faucet’s spout faces forward and the handles, if separate, are in the right orientation for comfortable use.
Check that the base sits flush against the surface without any gaps, which could allow water to seep underneath. If your faucet includes a gasket or plumber’s putty, apply it now to create a watertight seal. Take your time adjusting the base so everything lines up perfectly before proceeding.
Proper positioning prevents future leaks and ensures your faucet looks professional and functions smoothly. Once satisfied, you’re ready to move on to securing the mounting hardware.
Tightening Mounting Hardware
Before you can enjoy your new kitchen faucet, you’ll need to tighten the mounting hardware to secure the base firmly in place. Start by sliding the rubber gasket and metal washer onto the faucet’s threaded shank underneath the sink. Then, screw the mounting nut onto the shank, turning it clockwise until snug.
Use a basin wrench to reach tight spots, ensuring the faucet won’t wobble. Don’t overtighten, or you risk damaging components.
Here’s a quick visual guide:
| Step | Tool Needed | Action |
|---|---|---|
| Slide gasket | Hands | Place rubber gasket |
| Add washer | Hands | Position metal washer |
| Tighten nut | Basin wrench | Turn nut clockwise |
Secure mounting hardware means a stable faucet ready for use!
Connect Water Supply Lines to Your Kitchen Faucet
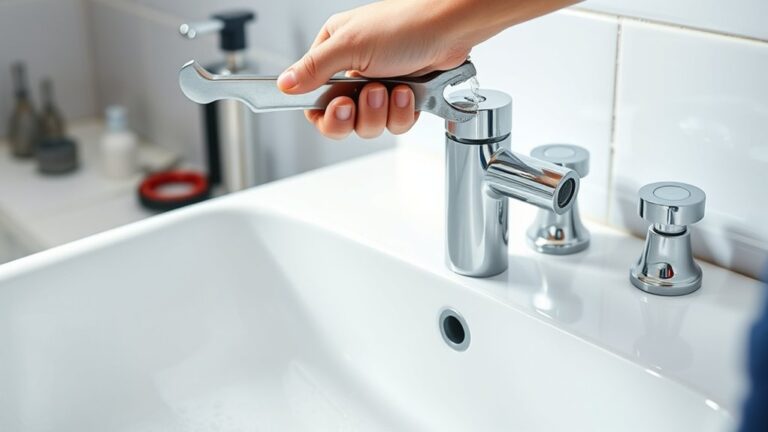
Once your faucet is securely mounted, you’ll want to connect the water supply lines carefully to make certain there are no leaks. Begin by identifying the hot and cold water lines, usually marked with red and blue indicators. Attach the supply lines to the corresponding faucet inlets, turning the connectors clockwise by hand until snug.
Use an adjustable wrench to tighten them further, but avoid overtightening to prevent damage. Next, connect the other ends of the supply lines to the shutoff valves under your sink, again tightening by hand first, then with the wrench. Make sure the lines aren’t kinked or twisted, as this can restrict water flow.
With everything connected, you’re ready to move on to the next step and assure your faucet operates smoothly.
Check for Leaks and Tighten Connections
Now that your water supply lines are connected, inspect every connection point carefully for leaks. Use the right tools to tighten fittings without overdoing it.
Finally, turn on the water and check the flow pressure to guarantee everything’s sealed and working properly.
Inspect All Connection Points
How can you be sure your kitchen faucet won’t leak after installation? The key is to carefully inspect all connection points. Start by turning on the water supply slowly and watch every joint, nut, and hose for any signs of dripping or moisture.
Pay close attention where the faucet connects to the water lines and where the hoses link to the shutoff valves. If you spot even a small leak, it’s vital to address it immediately. Gently tighten each connection by hand first, ensuring they’re snug but not overdone.
Then, check again for leaks under pressure. Thoroughly inspecting these points helps prevent water damage and guarantees your faucet functions properly. Taking this step seriously saves you time and hassle down the line.
Use Proper Tightening Tools
Although checking for leaks is essential, using the proper tightening tools guarantees your connections stay secure without damaging any parts. Grab an adjustable wrench or basin wrench designed for faucet installations. These tools provide the right grip and leverage to tighten nuts firmly without slipping or scratching.
Avoid overtightening, which can crack fittings or strip threads. Turn each connection snugly, then give it a slight additional quarter turn. If your faucet came with rubber or plastic washers, make sure they’re seated correctly before tightening to prevent leaks.
After you’ve tightened everything, visually inspect each joint for gaps or misalignment. Using the correct tools not only protects your faucet components but also saves you time by preventing future leaks and repairs.
Test Water Flow Pressure
Once you’ve secured all connections with the right tools, it’s time to test the water flow pressure. Turn on the main water supply slowly and watch for leaks around the base and under the sink.
Open the faucet fully and observe the water flow; it should be steady without sputtering. If you spot any drips, tighten those connections carefully to prevent damage. Use the table below to guide your inspection and adjustments:
| Checkpoint | What to Look For | Action if Problem Found |
|---|---|---|
| Faucet Base | Water pooling or dripping | Tighten mounting nuts |
| Supply Lines | Visible leaks | Re-tighten or replace seals |
| Water Flow | Weak or uneven flow | Clear aerator or check valves |
| Under Sink | Moisture or water stains | Tighten connections |
This guarantees your faucet is installed correctly and ready to use.
Test the Kitchen Faucet and Finalize Installation
Before sealing everything in place, you’ll want to turn on the water supply and check the faucet for leaks or drips. This step ensures your installation is secure and functions properly. Here’s what to focus on:
Turn on the water supply and check for leaks to ensure your faucet installation is secure and working properly.
- Inspect all connections under the sink for any water seepage.
- Turn the faucet on and off, testing both hot and cold water flow.
- Check the spray hose (if applicable) for smooth operation and leaks.
- Tighten any loose fittings you spot during your inspection.
Once you’re confident there are no leaks and the faucet works smoothly, go ahead and seal the base with plumber’s putty or silicone.
Finally, clean up the area, and enjoy your new kitchen faucet!
Frequently Asked Questions
What Type of Kitchen Faucet Is Best for Hard Water Areas?
You should choose a faucet with a ceramic disc valve or a brass body for hard water areas. These materials resist corrosion and mineral buildup, ensuring durability and smooth operation despite tough water conditions.
This helps maintain the faucet’s functionality and appearance over time. Choosing the right materials can significantly reduce maintenance needs. It also extends the lifespan of your kitchen faucet.
How Do I Choose the Right Faucet Height for My Sink?
You’ll want to pick a faucet height that fits comfortably under your cabinets and allows enough clearance for washing large pots. Measure your sink depth and surrounding space, then choose a faucet tall enough to avoid splashes but not too tall.
Can I Install a Kitchen Faucet Without Professional Plumbing Experience?
You might worry it’s too tricky, but yes, you can install a kitchen faucet without professional experience. Just follow clear instructions, take your time, and double-check connections—
you’ll feel proud and save money doing it yourself.
What Tools Are Necessary for Faucet Maintenance After Installation?
You’ll need an adjustable wrench, plumber’s tape, a basin wrench, and a screwdriver for faucet maintenance. Keep a bucket nearby for leaks. These tools help you tighten connections, replace washers, and fix minor drips easily.
How Often Should I Replace My Kitchen Faucet for Optimal Performance?
You should replace your kitchen faucet every 10 to 15 years for maximum performance. If you notice leaks, corrosion, or reduced water flow sooner, don’t wait—upgrading can save you hassle and water waste.
Regular maintenance and timely replacement ensure your kitchen remains efficient and hygienic. Keep an eye on any signs of wear to avoid unexpected issues. A well-functioning faucet contributes to a better cooking and cleaning experience.
Conclusion
Now that you’ve installed your kitchen faucet in just seven easy steps, you’re as ready as a chef in a well-stocked kitchen. Like a seasoned captain steering through calm seas, you’ve navigated each stage with care and precision.
Remember, a little patience and attention to detail can turn any DIY project from intimidating to doable. Installing a kitchen faucet may seem challenging, but with the right approach, it becomes manageable and rewarding.
So, enjoy your new faucet—it’s the perfect finishing touch to your kitchen’s masterpiece. A properly installed kitchen faucet not only enhances your kitchen’s functionality but also adds style and convenience to your daily routine.