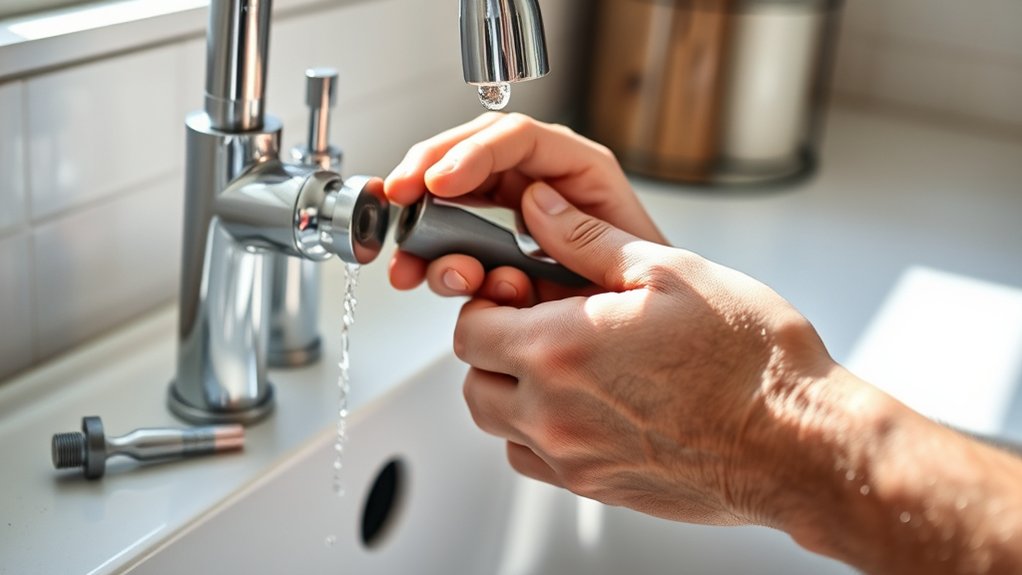
How Do You Stop a Faucet From Dripping in 7 Easy Steps?
To stop a faucet from dripping, it’s important to first identify your faucet type—whether it’s compression, cartridge, ball, or ceramic disk. Understanding the type helps you gather the right tools and replacement parts needed for the repair, such as screwdrivers and washers.
Next, turn off the water supply completely to prevent any leaks during the repair process. Carefully remove the handle to access the internal components.
Replace any worn washers or seals that are causing the drip.
Tighten the valve stem as needed to ensure a secure fit.
Finally, turn the water back on and test the faucet for leaks. If the faucet still drips, you can make simple adjustments to guarantee a proper fix and stop the dripping permanently.
Key Takeaways
- Identify your faucet type to determine the correct repair method, such as compression, cartridge, ball, or ceramic disk.
- Turn off the main water supply and open the faucet to ensure no water flows before starting repairs.
- Remove the faucet handle by unscrewing and lifting it carefully to access internal components.
- Replace worn washers, O-rings, or seals with matching new parts to stop dripping.
- Reassemble the faucet securely, turn on water, and test for leaks, tightening connections if necessary.
Know Your Faucet Type
How can you fix a dripping faucet without knowing its type? You can’t, really. Identifying your faucet type is the first step to stopping that annoying drip.
There are four common types: compression, cartridge, ball, and ceramic disk. Compression faucets have separate handles for hot and cold water, and they drip when worn-out washers fail. Cartridge faucets feature a movable stem cartridge inside, which controls water flow.
Ball faucets use a single handle with a ball bearing inside to manage water temperature and flow. Ceramic disk faucets have a single lever over a wide cylindrical body, using two ceramic disks to regulate water. Knowing which one you have helps you target the right repair method and parts, saving time and frustration.
Gather Tools for the Repair
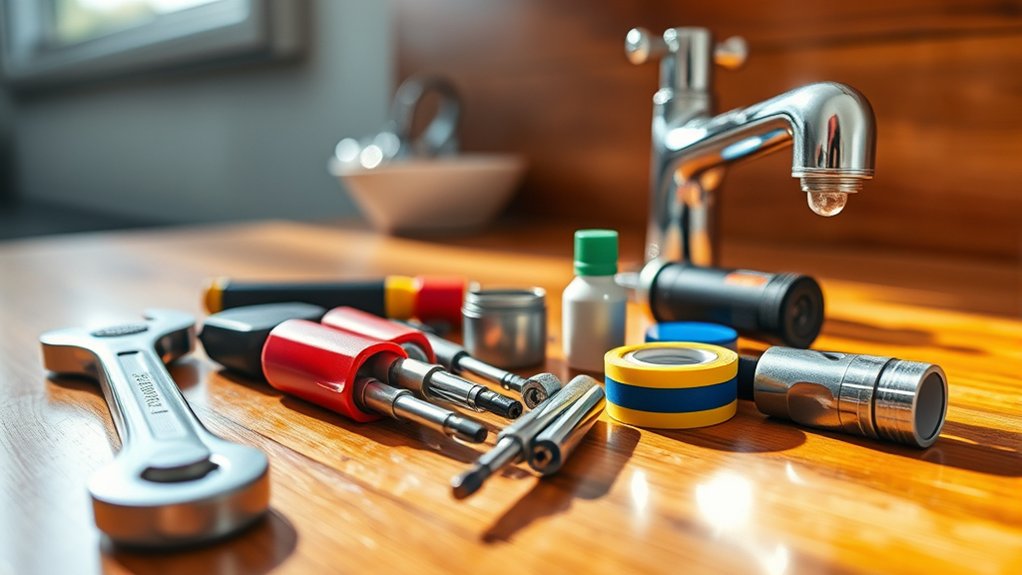
Before you start fixing your faucet, make sure you have the essential tools like a wrench, screwdriver, and replacement washers ready. Clear your workspace to keep everything organized and avoid losing small parts.
Having a clean, well-lit area will make the repair smoother and faster.
Essential Tools Needed
What tools do you need to fix a dripping faucet quickly and efficiently? Having the right tools on hand makes the process smoother and prevents unnecessary frustration.
Before you start, gather these essential items to tackle the repair confidently:
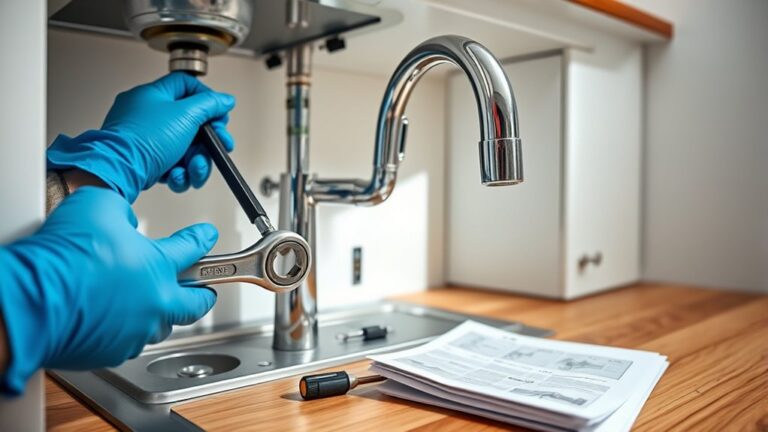
- Adjustable wrench: Perfect for loosening and tightening nuts without damaging fixtures.
- Screwdrivers (flathead and Phillips): Needed to remove screws from faucet handles and other parts.
- Replacement washers and O-rings: These small parts often cause drips and need swapping out.
With these tools ready, you’ll be set to handle most dripping faucet repairs without a hitch. Make sure everything is within reach before diving in—it’ll save you time and hassle during the fix.
Preparing Your Workspace
Once you’ve gathered your tools, set up a clean, well-lit workspace near the faucet to keep everything organized and within easy reach. Clear the area around the sink to avoid losing small parts like screws or washers. Lay down a towel or a shallow container to catch any drips or debris during the repair.
Make sure you have enough space to comfortably work without straining yourself. Good lighting is essential; use a portable lamp if necessary to see inside the faucet clearly. Keep your tools arranged logically—group wrenches, screwdrivers, and replacement parts separately.
This preparation saves time and frustration, letting you focus on fixing the drip efficiently. With your workspace ready, you’ll be set to tackle the repair step by step.
Turn Off Water Before You Begin
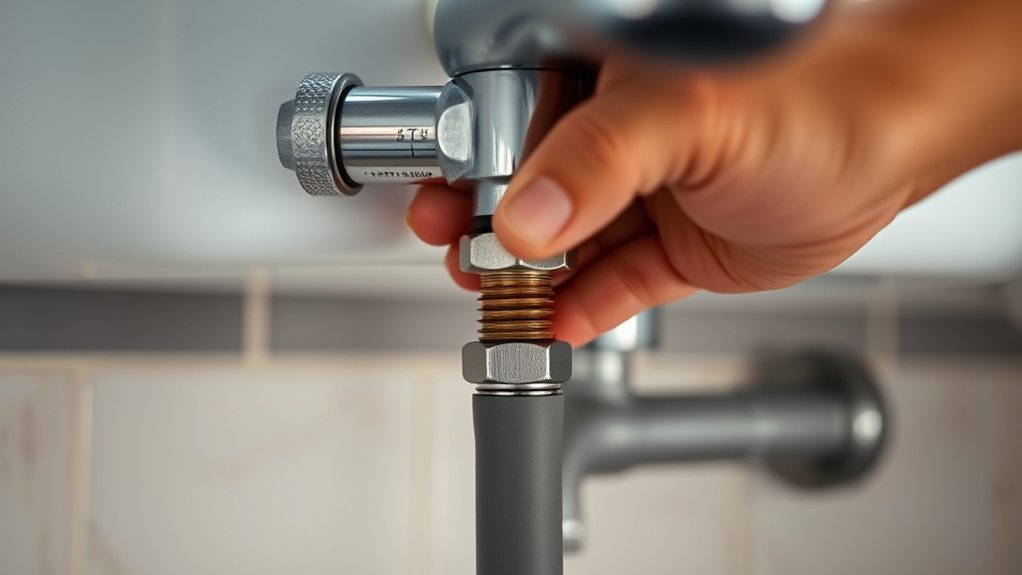
Before you start fixing the faucet, find your main water valve and turn it off to stop the flow. Once it’s off, double-check by opening a faucet to make sure no water comes out.
This step is essential to avoid any mess or damage while you work.
Locate Main Water Valve
Because water continues to flow when the faucet is dripping, you’ll need to locate and turn off the main water valve to stop the supply before starting any repairs. Knowing where this valve is can save you from a bigger mess.
Here’s where to look:
- Inside your home: Check near the water meter, often in the basement, crawl space, or utility room.
- Outside your home: Look for a valve near the foundation or by the street in a covered box.
- For apartments: Main valves are usually in a shared utility area or near the unit’s entry.
Once you find the valve, turn it clockwise to shut off the water. This guarantees no more water flows while you fix your dripping faucet.
Verify Water Is Off
Although you’ve turned off the main water valve, you’ll want to double-check that the water is truly off before starting any repairs. Open the faucet you plan to fix and watch for any signs of water flow. If water still drips or flows, the valve may not be fully closed or there might be a secondary shutoff valve you missed.
In that case, locate and shut off any local valves near the faucet. You can also check other faucets in your home to confirm no water is running. Ensuring the water is completely off prevents leaks and water damage while you work.
Taking this simple step saves you time and frustration, making the repair process smoother and safer.
Remove the Faucet Handle
Once you’ve gathered your tools, you’ll need to remove the faucet handle to access the internal parts causing the drip. Start by locating the screw that holds the handle in place; it’s often hidden under a decorative cap. Carefully pry off the cap with a flathead screwdriver.
Next, use the appropriate screwdriver or Allen wrench to unscrew the handle. If the handle feels stuck, gently wiggle it or apply a little penetrating oil to loosen it.
Here’s how to remove the handle efficiently:
- Identify and remove any decorative caps covering screws
- Unscrew the handle using the correct tool
- Gently pull the handle off, avoiding damage to the faucet
With the handle off, you’re ready to inspect the faucet’s inner parts.
Replace Worn Washers or Seals
To stop your faucet from dripping, you’ll need to replace any worn washers or seals inside the valve. These small components create a tight seal that prevents water from leaking when the faucet is off. Over time, washers and seals can become brittle or damaged, causing drips.
First, remove the old washer or seal carefully. Check for cracks, flattening, or other signs of wear. Take the worn part to a hardware store to find an exact replacement.
Once you have the new washer or seal, fit it snugly into place, ensuring it sits properly without twisting. Reassemble the faucet handle afterward. Replacing these parts often solves the dripping problem quickly, saving you from wasting water and preventing further faucet damage.
Tighten or Adjust the Valve Stem
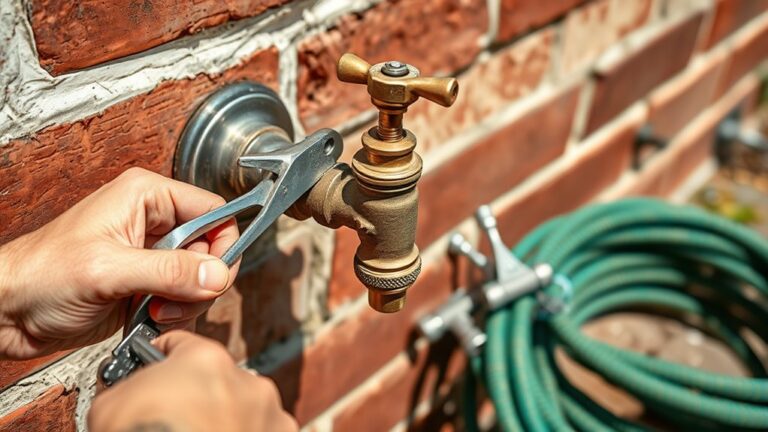
Replacing worn washers or seals often stops faucet drips, but if the leak persists, you might need to tighten or adjust the valve stem. The valve stem controls water flow, and if it’s loose or misaligned, drips can continue. To fix this, first remove the handle and use a wrench to gently tighten the packing nut around the valve stem.
Tighten or adjust the valve stem to stop persistent faucet drips after replacing washers or seals.
Be careful not to overtighten, as this can cause damage. If tightening doesn’t help, adjusting the stem by turning it slightly can improve the seal and stop the drip.
Keep these tips in mind:
- Use the right-sized wrench to avoid stripping the nut.
- Tighten gradually, testing the faucet after each turn.
- If the stem feels stuck, apply a little penetrating oil before adjusting.
Test Your Faucet for Leaks and Reassemble
Before you put everything back together, you’ll want to check for leaks by turning the water supply back on and watching the faucet closely. Open and close the faucet a few times to see if any water drips or sprays from the valve stem or other areas. If you spot leaks, tighten connections or recheck the washer installation.
Once you’re sure there are no leaks, turn the water supply off again. Carefully reassemble the faucet parts in the reverse order you removed them. Make sure each component fits snugly without forcing anything.
Finally, turn the water supply back on and test the faucet one more time to confirm the dripping stopped. This thorough check helps verify your faucet functions properly without wasting water.
Frequently Asked Questions
Can a Dripping Faucet Increase My Water Bill Significantly?
Yes, a dripping faucet can increase your water bill noticeably over time. Even small drips waste gallons daily, adding up to higher costs.
Fixing it quickly helps you save money and conserve water efficiently.
Is It Safe to Use DIY Kits for Faucet Repairs?
Using DIY kits for faucet repairs is generally safe if you follow instructions carefully. Don’t bite off more than you can chew—some issues need a pro’s touch to avoid causing bigger problems or leaks.
How Often Should Faucet Washers Be Replaced Proactively?
You should replace faucet washers every 1 to 2 years proactively. This helps prevent leaks and dripping.
If you notice any wear or stiffness sooner, don’t wait—swap them out to keep your faucet working smoothly.
Can Hard Water Cause Faucets to Drip More Frequently?
Yes, hard water can cause faucets to drip more frequently. Its mineral buildup wears down washers and seals faster, leading to leaks. You’ll want to clean or replace parts sooner to keep your faucet working smoothly.
When Should I Call a Professional Plumber for a Dripping Faucet?
You should call a professional plumber if the dripping persists after your attempts, worsens, or causes water damage.
Also, reach out if you notice low water pressure, strange noises, or if the faucet is old and parts are hard to find.
Conclusion
Stopping a dripping faucet is like tuning a delicate instrument—you need precision and care. By knowing your faucet type, gathering the right tools, and turning off the water, you set the stage for a smooth repair. Removing the handle comes next, giving you access to the inner parts.
Next, replace worn washers or seals to eliminate leaks. Tightening the valve stem ensures everything is secure. Finally, testing for leaks confirms your fix.
With a little patience and these simple steps, you’ll stop that annoying drip in no time. You’ll restore harmony to your home’s plumbing and save water effortlessly. Following this guide on how to stop a faucet from dripping will help you maintain a leak-free sink and reduce water waste effectively.