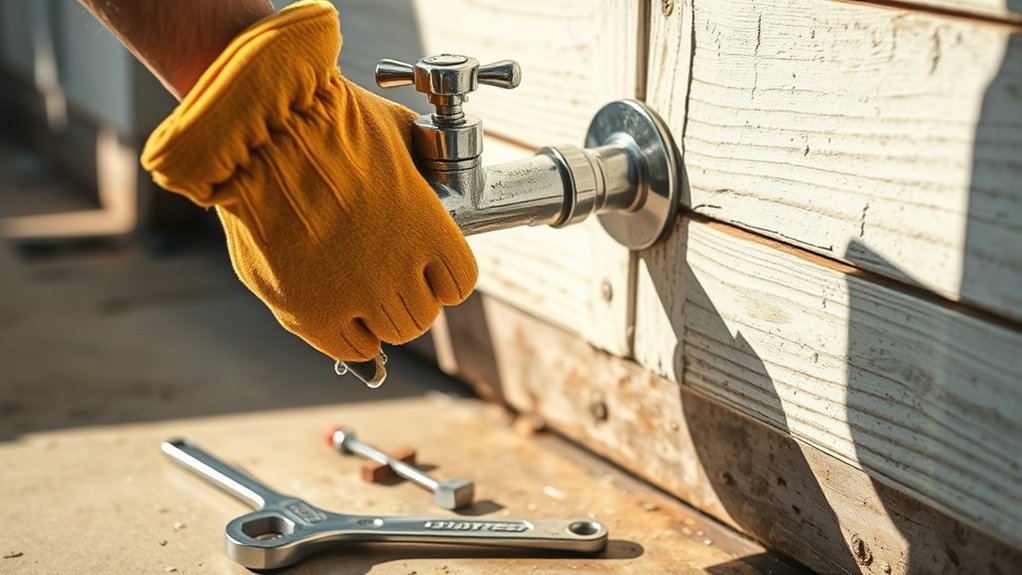
How to Repair an Outside Faucet in 7 Easy Steps
To repair an outside faucet in 7 easy steps, start by identifying your faucet type to ensure you get the right replacement parts. Gather essential tools such as wrenches, screwdrivers, and replacement washers or O-rings before beginning the repair process.
Knowing how to fix a leaking outdoor faucet can save you time and prevent water waste.
Next, turn off the indoor water supply and drain the faucet by opening it fully. Remove the handle carefully to inspect for any visible damage or wear.
Replace worn washers or cartridges as needed to restore proper function.
Finally, reassemble the faucet securely, turn the water back on, and check for any leaks.
Keep following along to uncover useful tips for common outdoor faucet fixes and maintenance.
Key Takeaways
- Identify the faucet type by handle style and length to ensure correct parts and repair approach.
- Turn off the indoor water supply and fully open the outdoor faucet to drain remaining water.
- Remove the handle by unscrewing it after prying off any decorative cap for inspection.
- Replace worn washers, O-rings, or valve stems, noting orientation for proper reassembly.
- Reassemble the faucet, tighten all parts securely, then slowly restore water and check for leaks.
Identify Your Outdoor Faucet Type
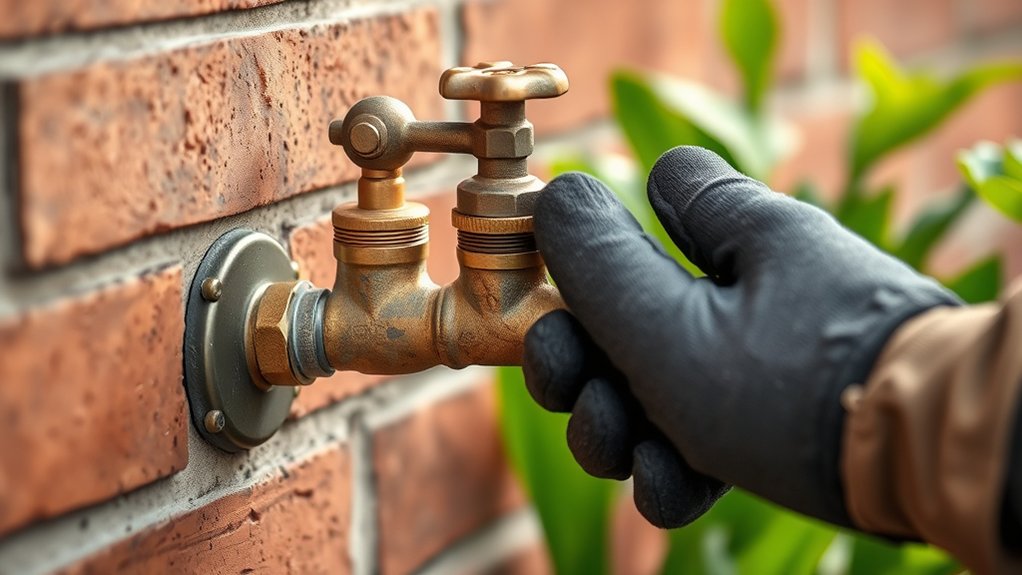
Before you begin any repairs, you need to identify what type of outdoor faucet you have. Most outdoor faucets fall into a few common categories: compression, ball valve, or frost-free. Look closely at the handle—compression faucets usually have a round knob, while ball valves often feature a lever handle.
Frost-free faucets extend deeper into the wall to prevent freezing, so they’ll be longer than standard ones. Knowing your faucet type helps you understand how it works and which parts you might need to fix. Take note of any visible brand names or model numbers, as these can guide you when searching for replacement parts.
Identifying your faucet precisely saves you time and avoids unnecessary purchases during repair.
Gather Tools and Materials for Outdoor Faucet Repair
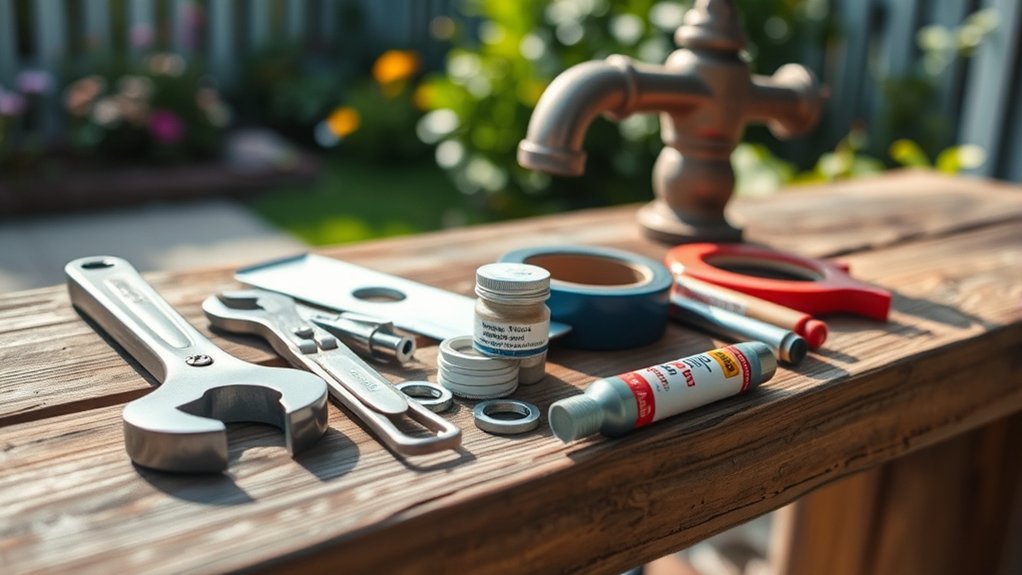
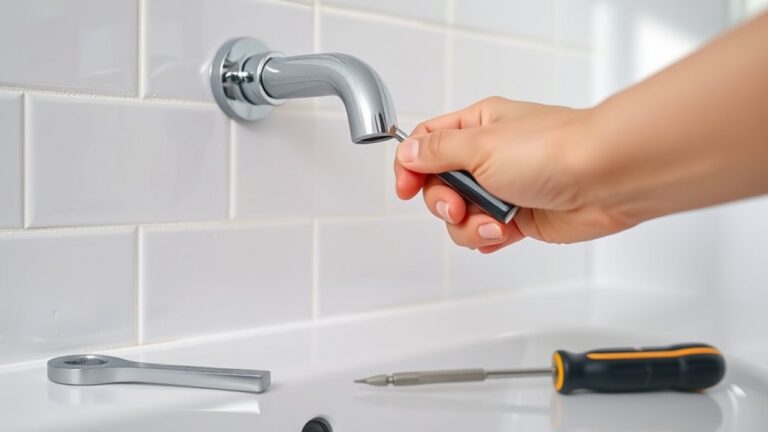
Before you start fixing your outdoor faucet, make sure you have the essential tools like a wrench, screwdriver, and plumber’s tape ready. You’ll also need repair materials such as replacement washers or valves, depending on the issue.
Having everything on hand will make the repair process smoother and faster.
Essential Tools Checklist
Although outdoor faucet repairs can vary in complexity, having the right tools on hand makes the job much smoother. Before you start, gather the essential tools to prevent interruptions during your repair.
Here’s a quick checklist to help you prepare:
- Adjustable wrench – Perfect for loosening and tightening faucet nuts without damaging them.
- Screwdriver set – Both flathead and Phillips screwdrivers are necessary for removing and securing screws.
- Pipe wrench or pliers – Useful for gripping and turning stubborn parts that won’t budge with a standard wrench.
With these tools ready, you’ll be well-equipped to handle most common outdoor faucet repairs efficiently and safely. Keep them close as you proceed to ensure a smooth workflow.
Required Repair Materials
Since having the right materials on hand is just as important as the tools, you’ll want to gather all necessary replacement parts and supplies before starting your outdoor faucet repair. Common materials include faucet washers, O-rings, and packing nuts, which often wear out and cause leaks.
You might also need plumber’s tape to guarantee a tight seal on threaded connections and pipe joint compound for added protection. If your faucet handle is damaged, have a replacement handle ready.
In some cases, a new valve stem or cartridge may be required, so check your faucet model before purchasing. Having these materials on hand will save you time and prevent multiple trips to the store, making your repair process smoother and more efficient.
Turn Off Water and Drain the Faucet
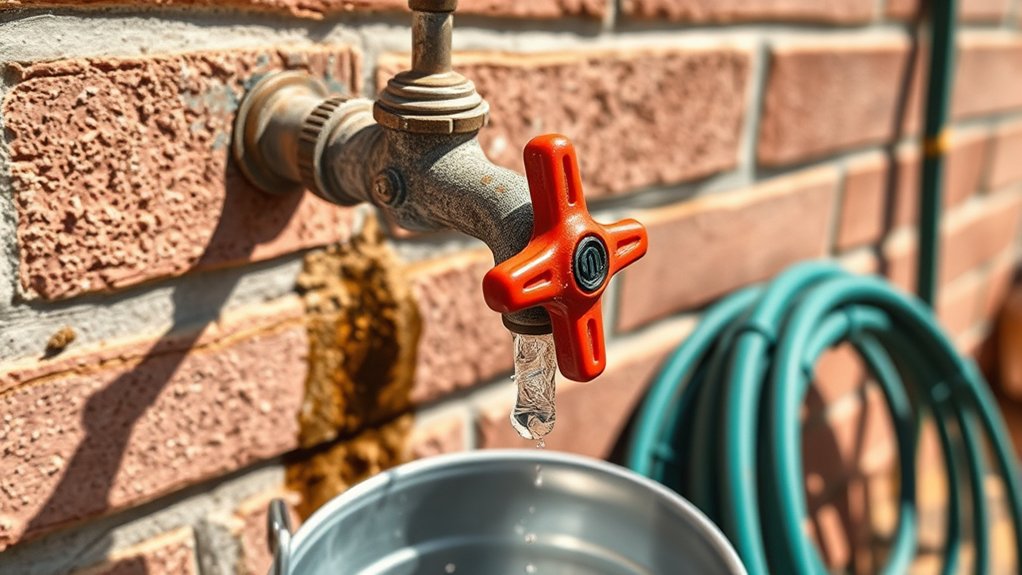
To prevent water damage and make repairs easier, you’ll need to shut off the main water supply feeding the outside faucet. Locate the indoor shut-off valve, usually found near your water meter or where the pipe exits the foundation. Once you turn it off, relieve pressure by opening the outside faucet fully.
Next, drain any remaining water to avoid leaks during repairs.
Follow these steps:
- Turn off the indoor valve controlling the outdoor faucet’s water supply.
- Open the outside faucet completely to drain residual water.
- Leave the faucet open while working to prevent pressure buildup.
Completing these steps ensures a dry, safe workspace, minimizing complications during your repair process.
Remove Faucet Handle and Inspect for Damage
Before you can fix the faucet, you’ll need to remove the handle to access its internal parts. Start by locating the screw holding the handle in place, often hidden under a decorative cap. Pry off the cap carefully with a flathead screwdriver.
Use a Phillips or flathead screwdriver to unscrew and lift the handle off the faucet stem. Once removed, inspect the handle for cracks, corrosion, or stripped threads that could affect its function. Check the faucet stem for visible damage or mineral buildup, which might indicate deeper issues.
If you spot any obvious wear or broken components, note them down. This inspection helps you decide whether you need specific replacement parts or further repairs before reassembling the faucet.
Replace Washers or Cartridges to Fix Leaks
After removing and inspecting the faucet handle, you can focus on replacing the washers or cartridges that often cause leaks. First, identify the type of faucet you have—compression or cartridge—as this determines the part you’ll replace.
Start by removing the faucet handle and identifying whether it’s a compression or cartridge type.
Then, follow these steps:
- Remove the old washer or cartridge carefully, noting its orientation.
- Take the part to a hardware store to find an exact match or consult the faucet’s manual.
- Install the new washer or cartridge securely, ensuring it fits snugly to prevent leaks.
Replacing these parts is usually straightforward and can save you from costly plumbing repairs. Remember, using the correct replacement and handling parts gently are key to stopping leaks effectively.
Reassemble the Faucet and Test Its Function
Once you’ve replaced the washers or cartridges, you’ll want to carefully reassemble the faucet to make sure everything fits back properly. Start by placing the stem back into the faucet body, aligning it so the handle turns smoothly. Secure it with the packing nut, tightening it just enough to prevent leaks but not so much that it restricts movement.
Next, reattach the handle and tighten its screw. Finally, screw the bonnet nut back on, ensuring a snug fit. Turn the water supply back on slowly and open the faucet to check for leaks or drips.
Watch for steady water flow and confirm the handle operates without resistance. If everything works smoothly, you’ve successfully completed the reassembly and testing process.
Troubleshoot Common Outdoor Faucet Problems
Why is your outdoor faucet still leaking or not working right despite your repairs? It’s often due to overlooked issues. To troubleshoot effectively, check these common problems:
If your outdoor faucet still leaks after repairs, common overlooked issues might be the cause.
- Worn Washer or O-Ring: These small parts wear out quickly, causing leaks. Replace them if you see water dripping.
- Loose Packing Nut: If the faucet handle leaks when turned on, tightening the packing nut usually stops the drip.
- Frozen or Damaged Pipes: In colder months, frozen pipes can crack, leading to leaks or no water flow. Inspect pipes for damage and insulation.
Frequently Asked Questions
How Often Should I Maintain My Outdoor Faucet?
You should maintain your outdoor faucet at least twice a year—once before winter to prevent freezing and once in spring to check for leaks.
Regular upkeep helps you avoid costly repairs and keeps everything working smoothly.
Can I Insulate My Outdoor Faucet for Winter?
You can insulate your outdoor faucet for winter to prevent freezing, reducing burst pipe risks by up to 80%.
Just wrap it with foam insulation or use a faucet cover, and you’ll protect your plumbing effectively.
What Type of Faucet Is Best for Extreme Climates?
You’ll want a frost-free or freeze-proof faucet for extreme climates. These faucets keep water away from the cold exterior wall, preventing freezing and bursting.
They’re durable, reliable, and designed specifically to handle harsh winter conditions.
How Do I Prevent My Outdoor Faucet From Freezing?
You can prevent your outdoor faucet from freezing by installing an insulated cover, shutting off the water supply to the faucet in winter, and draining any remaining water.
These steps keep pipes safe during cold snaps.
Is It Safe to Use a Garden Hose With a Damaged Faucet?
No, it’s not safe to use a garden hose with a damaged faucet. You risk leaks, water waste, and possible flooding.
Fix the faucet first to avoid bigger problems and keep your outdoor plumbing secure.
Conclusion
Now that you’ve tackled your outdoor faucet repair step by step, you’ve turned a dripping nuisance into a smoothly flowing stream. With the right tools and a little patience, fixing leaks and replacing washers isn’t as intimidating as it seems.
Remember, a well-maintained faucet saves water and headaches alike. Keep this guide handy, and you’ll always have the power to stop leaks before they become floods. Your outdoor faucet repair skills will ensure your home stays dry and efficient.
By following these simple steps, you can easily fix a leaking outdoor faucet and prevent costly water waste. Maintaining your outdoor faucet is key to prolonging its life and avoiding plumbing issues. Your outdoor faucet will thank you!