How to Make a Vacuum Chamber in 10 Easy Steps
To make a vacuum chamber in 10 easy steps, start by choosing a strong, airtight container like thick glass or metal. Selecting the right vacuum chamber materials is essential for durability and effective sealing. Prepare and clean all sealing surfaces thoroughly to ensure a perfect airtight fit.
Next, apply vacuum-compatible sealant carefully to prevent air leaks. Attach vacuum tubing securely and check for leaks using soapy water or other reliable methods. Connect a vacuum gauge and pump to remove air gradually, monitoring pressure closely throughout the process.
Always follow safety procedures and maintain equipment properly to ensure safe operation. Keep going, and you’ll discover detailed tips to build and operate your chamber confidently and efficiently.
Key Takeaways
- Select a strong, airtight container made of glass, acrylic, or metal suitable for withstanding pressure differences.
- Clean and prepare sealing surfaces, then apply vacuum-compatible sealant or grease for an airtight lid seal.
- Use vacuum-rated tubing and secure all connections to prevent leaks during evacuation.
- Attach a compatible vacuum gauge and connect the vacuum pump to monitor and reach desired pressure levels.
- Perform leak testing, follow safety precautions, and maintain equipment regularly for reliable vacuum operation.
What Is a Vacuum Chamber and Why Build One?
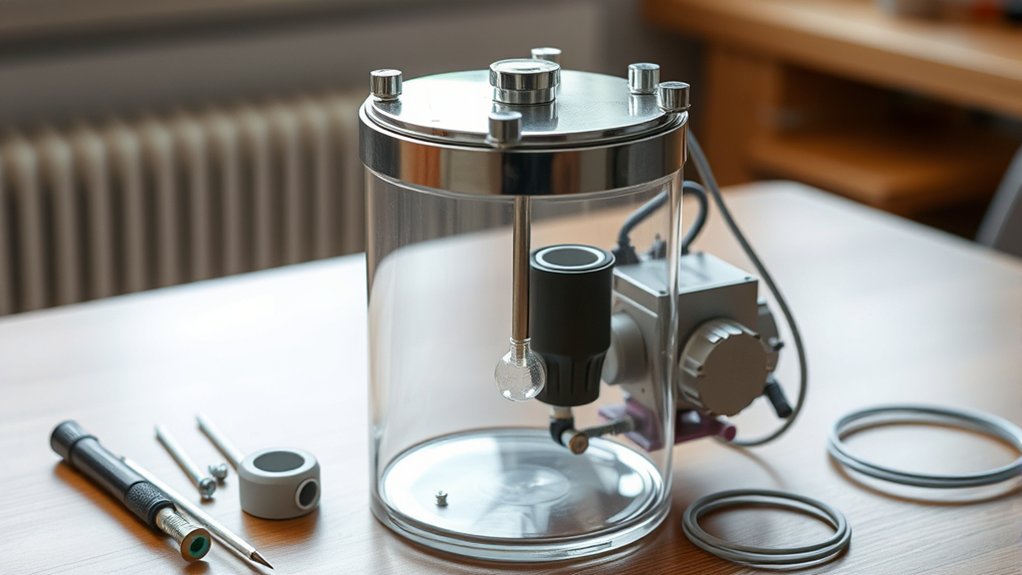
What exactly is a vacuum chamber, and why would you want to build one? A vacuum chamber is a sealed container that removes air and gases to create a low-pressure environment. You’d build one to simulate space-like conditions, test materials, or even preserve delicate objects.
It’s perfect for experiments where air interference affects results, like drying electronics or testing leaks. By eliminating air, you reduce oxidation and moisture, which can be critical for certain processes. Whether you’re a hobbyist, engineer, or scientist, having a vacuum chamber lets you control the environment precisely.
You can explore physics principles or improve product durability. Building your own gives you flexibility and understanding that buying one can’t match. It’s a practical tool with wide applications in research, manufacturing, and education.
Gather Essential Tools and Materials
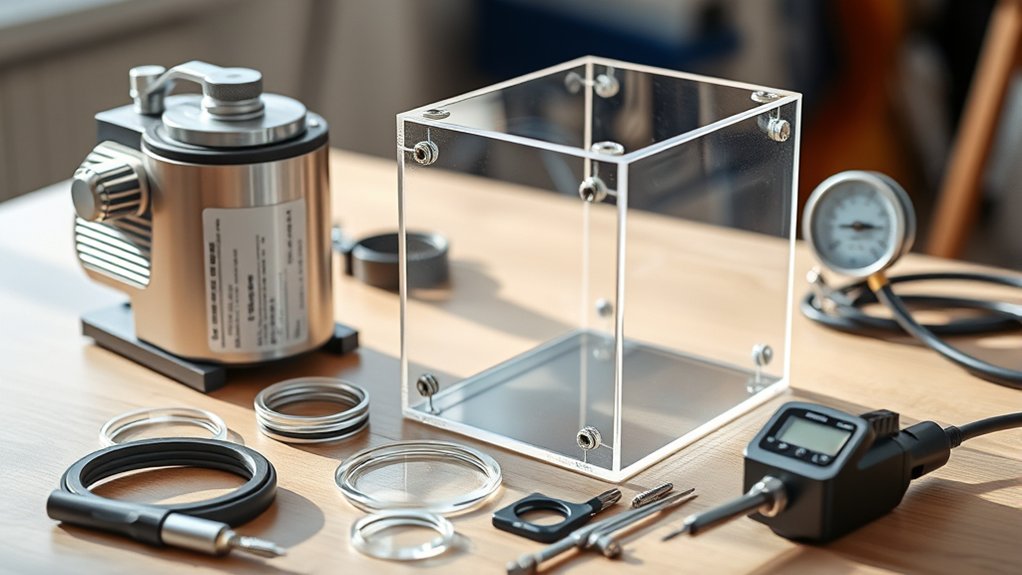
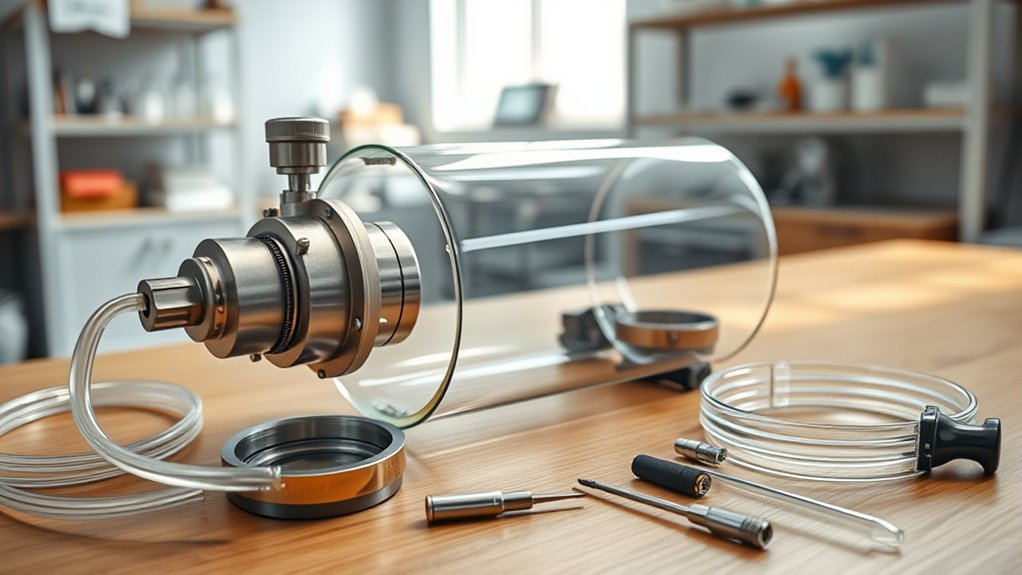
Building your own vacuum chamber means gathering the right tools and materials to guarantee a reliable, airtight setup. Start with a vacuum pump capable of creating sufficient suction to remove air inside the chamber. You’ll also need vacuum grease or sealant to ensure airtight seals around joints and fittings.
Get vacuum-rated hoses to connect your pump to the chamber securely. Don’t forget a pressure gauge to monitor the vacuum level accurately. Depending on your design, you might need fittings like valves, connectors, and adapters.
Basic hand tools such as screwdrivers, wrenches, and pliers will help with assembly. Safety gear like gloves and goggles is essential to protect yourself during construction. Having these essentials ready will make the building process smoother and more effective.
Choose the Right Container for Your Vacuum Chamber
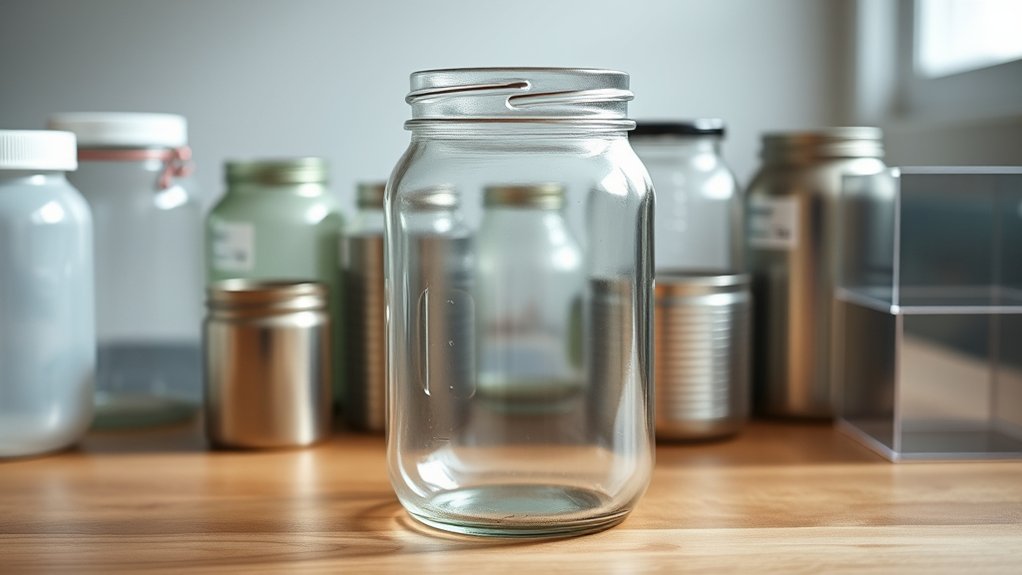
Where will you house your vacuum chamber? Choosing the right container is essential for a successful build. Your container must withstand pressure differences and create a reliable seal.
Consider these factors when selecting:
Keep these key factors in mind when choosing the perfect container for your vacuum chamber build.
- Material strength: Opt for thick glass, acrylic, or metal to resist implosion.
- Size and shape: Make sure it fits your workspace and intended use.
- Seal compatibility: Check if the container’s lid or opening can be sealed effectively.
- Transparency: Choose clear materials if you need to observe the vacuum process.
Prepare and Seal Your Vacuum Chamber
Now that you’ve chosen your container, it’s time to prepare and seal your vacuum chamber properly. Focus on selecting materials that can withstand pressure and guarantee airtight seals to keep the vacuum intact.
Don’t forget to clean and prep the chamber surface for the best results.
Choosing Vacuum Chamber Materials
How do you select the right materials to prepare and seal your vacuum chamber effectively? You want materials that withstand pressure differences and prevent leaks while being durable and compatible with your setup. Focus on materials that maintain integrity under vacuum conditions and resist corrosion.
Consider these key points when choosing materials:
- Chamber Body: Use stainless steel or thick acrylic for strength and visibility.
- Seals and Gaskets: Opt for silicone or Viton rubber for flexibility and airtightness.
- Fasteners: Choose stainless steel screws or clamps to avoid rust and maintain tightness.
- Window Material: Pick tempered glass or polycarbonate for durability and clear observation.
Ensuring Airtight Seals
Why is guaranteeing airtight seals essential when preparing your vacuum chamber? Without airtight seals, your chamber won’t maintain the vacuum, leading to leaks and ineffective operation. You need to carefully inspect all joints, connections, and openings to ensure they’re tight.
Use high-quality gaskets or O-rings made from materials compatible with your chamber’s conditions. Apply a thin, even layer of vacuum grease to improve sealing without contaminating the interior. When assembling, tighten bolts or clamps evenly to avoid uneven pressure that can cause leaks.
After sealing, perform a leak test using a vacuum gauge or a soapy water solution to spot escaping air bubbles. Fix any leaks immediately to maintain the integrity and performance of your vacuum chamber.
Preparing Chamber Surface
Where should you start when preparing the surface of your vacuum chamber? Begin by thoroughly cleaning it to remove dust, grease, and any residues that could compromise the seal. You want the surface smooth and spotless for the best results.
Next, inspect the chamber for scratches or dents, as imperfections can lead to leaks. Lightly sanding rough areas helps create an even surface, but avoid overdoing it. Finally, apply a thin layer of vacuum-compatible sealant or grease to improve sealing.
Focus on these steps:
- Clean with isopropyl alcohol or a suitable solvent
- Inspect for surface damage and repair if needed
- Sand uneven spots gently to smooth the surface
- Apply a vacuum-safe lubricant or sealant evenly
This preparation guarantees a reliable, airtight vacuum chamber.
Test for Leaks and Seal Your Vacuum Chamber
Now that your vacuum chamber is assembled, you need to test for leaks to guarantee it holds pressure. Use methods like soapy water or a vacuum gauge to spot any weak points.
Once you find leaks, apply effective sealing techniques like gasket replacement or silicone sealant to fix them.
Leak Detection Methods
Before you finalize your vacuum chamber, you’ll need to test for leaks to guarantee it holds a proper seal. Detecting leaks early prevents vacuum failure and protects your project. You can use several effective methods to spot any weak points:
- Soap Bubble Test: Apply soapy water around joints and watch for bubbles forming under vacuum pressure.
- Ultrasonic Leak Detector: Use this device to listen for high-frequency sounds produced by escaping air.
- Helium Leak Detection: Introduce helium around the chamber and monitor with a helium detector for pinpoint accuracy.
- Vacuum Gauge Monitoring: Observe if the vacuum level drops unexpectedly over time, indicating a leak.
These techniques help you locate leaks precisely before moving on to sealing your vacuum chamber.
Effective Sealing Techniques
Once you’ve identified any leaks, you’ll want to apply the right sealing techniques to guarantee your vacuum chamber maintains a strong, airtight seal. Start by cleaning the sealing surfaces thoroughly; dirt or grease can compromise the seal. Use high-quality vacuum grease or silicone-based sealants designed for vacuum applications to fill gaps.
If your chamber uses O-rings, ensure they are free from cracks and fit snugly in their grooves. Tighten clamps or bolts evenly to avoid warping the sealing surface. For permanent seals, consider epoxy resin, but remember it’s less forgiving for future maintenance.
After sealing, retest for leaks using a vacuum gauge or soapy water to catch any missed spots. Proper sealing prevents air ingress and keeps your vacuum chamber functioning reliably.
Connect Tubing Between Vacuum Pump and Chamber
Although it might seem straightforward, connecting the tubing between your vacuum pump and chamber requires careful attention to guarantee an airtight seal. Start by selecting tubing that fits snugly over both the pump’s outlet and the chamber’s inlet. Use clamps or hose clips to secure the tubing firmly, preventing any air leaks.
Connecting tubing between your vacuum pump and chamber demands careful sealing to prevent air leaks.
Inspect the tubing for cracks or damage before installation, as even minor defects can compromise the vacuum. Finally, position the tubing carefully to avoid kinks or sharp bends that could restrict airflow.
- Choose tubing material compatible with the vacuum environment
- Ensure tubing diameter matches pump and chamber fittings
- Tighten clamps evenly to avoid deforming the tubing
- Rout tubing away from heat sources and sharp edges
These steps help maintain vacuum integrity and optimize pump performance.
Attach a Vacuum Gauge to Your Vacuum Chamber
You’ll need to pick the right vacuum gauge based on the pressure range you want to measure. Make certain to place the gauge where it can accurately read the chamber’s pressure without interference.
Finally, connect the gauge securely to prevent leaks and ensure reliable readings.
Choosing The Right Gauge
How do you know if your vacuum chamber is performing properly without the right gauge? Choosing the right vacuum gauge is essential to accurately monitor pressure levels inside your chamber. You’ll want a gauge that matches your vacuum range and application needs.
Consider these factors:
- Pressure range: Make sure the gauge covers your chamber’s expected vacuum levels.
- Accuracy: Higher accuracy ensures you can trust the readings.
- Type: Common types include mechanical, digital, Pirani, and ion gauges.
- Compatibility: Ensure the gauge fits your chamber’s port and works with your system’s materials.
Selecting the proper gauge helps you maintain consistent vacuum conditions and protects your equipment from damage caused by improper pressure monitoring. Take your time choosing—it’s a key step in building an effective vacuum chamber.
Proper Gauge Placement
When attaching a vacuum gauge to your chamber, placing it correctly guarantees accurate pressure readings. Position the gauge at a point where it can measure the true vacuum level without interference. Ideally, mount it near the chamber’s main body, away from bends or narrow tubes that might cause pressure drops.
Avoid placing the gauge too close to the vacuum pump, as this can lead to fluctuating readings. Also, make certain the gauge is accessible for easy monitoring but protected from physical damage. Keep the connection point clean and free of debris to prevent leaks or false readings.
Connecting Gauge Securely
Although proper placement is essential, securing the vacuum gauge firmly guarantees accurate and stable pressure readings. To connect your gauge securely, first verify the mounting surface is clean and free of debris. Use the correct gasket or O-ring to create an airtight seal.
Tighten fittings by hand initially, then use a wrench to snug them without over-tightening, which can damage threads or seals. Finally, double-check connections for leaks using a soap solution or leak detector.
Keep these tips in mind:
- Choose compatible fittings and gauge adapters for your chamber.
- Avoid cross-threading by aligning threads carefully before tightening.
- Use thread sealant or tape if recommended by the gauge manufacturer.
Regularly inspect and maintain fittings to ensure long-term reliability.
These steps help maintain your vacuum chamber’s efficiency and accuracy.
Use the Vacuum Pump to Remove Air
Why is removing air from the chamber so essential? Removing air creates a low-pressure environment inside the chamber, which is vital for many experiments and processes. To do this, connect your vacuum pump to the chamber’s valve securely.
Turn on the pump and watch the pressure gauge closely. As the pump runs, it’ll draw the air out, lowering the pressure inside. Keep an eye on the gauge to know when you’ve reached the desired vacuum level.
Avoid opening the valve during this step, or air will rush back in. Once you hit the right pressure, you can turn off the pump and seal the valve to maintain the vacuum. This step prepares your chamber for whatever task you need it for.
Safely Use and Maintain Your Vacuum Chamber
Once you’ve achieved the desired vacuum level and sealed the chamber, it’s important to handle and maintain it properly to guarantee safety and prolong its lifespan. Always wear safety goggles and gloves to protect yourself from accidental implosions or chemical exposure.
Regularly inspect the chamber for cracks or wear, especially around seals and windows. Keep the vacuum pump clean and oil it as recommended to assure efficient operation. Store the chamber in a dry, cool place to prevent corrosion and material degradation.
- Avoid rapid pressure changes to prevent structural stress.
- Use only compatible materials inside the chamber.
- Clean the chamber interior gently after each use.
- Follow manufacturer instructions for maintenance schedules.
Troubleshoot Common Vacuum Chamber Issues
If you notice your vacuum chamber isn’t holding pressure or the pump sounds unusual, you’ll want to address these issues quickly to avoid damage and maintain performance. First, check all seals and gaskets for cracks or debris—they’re the most common cause of leaks. Tighten any loose fittings, but don’t overtighten and risk damage.
Inspect the vacuum pump oil; cloudy or low oil can reduce efficiency. Listen for unusual noises that might indicate worn pump components. If the chamber fails to reach the desired vacuum level, verify your gauge is functioning properly.
Also, ensure the chamber lid is aligned correctly before sealing. By systematically checking these areas, you’ll quickly identify problems and keep your vacuum chamber running smoothly.
Frequently Asked Questions
What Are the Best Vacuum Pumps for Different Budget Levels?
For tight budgets, you’ll want a hand pump or small diaphragm pump. Mid-range, a rotary vane pump works well.
If you can invest more, consider a diffusion or turbomolecular pump for stronger, faster vacuum creation.
How Long Does It Take to Achieve a Full Vacuum?
It usually takes minutes to hours to achieve a full vacuum, depending on your pump’s power, chamber size, and leak tightness.
You’ll notice faster results with a stronger pump and smaller, well-sealed chambers.
Can a Vacuum Chamber Be Used for Food Preservation?
Yes, you can use a vacuum chamber for food preservation. It removes air, slowing spoilage and extending shelf life.
Just make sure you properly seal the food and maintain the vacuum to keep it fresh longer.
What Safety Precautions Are Needed for High Vacuum Levels?
To tackle high vacuum hazards, you’ll want to wear well-fitting wearables, watch for weak walls, and work with warning warnings.
Always avoid abrupt actions, and guarantee emergency equipment is easily accessible for swift, safe solutions.
How Do Temperature Changes Affect Vacuum Chamber Performance?
Temperature changes affect your vacuum chamber by causing material expansion or contraction, which can lead to leaks or seal failure.
You’ll want to control temperature carefully to maintain consistent vacuum levels and avoid performance issues.
Conclusion
Building your vacuum chamber is like planting a seed—you start with the right tools and care, and soon, you create a space where air itself disappears. Just like a gardener checks for weeds, you’ll test for leaks to keep your chamber airtight. With patience and attention, you’ll master this skill, turning a simple container into a powerful tool.
Remember, every great invention begins with a small, careful step—yours starts here. By following these 10 easy steps, you can successfully build a vacuum chamber that meets your needs. This process highlights the importance of precision and dedication in creating a reliable vacuum environment.