How to Set Up Shark Matrix Robot Vacuum in 10 Easy Steps
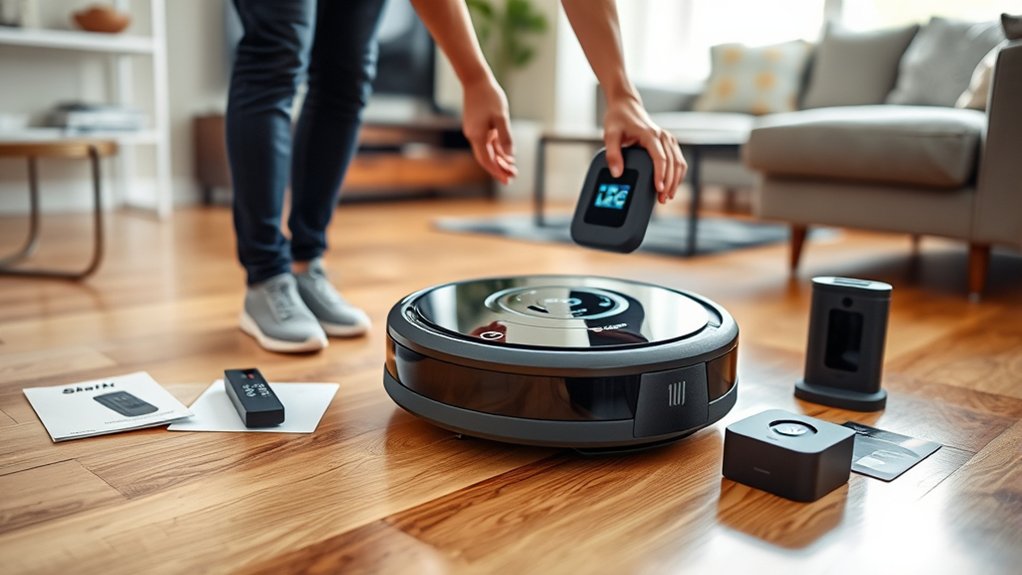
To set up your Shark Matrix Robot Vacuum efficiently, begin by unboxing and inspecting all parts to ensure nothing is missing or damaged.
Place the charging dock in an open area and fully charge the vacuum for 4-5 hours to prepare it for its first use.
Download the SharkClean app, which is essential for controlling and customizing your robot vacuum’s functions.
Next, connect the vacuum to your 2.4 GHz Wi-Fi network through the app for seamless operation.
You can start cleaning either by using the app or pressing the button on the vacuum itself.
Customize cleaning schedules, set virtual boundaries to protect certain areas, and select cleaning modes that suit your floor type for optimal performance.
Finally, follow simple maintenance tips to keep your Shark Matrix Robot Vacuum running smoothly over time.
Keep going to uncover detailed setup instructions and troubleshooting steps that will help you get the most out of your device.
Key Takeaways
- Unbox all parts, verify components are undamaged, and place on a clean surface before starting setup.
- Position the charging dock near a wall with 3 ft side and 6 ft front clearance, then fully charge the vacuum for 4-5 hours.
- Download the SharkClean app, connect the vacuum to 2.4 GHz Wi-Fi, and add the device through the app.
- Use the app or vacuum button to start, pause, and monitor cleaning, and set schedules for automatic cleaning times.
- Customize cleaning zones and modes in the app, set virtual boundaries, and perform regular maintenance after use.
Unbox and Inspect Your Shark Matrix Robot Vacuum
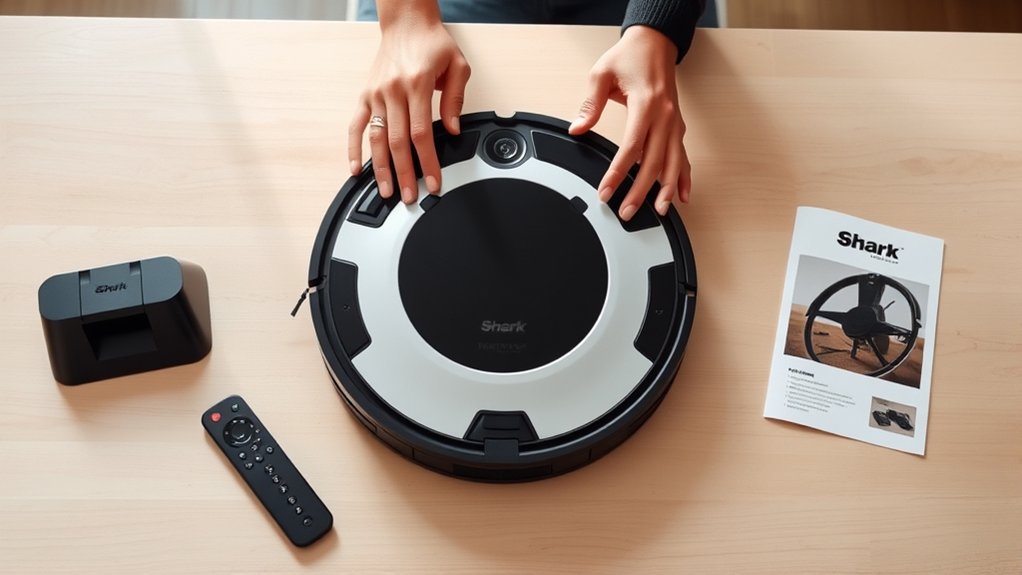
Before you begin setting up your Shark Matrix Robot Vacuum, carefully unbox it and check all the components. You’ll find the vacuum itself, a charging dock, a power adapter, side brushes, and a user manual inside the box. Take a moment to verify nothing is missing or damaged during shipping.
Inspect the vacuum for any visible dents or scratches, and make sure the brushes are securely attached. If you spot any defects or missing parts, contact the seller or Shark customer support right away. Handling these issues early saves frustration later.
Once you’ve confirmed everything is intact, place the vacuum and accessories on a clean surface. This step helps you stay organized and prepares you for the next stage: charging your Shark Matrix Robot Vacuum fully.
Charge Your Shark Matrix Robot Vacuum Fully
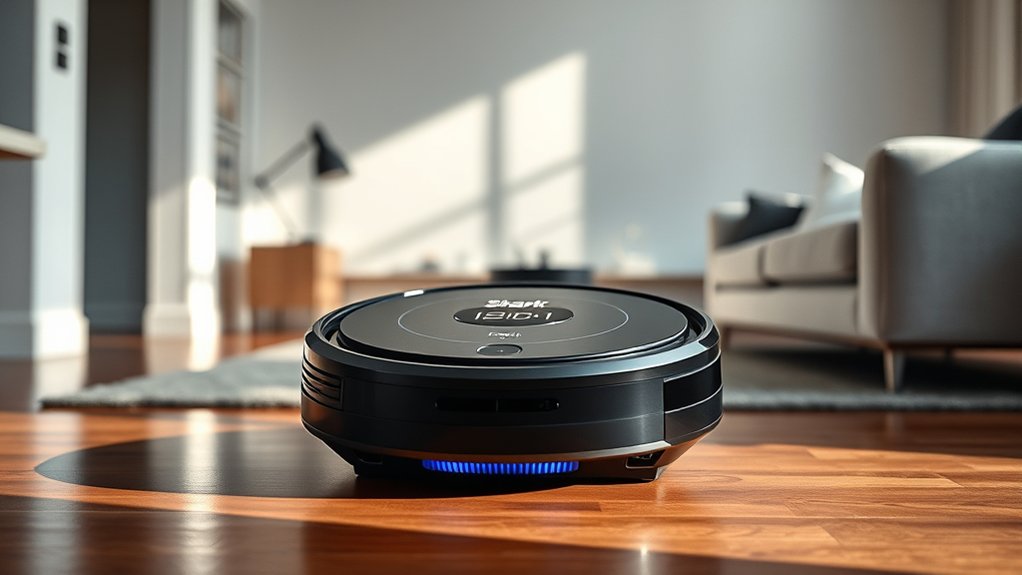
First, find a suitable spot to place the charging dock where your Shark Matrix can easily return. Plug the dock into a power source to get it ready.
Then, place your robot vacuum on the dock and watch the charging indicator to guarantee it’s powering up fully.
Locate Charging Dock
Where should you place the charging dock to guarantee your Shark Matrix robot vacuum charges efficiently? Position it in an open area, ideally against a wall, so the vacuum can easily locate and dock itself. Avoid tight corners or cluttered spaces that might block its path.
Keep the dock on a flat, stable surface to prevent tipping. Also, place it near a frequently cleaned area to optimize your vacuum’s schedule.
Consider these tips:
- Ensure at least 3 feet of clearance on either side of the dock
- Provide 6 feet of open space in front of the dock
- Avoid placing near stairs or ledges
- Keep away from direct sunlight or heat sources
- Don’t place on thick carpets or uneven flooring
Following these guidelines helps your Shark Matrix recharge smoothly.
Connect Power Source
How long should you charge your Shark Matrix robot vacuum before its first use? To guarantee peak battery performance, you should fully charge it for about 4 to 5 hours before using it the first time. Start by plugging the charging dock into a power outlet, then place the robot vacuum onto the dock, making sure the charging contacts align properly.
This connection will allow the vacuum to draw power and prepare for efficient cleaning. Avoid unplugging or moving the vacuum during this initial charge to prevent interruptions. Fully charging the battery upfront helps maximize runtime and battery life.
Once charged, your Shark Matrix vacuum will be ready to tackle your floors effectively and reliably.
Monitor Charging Indicator
After connecting your Shark Matrix robot vacuum to the power source and letting it charge, keep an eye on the charging indicator to know when it’s fully powered. The indicator light helps you track the charging status quickly, guaranteeing your vacuum is ready for peak performance.
Here’s what to watch for:
- A steady light usually means the battery is charging.
- A blinking light may indicate an issue or low battery.
- The light turns off or changes color when fully charged.
- Refer to your user manual for specific light color meanings.
- Avoid unplugging the vacuum until the indicator confirms a full charge to preserve battery life.
Monitoring the charging indicator ensures your Shark Matrix vacuum is always prepared for the next cleaning session.
Download and Install the SharkClean App
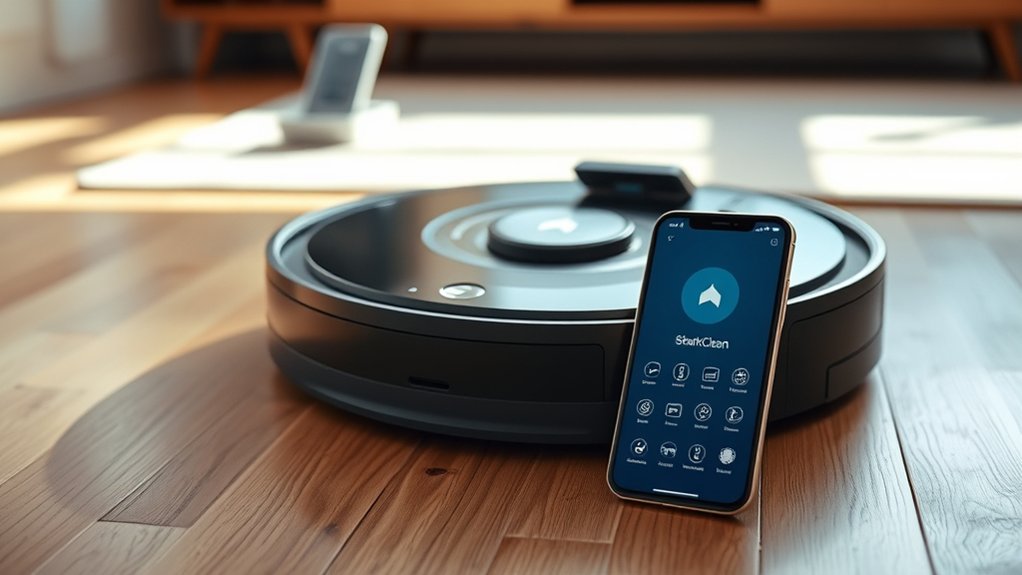
Wondering what the next step is to get your Shark Matrix Robot Vacuum up and running? You’ll need to download and install the SharkClean app on your smartphone. Start by opening the App Store if you use iOS, or Google Play Store if you’re on Android.
Search for “SharkClean” and select the official app developed by SharkNinja. Tap “Download” or “Install” and wait for the process to complete. Once installed, open the app and create an account or log in if you already have one.
The app will guide you through setting up your vacuum and provide access to features like scheduling, cleaning modes, and maintenance alerts. Having the app ready assures smooth control of your Shark Matrix vacuum from your phone.
Connect Your Shark Matrix Vacuum to Wi-Fi
Before you can control your Shark Matrix vacuum remotely, you’ll need to connect it to your home Wi-Fi network. Start by powering on your vacuum and making sure your smartphone is connected to the same Wi-Fi network. Open the SharkClean app, then follow its prompts to add a new device.
Power on your Shark Matrix vacuum, connect your phone to Wi-Fi, and add the device via the SharkClean app.
When asked, select your vacuum model and enter your Wi-Fi credentials carefully. The vacuum will connect shortly after.
Keep these tips in mind:
- Use a 2.4 GHz Wi-Fi network, as 5 GHz is unsupported
- Confirm your router is nearby for a strong signal
- Avoid special characters in your Wi-Fi password
- Temporarily disable VPNs or firewalls on your phone during setup
- Restart your vacuum and app if connection fails initially
This setup lets you manage your vacuum from anywhere with internet access.
Start and Pause Cleaning Sessions
Once your Shark Matrix vacuum is connected to Wi-Fi, you can easily control when it starts and pauses cleaning. Use the SharkClean app or the physical button on the vacuum to manage cleaning sessions. Tap “Start” in the app or press the button once to begin cleaning.
To pause, tap “Pause” in the app or press the button again. This flexibility lets you quickly stop vacuuming if needed and resume without losing progress.
| Action | How to Execute |
|---|---|
| Start Cleaning | Tap “Start” in app or press button |
| Pause Cleaning | Tap “Pause” in app or press button |
| Resume | Tap “Start” again or press button |
| Stop Cleaning | Use app to end session |
| Status Check | View current session in app |
Create a Cleaning Schedule in the App
Now it’s time to set up your cleaning schedule in the app. You can choose specific times for your Shark Matrix to start cleaning and customize recurring schedules to fit your routine.
This way, your floors stay spotless without you lifting a finger.
Setting Up Cleaning Times
Although setting up your Shark Matrix Robot Vacuum is simple, creating a cleaning schedule in the app guarantees your floors stay consistently clean without extra effort. To set up cleaning times, open the app and navigate to the scheduling section. Select the days and times you want your vacuum to run automatically.
You can set multiple cleaning sessions throughout the week to fit your lifestyle. Be sure to consider when the house is empty or when noise won’t disturb anyone.
Keep these tips in mind when scheduling:
- Choose times when your floors get the dirtiest
- Avoid scheduling during quiet hours
- Account for battery life and charging needs
- Set cleaning times based on room usage patterns
- Adjust times seasonally for maximum results
This approach keeps your home fresh without manual intervention.
Customizing Recurring Schedules
How can you tailor your Shark Matrix Robot Vacuum’s cleaning routine to fit your unique schedule? Open the SharkClean app and navigate to the scheduling section. Here, you can create recurring cleaning schedules by selecting specific days and times that work best for you.
Just tap “Add Schedule,” choose the desired start time, and pick the frequency—daily, weekly, or custom days. You can set multiple schedules to cover different parts of your week, ensuring your floors stay spotless without you lifting a finger.
Once saved, your vacuum will automatically follow these routines, adapting seamlessly to your lifestyle. If your plans change, simply return to the app to edit or delete schedules. Customizing recurring schedules lets you keep your home clean effortlessly and on your terms.
Set Up Virtual Boundaries on Your Shark Matrix
When you want to keep your Shark Matrix out of certain areas, setting up virtual boundaries is essential. These boundaries prevent the vacuum from entering specific rooms or zones, protecting delicate items or avoiding cluttered spaces.
To set them up, use the SharkClean app and follow these steps:
- Open the app and select your Shark Matrix device.
- Access the map of your home generated by the vacuum.
- Tap the option for virtual boundaries or no-go zones.
- Draw or place boundary lines or boxes on the map where you want restrictions.
- Save your settings and sync them to the robot vacuum.
This lets your Shark Matrix clean efficiently while respecting the areas you want to protect.
Customize Shark Matrix Cleaning Modes for Floors
Why settle for one cleaning mode when your Shark Matrix offers several tailored options? You can customize the cleaning modes to match different floor types and mess levels, ensuring efficient and thorough cleaning every time. Use the SharkClean app to select modes like “Standard” for everyday dirt, “Max” for deep cleaning carpets, or “Eco” for quieter, energy-saving operation on hard floors.
You can also schedule specific modes for certain rooms, so your vacuum adapts to tile, hardwood, or rugs without extra effort. Adjusting these settings helps protect your floors and optimizes battery usage. Take a moment to explore the app’s cleaning mode options—you’ll get a smarter, more effective clean that fits your home’s unique needs perfectly.
Maintain Your Shark Matrix: Cleaning and Battery Care
To keep your Shark Matrix running smoothly, you’ll want to clean the dustbin regularly to prevent clogs and maintain suction. Make sure to follow proper battery charging tips to extend its lifespan and avoid overcharging.
These simple steps will help your vacuum perform at its best every time.
Cleaning the Dustbin
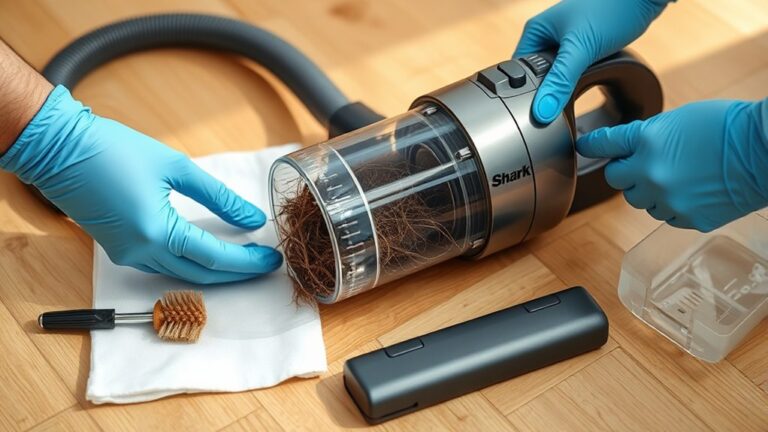
How often should you clean the dustbin of your Shark Matrix robot vacuum? Ideally, you should empty and clean it after every use to maintain peak performance. A full or clogged dustbin reduces suction power, causing the vacuum to work harder and miss dirt.
Regular cleaning helps prolong the vacuum’s lifespan.
When cleaning the dustbin, remember to:
- Remove the dustbin carefully to avoid spilling debris.
- Empty all debris into the trash bin.
- Use a dry cloth or brush to clean dust and hair from filters.
- Rinse the dustbin with water if necessary, but verify it’s completely dry before reattaching.
- Avoid using harsh chemicals or abrasive tools that could damage the dustbin.
Following these steps keeps your Shark Matrix running efficiently and your floors spotless.
Battery Charging Tips
Keeping the dustbin clean plays a big role in your Shark Matrix’s performance, but paying attention to battery care is just as important for smooth operation. To maximize battery life, always dock your vacuum after each cleaning session so it recharges fully. Avoid letting the battery drain completely before charging, as this can shorten its lifespan.
If you won’t use your Shark Matrix for an extended period, charge it to about 50% and store it in a cool, dry place. Regularly check the charging contacts for dirt or debris and wipe them clean with a dry cloth to guarantee efficient charging. Following these simple battery charging tips helps keep your Shark Matrix ready to clean whenever you need it.
Fix Common Setup Problems Fast
Although setting up your Shark Matrix Robot Vacuum is usually straightforward, you might encounter a few common hiccups along the way. Don’t worry—you can fix these issues quickly by following simple steps. Start by checking the charging dock placement to make certain the vacuum can connect easily.
Make sure the vacuum’s sensors are clean and unobstructed to prevent navigation errors. If your vacuum isn’t connecting to Wi-Fi, double-check your network settings and password. Restarting the app or vacuum can also resolve minor glitches.
Finally, confirm the battery is fully charged before first use to avoid interruptions.
- Verify dock alignment and power connection
- Clean sensors and wheels regularly
- Confirm Wi-Fi credentials and signal strength
- Restart device and app if unresponsive
- Fully charge vacuum before setup completion
Frequently Asked Questions
Can the Shark Matrix Vacuum Detect and Avoid Pet Waste Automatically?
No, the Shark Matrix vacuum can’t detect or avoid pet waste automatically. You’ll need to clean up any messes beforehand to prevent the vacuum from spreading it around or getting damaged during cleaning sessions.
Is the Shark Matrix Compatible With Voice Assistants Like Alexa or Google Home?
Yes, you’ll love that the Shark Matrix works with Alexa and Google Home, so you can start cleaning just by asking. It’s perfect for multitasking, letting you control your vacuum hands-free anytime you want.
What Warranty Coverage Does the Shark Matrix Robot Vacuum Include?
You get a one-year limited warranty covering defects in materials and workmanship for the Shark Matrix Robot Vacuum.
If any issues arise during that period, Shark will repair or replace your vacuum at no extra cost.
Can the Shark Matrix Map Multiple Floors of a House?
Yes, you can map multiple floors with the Shark Matrix robot vacuum. It stores up to three floor plans, letting you easily switch between levels without remapping, so your whole house stays clean effortlessly.
How Do I Replace the Brushes and Filters on the Shark Matrix?
You’ll remove the brush guard, pull out the old brushes, then snap in new ones.
For filters, open the dustbin, take out the used filter, and insert a fresh filter before closing it back up.
Conclusion
Now that your Shark Matrix robot vacuum is ready to dance across your floors, imagine it as a tireless guardian, sweeping away dust like a gentle breeze lifting autumn leaves. With just a few taps and tweaks, you’ve released a cleaning companion that navigates your home’s nooks with ease.
Keep it charged and cared for, and watch how it transforms daily chores into effortless magic. The Shark Matrix robot vacuum makes maintaining your home simple and effective. Enjoy a sparkling space with the convenience of smart cleaning technology.